Stages of building a shed on an uneven site
One of the important outbuildings is the barn. To build it, you need to decide on the location, design and materials.
The site for construction will not always be level. But, despite some difficulties, it is possible to build a good shed on an uneven site.
Construction the barn should be divided into stages.
Stage No. 1. Foundation.
For outbuildings, strip foundations are most often used. It is easy to construct, functional and relatively cheap.
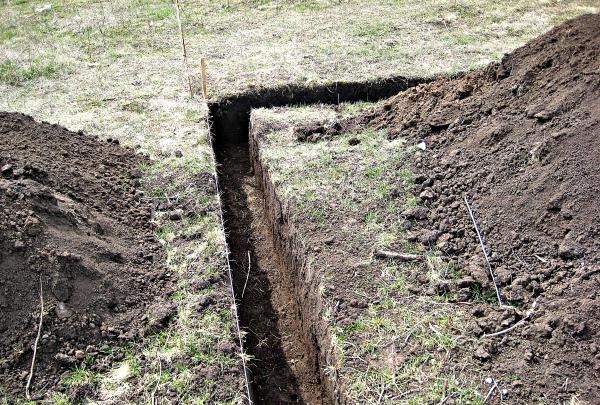
1. At the initial stage, you should mark the area and dig a trench along the contour of the barn. The depth and width of the trench will depend on the characteristics of the site and climate.
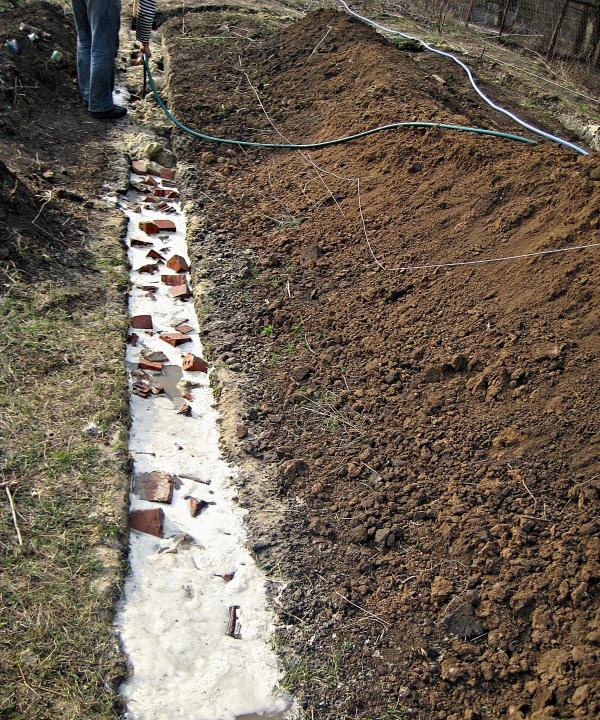
2.Then you need to make a rubble cushion in the trench (to distribute the load across the foundation). To do this, sand is poured into the bottom of the trench. Then they make a layer of broken brick. The voids between the bricks are again sprinkled with sand and spilled with water. When the water in the trench stops being absorbed, then it will be clear that the rubble is ready.
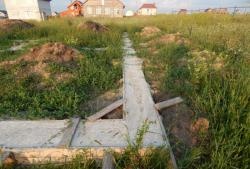
3.Next you need to install the formwork. To make it, you need to knock down wooden panels and use a stapler to wrap them with film.Install the formwork along the contour boundaries of the future structure. Since the site is uneven, the formwork will consist of several levels.
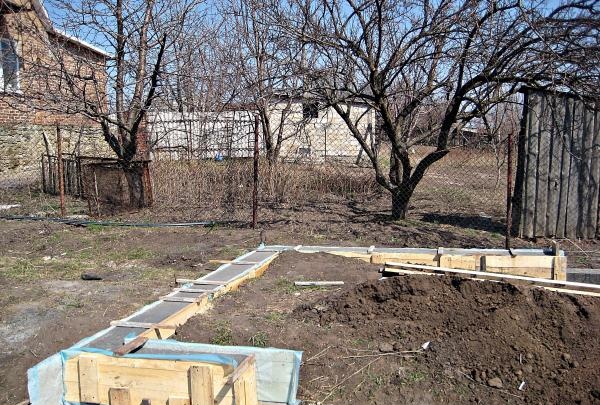
4. Reinforcement must be done inside the formwork. To do this, we lay reinforcement in each of the stages of the formwork and tie it together.
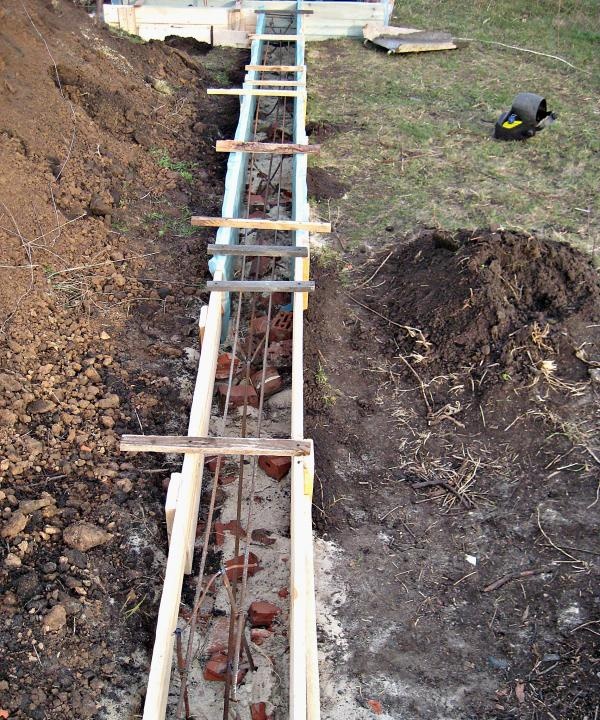
5.Then you can start concreting. To do this, you need to prepare a solution. We fill each level of formwork separately. We install a new level of formwork and continue concreting. Once the concrete has hardened, the formwork can be removed.
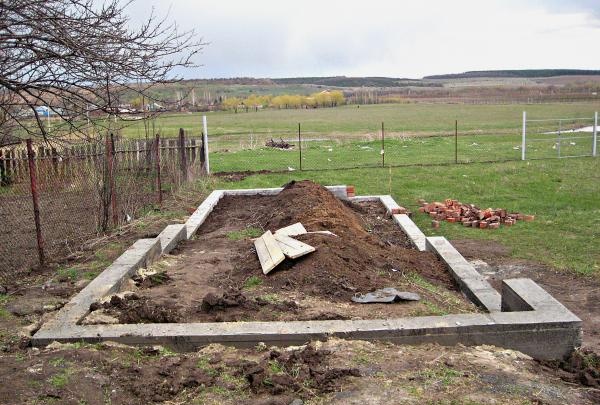
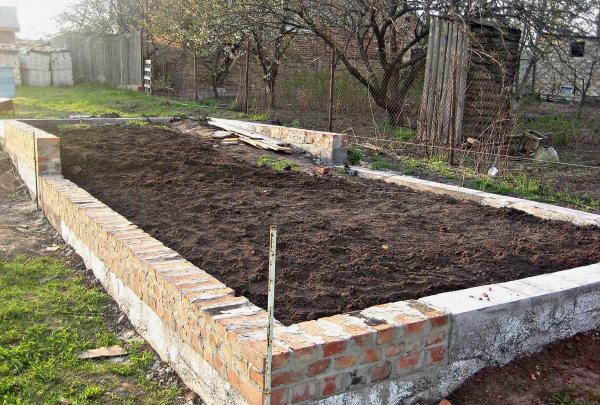
6.The final step in making the foundation will be its leveling using brickwork. To do this, we calculate the number of bricks required for the work and level each of the foundation steps one by one.
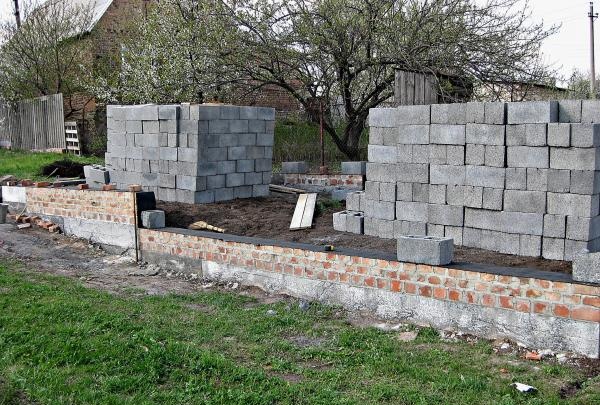
Stage No. 2. Construction of walls.
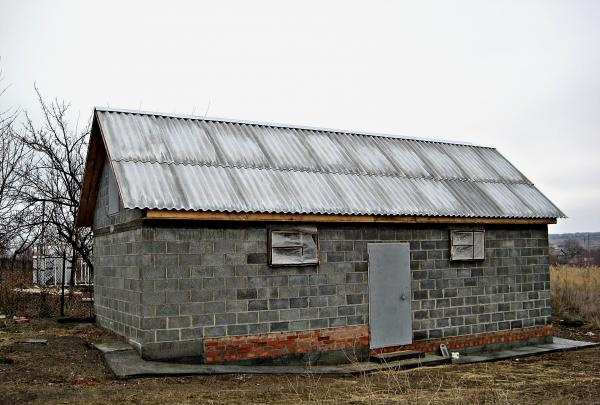
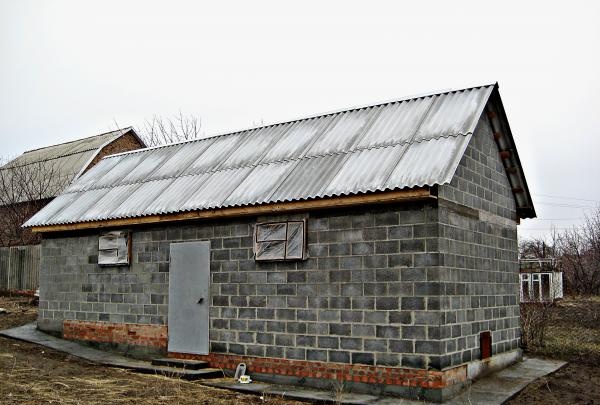
We will make the walls for the barn from cinder blocks.
1.First you need to level out the unevenness in the foundation, and then lay the waterproofing.
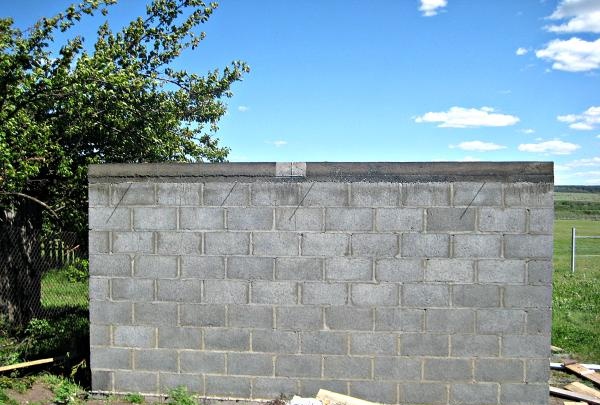
2.Now we begin laying the walls. We carry out the masonry using a mooring cord. We seat the blocks to the level of the mooring cord. We carry out masonry to the required level.
Stage No. 3. Arm belt.
To protect the building from external influences, it is necessary to strengthen the structure with a reinforced belt.
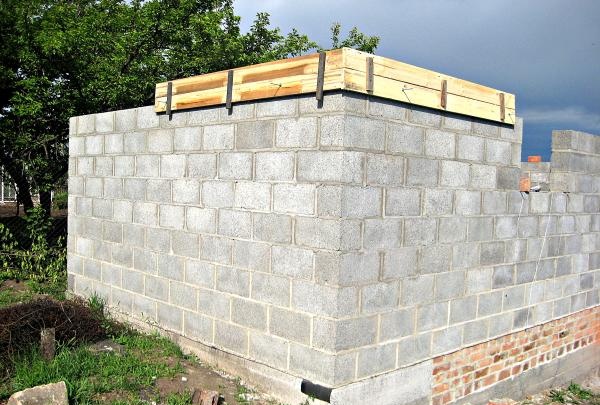
1. To construct an armored belt, we assemble shields from shalevka and twist them together. We install the finished panels on the wall.
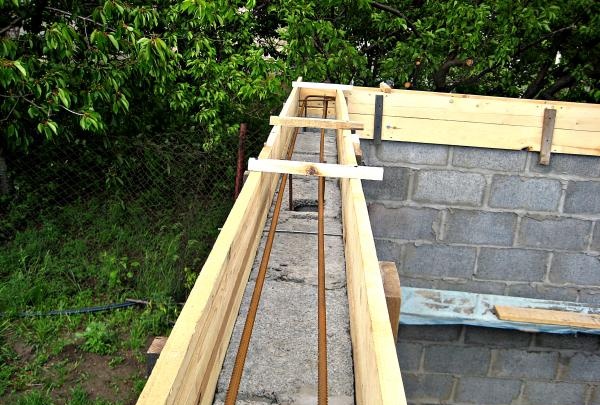
2.Then it is necessary to lay the reinforcement inside the panels and tie it.
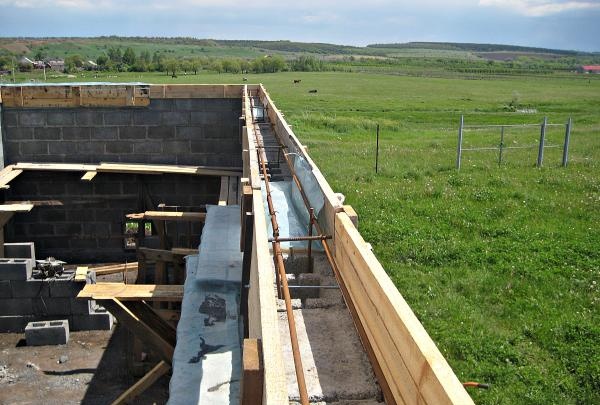
3. Fasten the shields.
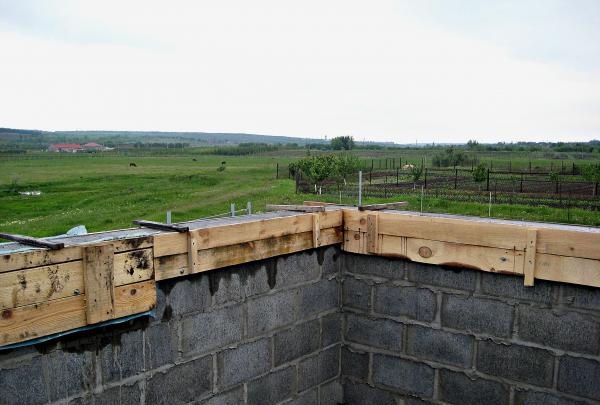
4. We fill the reinforced belt with a solution of cement and slag.
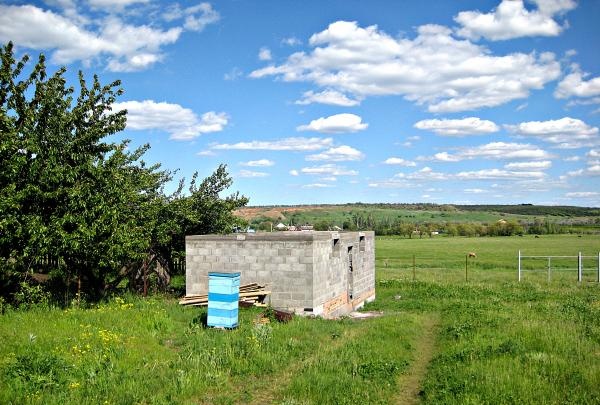
5.After the belt has frozen, it is necessary to remove the shields.
Stage No. 4. Roof.
Erection of a roof is a labor-intensive and important stage in the work. It is necessary to prepare materials and devices for ease of use.
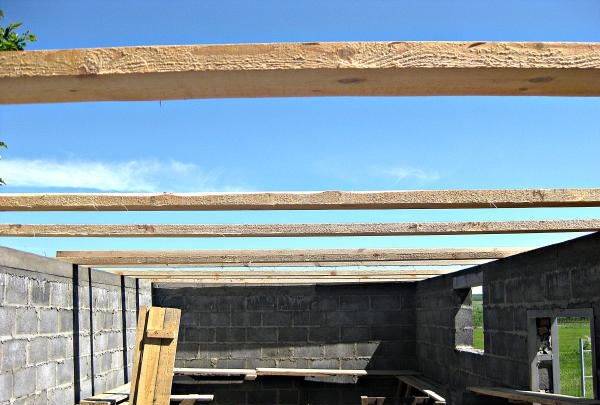
1. Along the perimeter of the roof it is necessary to lay out the beams under the beams.
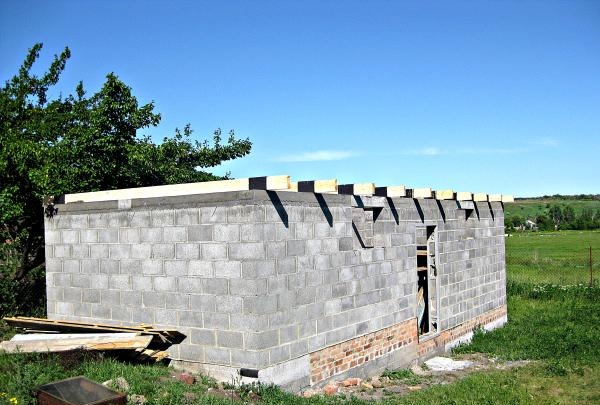
2. Waterproofing must be laid under each beam.
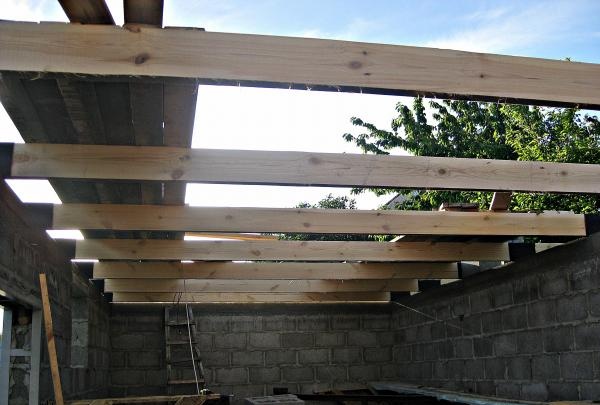
3. We secure the beams with boards.
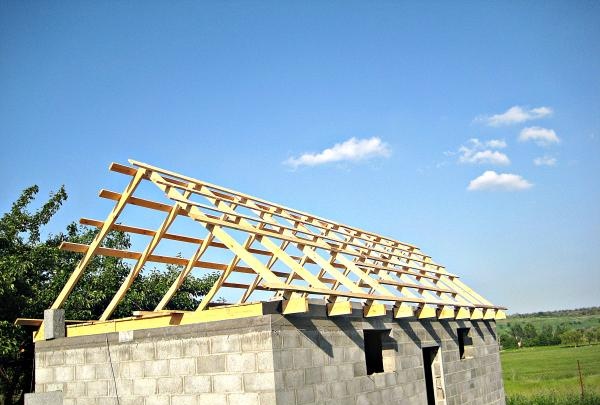
4. We construct the rafter system. For this you will need beams measuring 50*100 mm. Then we secure the beams together using lathing.
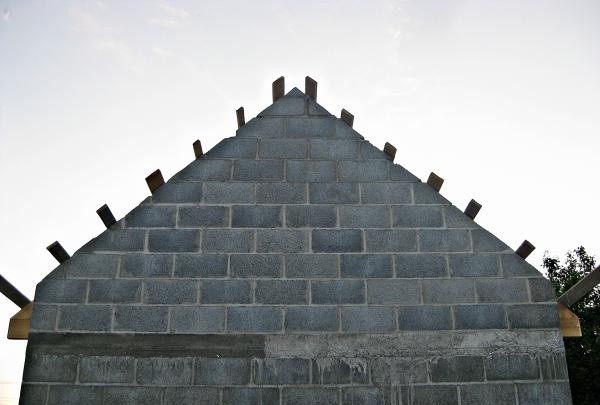
5. Lay out the gables.
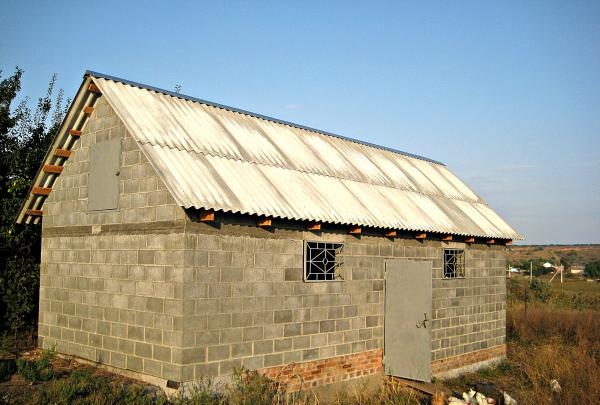
6. Finally, you need to cover the roof with roofing felt. We also install doors and windows.
Stage No. 5. Blind area.
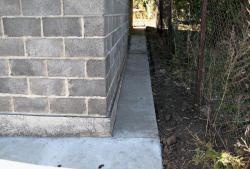
At the end of all work, we make the blind area. It will protect the building from moisture.
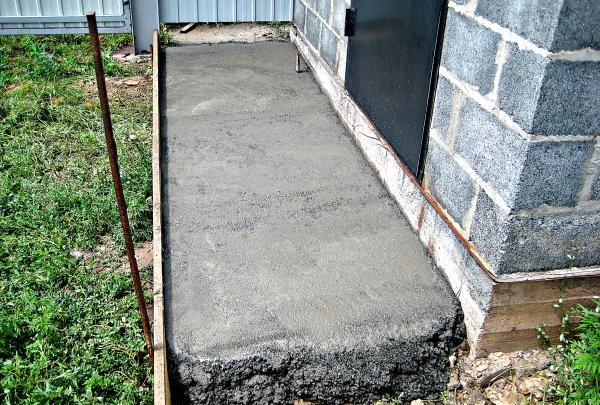
1. To make a blind area, it is necessary to prepare the area. We make a small hole, install the formwork and fill it with cement mortar.
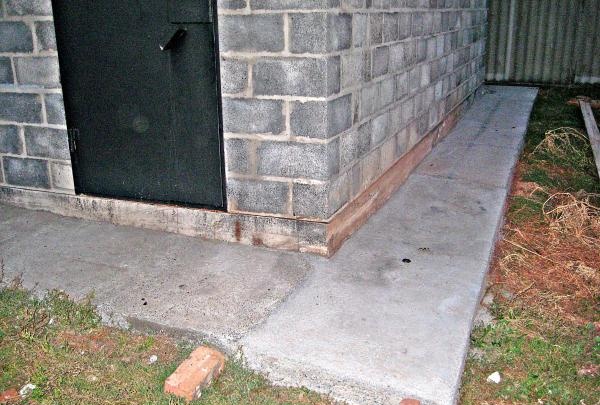
2.The formwork can be removed after a few days.
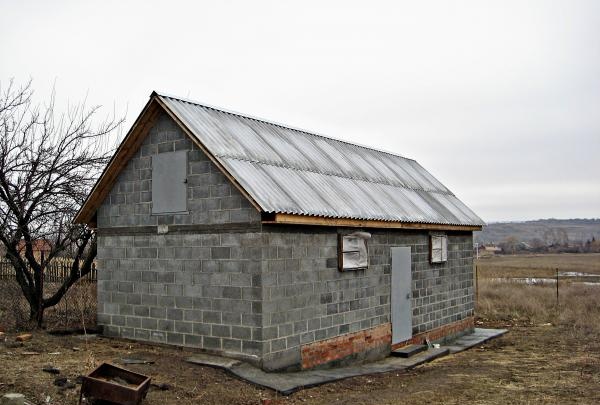
In this form, the barn can be used for your needs.
The site for construction will not always be level. But, despite some difficulties, it is possible to build a good shed on an uneven site.
Construction the barn should be divided into stages.
Stage No. 1. Foundation.
For outbuildings, strip foundations are most often used. It is easy to construct, functional and relatively cheap.
1. At the initial stage, you should mark the area and dig a trench along the contour of the barn. The depth and width of the trench will depend on the characteristics of the site and climate.

2.Then you need to make a rubble cushion in the trench (to distribute the load across the foundation). To do this, sand is poured into the bottom of the trench. Then they make a layer of broken brick. The voids between the bricks are again sprinkled with sand and spilled with water. When the water in the trench stops being absorbed, then it will be clear that the rubble is ready.

3.Next you need to install the formwork. To make it, you need to knock down wooden panels and use a stapler to wrap them with film.Install the formwork along the contour boundaries of the future structure. Since the site is uneven, the formwork will consist of several levels.

4. Reinforcement must be done inside the formwork. To do this, we lay reinforcement in each of the stages of the formwork and tie it together.

5.Then you can start concreting. To do this, you need to prepare a solution. We fill each level of formwork separately. We install a new level of formwork and continue concreting. Once the concrete has hardened, the formwork can be removed.

6.The final step in making the foundation will be its leveling using brickwork. To do this, we calculate the number of bricks required for the work and level each of the foundation steps one by one.


Stage No. 2. Construction of walls.
We will make the walls for the barn from cinder blocks.
1.First you need to level out the unevenness in the foundation, and then lay the waterproofing.

2.Now we begin laying the walls. We carry out the masonry using a mooring cord. We seat the blocks to the level of the mooring cord. We carry out masonry to the required level.

Stage No. 3. Arm belt.
To protect the building from external influences, it is necessary to strengthen the structure with a reinforced belt.
1. To construct an armored belt, we assemble shields from shalevka and twist them together. We install the finished panels on the wall.

2.Then it is necessary to lay the reinforcement inside the panels and tie it.

3. Fasten the shields.

4. We fill the reinforced belt with a solution of cement and slag.

5.After the belt has frozen, it is necessary to remove the shields.

Stage No. 4. Roof.
Erection of a roof is a labor-intensive and important stage in the work. It is necessary to prepare materials and devices for ease of use.
1. Along the perimeter of the roof it is necessary to lay out the beams under the beams.

2. Waterproofing must be laid under each beam.

3. We secure the beams with boards.

4. We construct the rafter system. For this you will need beams measuring 50*100 mm. Then we secure the beams together using lathing.

5. Lay out the gables.

6. Finally, you need to cover the roof with roofing felt. We also install doors and windows.

Stage No. 5. Blind area.
At the end of all work, we make the blind area. It will protect the building from moisture.
1. To make a blind area, it is necessary to prepare the area. We make a small hole, install the formwork and fill it with cement mortar.

2.The formwork can be removed after a few days.

In this form, the barn can be used for your needs.


Similar master classes
Particularly interesting
Comments (0)

