How to make flint from two metals
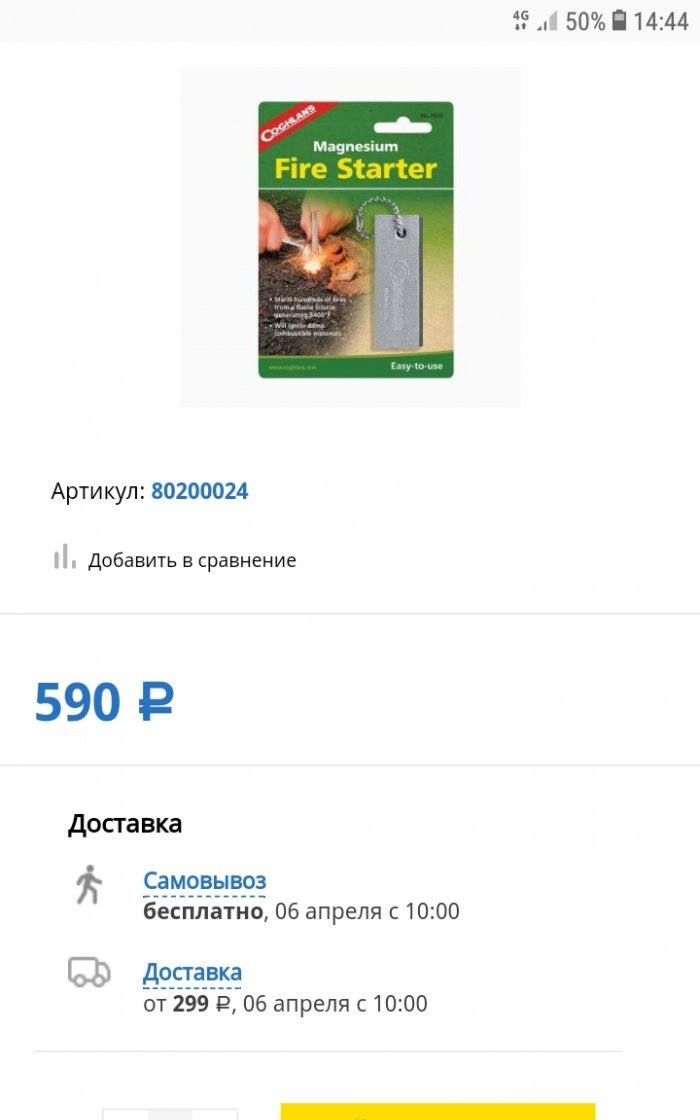
Flint is a rather interesting thing. In stores specializing in this kind of goods, there are no different shapes, sizes and types of them. It’s impossible to list everything. I buy flint and steel quite often, as it is irreplaceable and very practical in the forest. It goes away quite quickly for me - as a matter of principle, I don’t use matches or lighters in the forest, even though they are in my bag as emergency protection. As a great connoisseur and frequent user of this thing, I couldn’t pass by when I saw a flint that I didn’t have yet - a flint with a magnesium bar.
I noticed it in an online store and immediately ordered it. But the order never reached me. Both the first and second time! This happens, unfortunately. Fortunately, at least the money was returned... Leaving further attempts to order again, I decided to make the thing I needed myself - I had everything I needed.
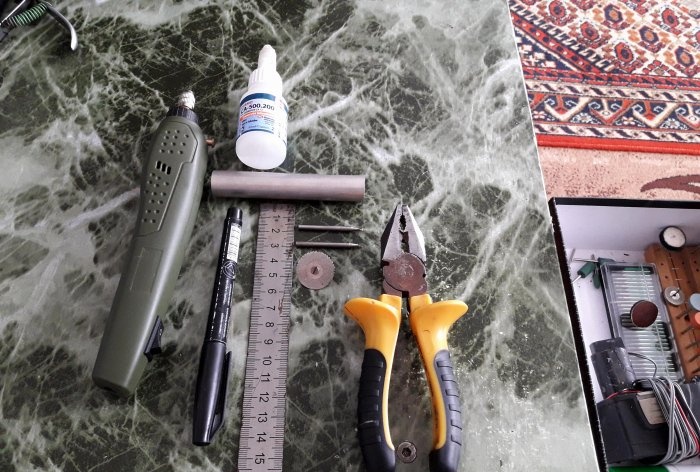
You will need:
- A magnesium bar no shorter than 6 mm (cylindrical or parallelepiped - at your discretion; whichever is more convenient for you to use).
- Ferrocerium rod (6×60 mm).
- Secondary glue.
- Drill with 6 mm drill bit.
- Kerner.
- Boring machine with cutters and cutting disc.
- Ruler with marker.
- Pliers.
Assembling flint from two metals
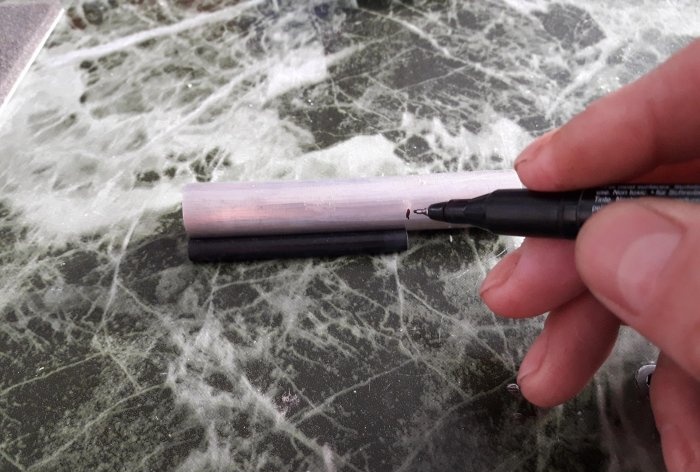
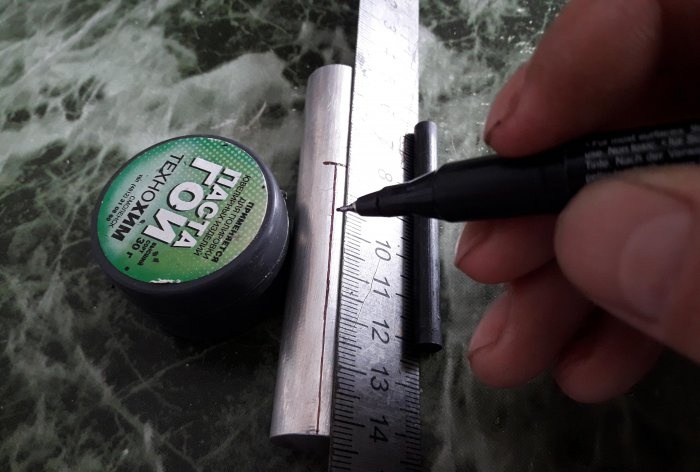
Let's start by marking the magnesium block for drilling.
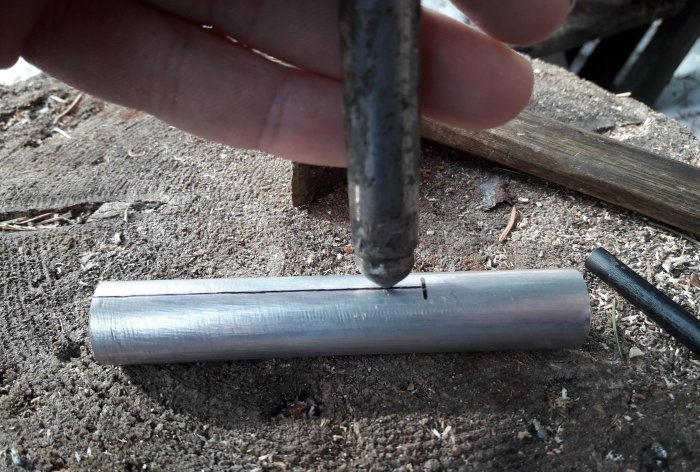
We'll need a lot of drilling and cutting! Although here, probably, everything depends on the diameter and length of the ferrocerium rod. At one time, I purchased quite a lot of rods with parameters 6x60mm. And now I constantly use them in assembling the next flint. There are all sorts of sizes. Starting from 4x40 mm, and ending with 15x150 mm, different combinations. But the most optimal, in my opinion, is 6x60 mm. So, we need to cut a groove in the magnesium bar. 60 long, 6 wide, and 3 mm deep. For those who do not have special equipment (like me, for example), there is a well-known method of drilling for this purpose. Fortunately, magnesium with a purity of 99% is very soft and pliable, so it won’t require Herculean efforts to do what you have planned. After applying the markings, we apply marks with a center punch along the entire length of the markings, in increments of 4-5 mm. Like this:
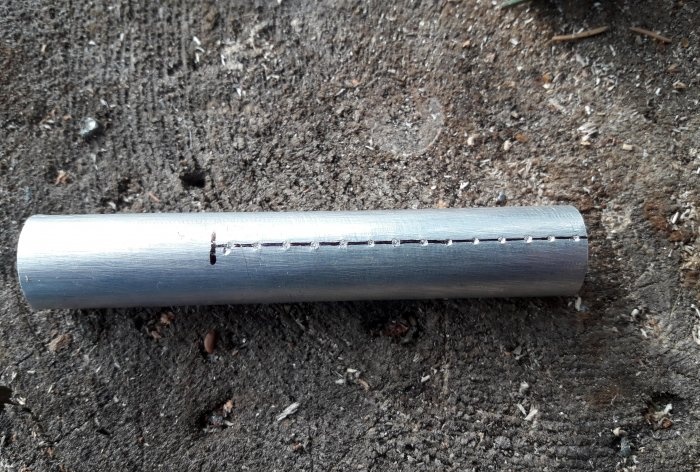
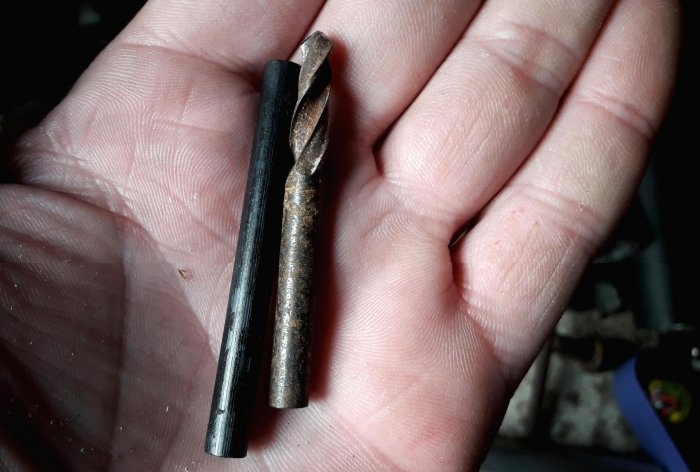
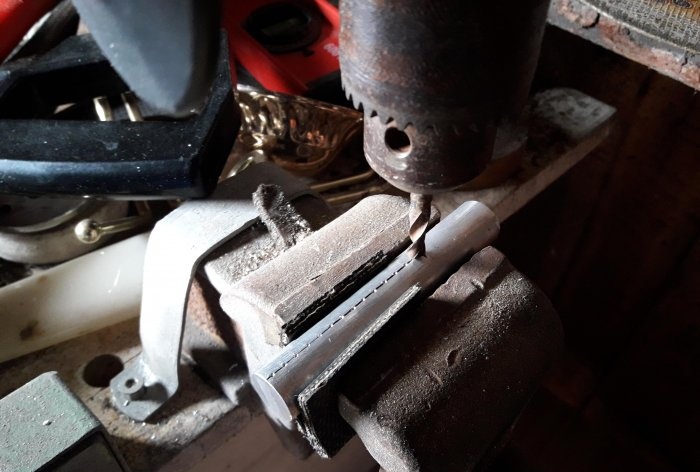
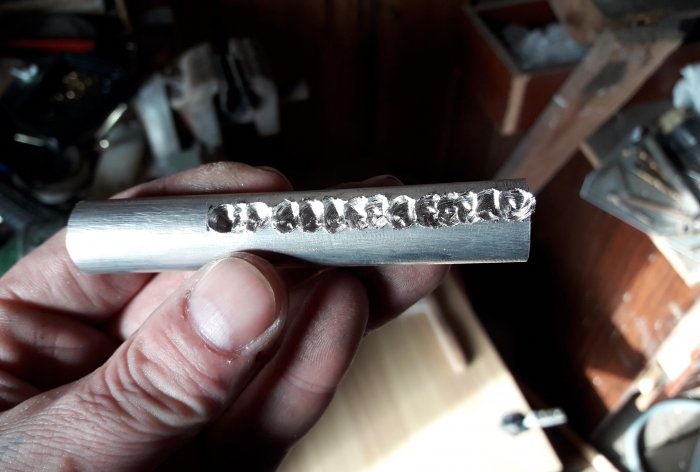
Next, we will need a 6 mm drill, which we will install in an electric drill, and we will begin to drill recesses along the punched marks, 3 mm deep.
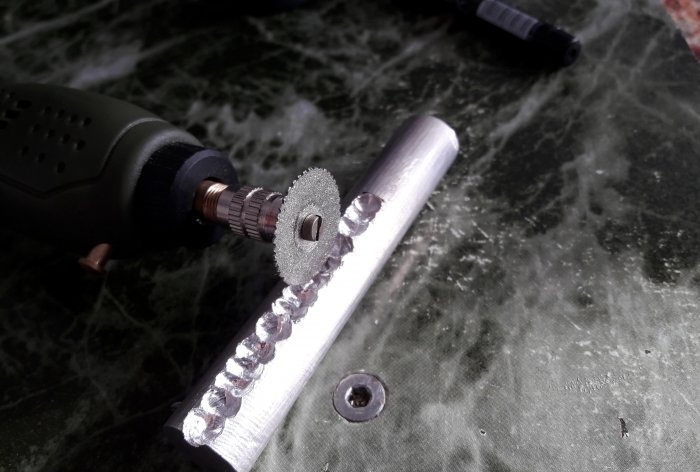
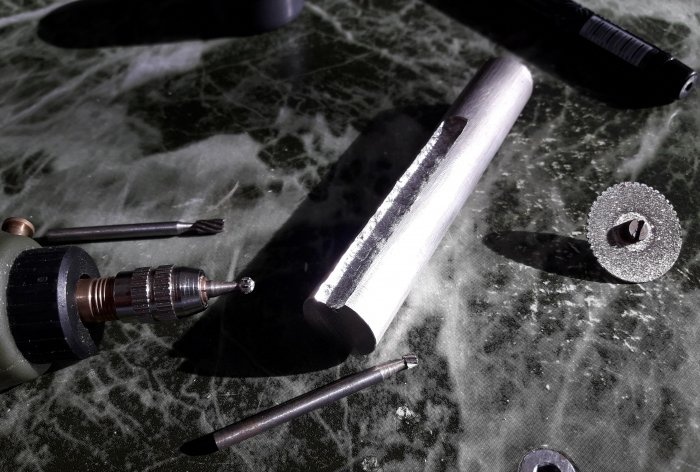
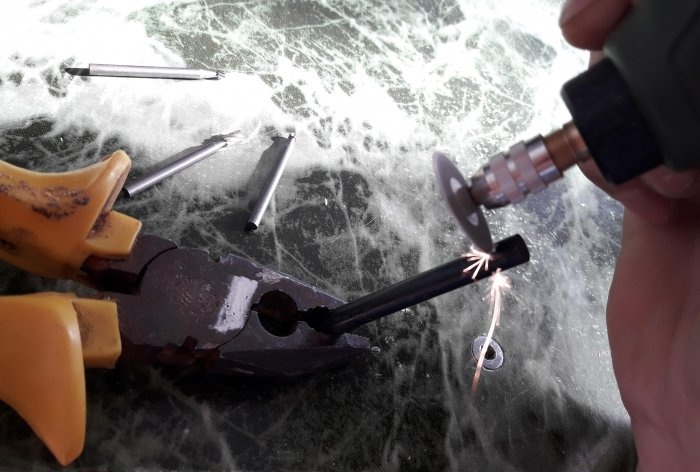
Now we need a burr machine, with a set of small cutters and a cutting disc for them to align the walls inside the groove.
First, use a cutting disc to smooth out the notches remaining after drilling along the entire length of the groove. Then, using cutters, we bring the walls to a more or less even state. So that the ferrocerium rod can fit into the groove.
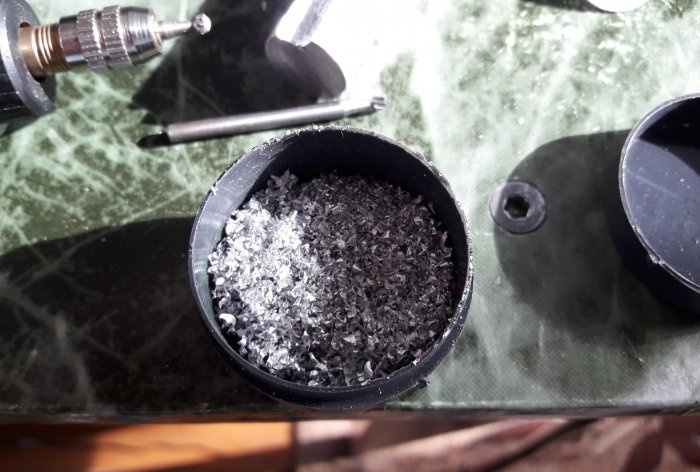
By the way: the magnesium shavings and sawdust left after work can be collected - this is an excellent kindling.
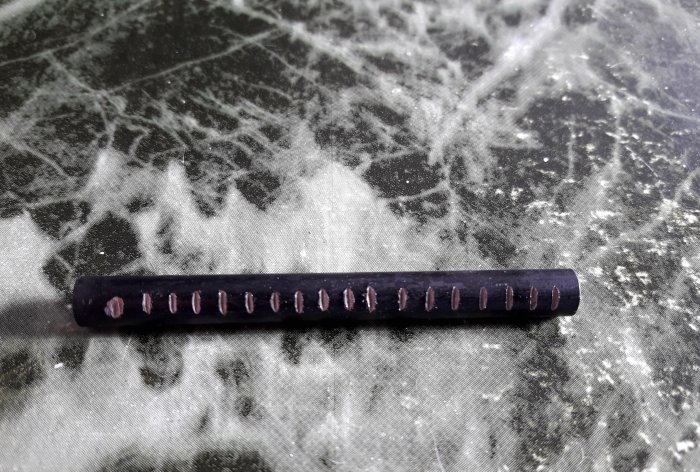
Magnesium turnings ignite beautifully from the sparks of the ferrocerium rod, and burn very hot. Actually, this heat ignites the rest of the kindling.At the end of the master class you can see how the magnesium shavings burn... Next you need to glue the ferrocerium rod into the groove. And so that it stays there more firmly, we will make notches on the rod. Along the entire length.
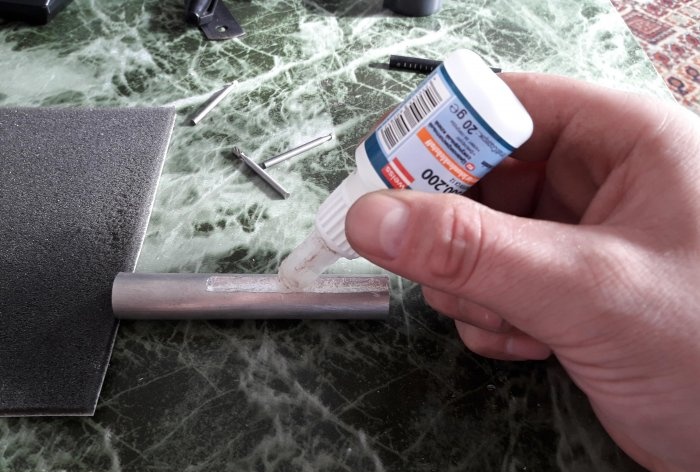
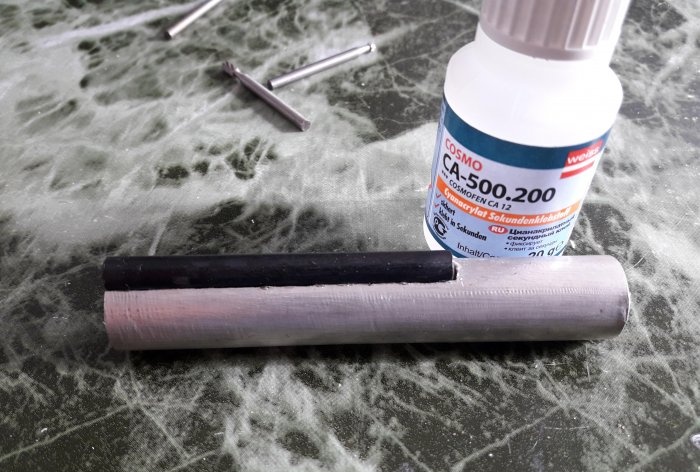
Now everything is simple: drop glue into the groove and place the rod there. Notches down.
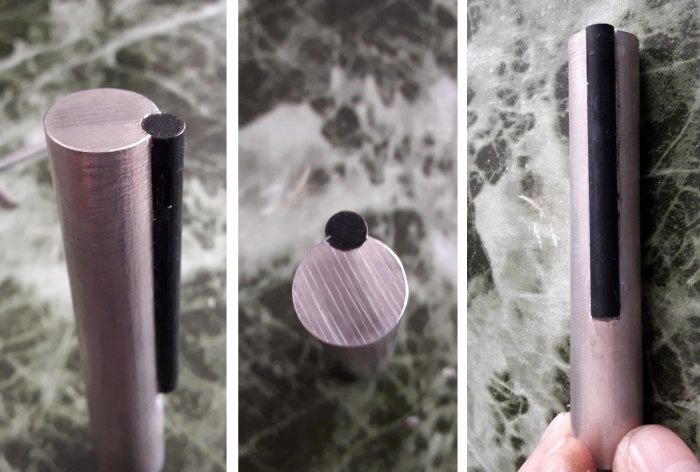
If there are gaps at the edges of the rod, just fill them with glue and pour a little soda there. The glue will harden very soon, and the rod will no longer be removed from the groove. Just a hammer and chisel! The main work is finished. It should look like this:
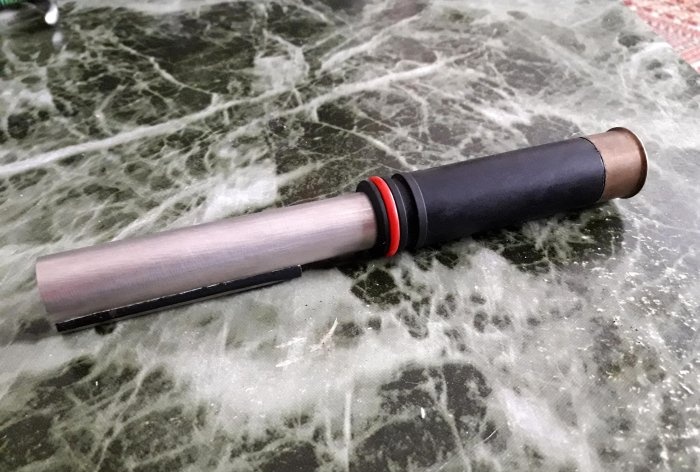
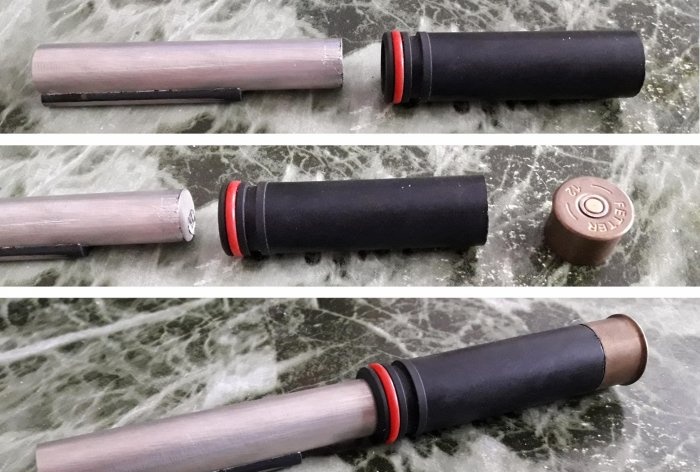
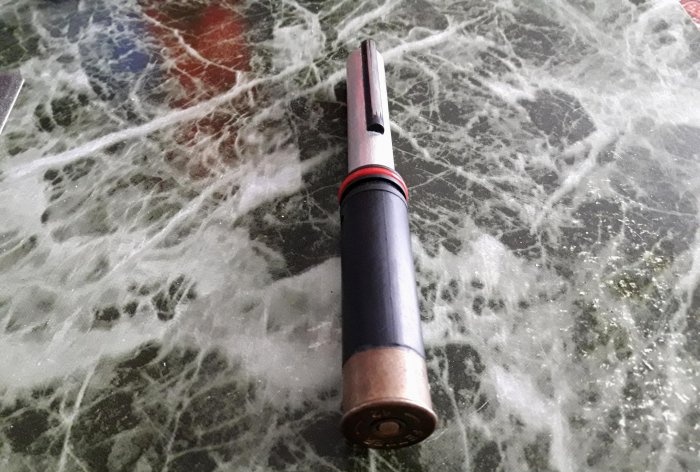
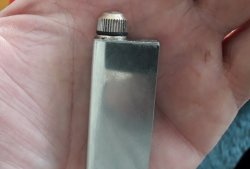
Well, for greater convenience, you can make a simple handle. For this purpose, I took the first tube I came across that was suitable in diameter, coated it with glue on the inside, and put it on a magnesium bar. Well, I made the pommel from the bottom of a spent cartridge case.
Here, in general, everyone can improvise to the best of their imagination. Thus, we got a flint and kindling for it in one product.
This is very convenient for novice users, rather than carrying everything separately, or looking for kindling in a damp or cold forest. Even a person who has never held this tool in his hands can make fire with such a flint! You just need to scrape off the shavings with a knife from a soft magnesium bar, and immediately strike a spark on these shavings. In the video you can see how the birch bark flares up from the heat. Take such a flint with you on a fishing trip, vacation, or camping trip, and you will never be left without a fire. As for me, on every trip I always have two flints with me - one hangs on my belt, the second (NZ) lies in my bag.
Watch the video
Similar master classes
Particularly interesting
Comments (1)

