Making a florarium
In order to create your own florarium at home, you will need the appropriate materials, tools, following step-by-step instructions, patience and desire.
Ingredients
* Aluminum corners of at least 10x10x1mm or wooden beam with a cross-section of at least 20x20 mm;
* plexiglass 50X80 and 50X100, 2 pieces each;
* silicone sealant, preferably transparent. To seal the bottom, you can use white;
* plastic sheets for the bottom and lid, 2 pcs, 50x100 each;
* bolts and nuts (note that long ones are needed for the bottom and short ones for the walls);
* bars around the perimeter of the lid.
Tools
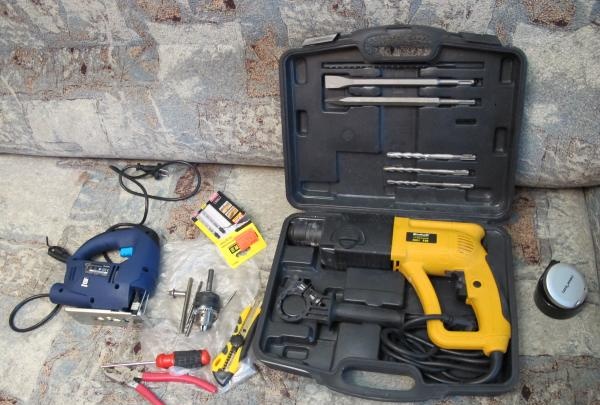
* Jigsaw;
* drill, wood drills for drilling plexiglass, metal drills for corners. Select the size of drills for bolts;
* a screwdriver and a screwdriver, because you will have to tighten it a lot;
* hair bobby pins or paper clips;
* large film if you work at home and not in a workshop.
Recipe
1. Cut 4 aluminum corners so that their height matches the height of the future florarium. It is advisable to measure directly on acrylic sheets so that there is no excess sticking out.
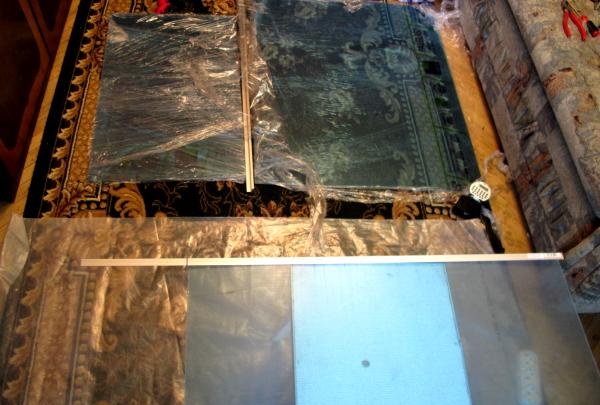
2. On large sheets, use clamps or bobby pins to secure the cut corners.
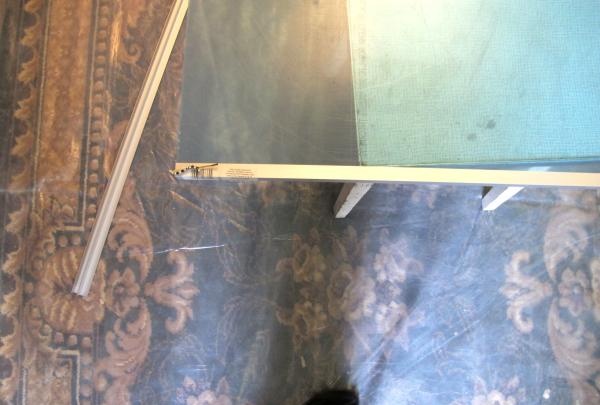
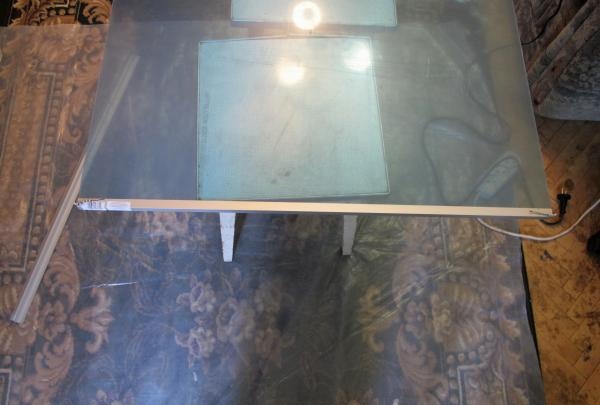
3.Place the glass with a corner on a wooden beam and drill holes in the places where they will be bolted together.
Recommendations for working with plexiglass:
1. Always use a small size drill first, such as 2mm. If you drill with a big one right away, the plexiglass may crack. After this, you can enlarge the hole with a larger drill.
2. Always place the plexiglass on the wooden beam where the hole will be. If you drill and leave it “in the air,” the plexiglass will sag and may crack.
3. Do not overdo it when tightening the bolts; the plexiglass may crack.
4. Secure the corners on the long sides of the florarium using bolts and nuts.
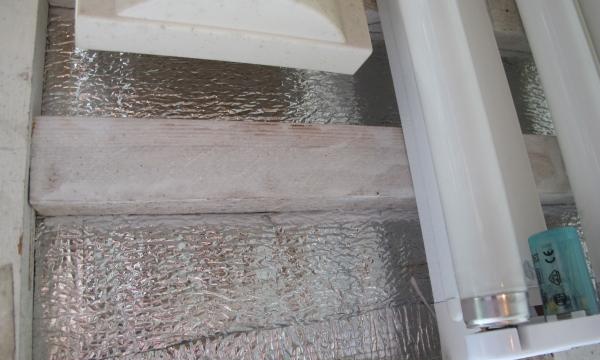
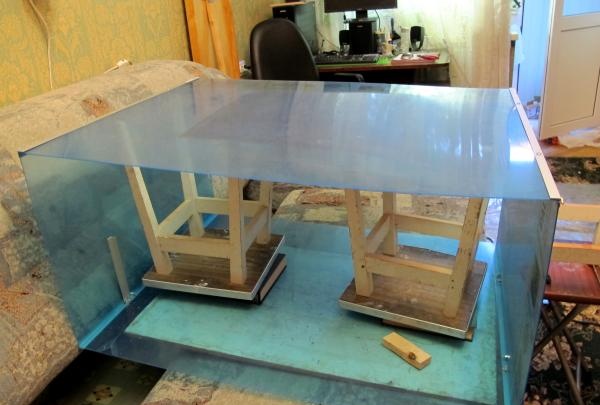
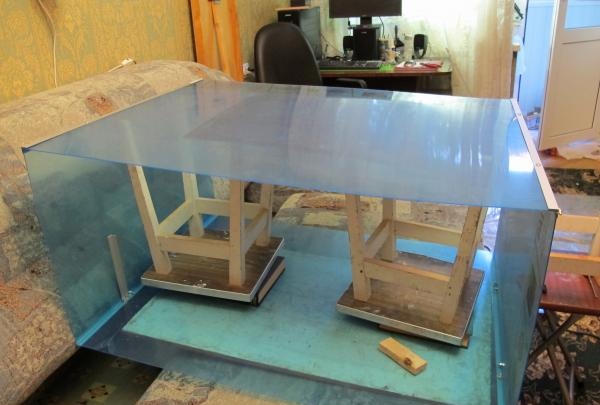
5. After the corners have been attached to the long sides of the florarium, attach two side walls to one of them, then attach the second long wall to them. Be careful, at this stage the entire structure is especially fragile and “moves” easily. Any strong bend can break the plexiglass.
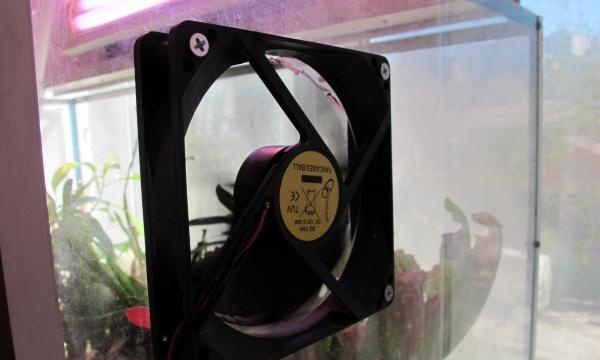
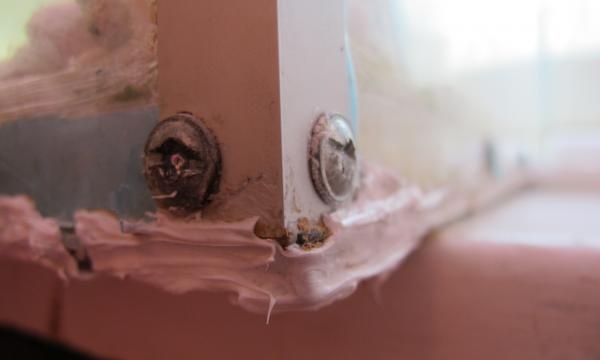
6. Now for the bottom and top of the florarium you can assemble rectangles from the corners, which will be inserted INSIDE the plexiglass box.
7. Secure the corner rectangles inside the plexiglass box with bolts and nuts. The side that will touch the plexiglass can be lubricated with transparent sealant.
8. Lubricate the corners of the future bottom with sealant, place a plastic sheet on top, which will be the bottom, fix it, for example, prop it against the wall. Drill 2-4 holes through the bottom and corners, secure the bottom with bolts. For reliability, drill a few more holes on each side and also secure with bolts.
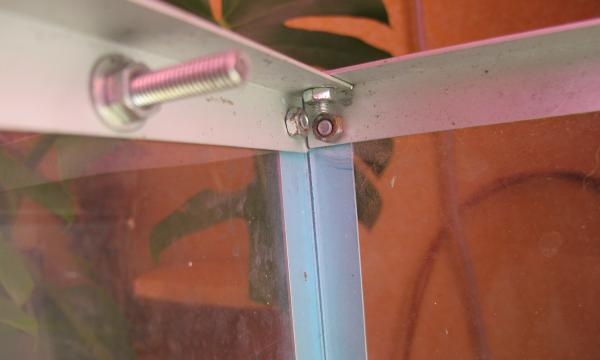
)
9. The florarium is ready. (1000) To make a lid, simply screw wooden beams around the perimeter of the plastic sheet with nails.
10. You can also install a fan and hygrometer to control humidity. To do this you need:
• drill holes for fan mounting with long bolts;
• make a large “window” in the wall of the florarium. To do this, drill several large holes around the perimeter of the future “window” and “cut” the plexiglass with a hot knife.

Ingredients
* Aluminum corners of at least 10x10x1mm or wooden beam with a cross-section of at least 20x20 mm;
* plexiglass 50X80 and 50X100, 2 pieces each;
* silicone sealant, preferably transparent. To seal the bottom, you can use white;
* plastic sheets for the bottom and lid, 2 pcs, 50x100 each;
* bolts and nuts (note that long ones are needed for the bottom and short ones for the walls);
* bars around the perimeter of the lid.
Tools
* Jigsaw;
* drill, wood drills for drilling plexiglass, metal drills for corners. Select the size of drills for bolts;
* a screwdriver and a screwdriver, because you will have to tighten it a lot;
* hair bobby pins or paper clips;
* large film if you work at home and not in a workshop.
Recipe
1. Cut 4 aluminum corners so that their height matches the height of the future florarium. It is advisable to measure directly on acrylic sheets so that there is no excess sticking out.

2. On large sheets, use clamps or bobby pins to secure the cut corners.


3.Place the glass with a corner on a wooden beam and drill holes in the places where they will be bolted together.


Recommendations for working with plexiglass:
1. Always use a small size drill first, such as 2mm. If you drill with a big one right away, the plexiglass may crack. After this, you can enlarge the hole with a larger drill.
2. Always place the plexiglass on the wooden beam where the hole will be. If you drill and leave it “in the air,” the plexiglass will sag and may crack.
3. Do not overdo it when tightening the bolts; the plexiglass may crack.
4. Secure the corners on the long sides of the florarium using bolts and nuts.

5. After the corners have been attached to the long sides of the florarium, attach two side walls to one of them, then attach the second long wall to them. Be careful, at this stage the entire structure is especially fragile and “moves” easily. Any strong bend can break the plexiglass.


6. Now for the bottom and top of the florarium you can assemble rectangles from the corners, which will be inserted INSIDE the plexiglass box.
7. Secure the corner rectangles inside the plexiglass box with bolts and nuts. The side that will touch the plexiglass can be lubricated with transparent sealant.
8. Lubricate the corners of the future bottom with sealant, place a plastic sheet on top, which will be the bottom, fix it, for example, prop it against the wall. Drill 2-4 holes through the bottom and corners, secure the bottom with bolts. For reliability, drill a few more holes on each side and also secure with bolts.

)
9. The florarium is ready. (1000) To make a lid, simply screw wooden beams around the perimeter of the plastic sheet with nails.
10. You can also install a fan and hygrometer to control humidity. To do this you need:
• drill holes for fan mounting with long bolts;
• make a large “window” in the wall of the florarium. To do this, drill several large holes around the perimeter of the future “window” and “cut” the plexiglass with a hot knife.


Similar master classes
Particularly interesting
Comments (0)

