Basket with bouquet
Plastic bottles make wonderful flower arrangements. In this case, the multi-colored material does not require painting or additional processing. The main thing is that your imagination doesn’t let you down and gives you colorful ideas in a timely manner.
For crafts We prepare “Basket with a bouquet”:
- plastic bottles;
- glue “Second”, “Moment” or analogues;
- scissors;
- paper napkins;
- a candle.
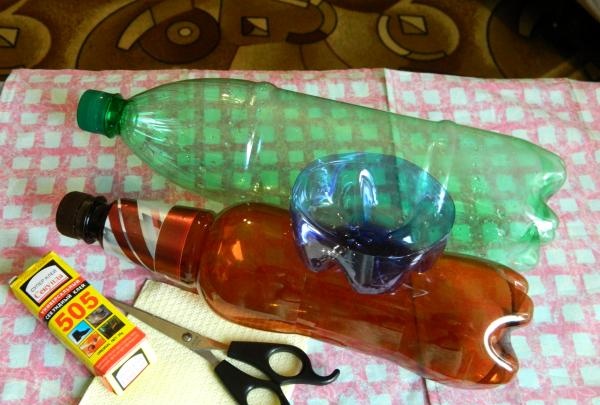
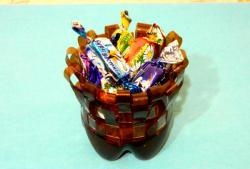
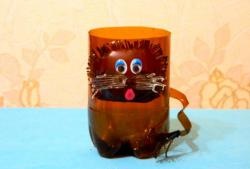
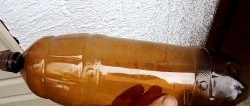
First, let's start decorating the base of the flower arrangement - the basket. Cut the brown bottle into two parts. We should have a tall glass. The top part with the neck will no longer be needed.
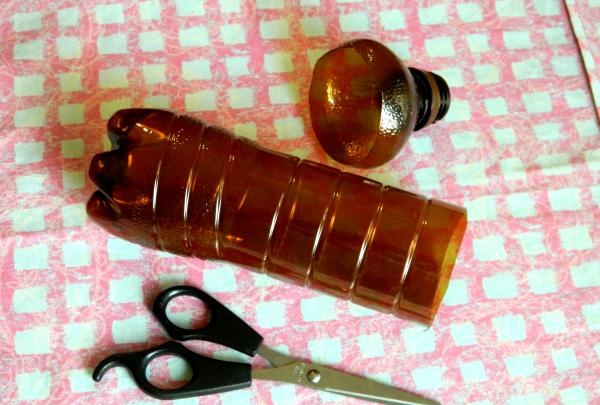
Let's immediately designate the handles of the basket. It's not just two lanes. Using scissors, we carefully cut out circles and imitate braiding from willow twigs.
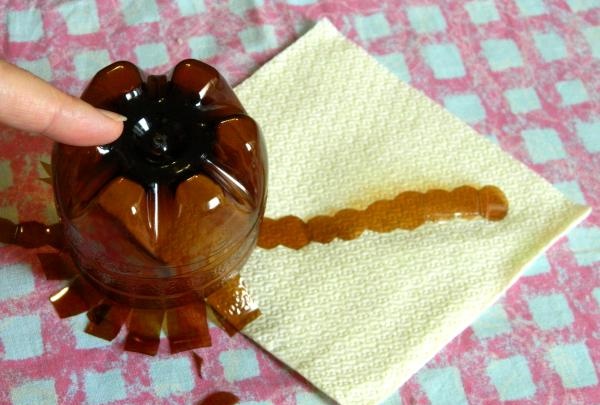
Next, we decorate the edges of the basket at our own discretion, for example, we decorate them with tiny teeth or stars. It should be noted here that the extended edge has not only a decorative function. It will be convenient for us to attach flowers and leaves to horizontal fields.
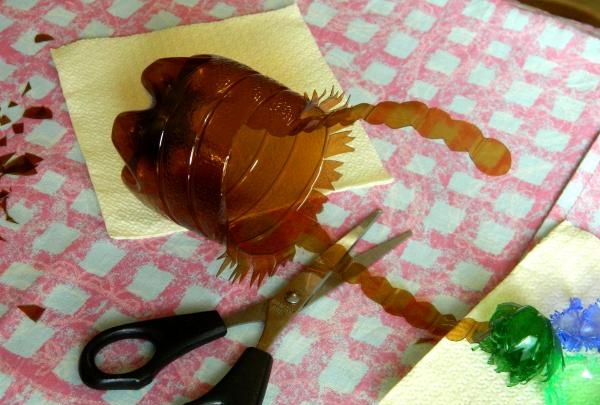
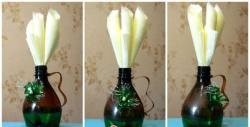
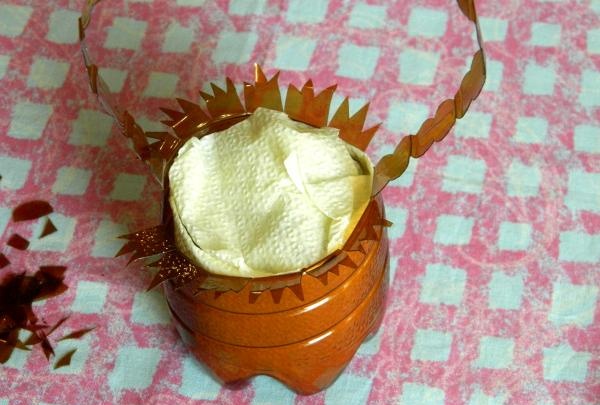
We want to remove the transparency of the basket. In order not to paint over the plastic, roll a napkin into a long rectangle and lay the soft paper along the walls of the basket.You don't even need to secure it.
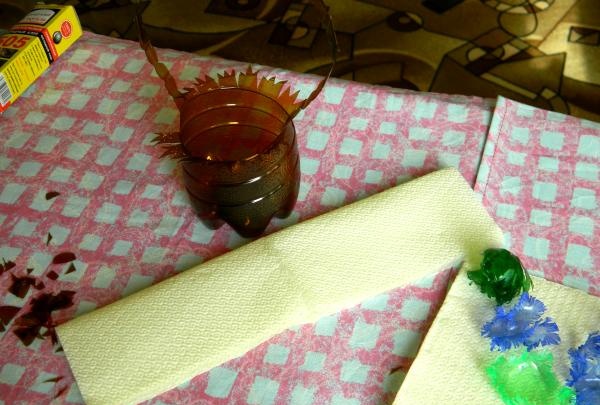
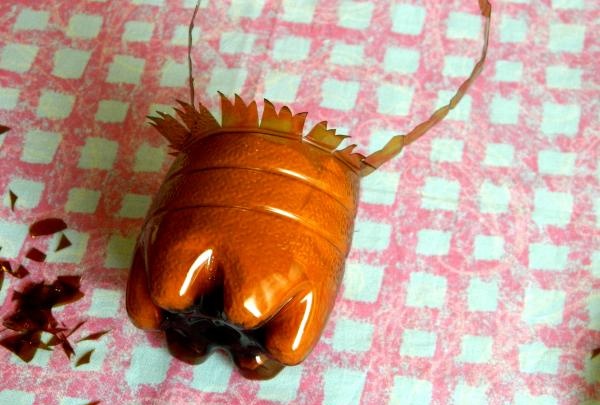
Fill the basket to the top with any material (cereals, seeds, small remnants of plastic, paper). Cover the contents on top with several napkins. To secure the parts we use glue (PVA is possible).
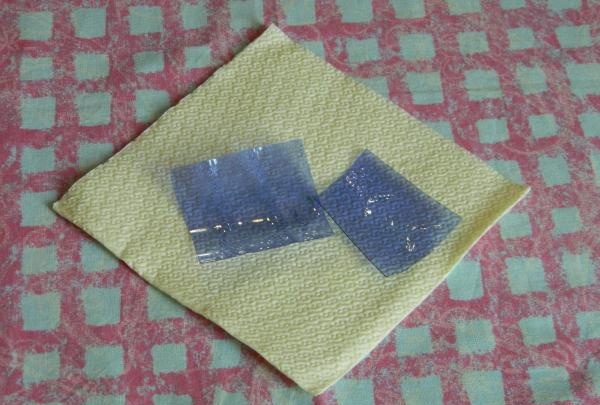
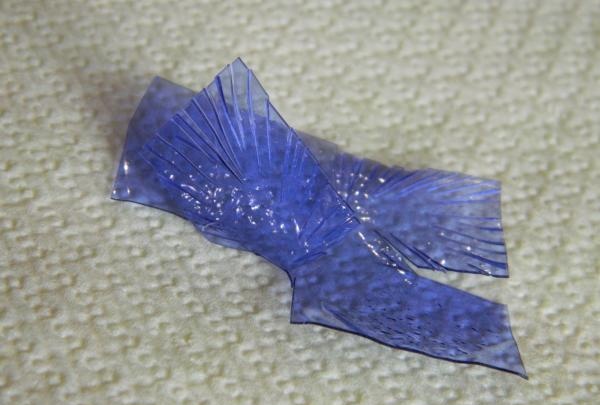
Now let's cut out squares and circles from the blue and green bottles. Using scissors, we will densely cut the edges of the indicated figures, perhaps highlighting the tops and petals. Under the influence of the flame of a gas burner, we will turn plastic into wonderful leaves and flowers.
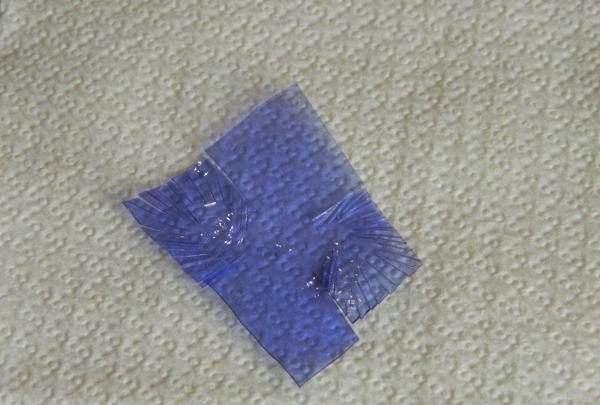
First, glue emerald greenery to the surface of the basket. It’s good if you have several shades of green in your arsenal.
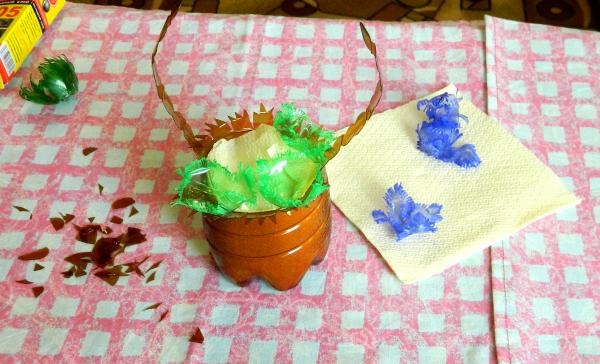
Next we fill the basket with fancy buds and blossoming flowers.
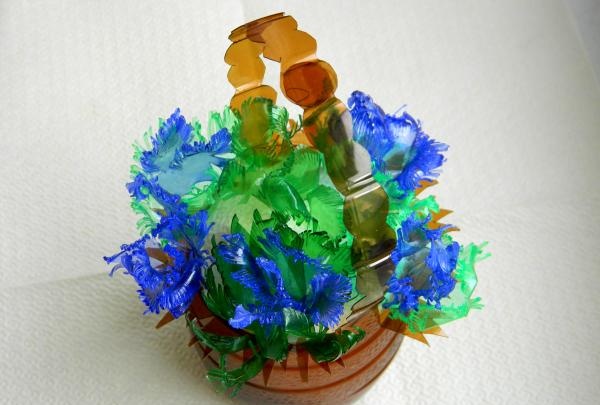
All you have to do is wait until the glue dries and connect the two halves of the basket handle. We ended up with an unusually bright and colorful composition. Let's admire the work from all sides.
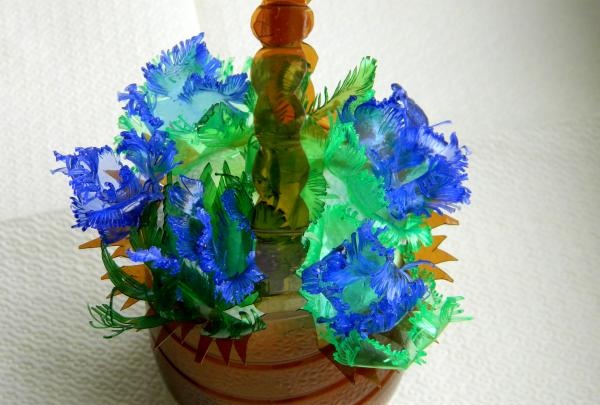
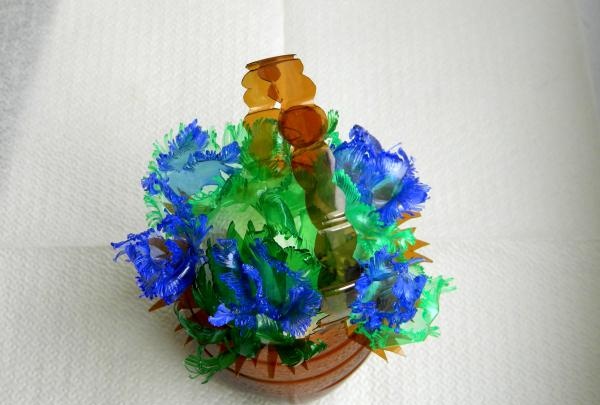
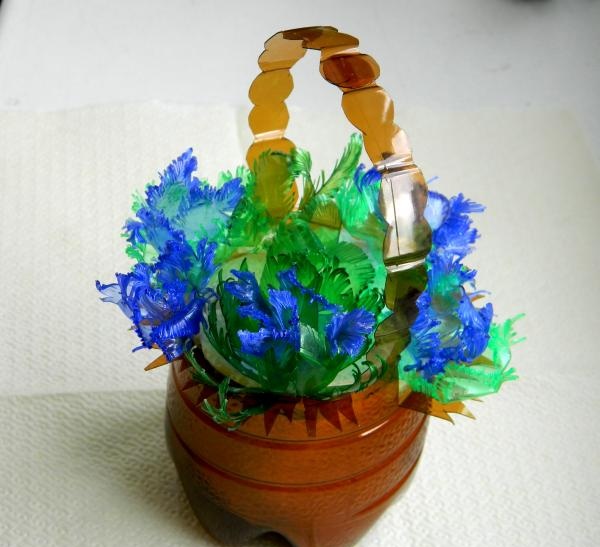
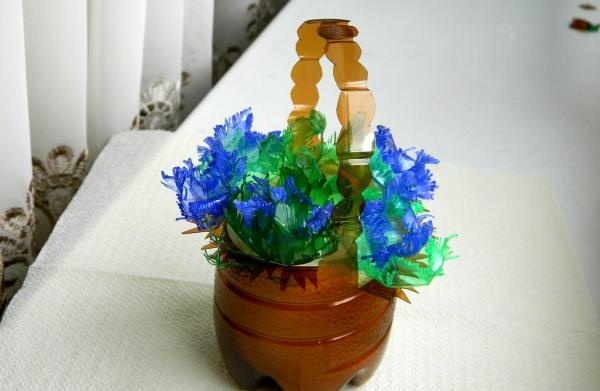
At first we planned to attach a butterfly to the place where the handles were glued, but we soon abandoned the idea. We decided not to burden the basket with a large number of multi-colored parts.
For crafts We prepare “Basket with a bouquet”:
- plastic bottles;
- glue “Second”, “Moment” or analogues;
- scissors;
- paper napkins;
- a candle.

First, let's start decorating the base of the flower arrangement - the basket. Cut the brown bottle into two parts. We should have a tall glass. The top part with the neck will no longer be needed.

Let's immediately designate the handles of the basket. It's not just two lanes. Using scissors, we carefully cut out circles and imitate braiding from willow twigs.

Next, we decorate the edges of the basket at our own discretion, for example, we decorate them with tiny teeth or stars. It should be noted here that the extended edge has not only a decorative function. It will be convenient for us to attach flowers and leaves to horizontal fields.

We want to remove the transparency of the basket. In order not to paint over the plastic, roll a napkin into a long rectangle and lay the soft paper along the walls of the basket.You don't even need to secure it.


Fill the basket to the top with any material (cereals, seeds, small remnants of plastic, paper). Cover the contents on top with several napkins. To secure the parts we use glue (PVA is possible).

Now let's cut out squares and circles from the blue and green bottles. Using scissors, we will densely cut the edges of the indicated figures, perhaps highlighting the tops and petals. Under the influence of the flame of a gas burner, we will turn plastic into wonderful leaves and flowers.


First, glue emerald greenery to the surface of the basket. It’s good if you have several shades of green in your arsenal.

Next we fill the basket with fancy buds and blossoming flowers.

All you have to do is wait until the glue dries and connect the two halves of the basket handle. We ended up with an unusually bright and colorful composition. Let's admire the work from all sides.


At first we planned to attach a butterfly to the place where the handles were glued, but we soon abandoned the idea. We decided not to burden the basket with a large number of multi-colored parts.
Similar master classes
Particularly interesting
Comments (0)

