Egg spice set from Kinder Surprise
The decoration of a festive table often implies not only the presence of delicious dishes, snacks or drinks, but also the originality of the presentation of these dishes, their aesthetics, the general atmosphere of the celebration, its focus and much more. Even the smallest little things can affect the guest experience - from dishes to toothpicks. Therefore, the issue of choosing parts must be approached very creatively.
Such a cute salt and pepper shaker will definitely not be superfluous on your table and will certainly please all the guests of your home.
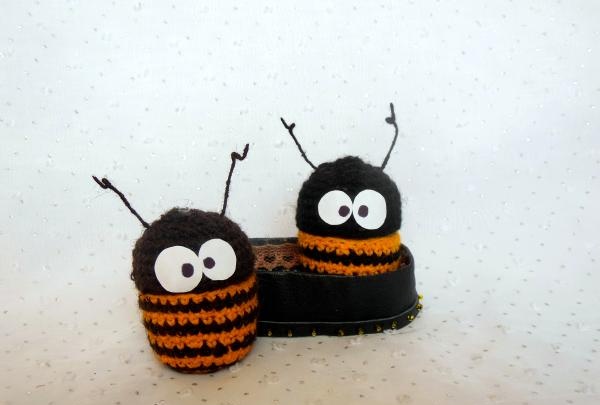
First of all, you need to prepare eggs from the original Kinder Surprise children's delicacy (this particular package has a fastener that connects its lower part with the upper one), yarn in bee colors (black-yellow or brown-yellow), a thin crochet hook and an empty refill from a helium ballpoint pen.
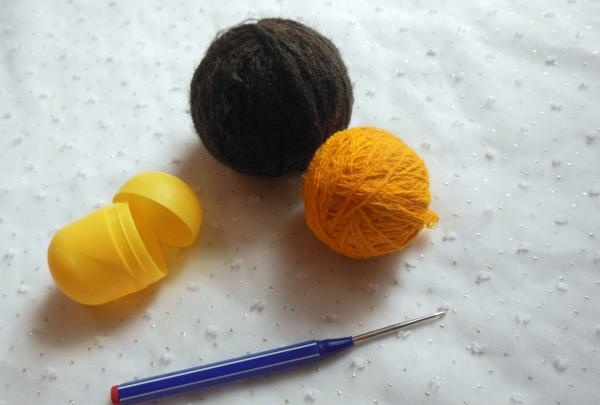
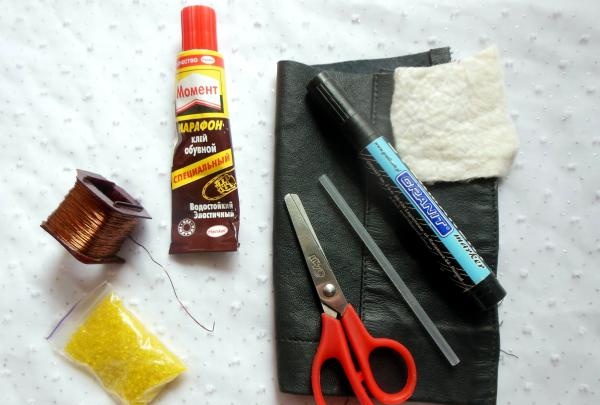
You will also need white felt, a black marker, copper wire and polymer glue (it is better to use shoe glue). All this will be needed to create the eyes and antennae of the insect.
You can make any stand for these containers.In this case, the same copper wire, black leather and small beads for decoration were used to make it.
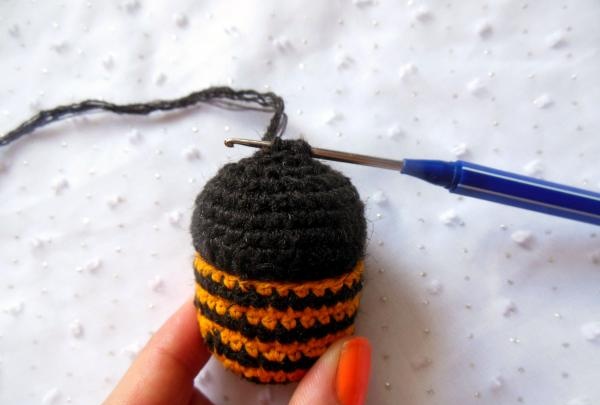
First, let's start knitting a bee costume. We collect 3 air loops from dark yarn, form a ring from them, which we then tie with single crochets (dc). In total you need to knit 3 circular black rows.
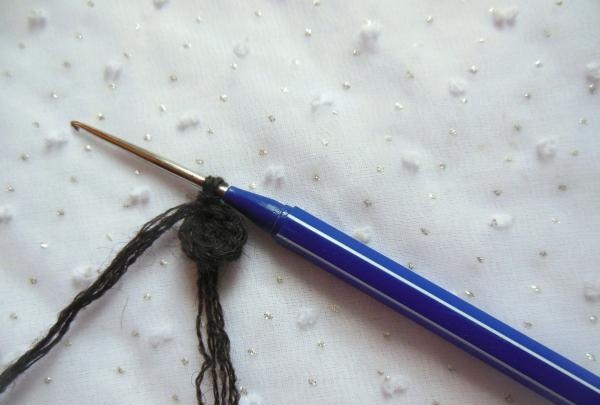
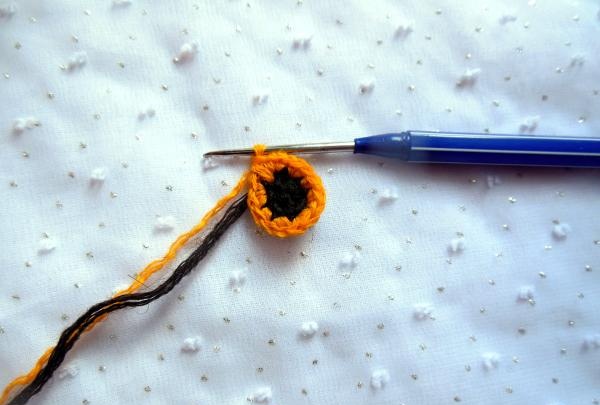
Next, we change the thread every other row and stop increasing from the 4th color block.
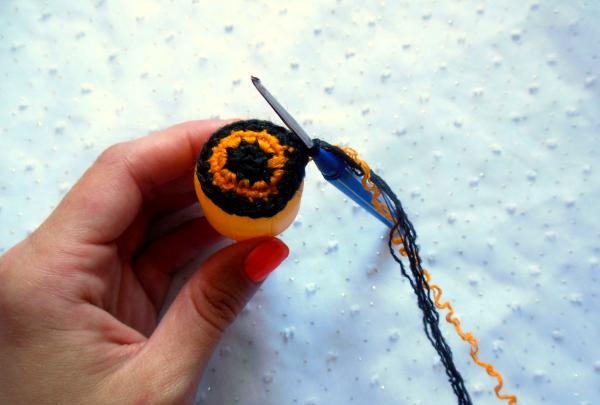
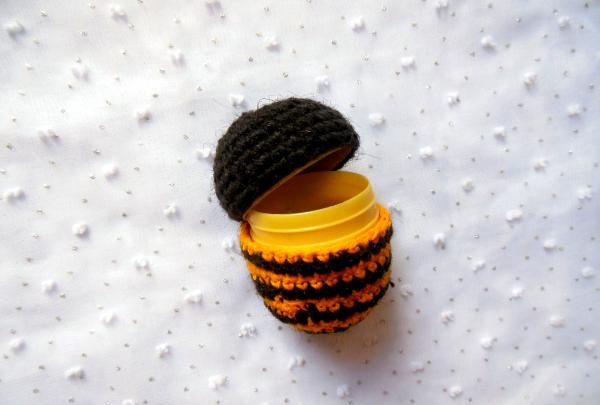
It is due to the absence of increments that the product takes on the desired shape and does not slide off the smooth surface of the egg.
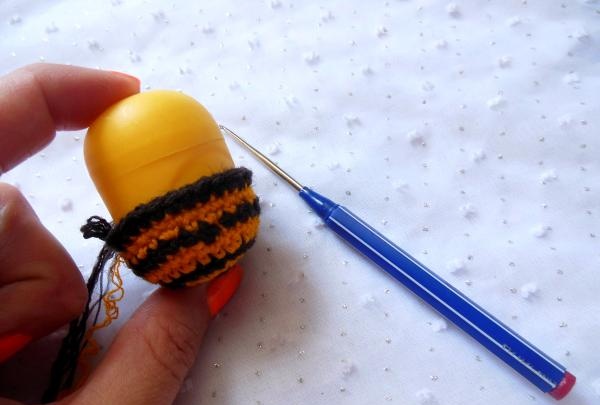
After the 6th strip, you need to measure the cover so as not to miss the moment when you have to knit a hat. We make it black. In the area where the two parts of the egg are attached we knit 5 stitches. n we collect a chain of air loops (their number is determined by the number of remaining columns).
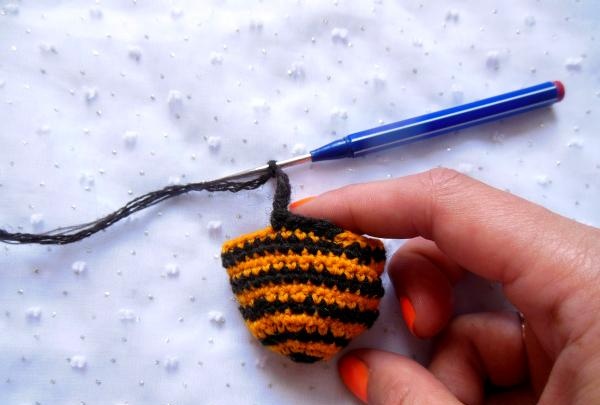
Then we fix this chain in the same place from where we brought it out, after which we completely tie the st./b. n.
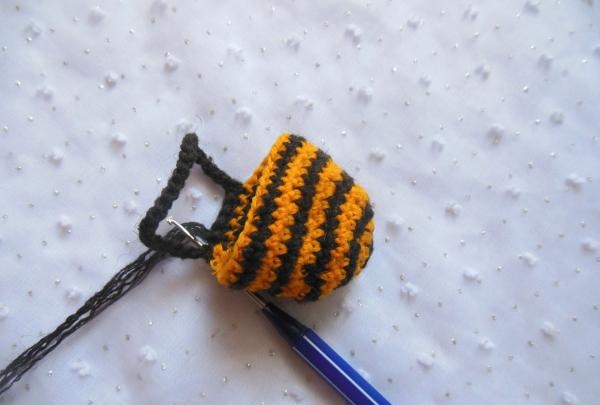
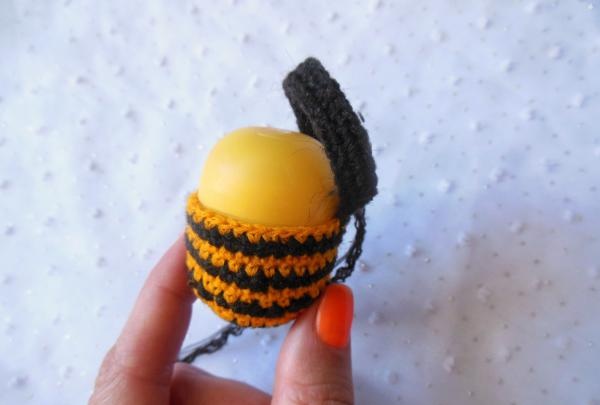
In this case, fittings will also not be superfluous - this will help to start reductions on time.
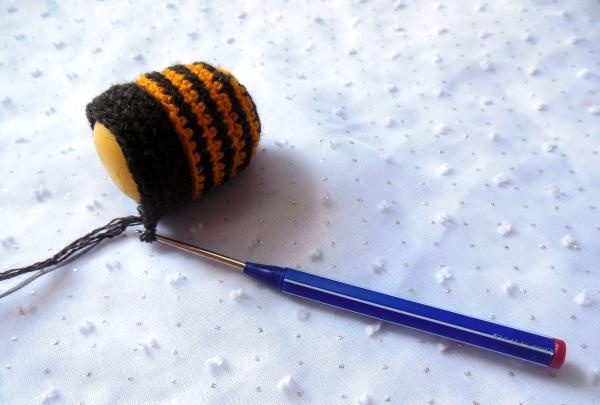
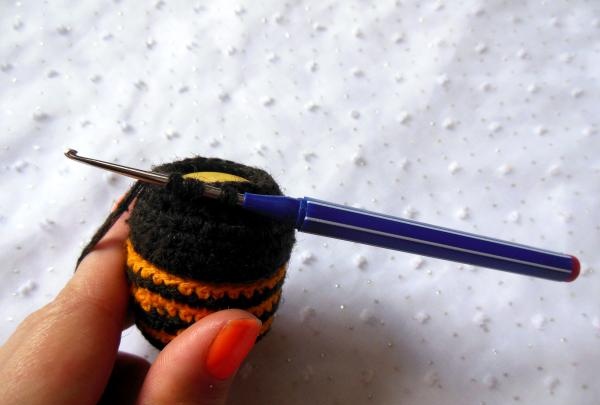
To prevent the top of the bee's head from being pointed, it is better to close the loops abruptly, without smooth transitions.
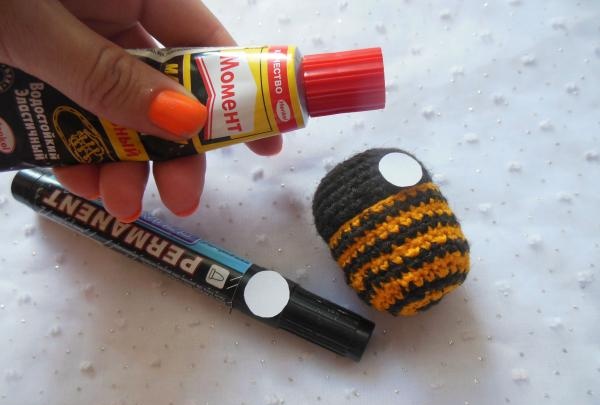
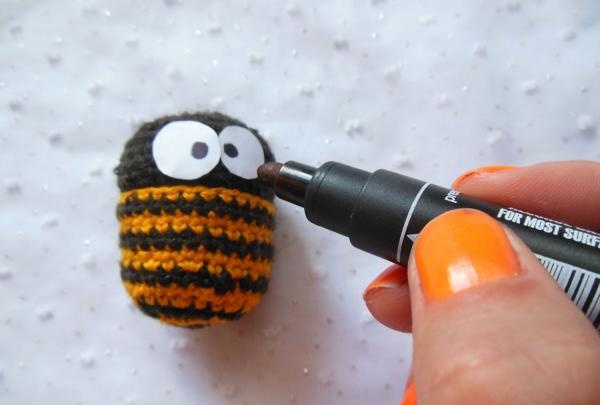
We cut out the eyes from felt, glue them, and draw black pupils.
Elastic tendrils can only be made from wire, so we cut off a small piece of copper base and simply thread it in the right place.
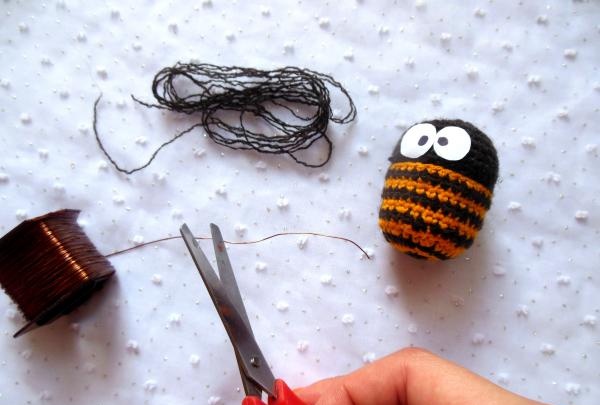
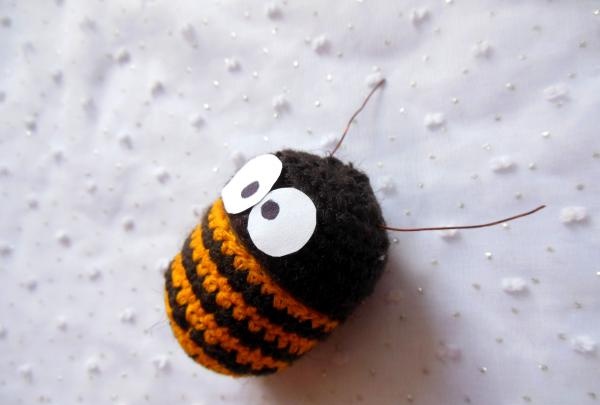
Now we wrap the antennae with thread and give it the desired shape (make small curls at the ends).
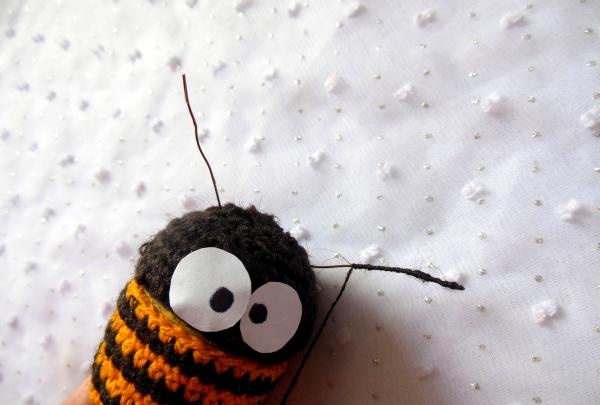
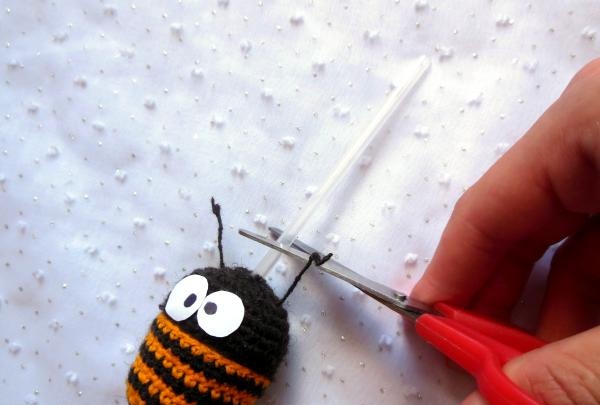
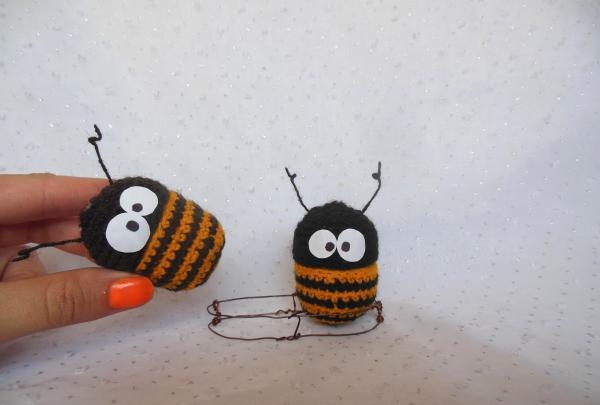
And now the bee is ready! But in order for this cute insect to become a salt shaker, you need to make a small hole in the upper part of the egg, through which you then pass an empty rod.
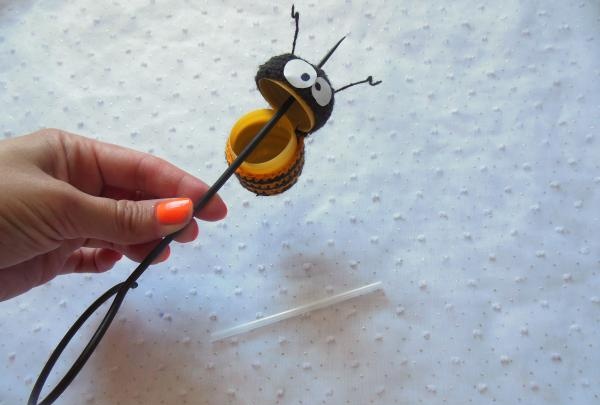
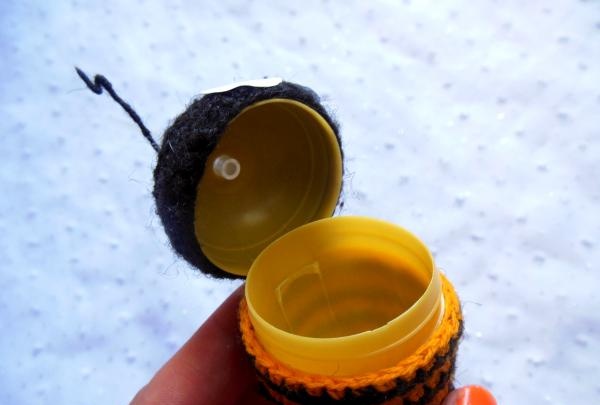
We cut off the protruding part of the tube and get a completely functional salt shaker.
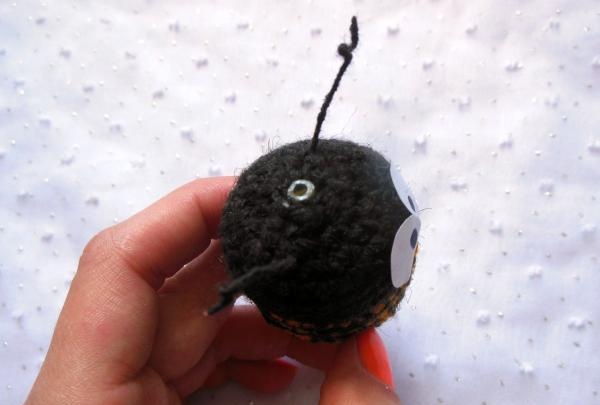
To distinguish between containers and always know where which spices are located, make a slight difference between the bees (one, say, dark brown, the other black).
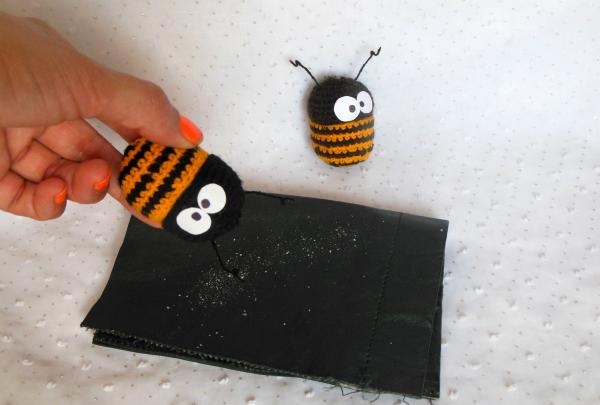
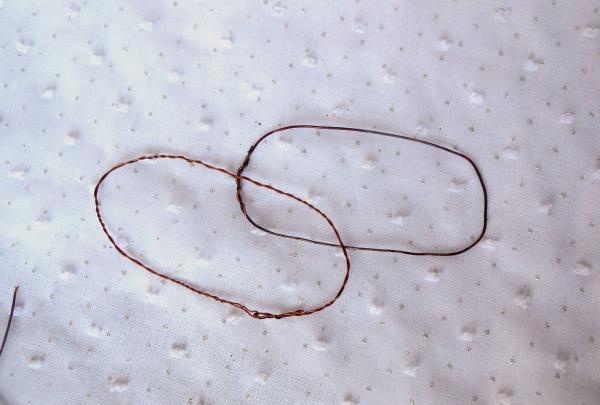
You can make any stand; it would be nice to make a house in the shape of a beehive or a flower. Here is a more classic version. First, we make two oval rings from wire and connect them with a piece of wire in 4 places.
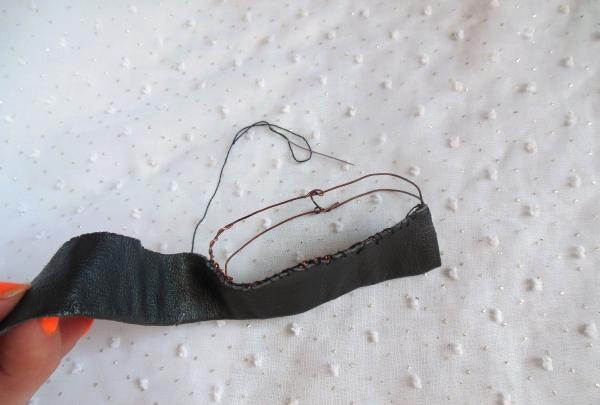
Then we cover this frame with leather, sewing it at the bottom with a loop-shaped seam.
We decorate the inside of the stand with openwork braid.
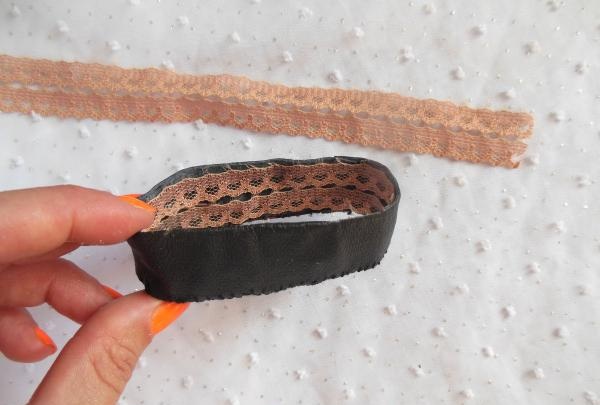
And a strip of leather decorated with beads will help hide that same seam at the bottom.
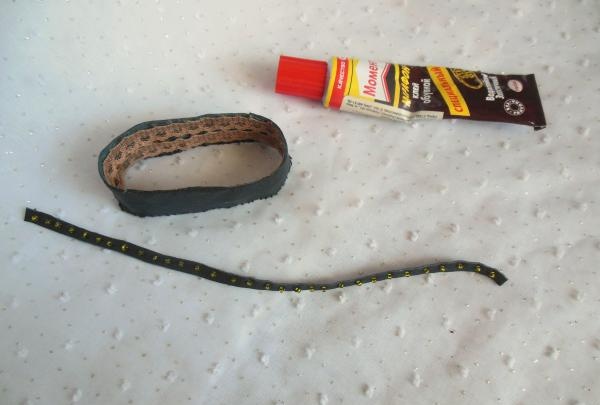
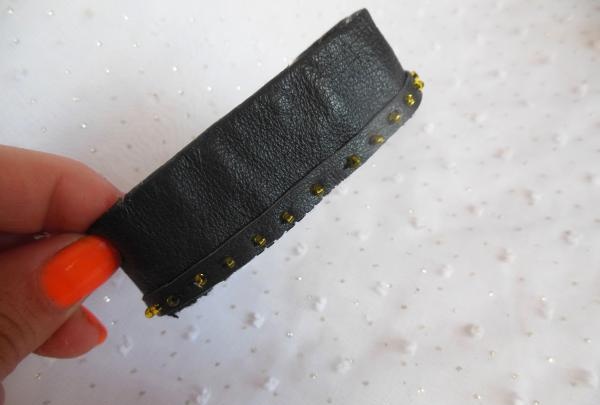
We glue all parts (both internal and external) using glue.
And now the stand along with the original spice containers is ready! Now you will definitely surprise all the guests of your home!
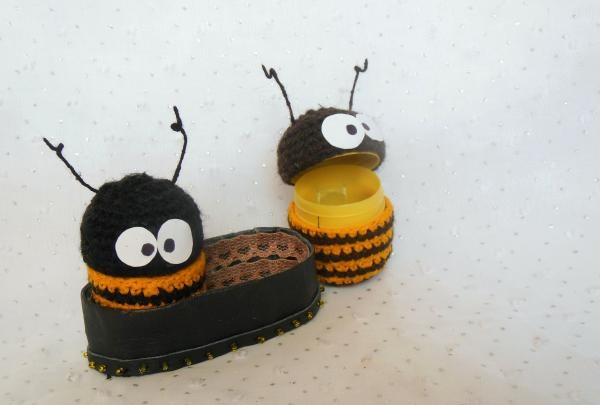
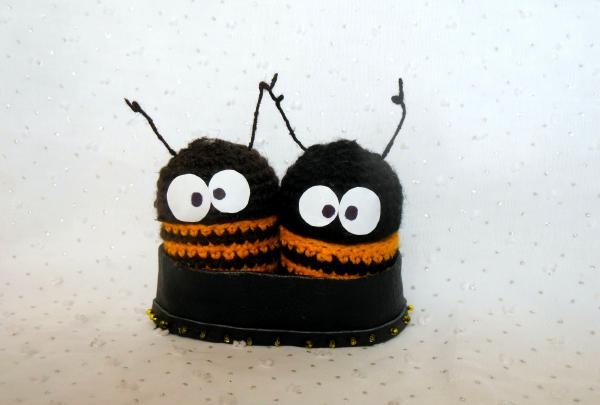
Such a cute salt and pepper shaker will definitely not be superfluous on your table and will certainly please all the guests of your home.

First of all, you need to prepare eggs from the original Kinder Surprise children's delicacy (this particular package has a fastener that connects its lower part with the upper one), yarn in bee colors (black-yellow or brown-yellow), a thin crochet hook and an empty refill from a helium ballpoint pen.

You will also need white felt, a black marker, copper wire and polymer glue (it is better to use shoe glue). All this will be needed to create the eyes and antennae of the insect.
You can make any stand for these containers.In this case, the same copper wire, black leather and small beads for decoration were used to make it.

First, let's start knitting a bee costume. We collect 3 air loops from dark yarn, form a ring from them, which we then tie with single crochets (dc). In total you need to knit 3 circular black rows.


Next, we change the thread every other row and stop increasing from the 4th color block.

It is due to the absence of increments that the product takes on the desired shape and does not slide off the smooth surface of the egg.

After the 6th strip, you need to measure the cover so as not to miss the moment when you have to knit a hat. We make it black. In the area where the two parts of the egg are attached we knit 5 stitches. n we collect a chain of air loops (their number is determined by the number of remaining columns).

Then we fix this chain in the same place from where we brought it out, after which we completely tie the st./b. n.


In this case, fittings will also not be superfluous - this will help to start reductions on time.


To prevent the top of the bee's head from being pointed, it is better to close the loops abruptly, without smooth transitions.


We cut out the eyes from felt, glue them, and draw black pupils.


Elastic tendrils can only be made from wire, so we cut off a small piece of copper base and simply thread it in the right place.


Now we wrap the antennae with thread and give it the desired shape (make small curls at the ends).

And now the bee is ready! But in order for this cute insect to become a salt shaker, you need to make a small hole in the upper part of the egg, through which you then pass an empty rod.


We cut off the protruding part of the tube and get a completely functional salt shaker.


To distinguish between containers and always know where which spices are located, make a slight difference between the bees (one, say, dark brown, the other black).

You can make any stand; it would be nice to make a house in the shape of a beehive or a flower. Here is a more classic version. First, we make two oval rings from wire and connect them with a piece of wire in 4 places.


Then we cover this frame with leather, sewing it at the bottom with a loop-shaped seam.

We decorate the inside of the stand with openwork braid.

And a strip of leather decorated with beads will help hide that same seam at the bottom.


We glue all parts (both internal and external) using glue.
And now the stand along with the original spice containers is ready! Now you will definitely surprise all the guests of your home!


Similar master classes
Particularly interesting
Comments (0)


