Fun rattle for baby
All children and even many adults love Kinder surprises. Did you know that plastic toy containers can be turned into another fun toy - a rattle? I have always disliked plastic rattles; they are hard and often even get scratched at the joints of parts. That’s why I came up with the idea of making funny knitted fat birds from Kinder Surprise eggs, and now I’ll tell you how they are made.
To make one bird-rattle you must have:
- one container from a Kinder toy.
- two small skeins of thread of different colors.
- some beads or small beads.
- scissors.
- needle and thread.
- Crochet hook.
- synthetic fluff for stuffing.
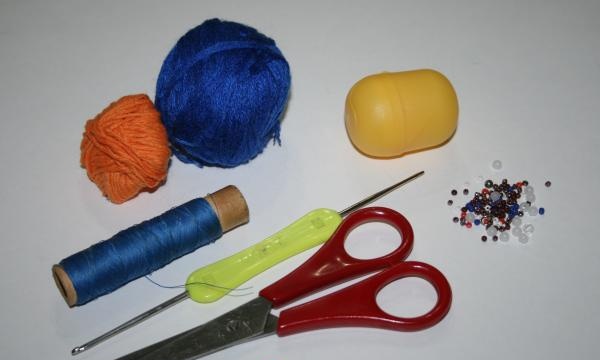
We will knit using the Amigurumi technique, so first of all we will make a special loop.
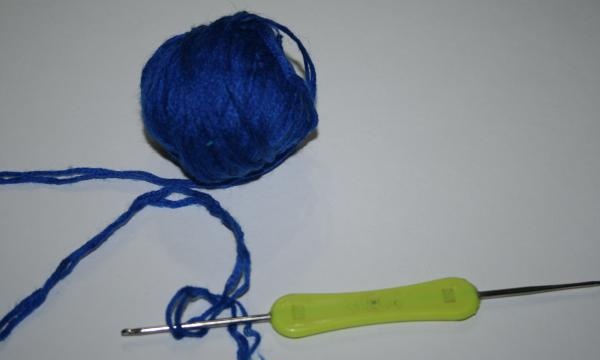
We put 5 single crochets on the loop, connect them and tie two single crochets in each bottom loop.
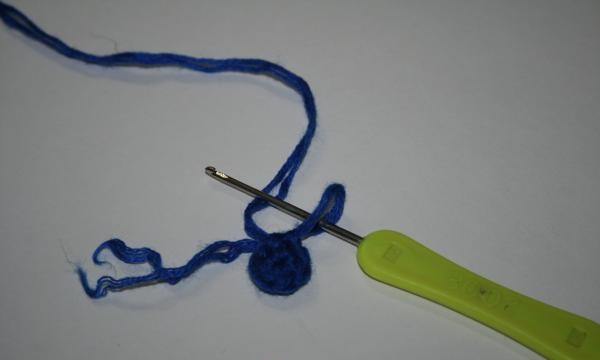
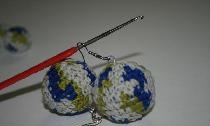
We make a small pancake of 4-5 rows, depending on the thickness of the thread. And now we begin to knit without additions.
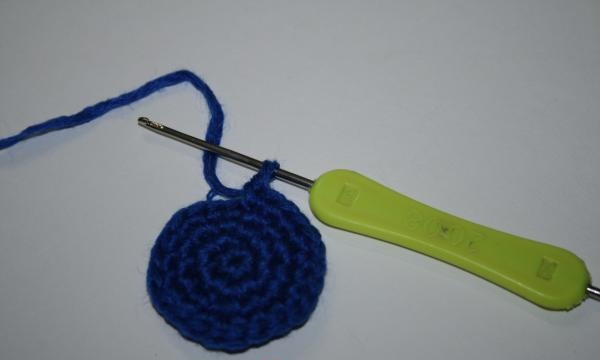
After the third row without increases, start adding three additional stitches to each row, distributing them evenly across the row.Knit 4-5 rows like this, then knit 2-3 rows again without increasing. Add 4 additional stitches evenly into the next 2 rows. Next, knit 3-4 rows without additives and begin to narrow. First decrease 4 loops per row. Having knitted two columns, you can insert a kinder container with beads inside. To do this, first put a little synthetic fluff in the upper part so that the bird’s head is soft.
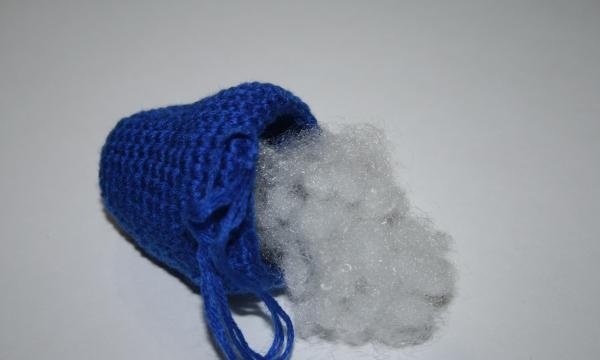
Insert the container.
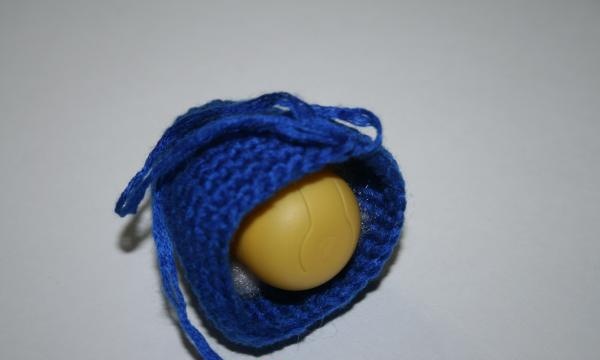
We stuff synthetic fluff on the sides of the container.
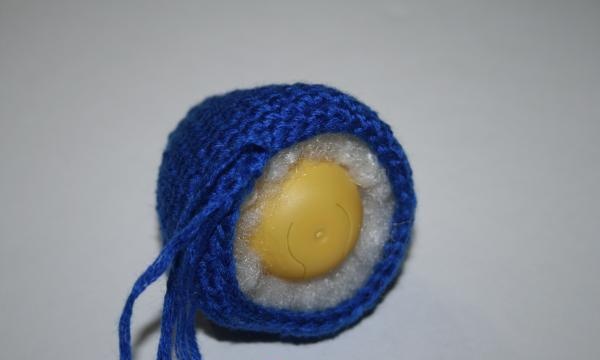
We continue to decrease until the hole is completely closed.
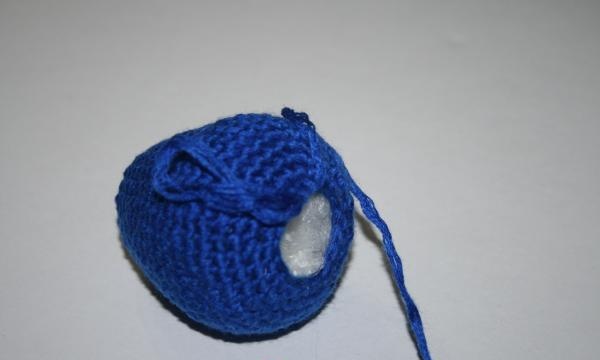
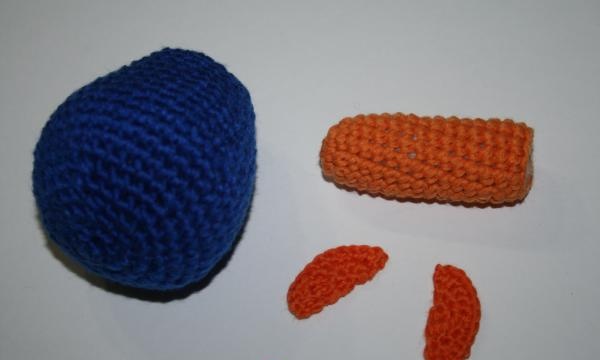
We knit the wings and leg for the rattle.
We sew all the parts together. Sew on the eyes and embroider the beak.
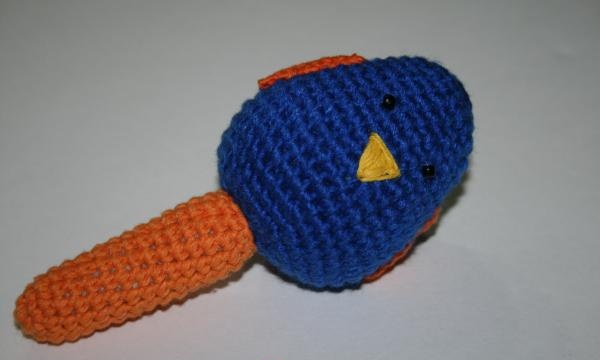
It will be interesting and safe for a child to play with such a cheerful bird.
To make one bird-rattle you must have:
- one container from a Kinder toy.
- two small skeins of thread of different colors.
- some beads or small beads.
- scissors.
- needle and thread.
- Crochet hook.
- synthetic fluff for stuffing.

We will knit using the Amigurumi technique, so first of all we will make a special loop.

We put 5 single crochets on the loop, connect them and tie two single crochets in each bottom loop.

We make a small pancake of 4-5 rows, depending on the thickness of the thread. And now we begin to knit without additions.

After the third row without increases, start adding three additional stitches to each row, distributing them evenly across the row.Knit 4-5 rows like this, then knit 2-3 rows again without increasing. Add 4 additional stitches evenly into the next 2 rows. Next, knit 3-4 rows without additives and begin to narrow. First decrease 4 loops per row. Having knitted two columns, you can insert a kinder container with beads inside. To do this, first put a little synthetic fluff in the upper part so that the bird’s head is soft.

Insert the container.

We stuff synthetic fluff on the sides of the container.

We continue to decrease until the hole is completely closed.

We knit the wings and leg for the rattle.

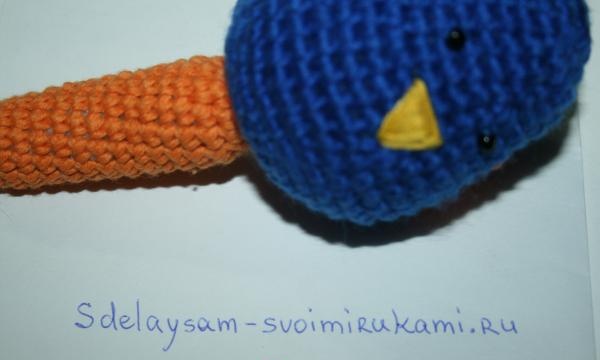
We sew all the parts together. Sew on the eyes and embroider the beak.

It will be interesting and safe for a child to play with such a cheerful bird.

Similar master classes
Particularly interesting
Comments (0)


