Decorative well made from popsicle sticks
Agree what to do present Doing it yourself is both exciting and useful. Moreover, such an activity can bring real pleasure!
Today we will consider a master class on making a well with a bucket from ice cream sticks.
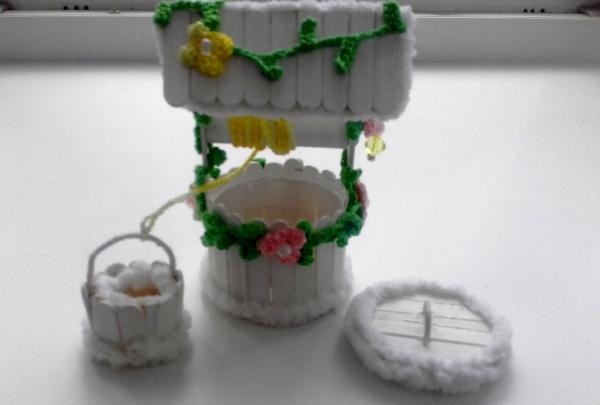
At the end of the work we should have something like the following.
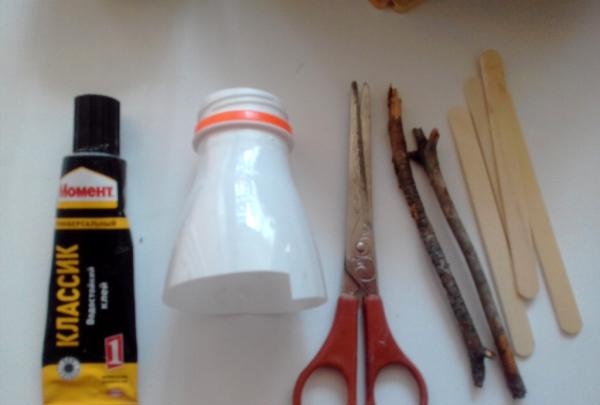
For work you need to prepare: glue, ice cream sticks, an empty bottle, copper wire, thick cardboard, white paint, scissors and a file, some yarn and a hook, as well as beads to decorate our crafts.
Let's consider our actions step by step.
In order to make such a nice well, you need to cut off the bottom part of the bottle, and also cut the sticks to the desired length. Two sticks must be left of normal size; they will serve to support our structure.
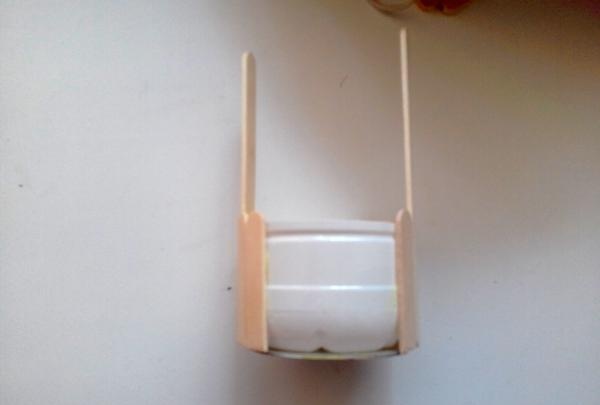
Then, when the sticks have completely closed the bottle, you can begin further work.
We take an empty container from a toy called a kinder surprise, leave the lower part of this container and make a future bucket out of it.To do this, we attach ordinary copper wire to its edges, which can be wrapped with ordinary white thread.
This will be the handle of our bucket.
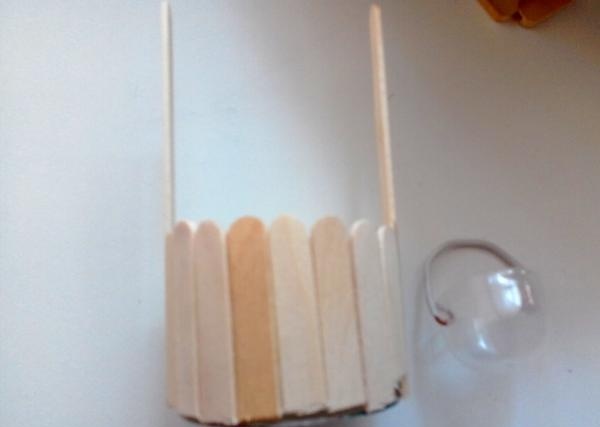
In addition to the cardboard bucket, we make a lid for the well; we also attach wire to the top of the lid.
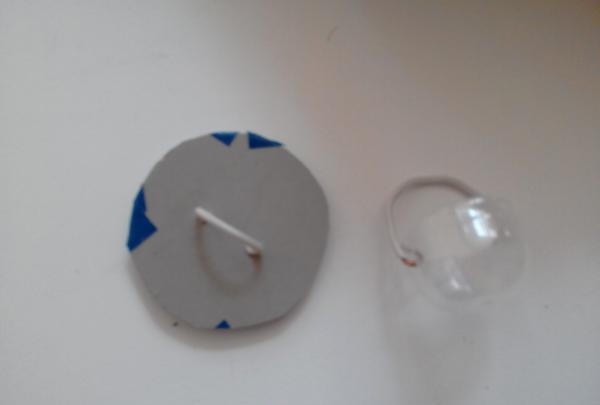
Now all that remains is to make the base for the roof. To do this, take thick cardboard and glue it onto the top sticks of the toy. By this time, the lower part of the well can already be painted over with white paint.
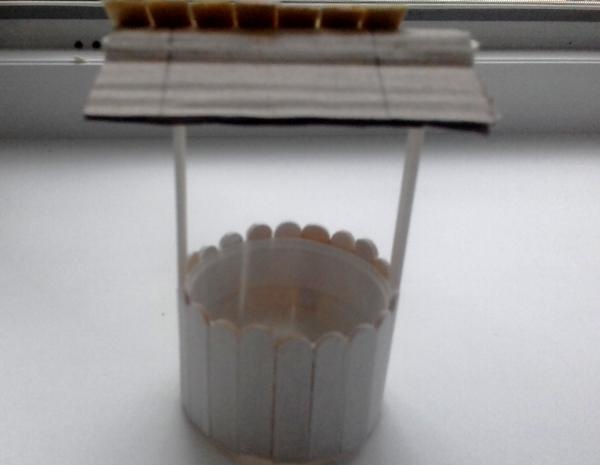
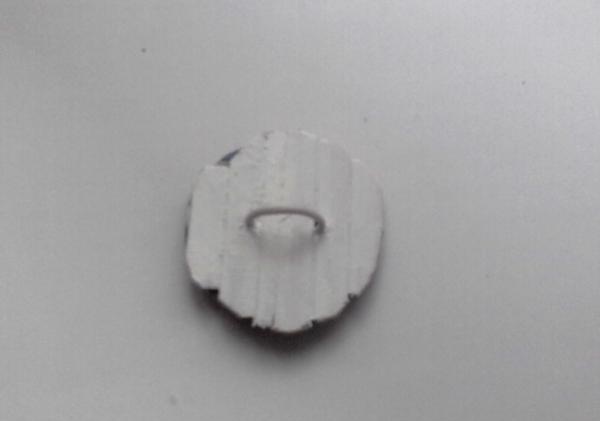
Now you need to design the toy. To do this, paint the lid white.
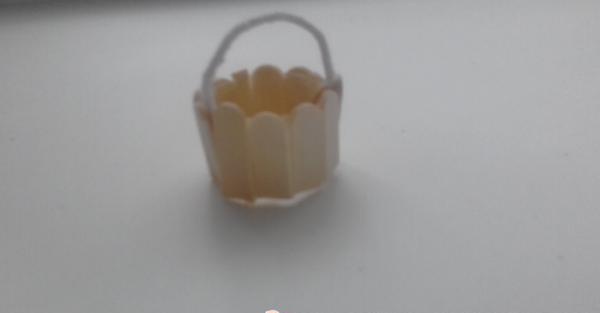
We glue the sticks onto the bucket and this is what we get.
We also glue the sticks onto the cardboard, which serves as the roof of our structure.
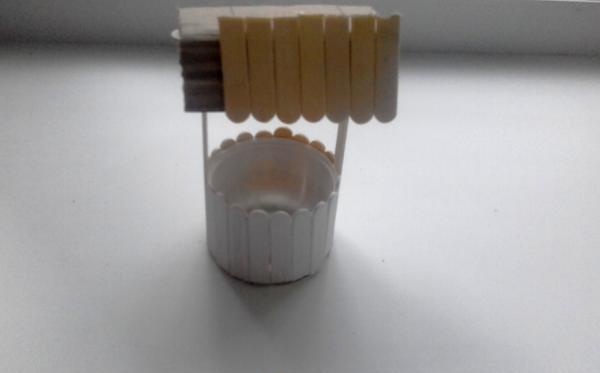
We take an empty thread spool and make a rotating part of the toy; the spool can be attached to a wire or long nails.
We paint everything white.
When the paint dries (by the way, you can use acrylic paint for this, as well as a regular stroke to adjust the text), we begin to decorate our product.
Stage three. Decoration
You can start decorating by taking a hook in your hands and knitting a long thread using yarn from air loops. This thread must be carefully and evenly glued to the edges of the well, as well as to the edges of the bucket and lid.
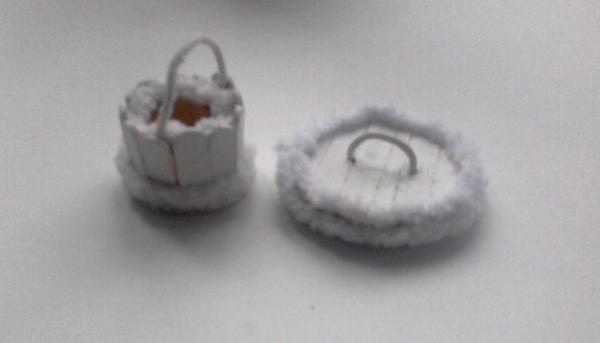
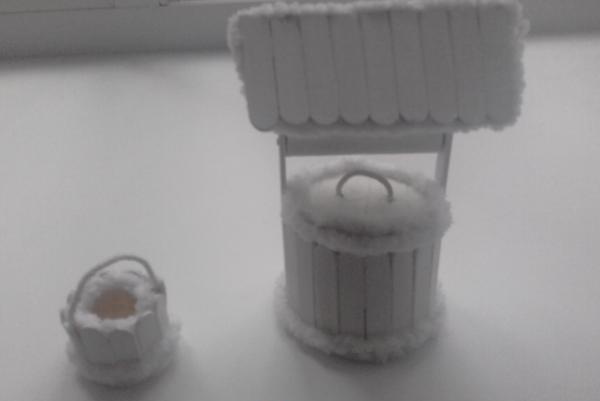
This is what we got: a bucket and a lid, into the well itself.
Despite the fact that our well is almost ready, it can be decorated with yarn.
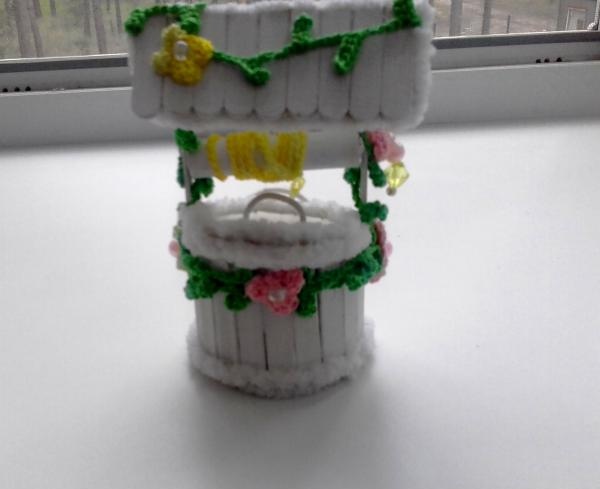
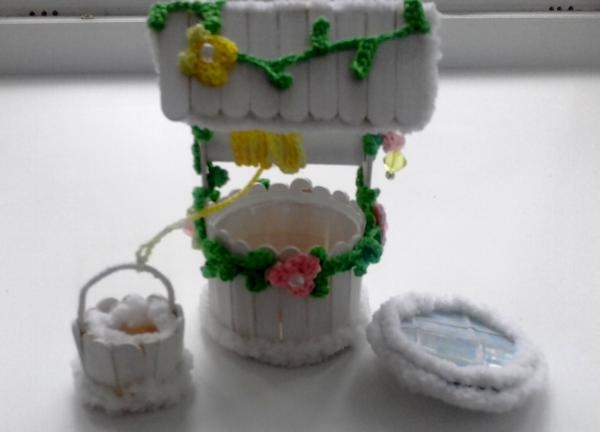
To do this, take green threads and a hook and knit a long thread that will look like an ivy plant. We glue this ivy to the well, we also knit a long chain of air loops from yellow yarn, tie this thread to the bucket and the well.
You can also knit flowers from multi-colored threads and decorate our craft with them.In general, a lot here depends on the imagination of the craftswoman herself.
Here our well is ready.
Go for it, you will succeed.
Today we will consider a master class on making a well with a bucket from ice cream sticks.
At the end of the work we should have something like the following.

For work you need to prepare: glue, ice cream sticks, an empty bottle, copper wire, thick cardboard, white paint, scissors and a file, some yarn and a hook, as well as beads to decorate our crafts.

Let's consider our actions step by step.
Stage one. Blank
In order to make such a nice well, you need to cut off the bottom part of the bottle, and also cut the sticks to the desired length. Two sticks must be left of normal size; they will serve to support our structure.

Then, when the sticks have completely closed the bottle, you can begin further work.
We take an empty container from a toy called a kinder surprise, leave the lower part of this container and make a future bucket out of it.To do this, we attach ordinary copper wire to its edges, which can be wrapped with ordinary white thread.
This will be the handle of our bucket.

In addition to the cardboard bucket, we make a lid for the well; we also attach wire to the top of the lid.

Now all that remains is to make the base for the roof. To do this, take thick cardboard and glue it onto the top sticks of the toy. By this time, the lower part of the well can already be painted over with white paint.

Stage two. Decor
Now you need to design the toy. To do this, paint the lid white.

We glue the sticks onto the bucket and this is what we get.

We also glue the sticks onto the cardboard, which serves as the roof of our structure.

We take an empty thread spool and make a rotating part of the toy; the spool can be attached to a wire or long nails.
We paint everything white.
When the paint dries (by the way, you can use acrylic paint for this, as well as a regular stroke to adjust the text), we begin to decorate our product.
Stage three. Decoration
This is what we got: a bucket and a lid, into the well itself.


Despite the fact that our well is almost ready, it can be decorated with yarn.
To do this, take green threads and a hook and knit a long thread that will look like an ivy plant. We glue this ivy to the well, we also knit a long chain of air loops from yellow yarn, tie this thread to the bucket and the well.
You can also knit flowers from multi-colored threads and decorate our craft with them.In general, a lot here depends on the imagination of the craftswoman herself.
Here our well is ready.


Go for it, you will succeed.
Similar master classes
Particularly interesting
Comments (0)

