Gift nautical album box
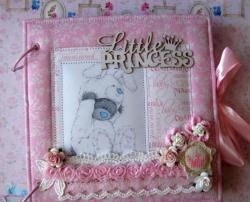
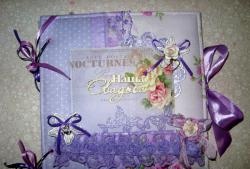
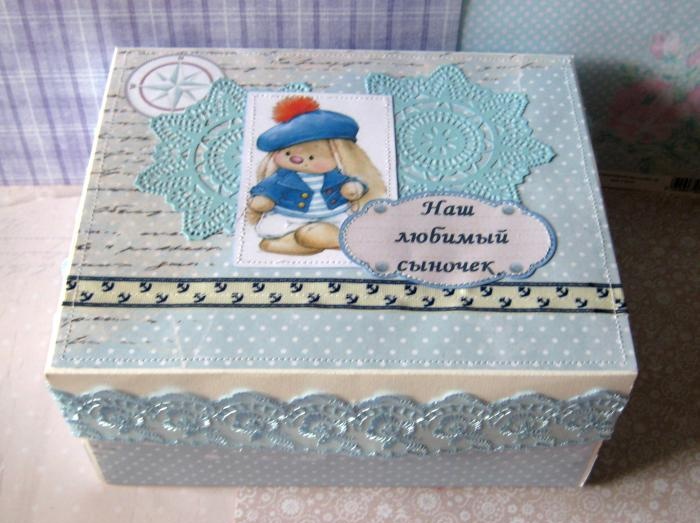
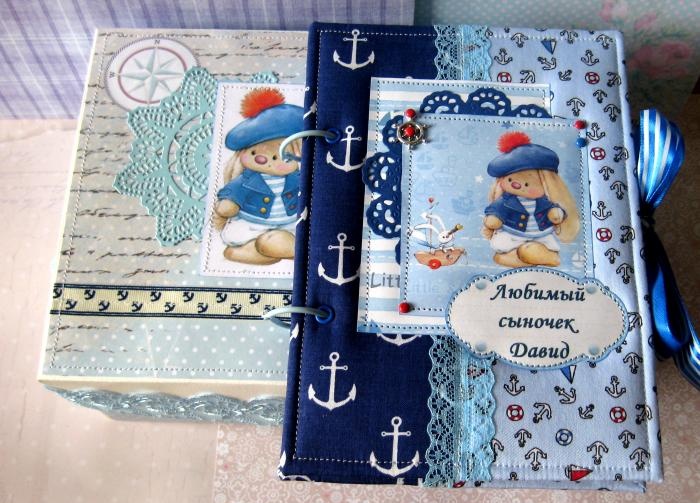
Everyone now really loves and enjoys the handmade albums that are made for newborn babies for the first year of life. Firstly, yes, of course, these albums are very beautiful, soft, since the cover is made of fabric with a layer of synthetic padding, and secondly, in this album you can make all the sheets yourself, exactly those that you want to fill with both photographs and inscriptions. You can make pages about how the baby grew by month, what he learned to do, and so on. Yes, this album is simply awesome. Every mother, or aunt, or godmother, can make it for her baby, or buy it from a needlewoman. But there is also a huge “but”, for a beautiful thing you need a very beautiful packaging, and for an album it is better if it is a box in which it will be stored from dust and will remain intact. Since the albums are different, you may not find such a box ready-made. But you can make a box with your own hands, and make it to match the color and style of the album. Now we are going to look at a master class in which we will make a voluminous marine box for an album.
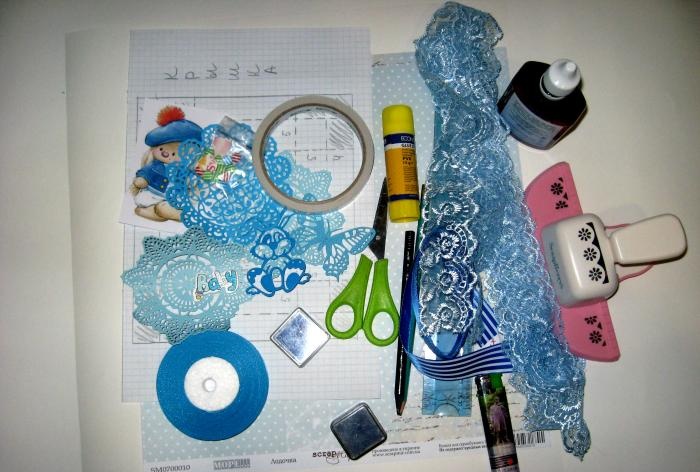
To make the box we will need:
We have a diagram of the main part of the box and its lid. For the base of the box we need a piece of watercolor paper measuring 56*60 cm, and for the lid 36.3*40.3 cm. We will cut off everything that is shaded in the diagram.
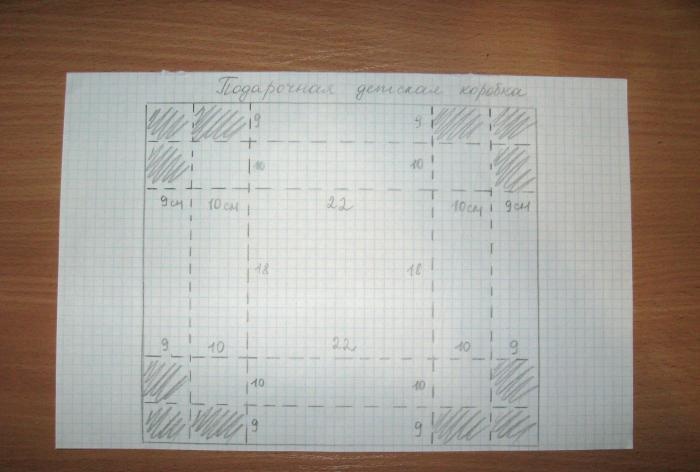
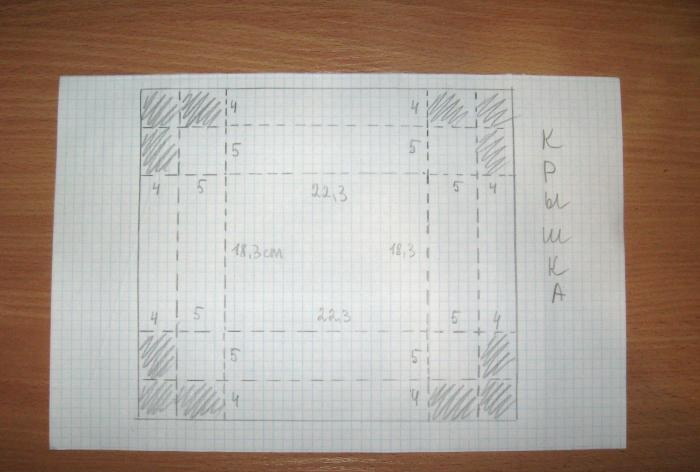
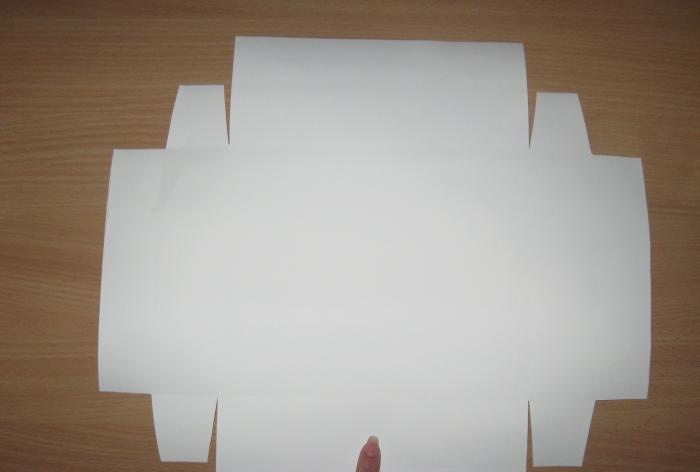
So, on both sheets we take the appropriate measurements, cut off the excess and slightly cut off the corners along which we will assemble the box and its lid. We draw bend lines.

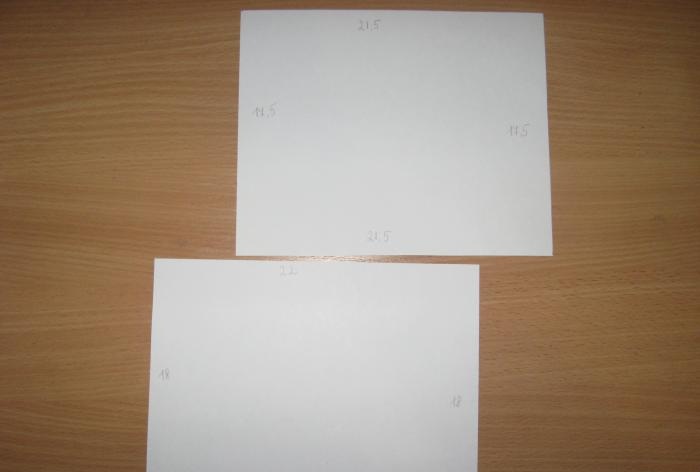
From scrap paper we cut out two rectangles 17.5*21.5 cm and 18*22 cm.
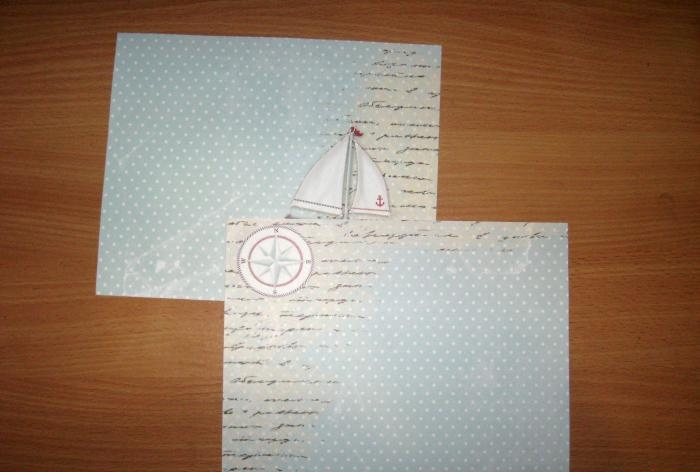
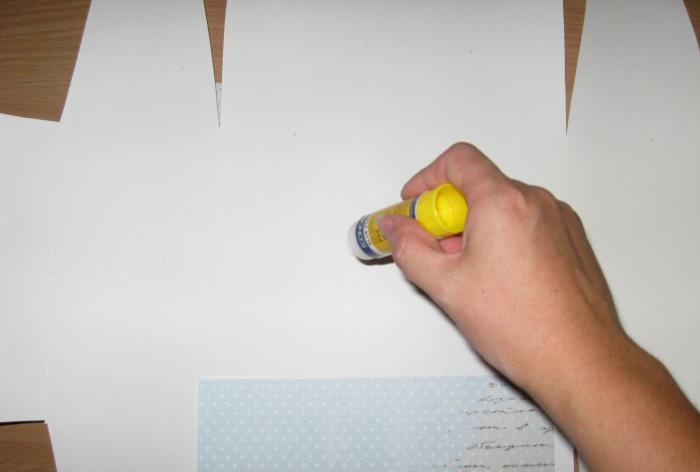
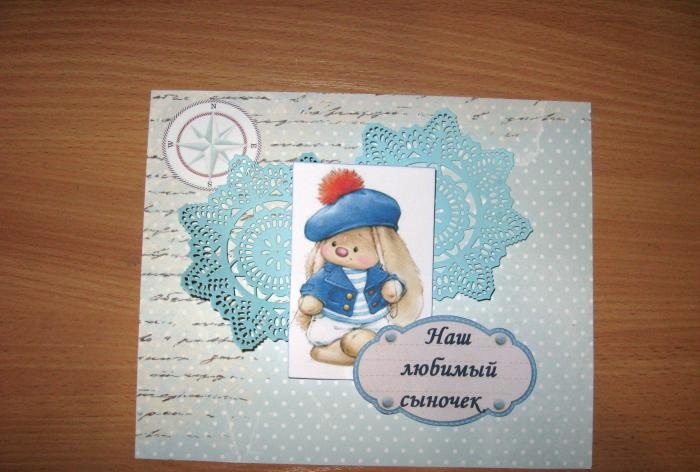
Glue a smaller rectangle to the bottom of the box using a glue stick. On a larger rectangle we glue two napkins, a sea bunny and a card.
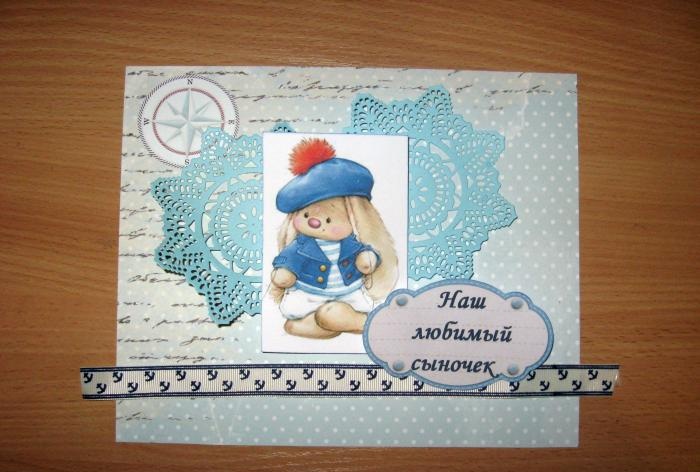
We also cut and glue the grosgrain ribbon. We assemble the box itself and glue it along the tails.
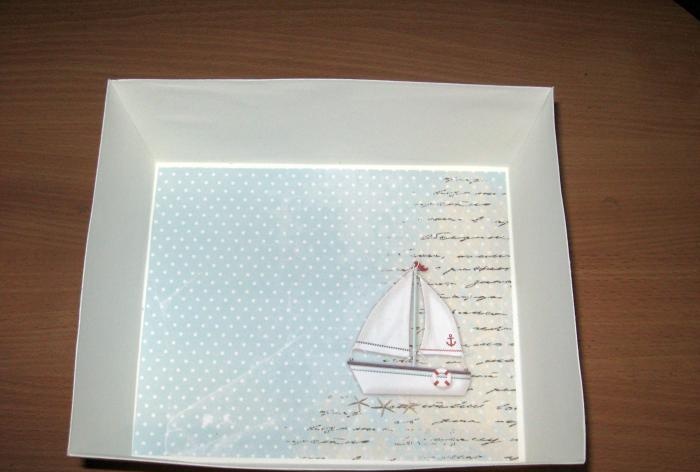
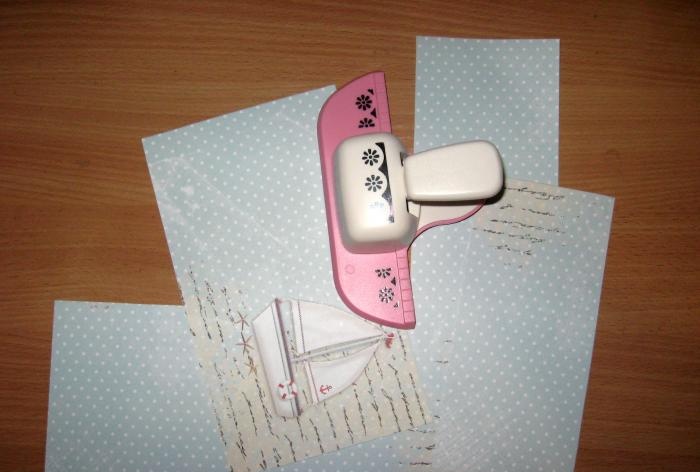
We cut the remaining scrap paper into rectangles so that they can be partially glued inside and outside the box. We go through all the trimmings with a curb hole punch.
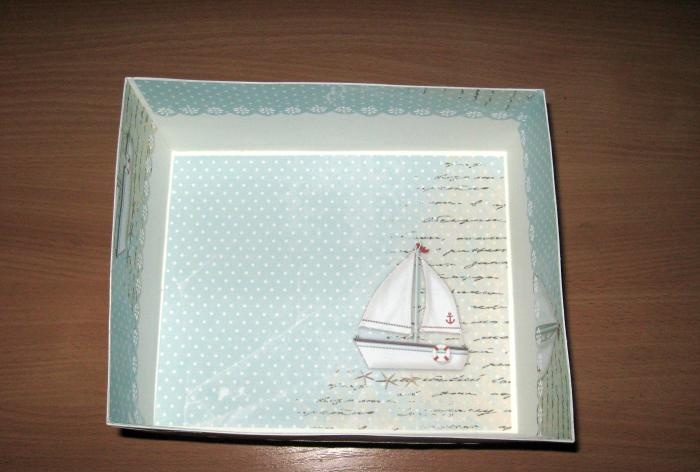
Sew on the card and picture. Glue the rectangle onto the lid and sew it on.
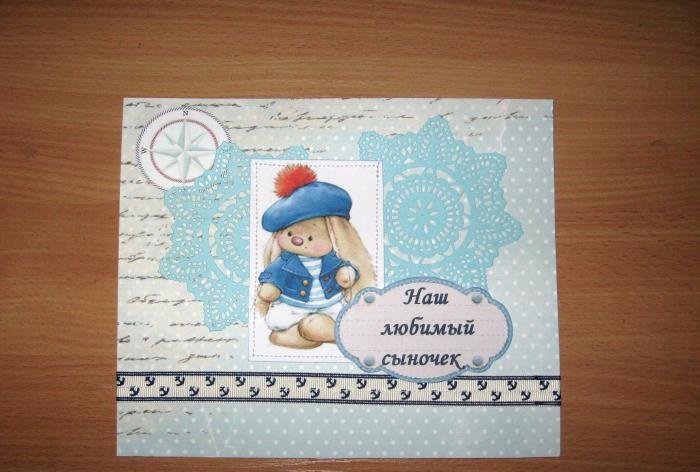
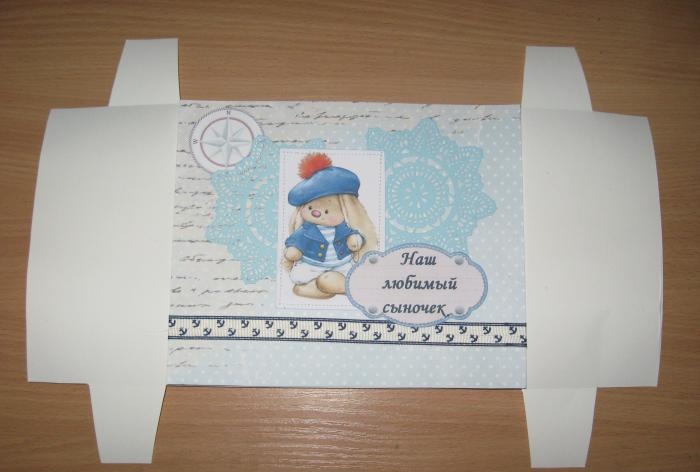
Now we glue the lid.
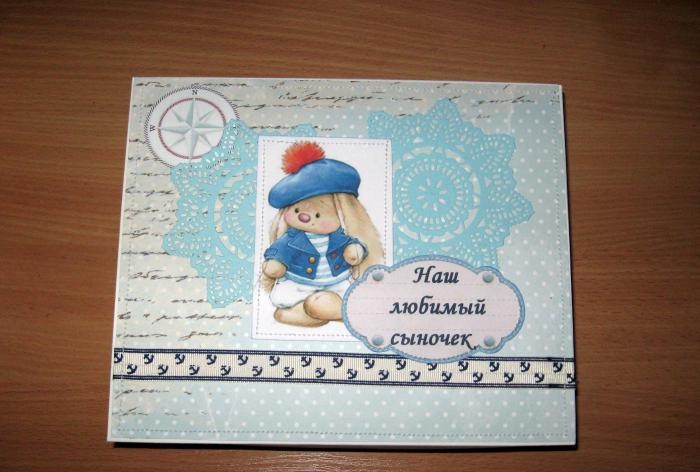
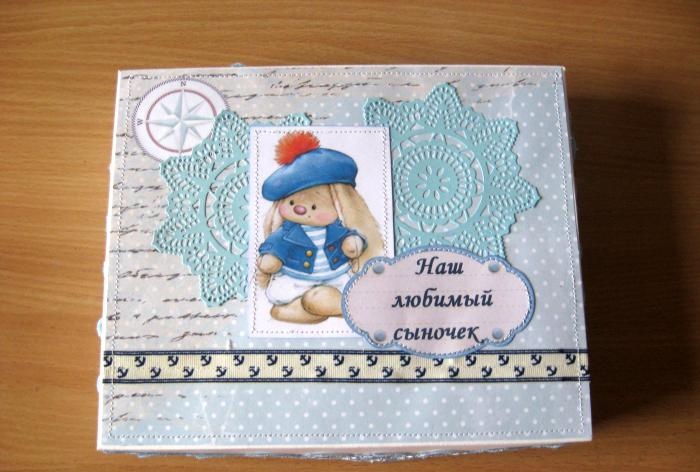
Cover the box and glue the lace along the edge of the lid with double-sided tape.
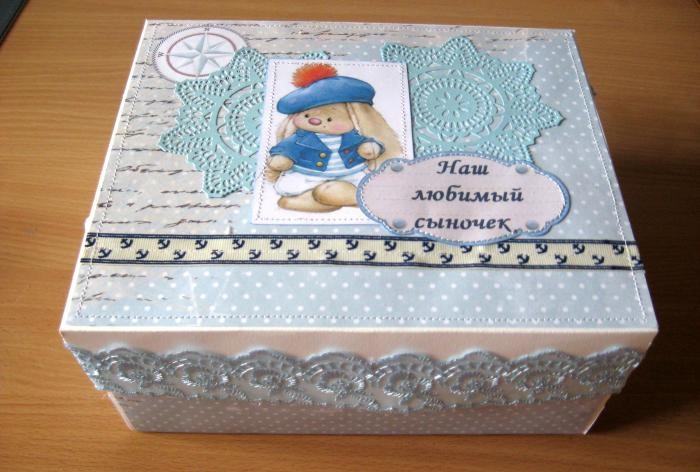
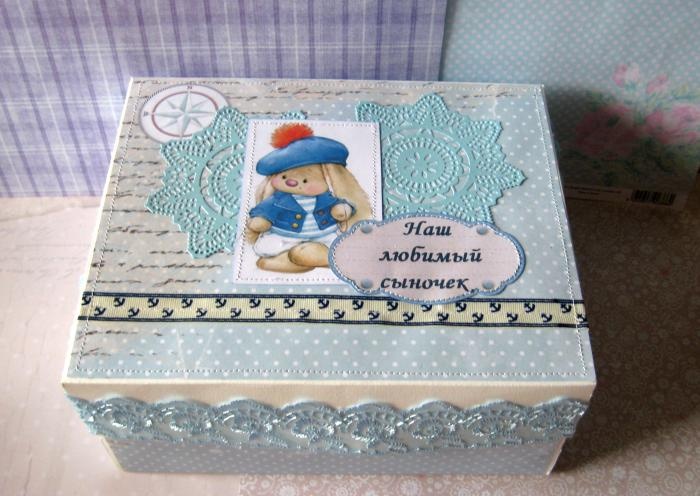
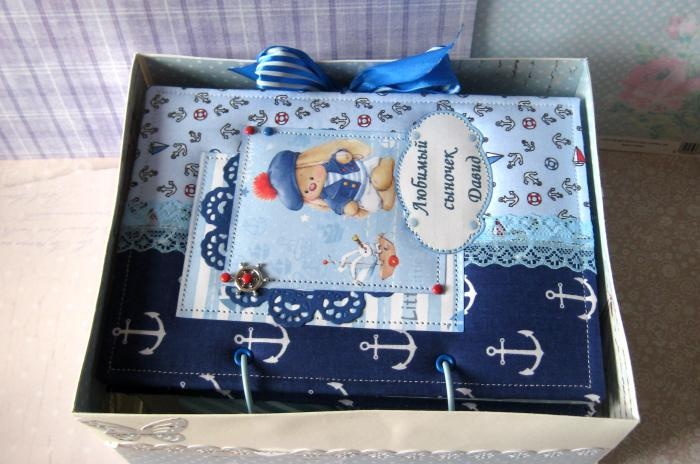
The box is ready. We put the album and the “Mom’s Treasures” box in it and you’re done. Solid present in solid packaging. Thanks for your attention and good luck!
To make the box we will need:
- On sheets A1 and A2 of watercolor paper;
- Box diagram;
- Two sheets of marine scrap paper measuring 30*30 cm;
- Two blue napkins with a star cut out;
- Picture with sea bunny Mi;
- Beige grosgrain ribbon with blue anchors;
- Tag card with the inscription “Our beloved son”;
- Blue cotton lace; 4 cm wide;
- Curb hole punch;
- Double-sided tape and glue with the effect of double-sided tape;
- Lighter;
- Glue stick, scissors, ruler, simple pencil.


We have a diagram of the main part of the box and its lid. For the base of the box we need a piece of watercolor paper measuring 56*60 cm, and for the lid 36.3*40.3 cm. We will cut off everything that is shaded in the diagram.


So, on both sheets we take the appropriate measurements, cut off the excess and slightly cut off the corners along which we will assemble the box and its lid. We draw bend lines.


From scrap paper we cut out two rectangles 17.5*21.5 cm and 18*22 cm.


Glue a smaller rectangle to the bottom of the box using a glue stick. On a larger rectangle we glue two napkins, a sea bunny and a card.


We also cut and glue the grosgrain ribbon. We assemble the box itself and glue it along the tails.


We cut the remaining scrap paper into rectangles so that they can be partially glued inside and outside the box. We go through all the trimmings with a curb hole punch.


Sew on the card and picture. Glue the rectangle onto the lid and sew it on.


Now we glue the lid.


Cover the box and glue the lace along the edge of the lid with double-sided tape.


The box is ready. We put the album and the “Mom’s Treasures” box in it and you’re done. Solid present in solid packaging. Thanks for your attention and good luck!


Similar master classes
Particularly interesting
Comments (0)


