How to package chocolate beautifully

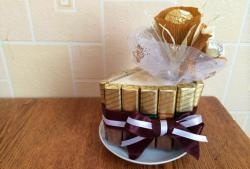
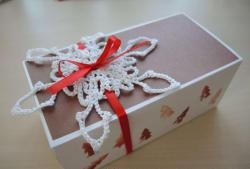
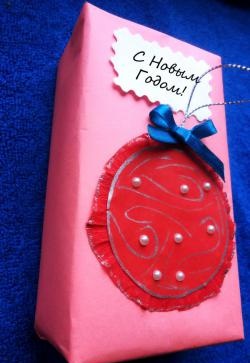
Chocolate is the most popular and delicious dessert. This sweetness gives a good mood and inspires. Giving chocolate has become a tradition. Such present presented as a sign of love, gratitude and attention, and also given for various holidays. Agree, special feelings fill us when we receive chocolate in a beautiful and original package, and if it is made with our own hands, then the chocolate becomes an exquisite chocolate gift!
Let's start creating beautiful chocolate packaging!
For this we need:
- - chocolate that we are going to pack;
- - corrugated paper (pink, green, yellow);
- - scissors;
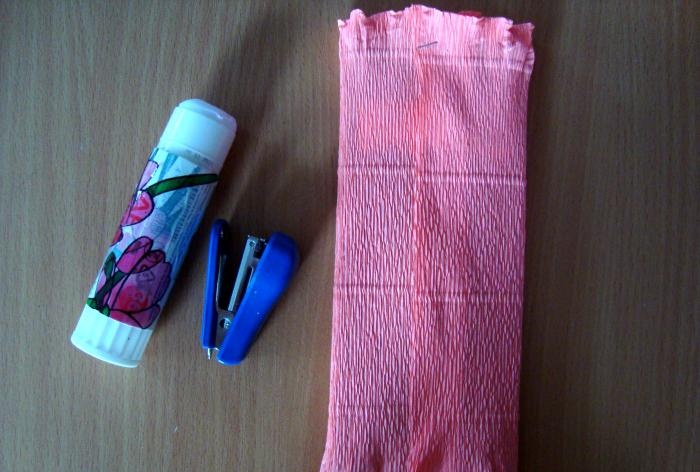
- - stapler;
- - threads;
- - wooden skewer;
- - pink beads;
- - paper lace napkin;
- - pink grosgrain ribbon;
- - pencil glue and glue gun.
Step 1. Note: The dimensions of this chocolate bar are 19 x 7.5 cm. From pink corrugated paper, cut a rectangle 20 cm long and 14 cm wide, leaving 2 cm allowances on each edge.
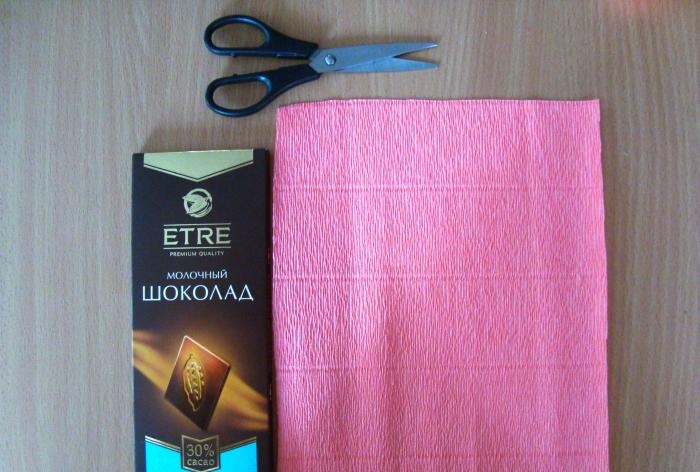
Step 2. Let's decorate the edges of the future packaging. To do this, fold 1 cm at the top and bottom and twist the paper from side to side with your fingers to create waves.
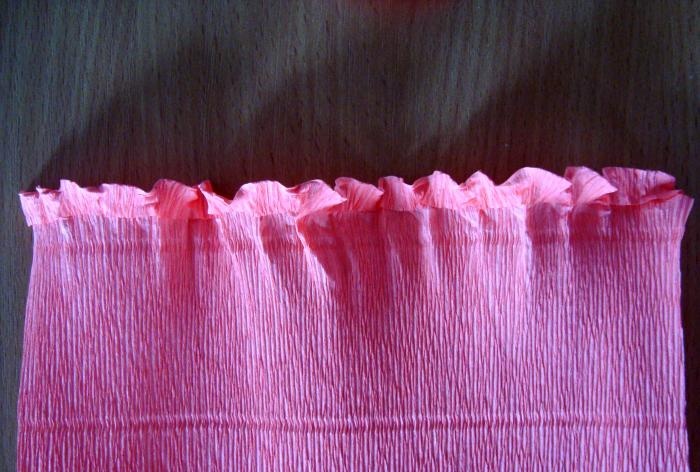
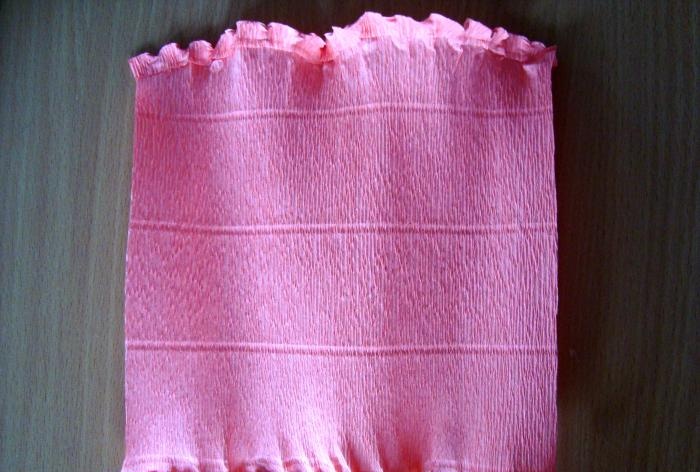
Step 3.Wrap the chocolate in corrugated paper and secure with glue. For reliability, the edges can be secured with a stapler. The packaging should not fit too tightly to the chocolate bar and should not be too loose.
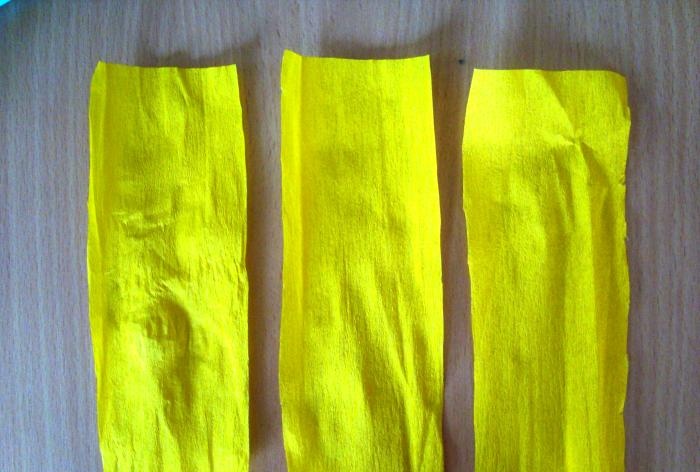
Step 4. Let's make a tulip. From yellow corrugated paper, cut out three rectangles 15 cm long and 5.5 cm wide - these will be the tulip petals.
Step 5. Take the first rectangle and twist it, as if opening a candy (do only one turn). Fold it in half to form a petal and straighten it.
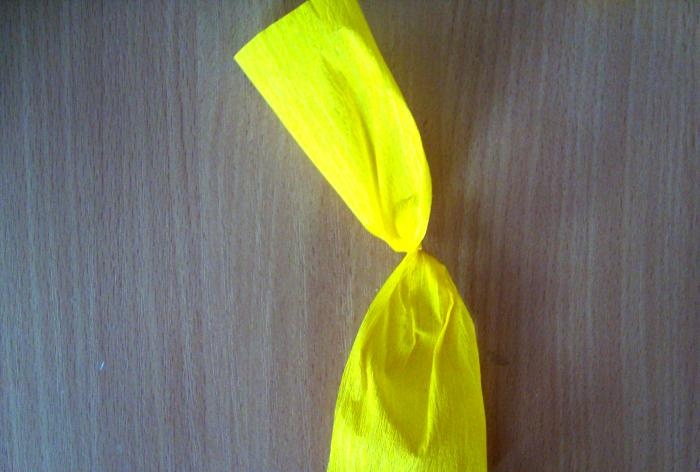
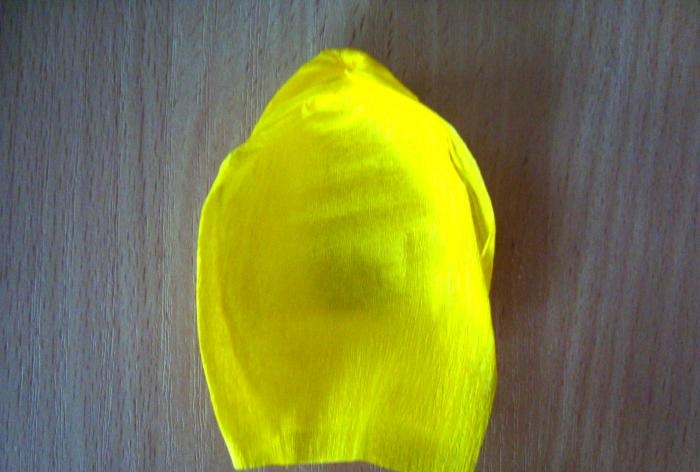
Step 6. We make each petal in this way.

Step 7. Take our candy and use threads to attach the first petal, and then the second and third. Try to place them at the same distance from each other, without overlapping.
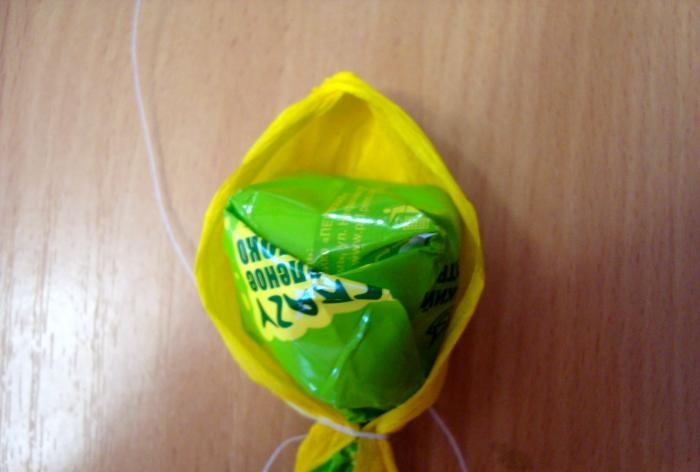
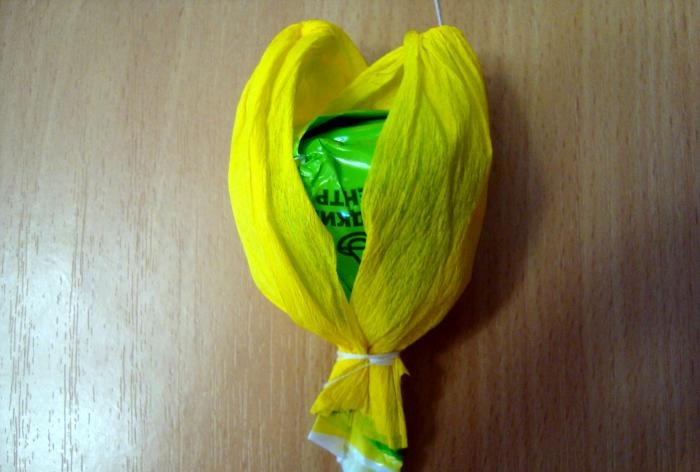
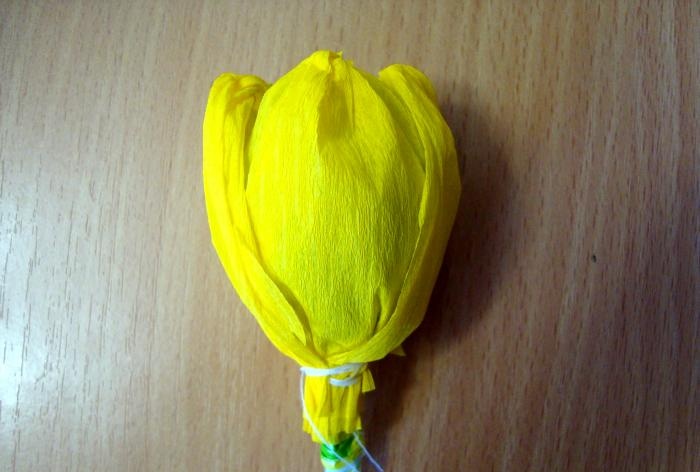
Step 8. Insert a skewer into the base of the tulip and attach it all with tape, the candy should stick tightly to the skewer.
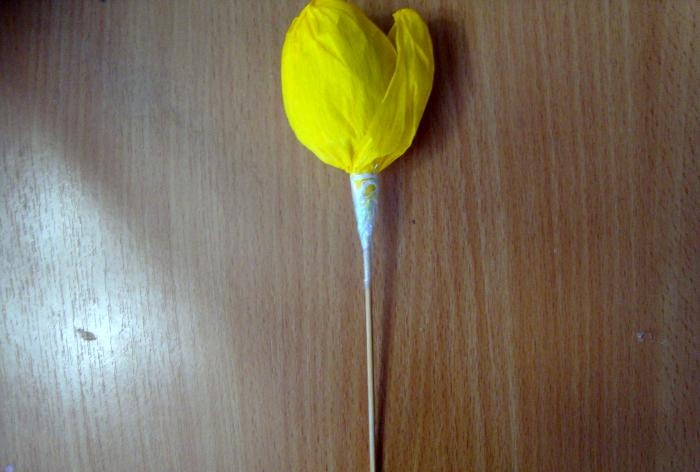
Step 9. Next, cut out a long strip 1 cm wide from green corrugated paper and wrap it around the skewer, periodically securing it with glue.
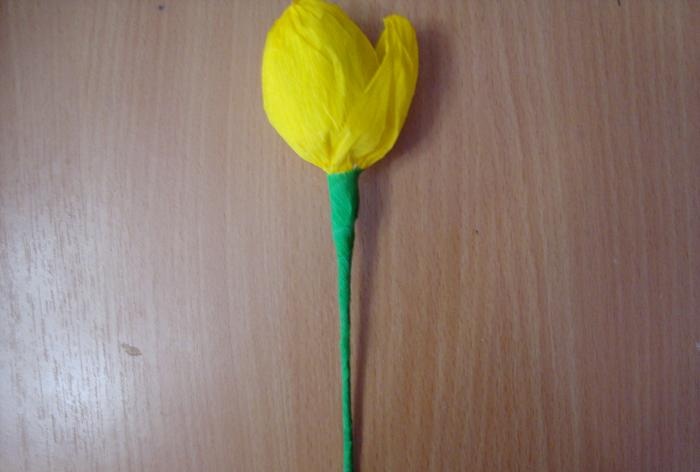
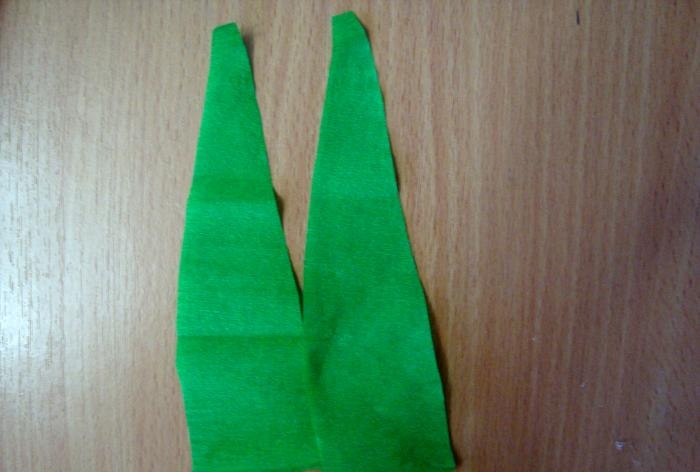
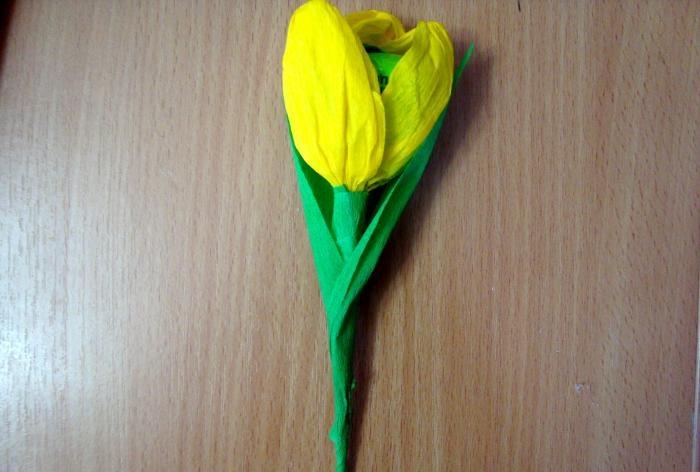
Step 10. Let's make the leaves. From green corrugated paper, cut out two leaves 13 cm long and 3 cm wide. The leaf should look like an elongated triangle. Glue the leaves to the stem. The tulip is ready.
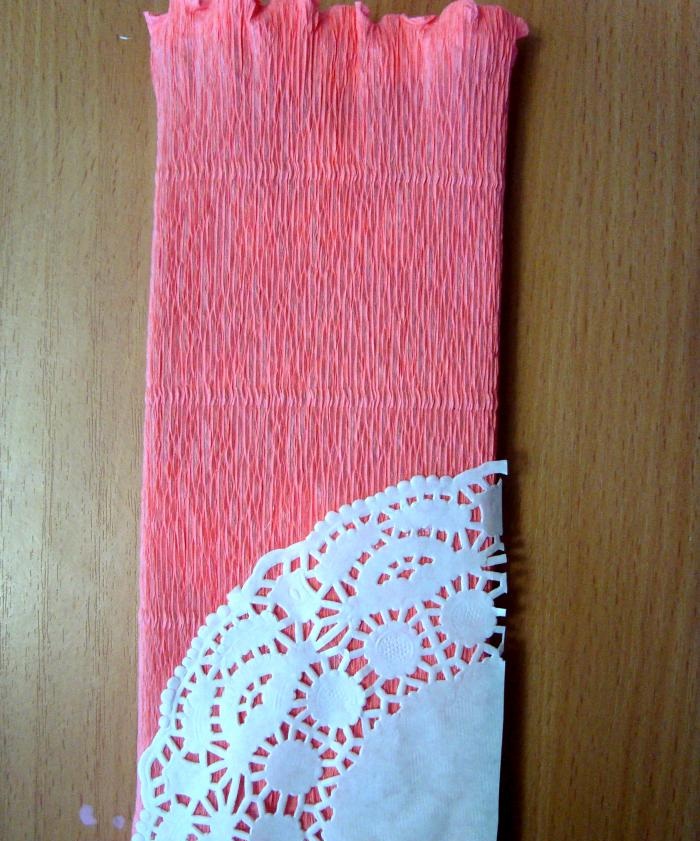
Step 11. Let's start decorating. To do this, cut off a quarter of the lace napkin and glue it to the package.
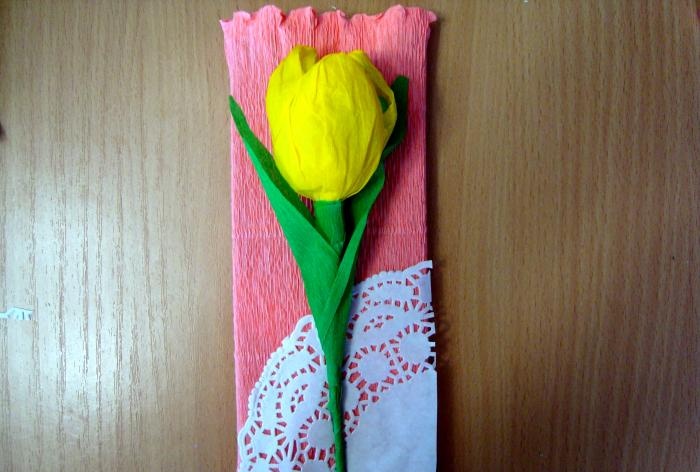
Step 12. Use a glue gun to glue the tulip, as shown below.
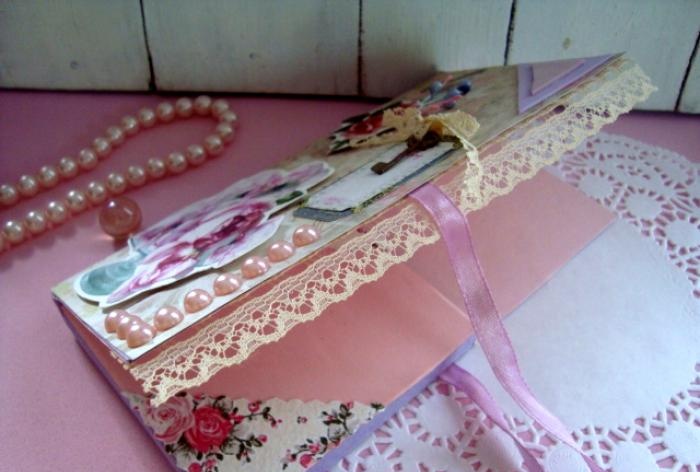
Step 13. All that remains is to tie the package with a ribbon and glue a few beads. Tip: before tying it with ribbon, put chocolate in the package, it will be more convenient.
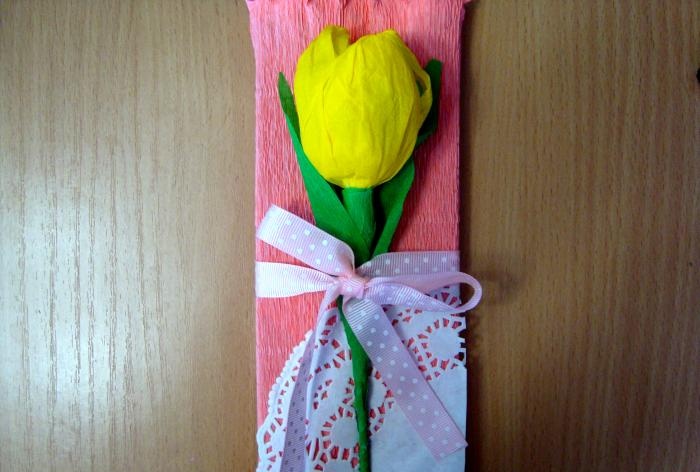
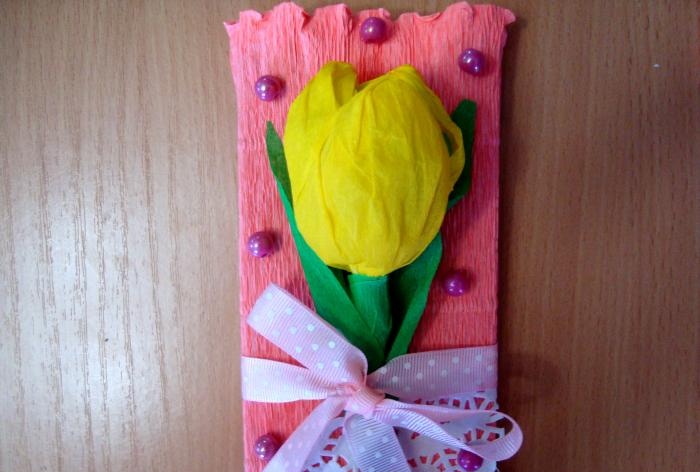
This is such a beautiful packaging!
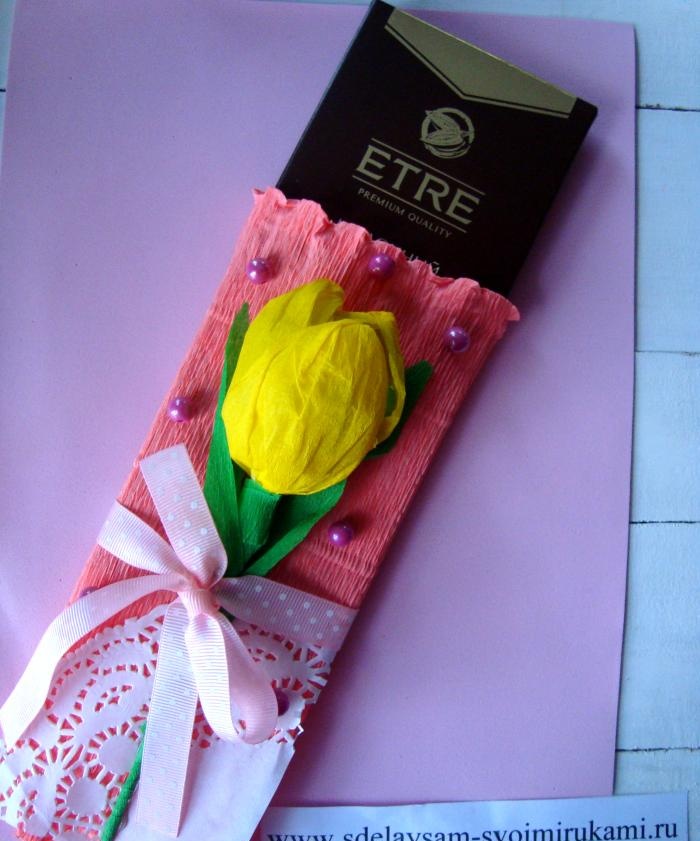
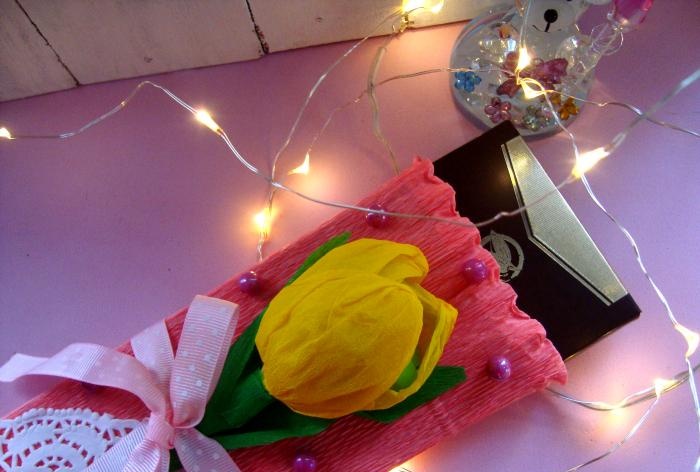

I wish you creative success and will be glad to see your comments!
Similar master classes
Particularly interesting
Comments (1)


