How to make a big Kinder surprise
How amazing present for children for the New Year! What kind of design ideas do marketers come up with to attract the attention of not only boys and girls, but also, naturally, their parents.
But you and I know that the cooler the packaging, the more expensive this pleasure will cost. It’s also upsetting that the contents of the delicacies themselves are unknown. What if your baby is allergic to this sweetness, or doesn’t like it with this filling at all...
We won't let you ruin the holiday! See how you can make magical, amazing packaging with your own hands and assemble a gift only from your child’s favorite toys, sweets, chocolates, and so on!
By the way, such a gift with content unknown to you in stores costs from 1 thousand rubles and more. Save money, make according to our sketches and your child will receive an exclusive and unforgettable gift for the fabulous New Year!
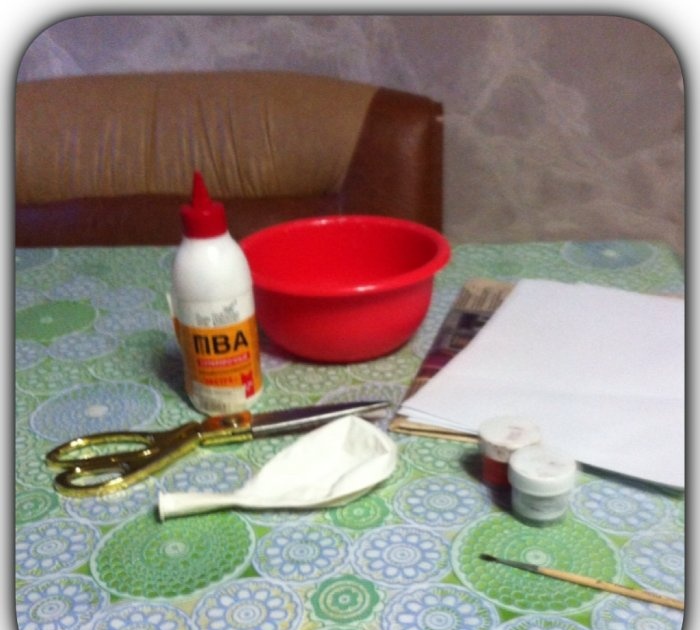
To create such an unusual gift box you will need:
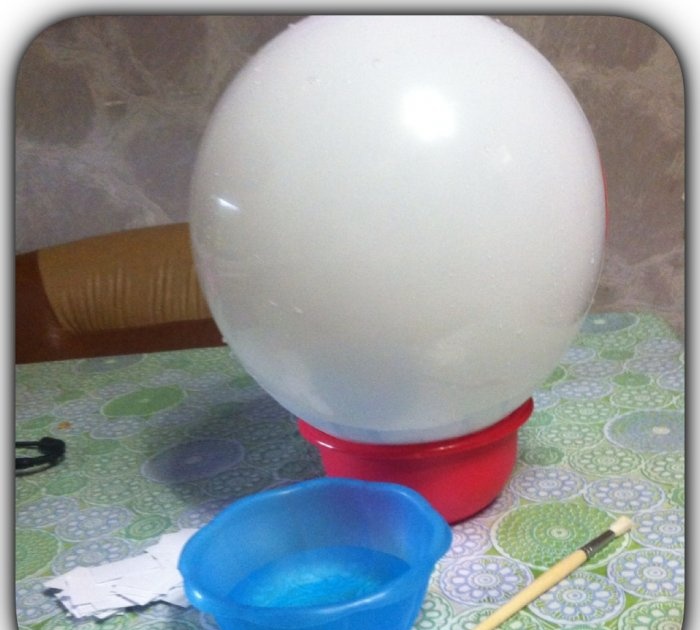
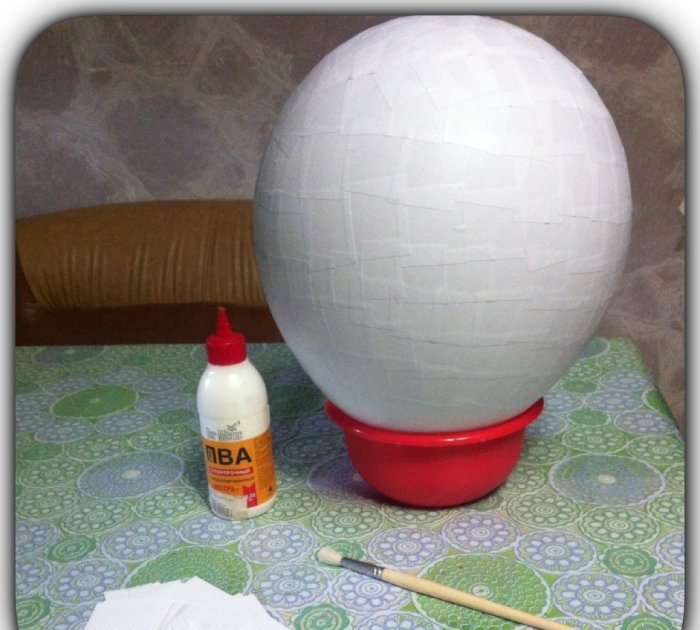
1. First you need to inflate the balloon to the desired size of the future Kinder egg. Tie the end of the ball with thread or rope. Place an empty bowl on a stand. Cut the paper into squares.
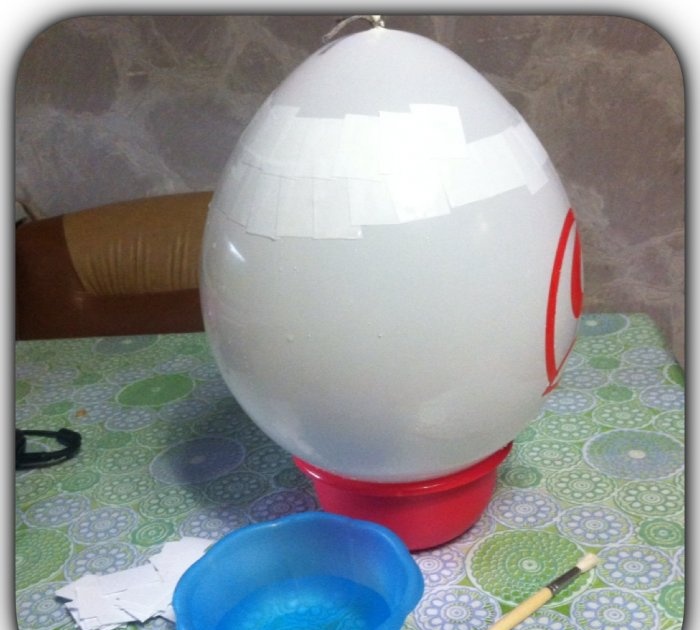
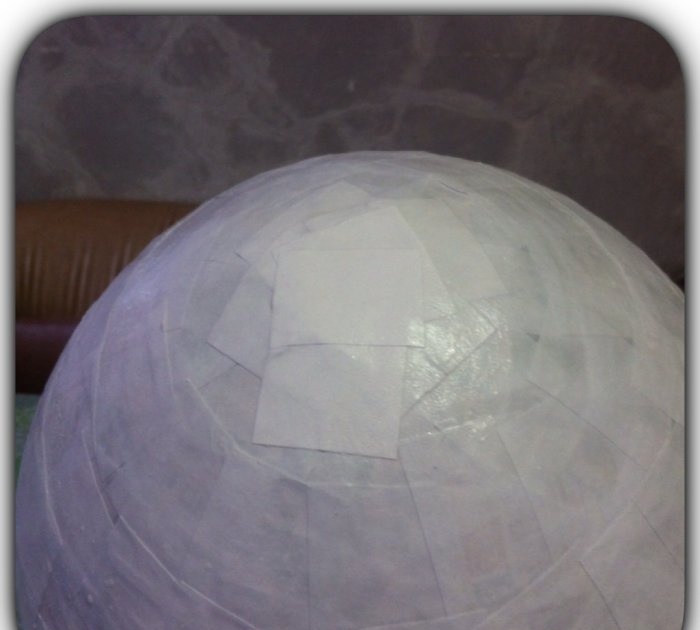
2. To get a strong finished egg package, you need to paste over 6-7 layers of paper. The first layer is paper soaked in water, so that the ball then comes away well from the dried paper on the inside. We overlap the pieces without gaps. You can moisten the ball with a brush and apply leaves, or you can lower the pieces of paper one by one into a bowl of water.
3. When the entire ball is covered with paper, you need to start the 2nd layer using glue. If the glue is concentrated (thick), dilute it with a small amount of water. The gluing technique is the same. The first 2 layers use white paper. This is done so that the inside of the egg is also white. Let these layers dry a little. You can move the ball closer to the battery.
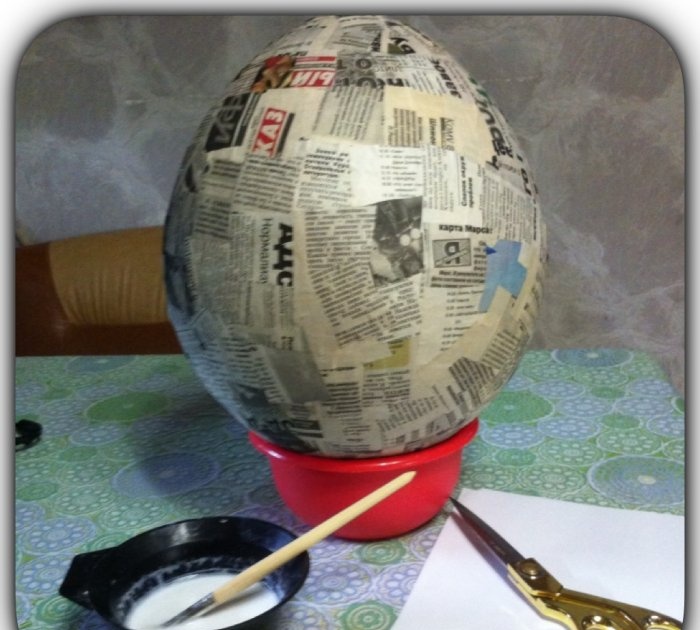
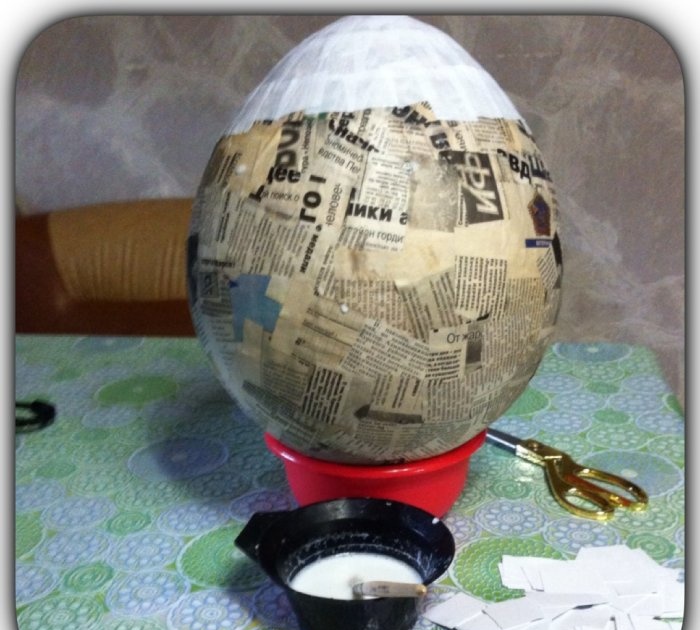
4. After about an hour, you can proceed to the next two layers from the newspaper. It sticks easier than paper. Then let it dry a little again.
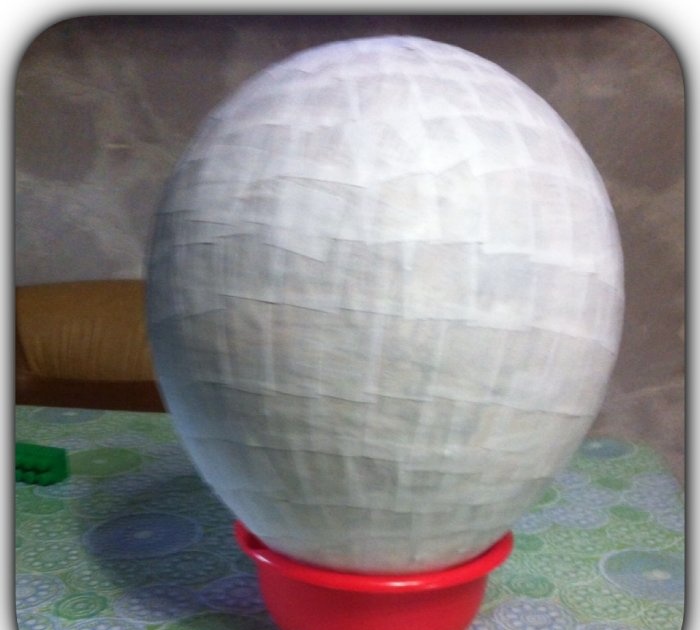
5. We also cover the fifth layer with newspaper, and the remaining 1-2 layers with white paper.
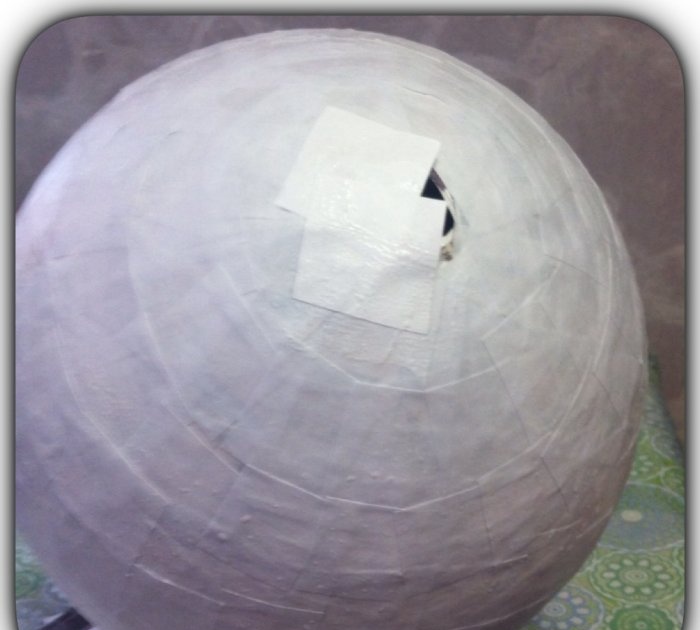
6. Once you have pasted over the last layer and given it time to dry, you can untie the threads on the ball and, after deflating it, remove it from the egg. Cover the remaining hole with sheets of paper.
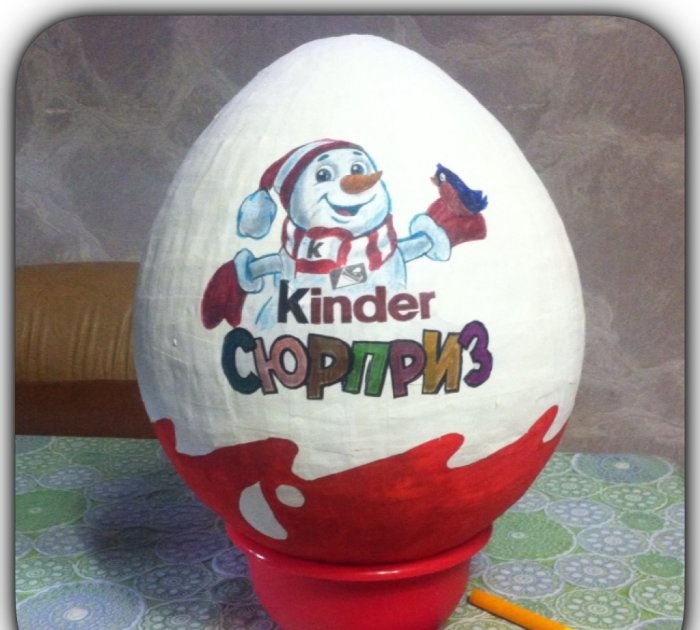
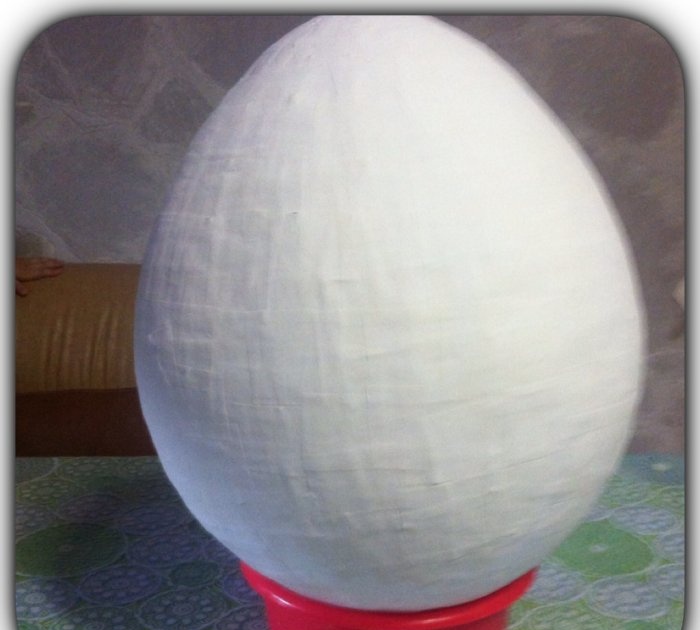
7. Now you can start decorating. The entire surface can be painted with white paint so that the joints of the paper are less noticeable.
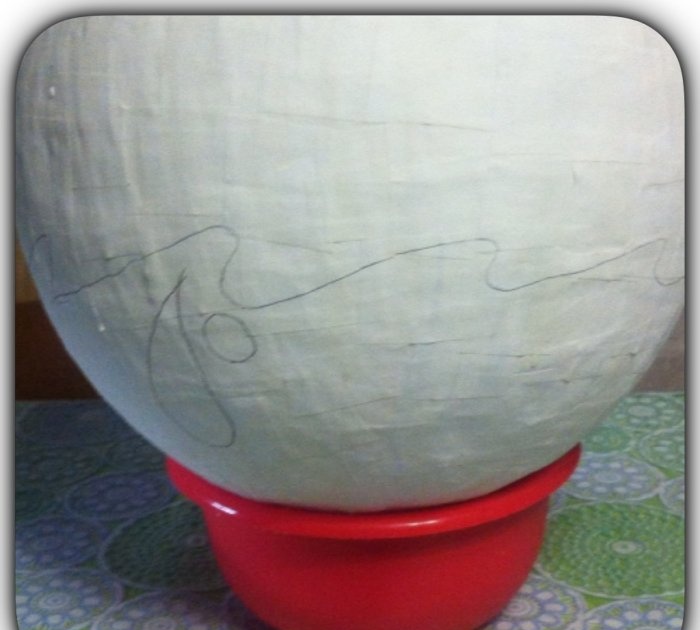
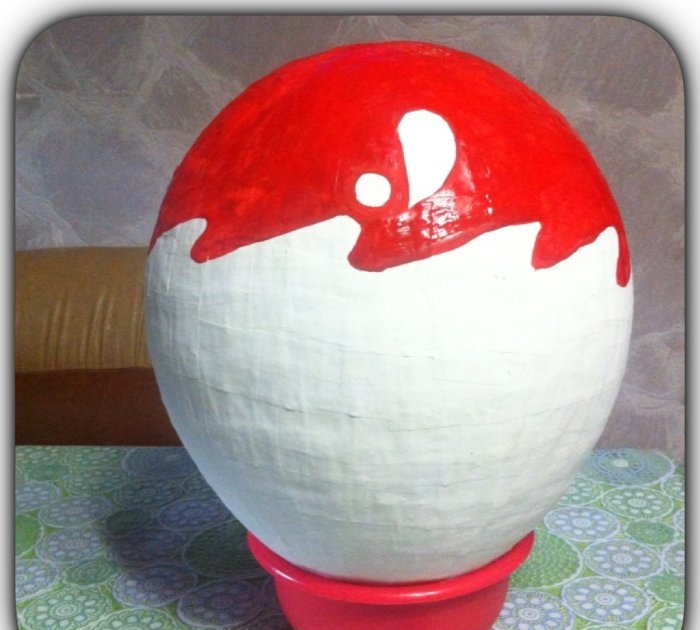
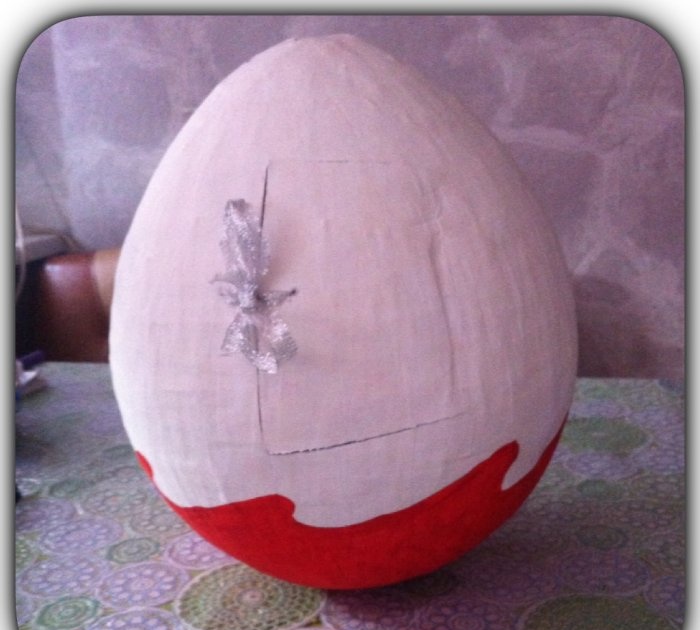
8. After the paint has dried, use a simple pencil to draw waves and droplets on the bottom of the egg. Paint this part with red paint.
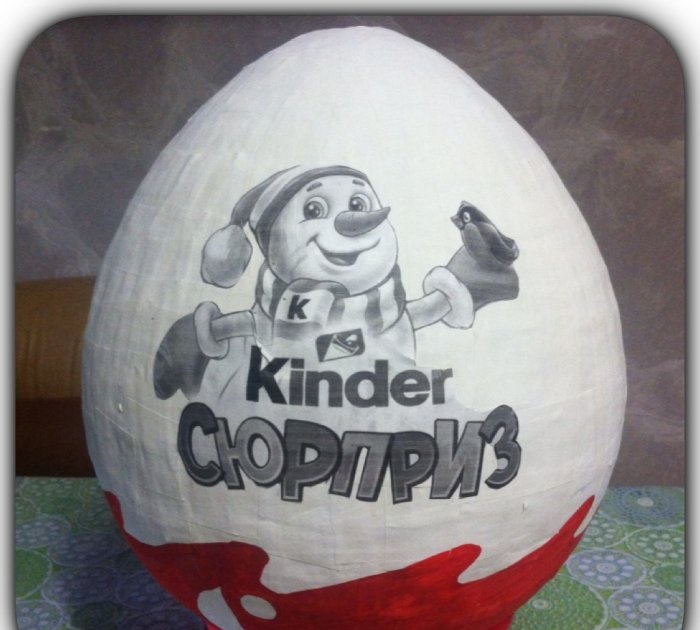
9.While the surface is drying, you can find the inscription “Kinder surprise” and a picture on the Internet. If the printer is color, you just need to print, cut and paste the picture. If it’s black and white, then you need to color it. Or, instead of a picture, use a photo of a child to make a personalized gift. This is a great option if there are several children in the family. You can even draw and write pictures and wishes on the egg yourself.
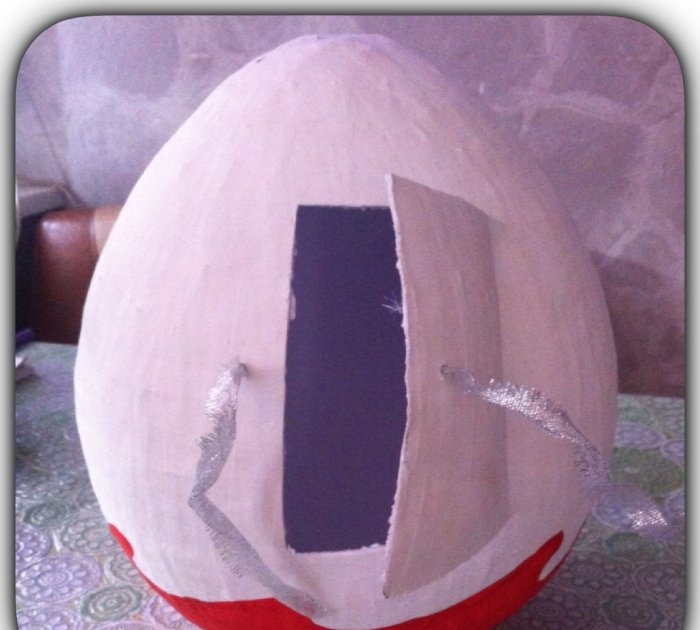
10. You need to make a door on the back side and make ties. To do this, you need to carefully cut through this door with a sharp kitchen or stationery knife. Use a knife or awl to make holes on the opening part and opposite. Thread a thread or cord into each and tie into a bow.
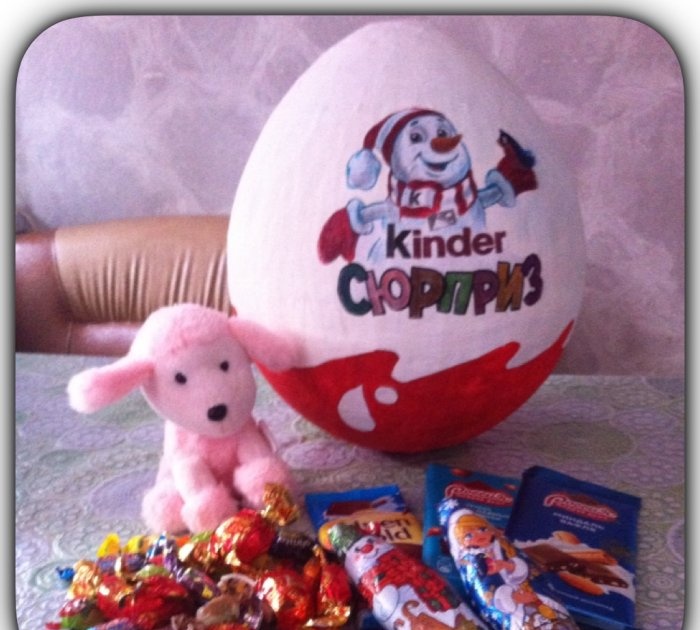
All that remains is to fill the egg with sweets, gifts, toys and place it under the Christmas tree.
Such packaged eggs are perfect not only for gifts for the New Year, but also for a child’s birthday.
But you and I know that the cooler the packaging, the more expensive this pleasure will cost. It’s also upsetting that the contents of the delicacies themselves are unknown. What if your baby is allergic to this sweetness, or doesn’t like it with this filling at all...
We won't let you ruin the holiday! See how you can make magical, amazing packaging with your own hands and assemble a gift only from your child’s favorite toys, sweets, chocolates, and so on!
By the way, such a gift with content unknown to you in stores costs from 1 thousand rubles and more. Save money, make according to our sketches and your child will receive an exclusive and unforgettable gift for the fabulous New Year!
Will need
To create such an unusual gift box you will need:
- balloon;
- blank A4 sheets;
- newspapers;
- PVA glue;
- water;
- tassels;
- paints;
- scissors;
- pencils and markers:
- the inscription “Kinder surprise” printed on a printer and a picture (optional).
Let's start making a large Kinder Surprise egg
1. First you need to inflate the balloon to the desired size of the future Kinder egg. Tie the end of the ball with thread or rope. Place an empty bowl on a stand. Cut the paper into squares.
2. To get a strong finished egg package, you need to paste over 6-7 layers of paper. The first layer is paper soaked in water, so that the ball then comes away well from the dried paper on the inside. We overlap the pieces without gaps. You can moisten the ball with a brush and apply leaves, or you can lower the pieces of paper one by one into a bowl of water.
3. When the entire ball is covered with paper, you need to start the 2nd layer using glue. If the glue is concentrated (thick), dilute it with a small amount of water. The gluing technique is the same. The first 2 layers use white paper. This is done so that the inside of the egg is also white. Let these layers dry a little. You can move the ball closer to the battery.
4. After about an hour, you can proceed to the next two layers from the newspaper. It sticks easier than paper. Then let it dry a little again.
5. We also cover the fifth layer with newspaper, and the remaining 1-2 layers with white paper.
6. Once you have pasted over the last layer and given it time to dry, you can untie the threads on the ball and, after deflating it, remove it from the egg. Cover the remaining hole with sheets of paper.
7. Now you can start decorating. The entire surface can be painted with white paint so that the joints of the paper are less noticeable.
8. After the paint has dried, use a simple pencil to draw waves and droplets on the bottom of the egg. Paint this part with red paint.
9.While the surface is drying, you can find the inscription “Kinder surprise” and a picture on the Internet. If the printer is color, you just need to print, cut and paste the picture. If it’s black and white, then you need to color it. Or, instead of a picture, use a photo of a child to make a personalized gift. This is a great option if there are several children in the family. You can even draw and write pictures and wishes on the egg yourself.
10. You need to make a door on the back side and make ties. To do this, you need to carefully cut through this door with a sharp kitchen or stationery knife. Use a knife or awl to make holes on the opening part and opposite. Thread a thread or cord into each and tie into a bow.
All that remains is to fill the egg with sweets, gifts, toys and place it under the Christmas tree.
Such packaged eggs are perfect not only for gifts for the New Year, but also for a child’s birthday.
Similar master classes
Particularly interesting
Comments (0)

