How to hide a self-tapping screw in wood

How to hide a self-tapping screw in wood

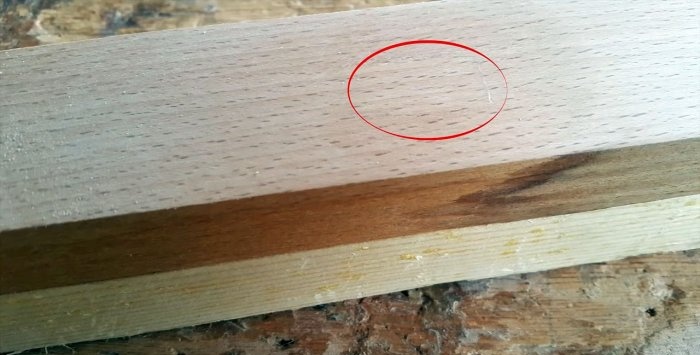
Sometimes there are situations when you need to fasten two boards or bars, but there is a desire to hide the screws with which the connection is made. Today I will show you a simple and quick way to make such a connection and make it as invisible as possible.

Will need


Required tools and materials:
  • A simple pencil.
  • Bit.
  • Rubber mallet or mallet.
  • Wood glue or PVA.
  • Vise or other clamp.
  • Drill and drill bit with countersink for wood.
  • Screwdriver, self-tapping screws.
  • A piece of wood or board.
  • Scotch tape or plastic bag.

How to hide a self-tapping screw in wood

How to hide a self-tapping screw


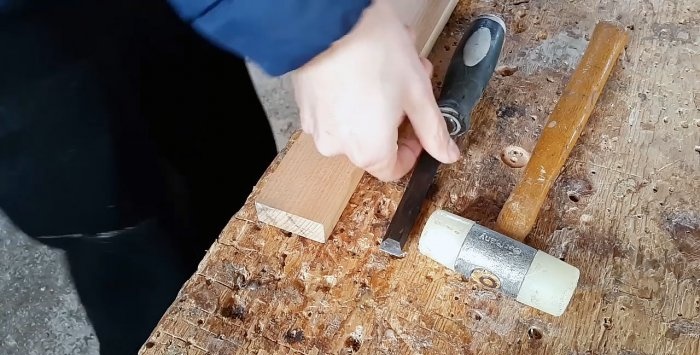
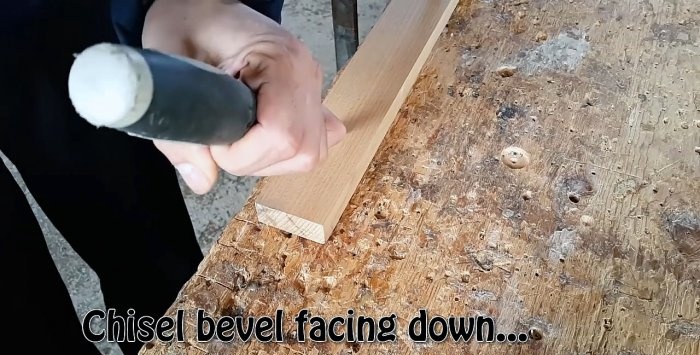
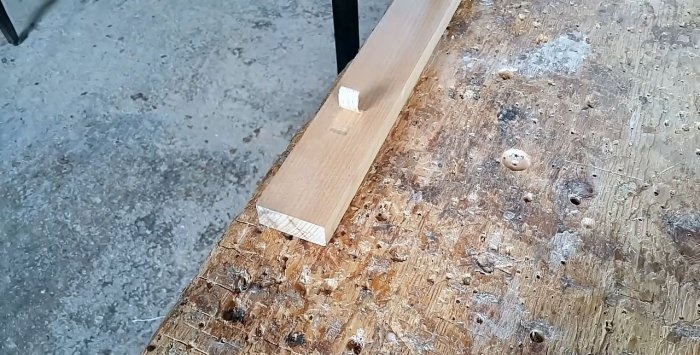
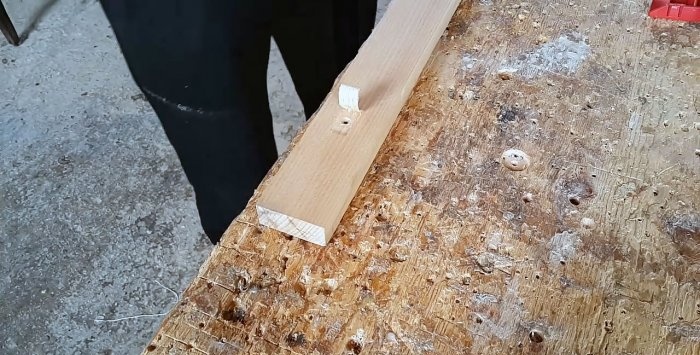
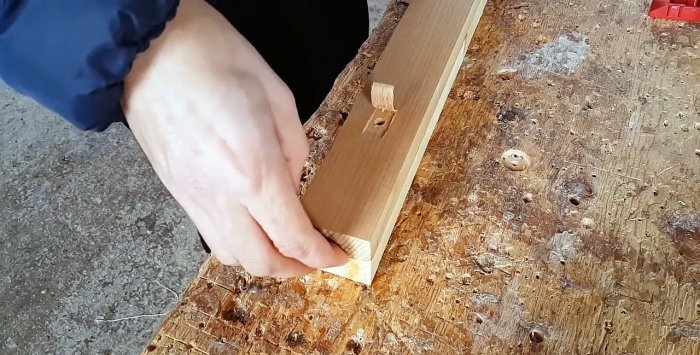
On one of the boards to be joined, mark with a pencil the point where the self-tapping screw will be screwed in. At a distance of 15 mm from this point, a chisel is installed and a strip of wood about 50 mm long is removed. In this case, it is necessary that this piece remains connected to the board and a bent strip is obtained.
How to hide a self-tapping screw in wood

How to hide a self-tapping screw in wood

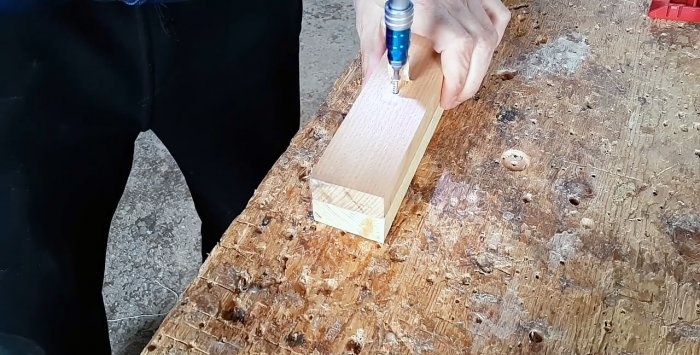
Then a hole is drilled with a drill for the self-tapping screw. It is better to use a countersink so that the head of the screw is recessed into the wood.
How to hide a self-tapping screw in wood

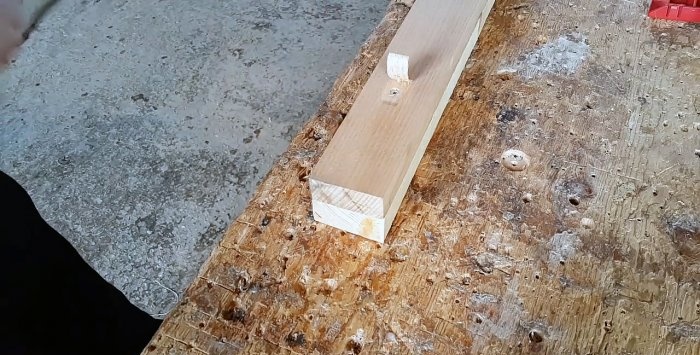
Using a self-tapping screw, two wooden parts are connected.
How to hide a self-tapping screw in wood

How to hide a self-tapping screw in wood

How to hide a self-tapping screw in wood

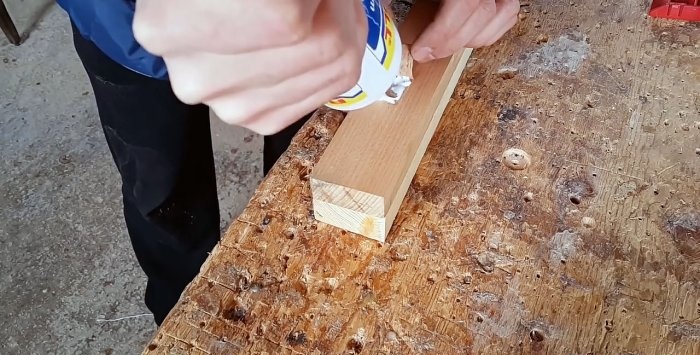
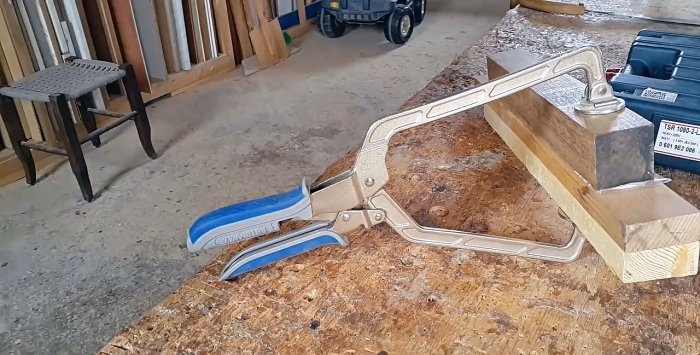
Now the groove and the removed strip of wood are generously lubricated with glue, after which a compressive force is applied to the area to be glued. I used a special clamp, but you can clamp the parts in a vice or simply load them with something heavy.
How to hide a self-tapping screw in wood

How to hide a self-tapping screw in wood

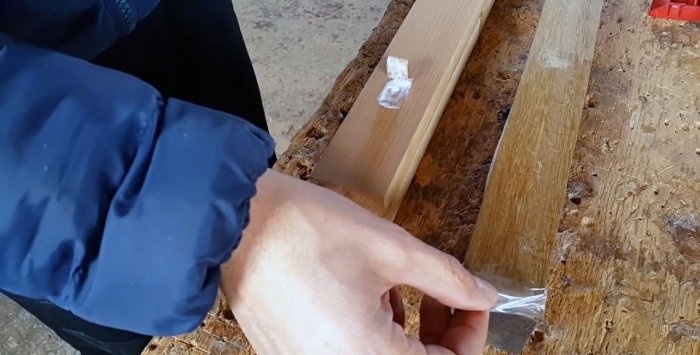
Note! To prevent the wood backing from sticking to my boards, I covered it with tape.
How to hide a self-tapping screw in wood

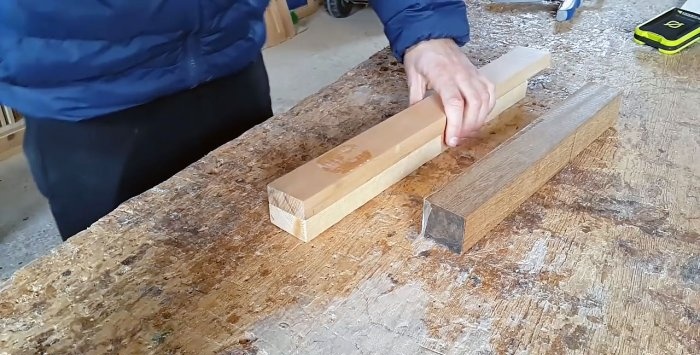
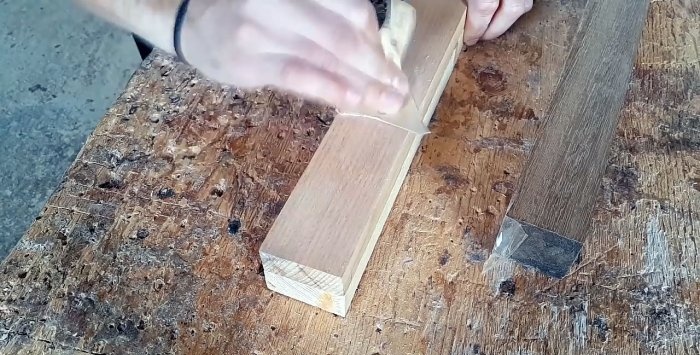
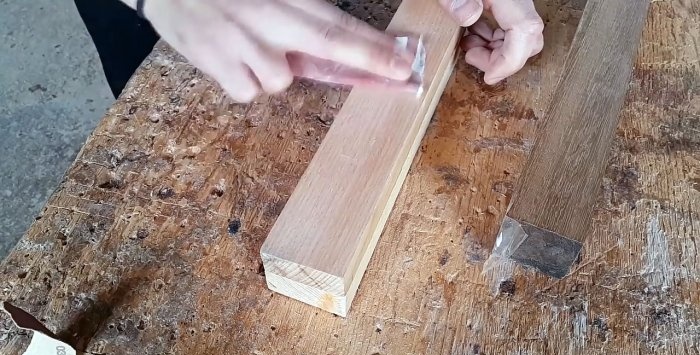
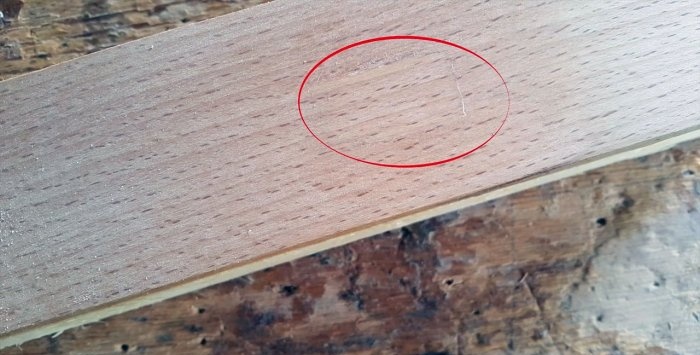
Once the glue had dried a bit (about 60-90 minutes), I removed the clamp and sanded the area with fine sandpaper. Due to the fact that the glue did not dry completely, the resulting wood dust filled all the cracks, so the seam became almost invisible!
How to hide a self-tapping screw in wood

How to hide a self-tapping screw in wood

How to hide a self-tapping screw in wood

Unfortunately, this method has a drawback: if you need to separate the connected elements, it will be very difficult to do so.
How to hide a self-tapping screw in wood

How to hide a self-tapping screw in wood

Watch the video


come back
Comment
  • bowtiesmilelaughingblushsmileyrelaxed relaxedsmirk
    heart_eyeskissing_heartkissing_closed_eyesflushedrelievedsatisfiedgrin
    winkstuck_out_tongue_winking_eyestuck_out_tongue_closed_eyesgrinningkissingstuck_out_tonguesleeping
    worriedfrowninganguishedopen_mouthgrimacingconfusedhushed
    expressionlessunamusedsweat_smilesweatdisappointed_relievedwearypassive
    disappointedconfoundedfearfulcold_sweatperseverecrysob
    joyastonishedscreamtired_faceangryragetriumph
    sleepyyummasksunglassesdizzy_faceimpsmiling_imp
    neutral_faceno_mouthinnocent
4 minus one =
Comments (11)
  1. cabin filter
    #1 cabin filter Guests 13 October 2018 19:52
    3
    what's your head full of??
  2. guest
    #2 guest Guests October 14, 2018 10:30
    2
    everything ingenious is simple
  3. Guest OLEG
    #3 Guest OLEG Guests 14 October 2018 14:46
    0
    Find the self-tapping screw with a magnet.
  4. Ivan
    #4 Ivan Guests 14 October 2018 18:12
    0
    Wood to wood - with self-tapping screws?

    You could also screw a screw in there.
    1. Maksim
      #5 Maksim Guests 15 October 2018 20:36
      5
      And how do they fasten wood to wood these days? I'm just from the village.
    2. anatolirnd
      #6 anatolirnd Guests 8 November 2018 18:41
      0
      No, of course, we are all behind progress, two bars are now held together with M40 bolts :)
  5. Richat
    #7 Richat Guests 15 October 2018 08:37
    3
    not a chisel, but a chisel
  6. Boris
    #8 Boris Guests October 15, 2018 11:30
    1
    But he didn’t say the most important thing. How to wrap shavings if the wood is dry. And in the initial photo it’s laminate.
    1. Sergey K
      #9 Sergey K Visitors 15 October 2018 13:19
      4
      Yes, everything is turning out fine! However, you can wet it a little.
      Our grandfathers used this method. I have books from the 60s and 70s - he is described there. Now these are all kinds of power tools, choppers, etc. Technological, but noticeable
  7. carpenter
    #10 carpenter Guests 17 October 2018 17:59
    2
    You can immediately see from the workbench a real carpenter. Not the ones who sit on the sofa and blow their minds.
  8. Igor Nikolaevich
    #11 Igor Nikolaevich Guests 9 November 2018 21:58
    2
    Isn’t it fate from the rear?