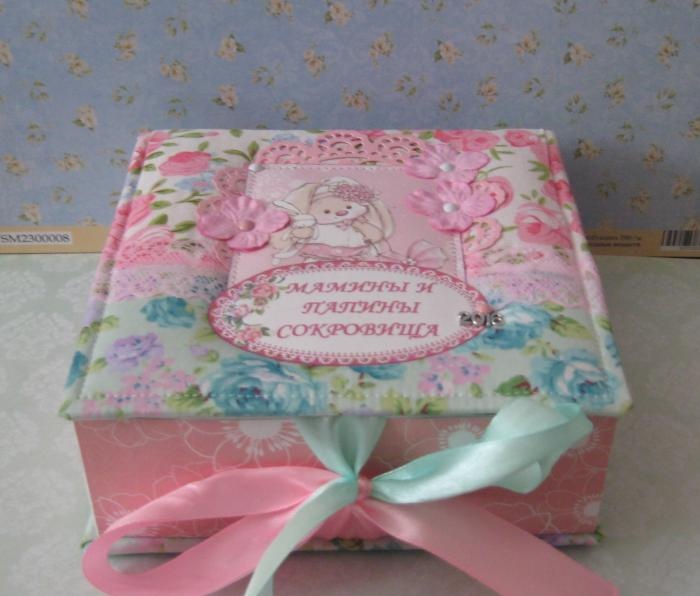
Box "Mom and Dad's Treasures"
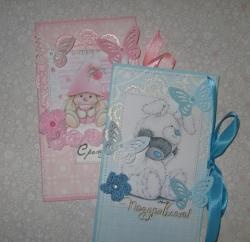
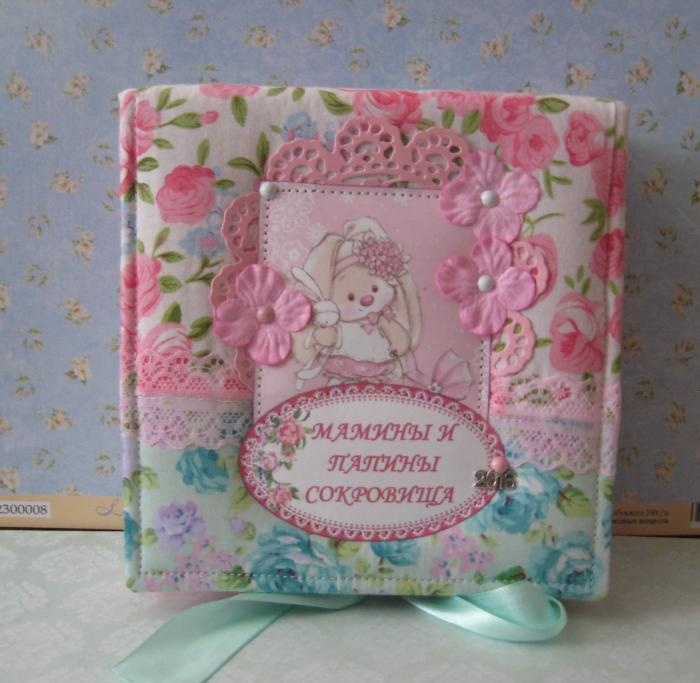
The greatest and long-awaited happiness in every family is the birth of a baby. Starting from conception to childbirth, the baby is alone with his mother every second and moment. Carrying a baby under your heart is the greatest happiness for every girl. And so, when this exciting moment finally arrives, when the baby is born, this is truly great happiness. In the maternity hospital, each baby is given a clothespin on the umbilical cord, which then remains as a long-lasting memory. Each mother and her baby in the maternity hospital are given tags with data and surname on the arm and crib, then the baby’s first hair is cut off, then his first tooth falls out, and each mother also keeps a test and ultrasound pictures, all these are such pleasant little things that you want keep for a long memory. For all such little things, it is now very popular to have a special box, which is called differently: “mom’s treasures”, “our little treasures”, “mom and dad’s treasures”. Now, by the way, it’s time to get acquainted and learn how to make such a box yourself.
To create such a box we need to take:
• 15*15 cm two blanks and 5*15 cm 1 blank from bookbinding cardboard;
• Sintepon;
• Pink and mint fabric of good quality, we use cotton made in Korea;
• Light pink lace;
• Pink die-cut paper napkin;
• Card with a cute bunny;
• White and pink metal brads;
• Pink paper hydrangea flowers;
• Ruler, glue stick, scissors, double-sided tape, simple pencil, eraser, adhesive tape effect glue;
• Color card “Mom and Dad’s Treasures” (it is made in Photoshop);
• Metal pendant 2016;
• Light pink and mint satin ribbons;
• Lighter;
• White cardboard;
• Watercolor paper 33.5*33.5 cm;
• Scrappaper in pink tone, two sheets;
• Ink pad.
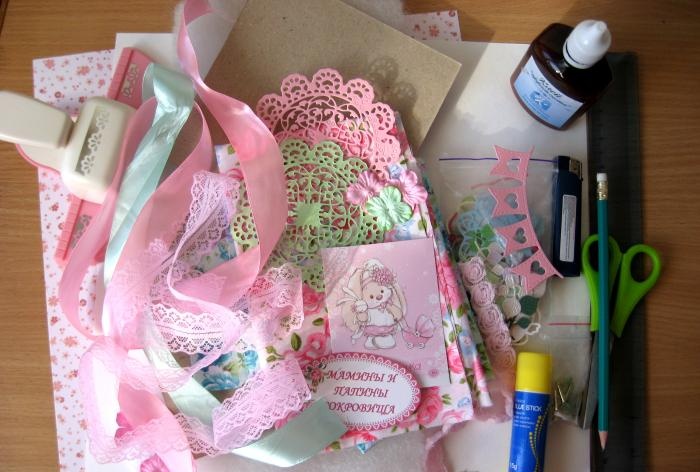
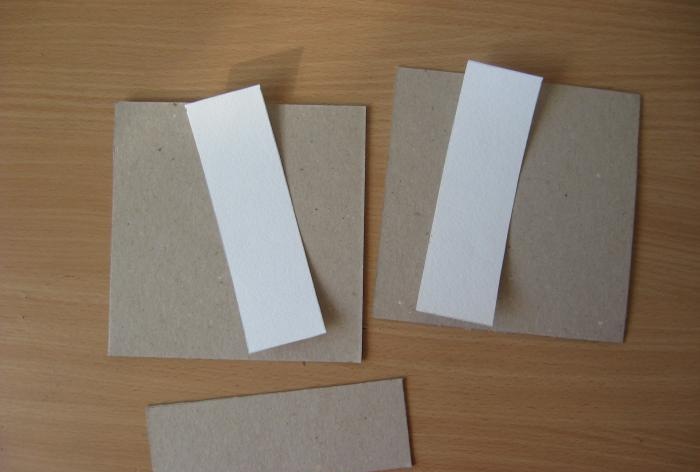
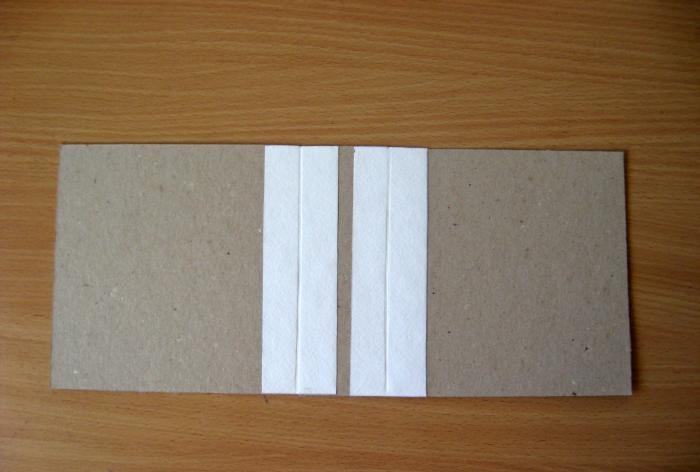
So, we have three blanks made of thick cardboard, using white cardboard we need to make one solid base of the box. To do this, we cut two strips of 4*15 cm of white cardboard, fold the binding parts as in the photo, smear the white cardboard with a glue stick and glue it between the binding parts.
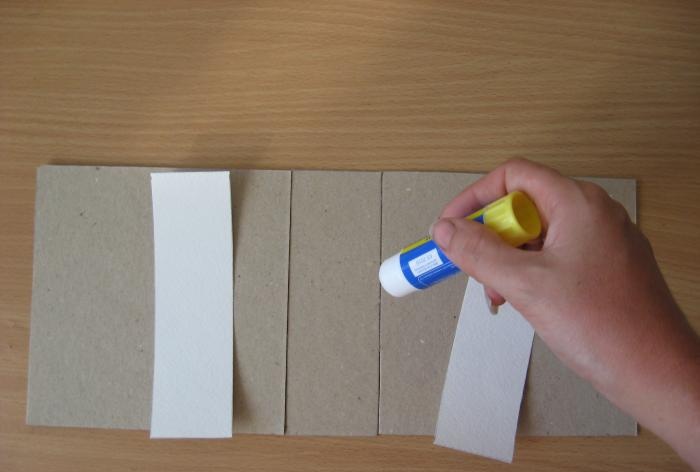
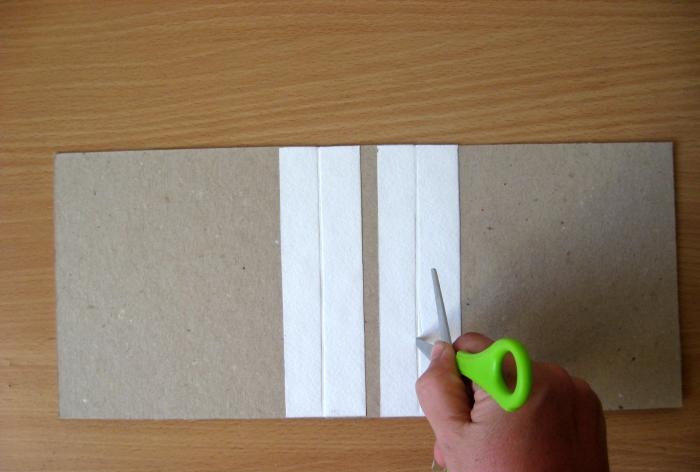
We put it together and we get this base, we draw it with scissors several times at the bends so that the workpiece turns smoothly and beautifully into a box.
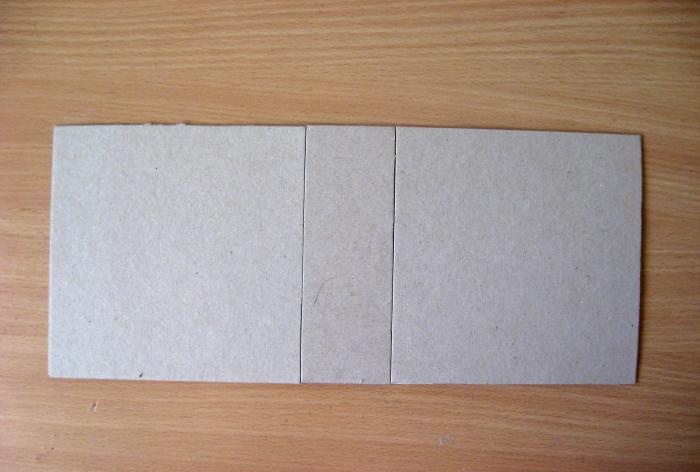
Turn over and glue the strips of double-sided tape.
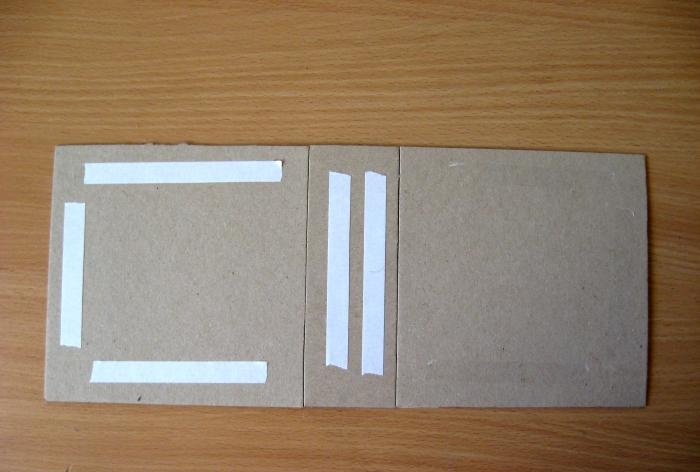
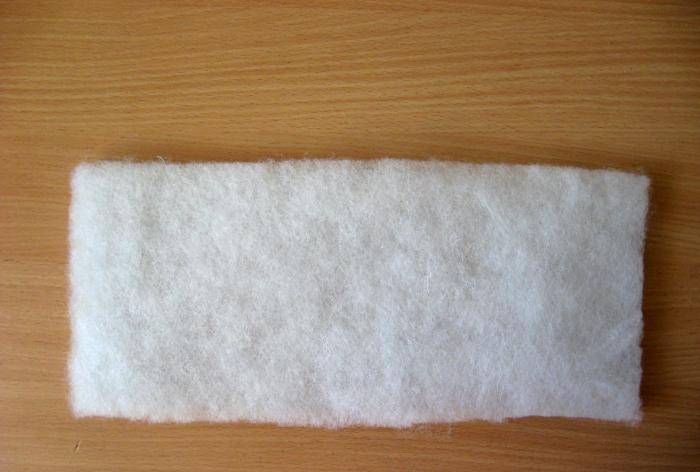
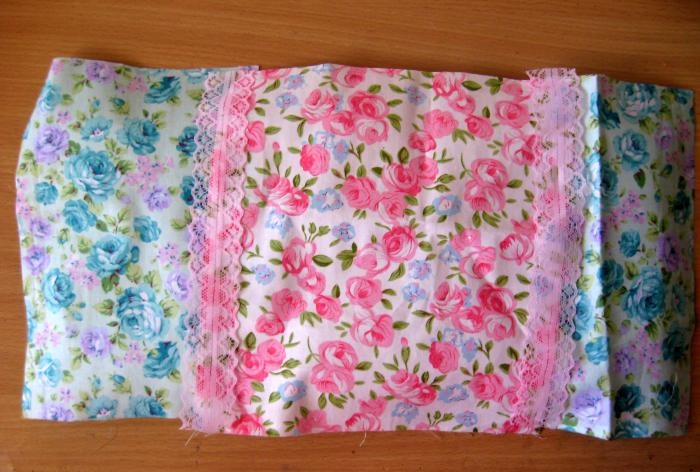
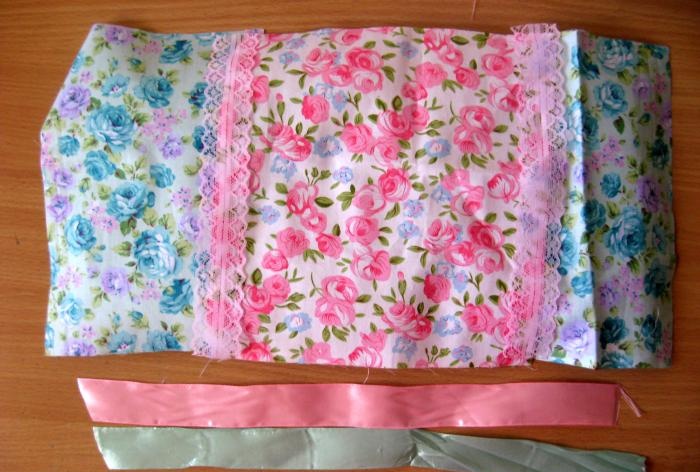
Glue the padding polyester. Now we take the fabric, cut off the pink fabric in the center with reserves, and add mint pieces to the sides. We will sew wide lace between the fabrics at the junction, so we cut off two strips.
For the bow on the box, cut a piece of each ribbon and burn the edges with a lighter.
Now we need to iron both the fabric and the ribbons well. We sew the fabric into a continuous fabric, sew the lace between the fabrics.
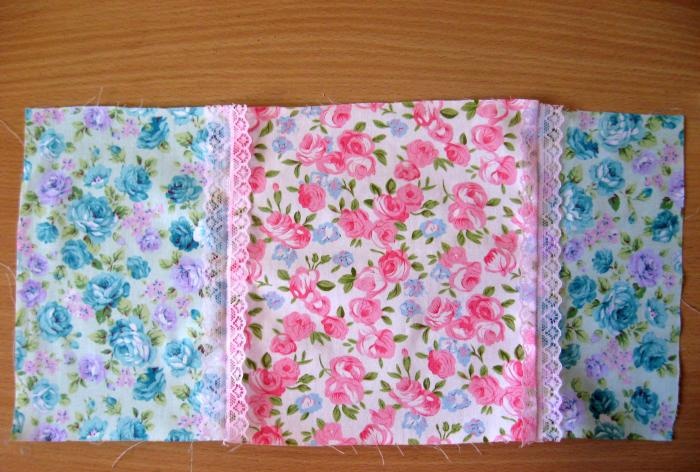
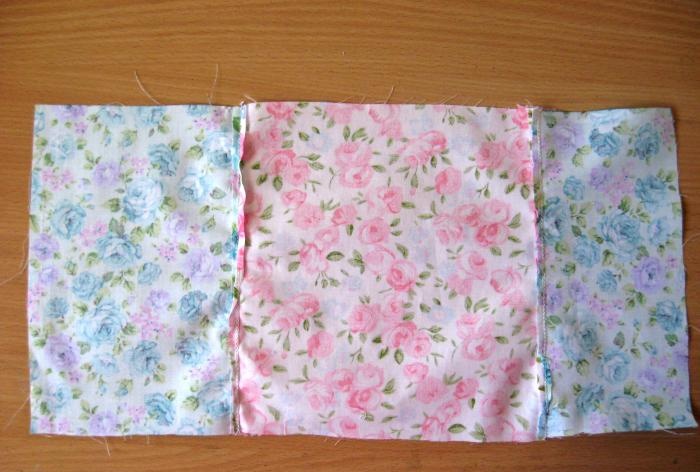
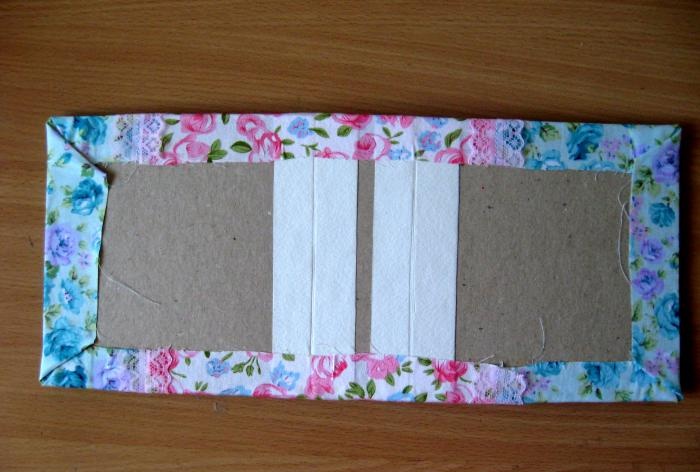
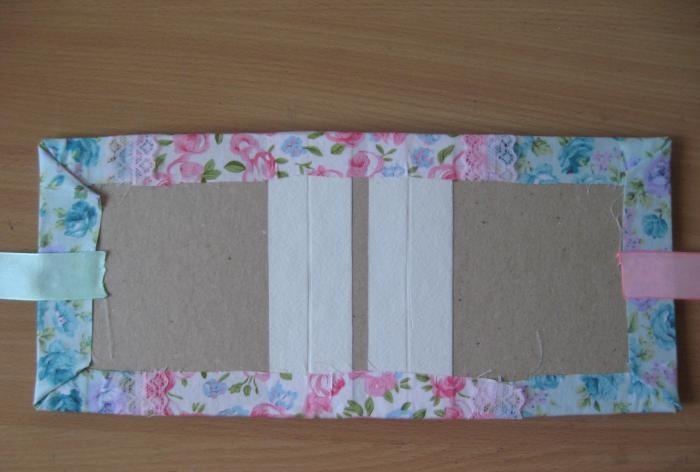
Now we need to cover our base of the box with fabric, place the blank on the fabric like this, start spreading the corners, wrap it and glue it.
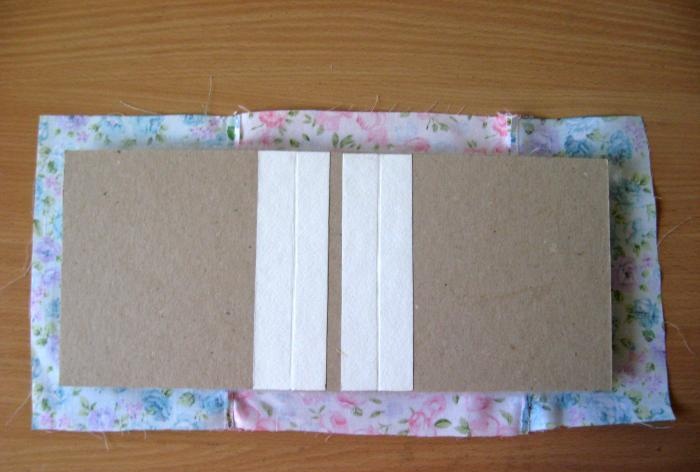
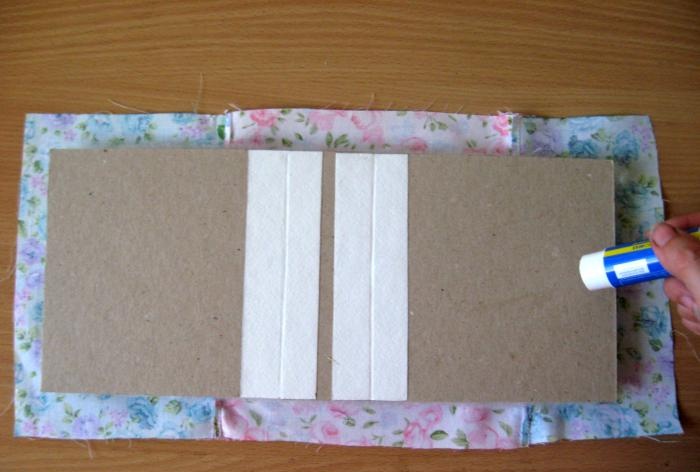
We also glue the tapes onto the inside with tape, one on that side, the second on the other.
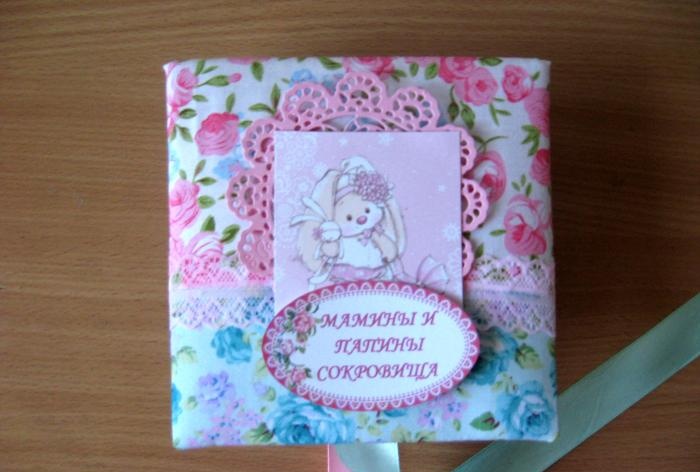
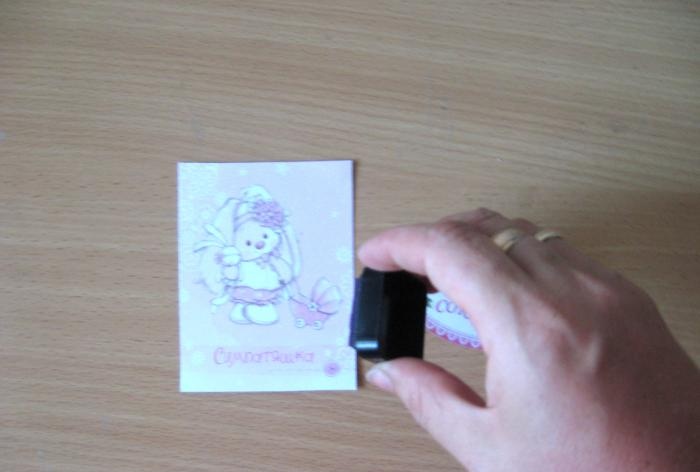
We fold the box and try on the napkin, card and inscription. We will collect everything in this order on the cover. We tint the edges of the picture and the inscription.
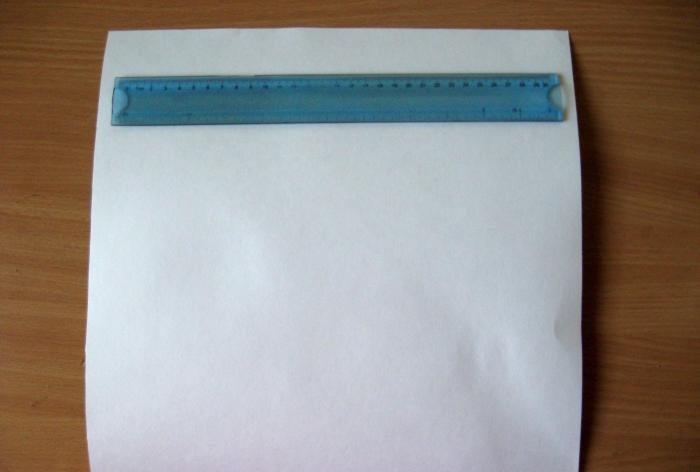
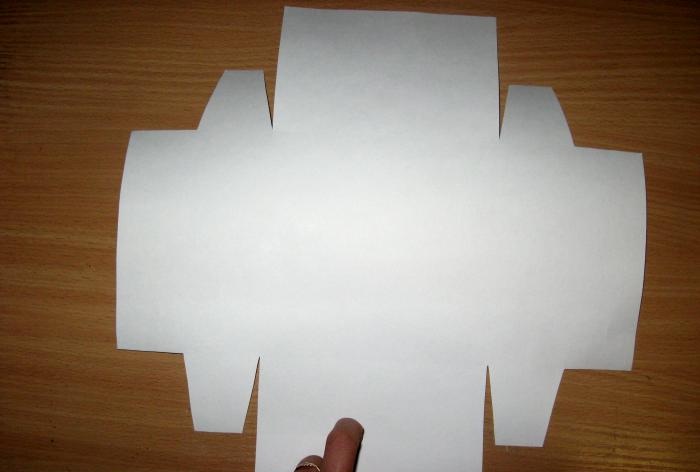
From a large watercolor square we need to make the base of the box itself. We divide each side of the square into the following dimensions: 4.5 * 5 * 14.5 * 5 * 4.5 cm.
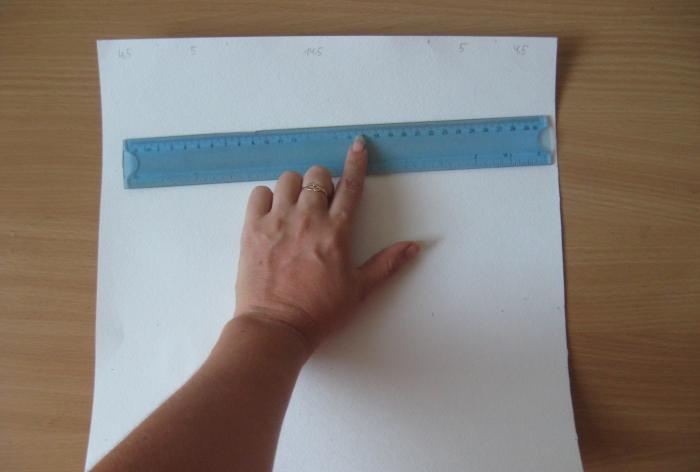
Now we connect all sides with invisible lines using scissors under a ruler.
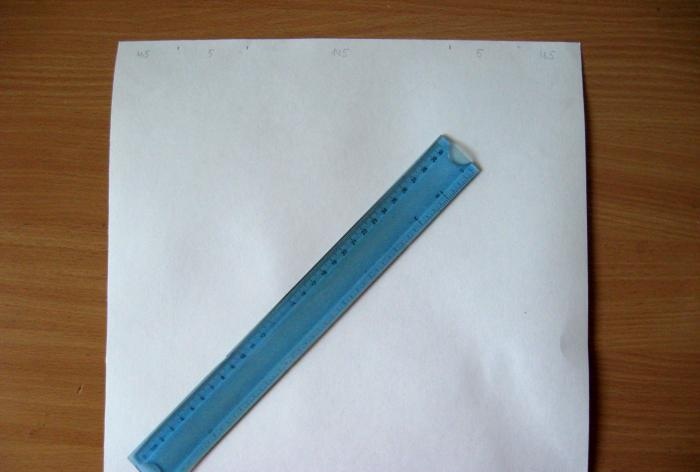
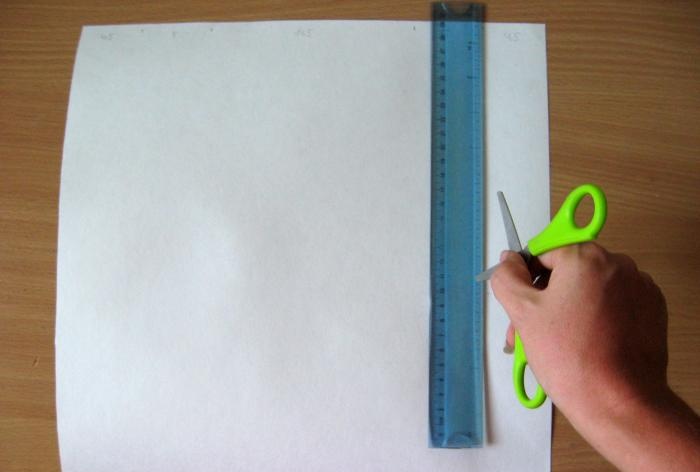
We sew along the edge of the entire box, and also sew on a picture and a card. We fold the box and insert brads inside the flowers and fasten them around the picture. We also attach the suspension.
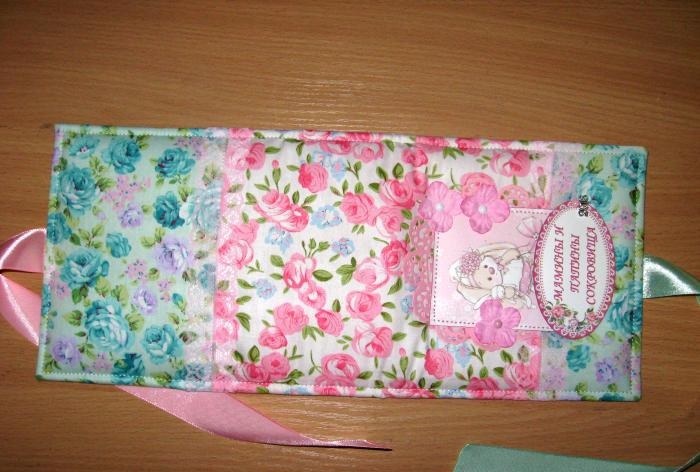
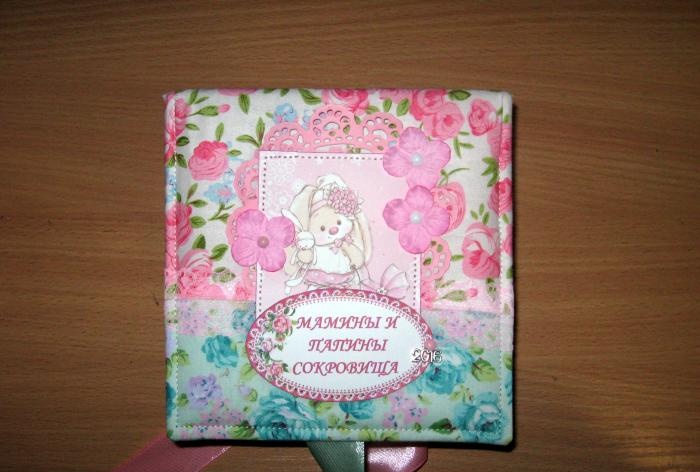
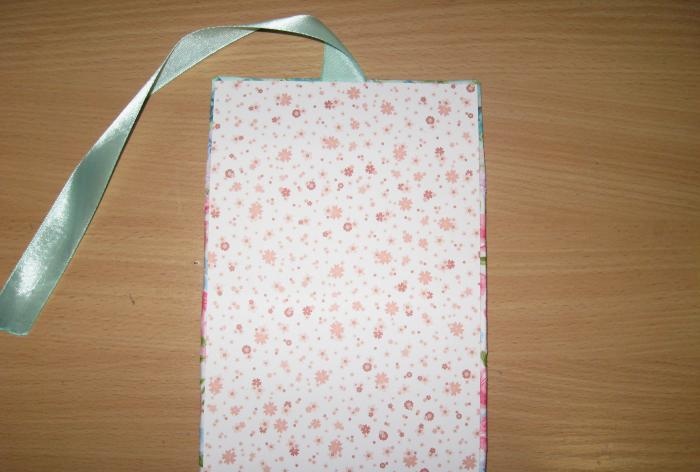
We cut a 14.5*22 cm rectangle from scrap paper and glue it inside the cover.
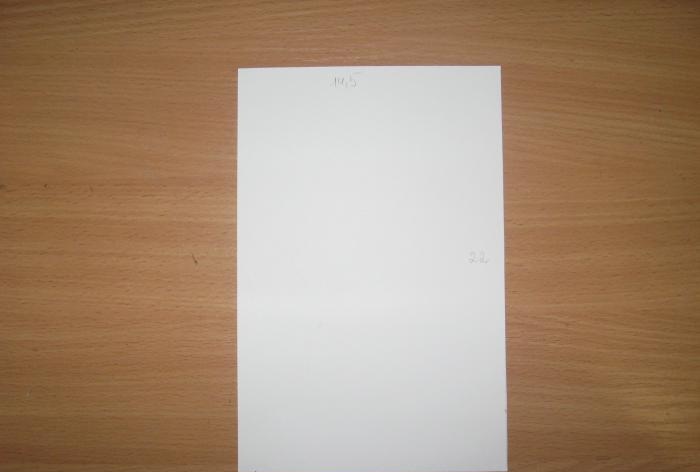

We place this blank under some weight. We prepared a watercolor base, cut off the excess at the corners.
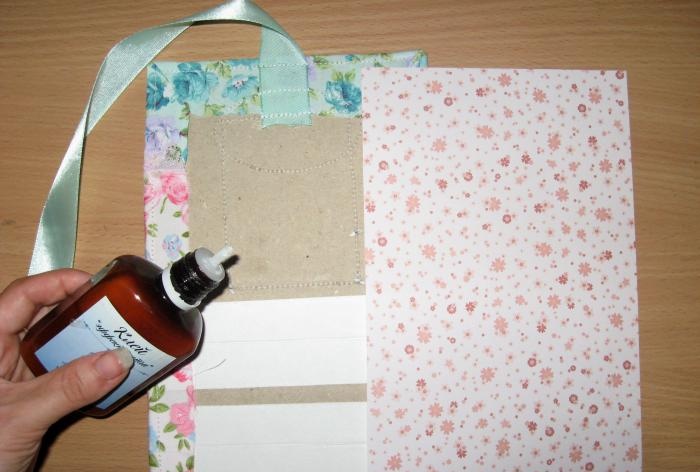
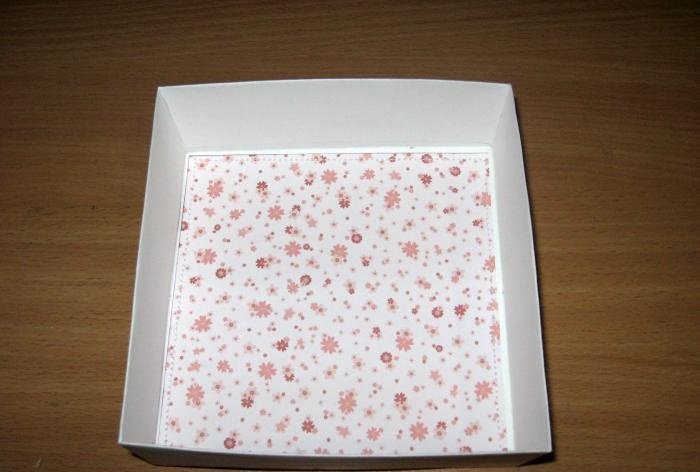
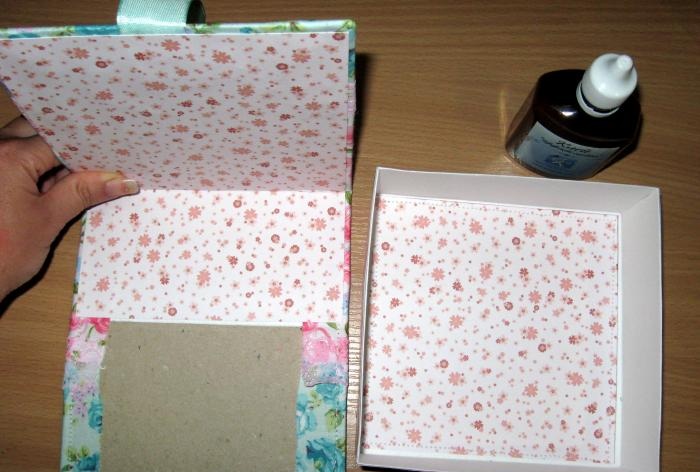
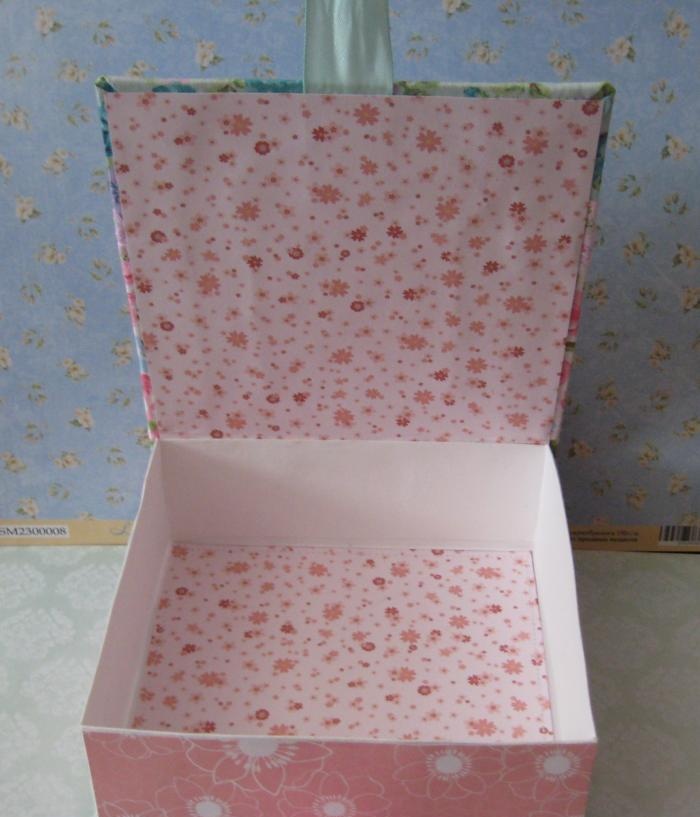
We glue and sew a 14*14 cm square inside the base. Glue it together and we get a box like this.
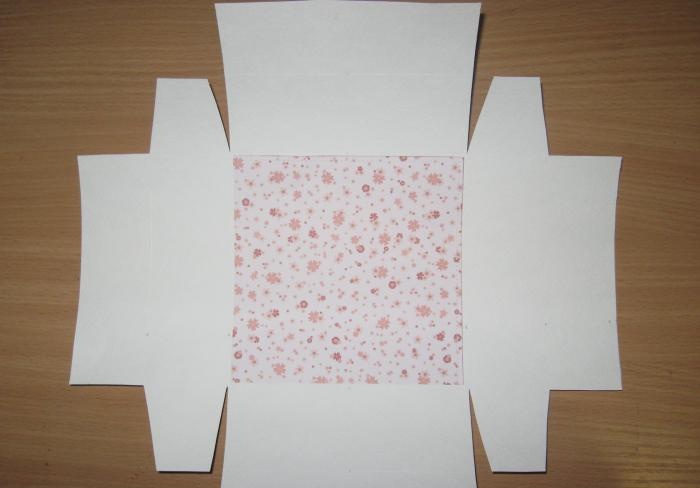
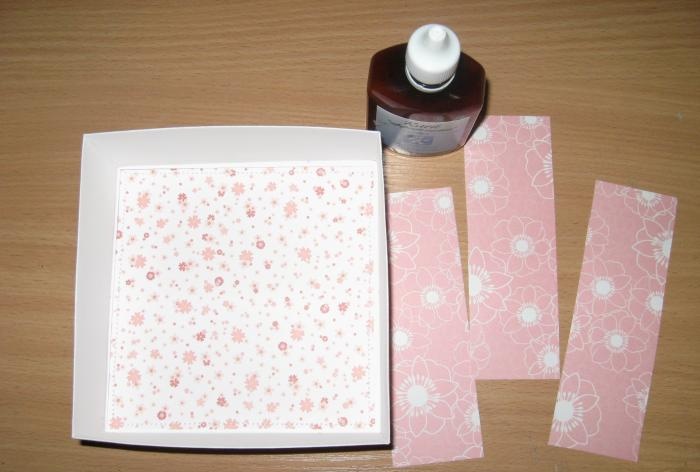
From another paper we cut out three rectangles 5*14.5 cm and glue the box on three sides. We fold the cover of the box itself in two places and glue the base of the box into it.
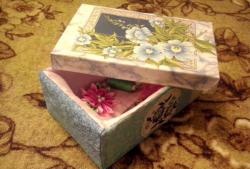
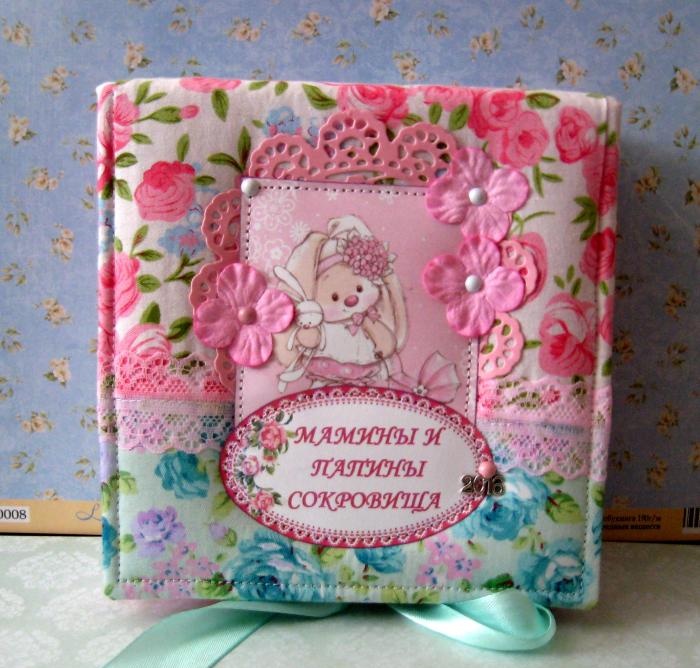
We close it and get just such a box for all sorts of different little things for your baby. You can also store photos and other small items in it. Thank you for your attention, see you again!
To create such a box we need to take:
• 15*15 cm two blanks and 5*15 cm 1 blank from bookbinding cardboard;
• Sintepon;
• Pink and mint fabric of good quality, we use cotton made in Korea;
• Light pink lace;
• Pink die-cut paper napkin;
• Card with a cute bunny;
• White and pink metal brads;
• Pink paper hydrangea flowers;
• Ruler, glue stick, scissors, double-sided tape, simple pencil, eraser, adhesive tape effect glue;
• Color card “Mom and Dad’s Treasures” (it is made in Photoshop);
• Metal pendant 2016;
• Light pink and mint satin ribbons;
• Lighter;
• White cardboard;
• Watercolor paper 33.5*33.5 cm;
• Scrappaper in pink tone, two sheets;
• Ink pad.


So, we have three blanks made of thick cardboard, using white cardboard we need to make one solid base of the box. To do this, we cut two strips of 4*15 cm of white cardboard, fold the binding parts as in the photo, smear the white cardboard with a glue stick and glue it between the binding parts.


We put it together and we get this base, we draw it with scissors several times at the bends so that the workpiece turns smoothly and beautifully into a box.


Turn over and glue the strips of double-sided tape.


Glue the padding polyester. Now we take the fabric, cut off the pink fabric in the center with reserves, and add mint pieces to the sides. We will sew wide lace between the fabrics at the junction, so we cut off two strips.


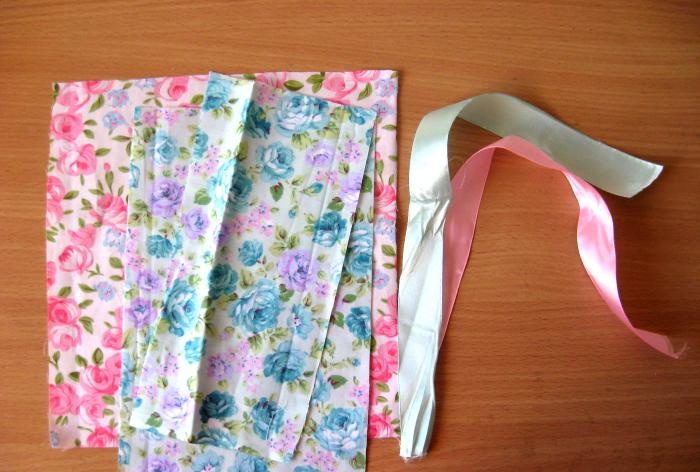
For the bow on the box, cut a piece of each ribbon and burn the edges with a lighter.


Now we need to iron both the fabric and the ribbons well. We sew the fabric into a continuous fabric, sew the lace between the fabrics.


Now we need to cover our base of the box with fabric, place the blank on the fabric like this, start spreading the corners, wrap it and glue it.


We also glue the tapes onto the inside with tape, one on that side, the second on the other.


We fold the box and try on the napkin, card and inscription. We will collect everything in this order on the cover. We tint the edges of the picture and the inscription.


From a large watercolor square we need to make the base of the box itself. We divide each side of the square into the following dimensions: 4.5 * 5 * 14.5 * 5 * 4.5 cm.


Now we connect all sides with invisible lines using scissors under a ruler.


We sew along the edge of the entire box, and also sew on a picture and a card. We fold the box and insert brads inside the flowers and fasten them around the picture. We also attach the suspension.


We cut a 14.5*22 cm rectangle from scrap paper and glue it inside the cover.


We place this blank under some weight. We prepared a watercolor base, cut off the excess at the corners.


We glue and sew a 14*14 cm square inside the base. Glue it together and we get a box like this.


From another paper we cut out three rectangles 5*14.5 cm and glue the box on three sides. We fold the cover of the box itself in two places and glue the base of the box into it.


We close it and get just such a box for all sorts of different little things for your baby. You can also store photos and other small items in it. Thank you for your attention, see you again!


Similar master classes
Particularly interesting
Comments (0)


