How to sew a simple apron
Parents of children attending municipal kindergartens often receive tasks from teachers: sew or knit clothes for dolls, paint the veranda, make various accessories for role-playing games, mental and physical development.
Let's say the teacher asked mom to sew a children's apron for a makeshift kitchen. But how to do this without special needlework skills? It turns out that not everything is so complicated. You just need a little patience and at least some working sewing machine.
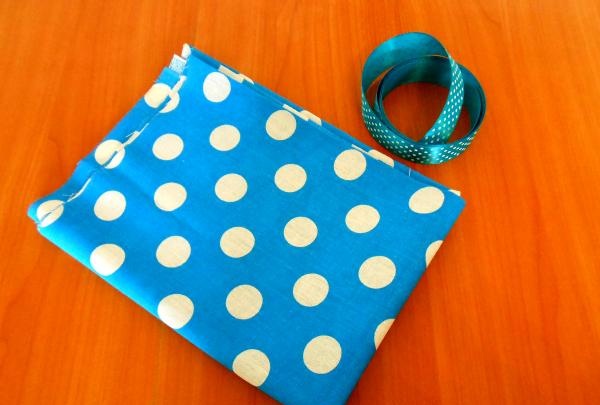
To create a children's apron with your own hands you will need:
- cotton material – 0.5 m;
- ribbon or braid for decoration – 1 m;
- thread, scissors, sewing machine.
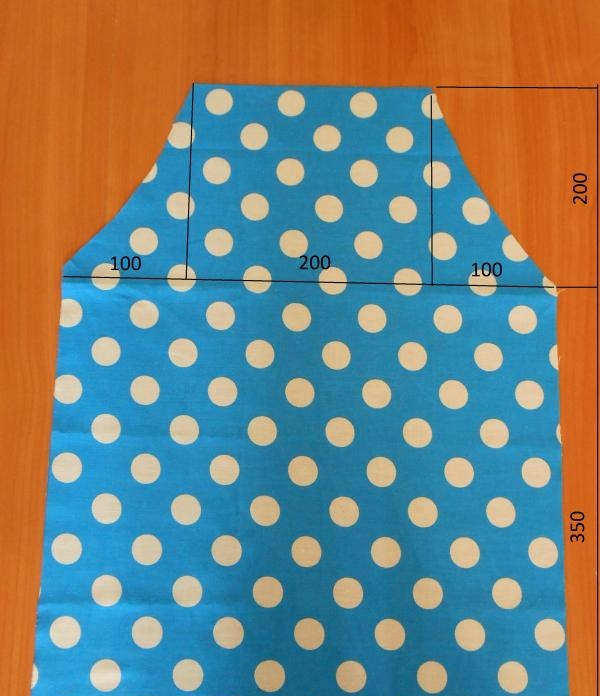
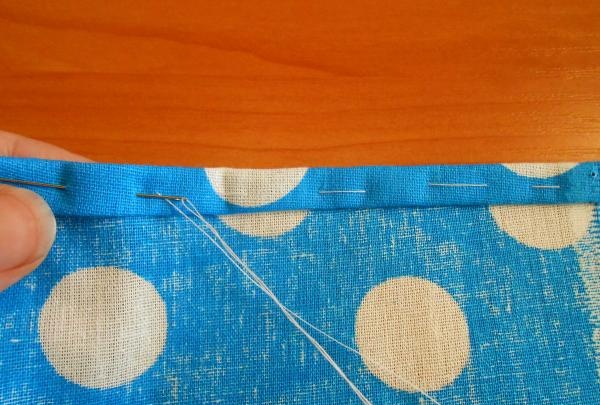
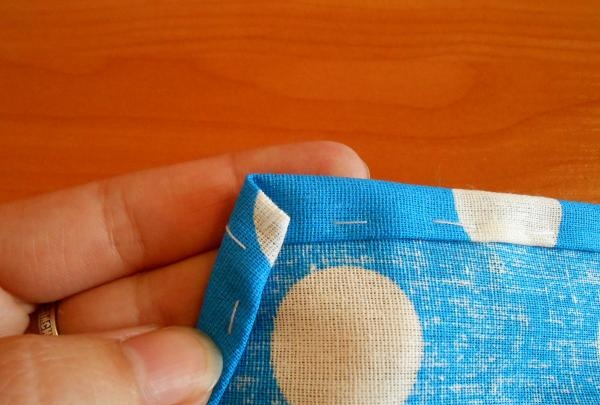
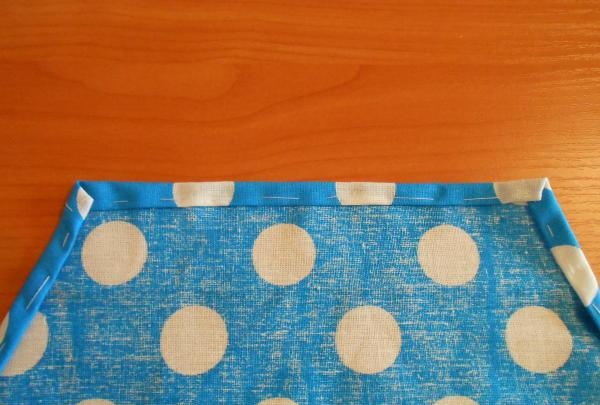
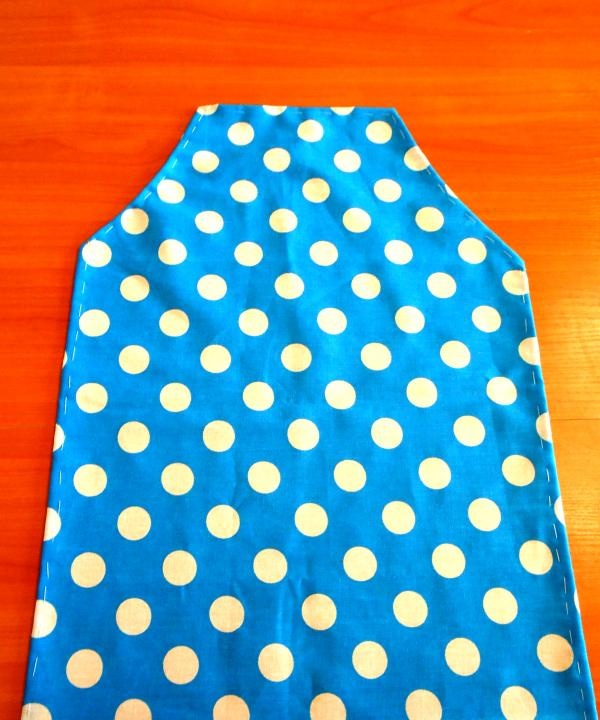
We cut out the blank for the future apron on the material. In this example, it is intended for a boy. The dimensions (in mm) indicated in the photo are suitable for making a finished apron for a child 4-6 years old. You can adjust the dimensions of the pattern and sew the product for a younger or older child. Don't forget to add allowances of 1-1.5 cm for hemming. We trim the edges of the apron with a double hem, paying special attention to the corners.
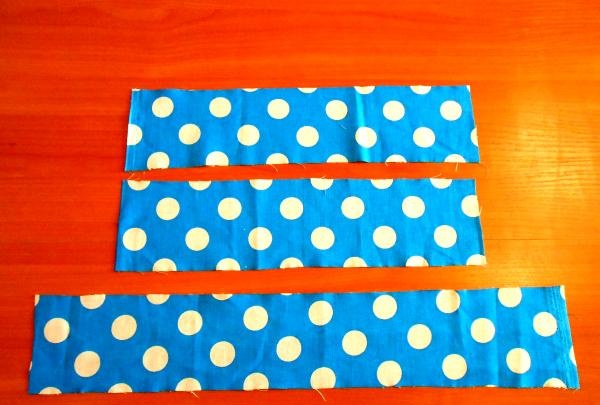
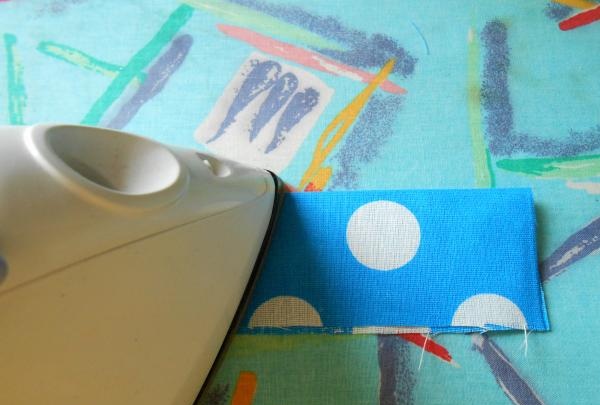
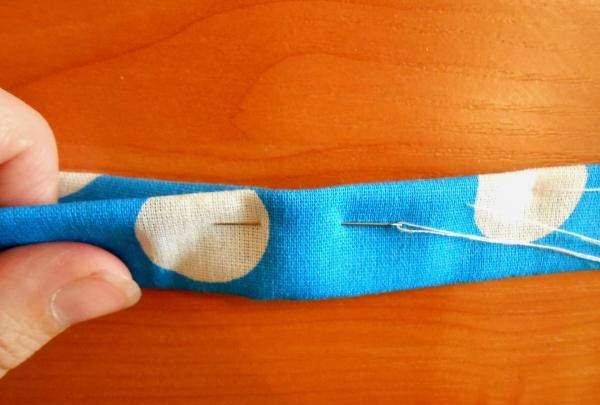
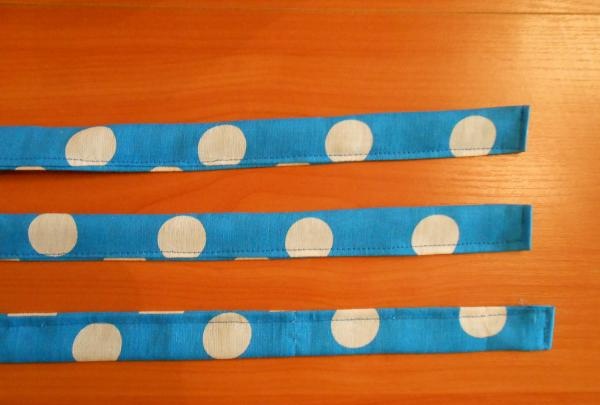
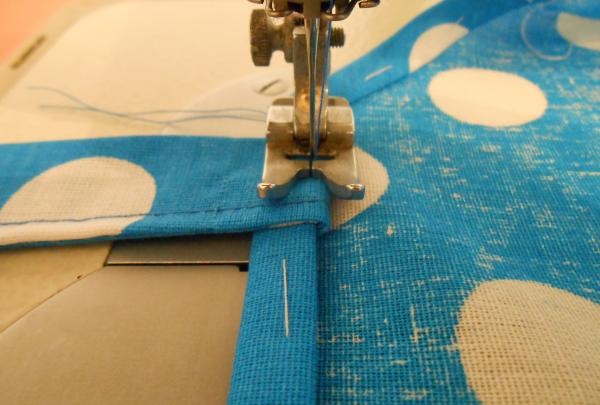
We prepare three blanks in the form of wide ribbons. Two of them (size 8x30 cm) are designed for ties at the waist. The third piece (size 8x45 cm) is for the neck. We fold the “ribbons” along the length and iron them with an iron. Fold each half again along the wrong side inward. We stitch by hand and then by machine. We get blanks 2 cm wide. The longer one is sewn at the top of the apron, the other two are sewn at the waist.
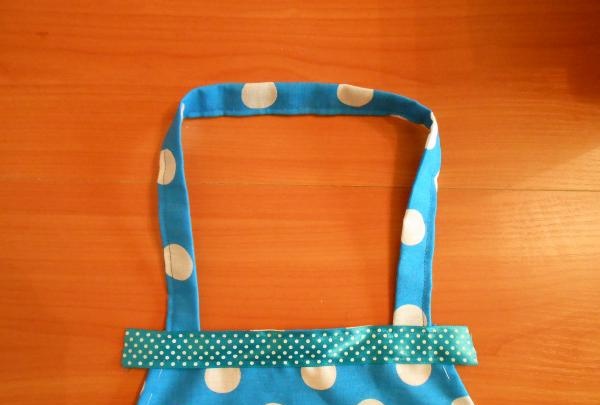
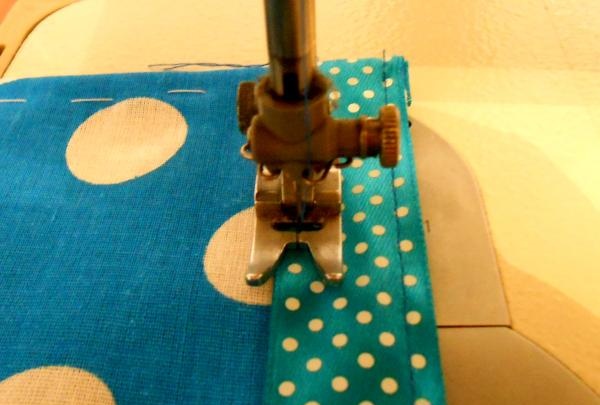
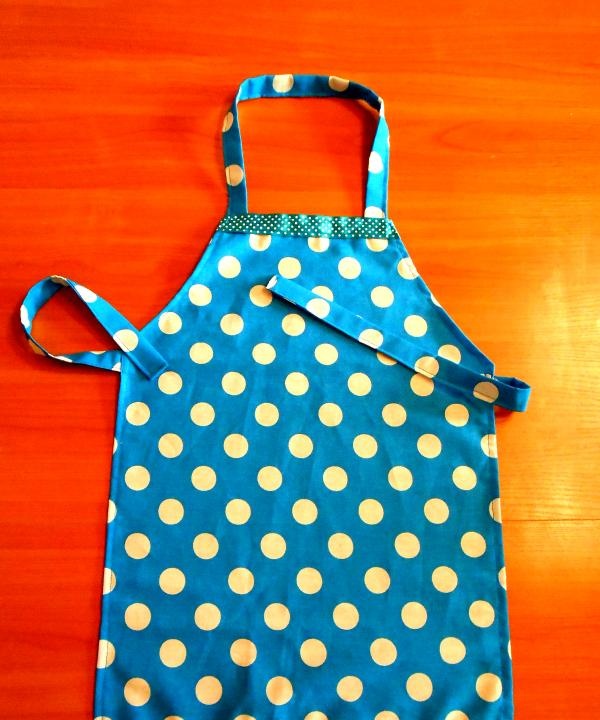
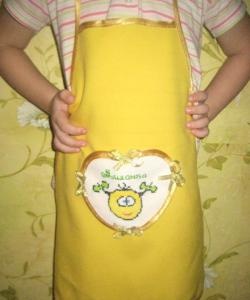
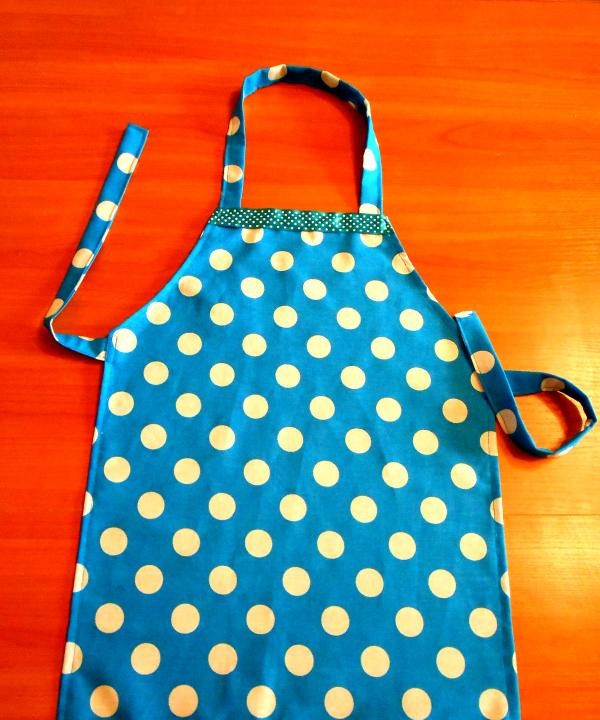
To decorate the product we use satin ribbon or braid. You can use your imagination, add a patch pocket, bows (if it’s an apron for a girl) or appliqué, sew on frills, etc. At the beginning and at the end of the lines it is necessary to make a double stitch so that the product does not “crawl” and can last a long time.
Let's say the teacher asked mom to sew a children's apron for a makeshift kitchen. But how to do this without special needlework skills? It turns out that not everything is so complicated. You just need a little patience and at least some working sewing machine.
To create a children's apron with your own hands you will need:
- cotton material – 0.5 m;
- ribbon or braid for decoration – 1 m;
- thread, scissors, sewing machine.
We cut out the blank for the future apron on the material. In this example, it is intended for a boy. The dimensions (in mm) indicated in the photo are suitable for making a finished apron for a child 4-6 years old. You can adjust the dimensions of the pattern and sew the product for a younger or older child. Don't forget to add allowances of 1-1.5 cm for hemming. We trim the edges of the apron with a double hem, paying special attention to the corners.


We prepare three blanks in the form of wide ribbons. Two of them (size 8x30 cm) are designed for ties at the waist. The third piece (size 8x45 cm) is for the neck. We fold the “ribbons” along the length and iron them with an iron. Fold each half again along the wrong side inward. We stitch by hand and then by machine. We get blanks 2 cm wide. The longer one is sewn at the top of the apron, the other two are sewn at the waist.


To decorate the product we use satin ribbon or braid. You can use your imagination, add a patch pocket, bows (if it’s an apron for a girl) or appliqué, sew on frills, etc. At the beginning and at the end of the lines it is necessary to make a double stitch so that the product does not “crawl” and can last a long time.

Similar master classes
Particularly interesting
Comments (0)

