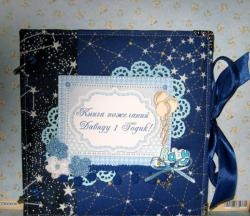
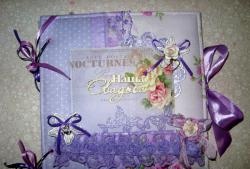
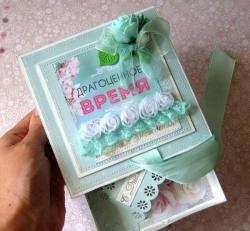
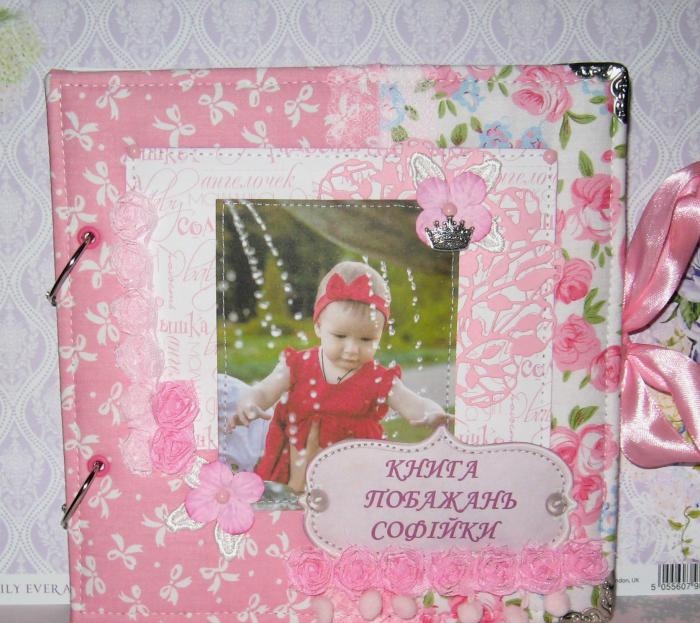
Children's book of wishes for a girl
Every mother dreams that her little princess’s first birthday will be unforgettable, that each guest will leave their wishes in a special book, so that after many years the parents and the birthday girl will be able to take this book and read all the wishes that the guests left for the year. baby. You can also paste in different photos from your first birthday so that this date remains with your wishes in a long memory. For such an event there is a special album-book called the “book of wishes.” You can make it yourself in any size and color, as well as the required number of leaves. Now we will consider such a master class.
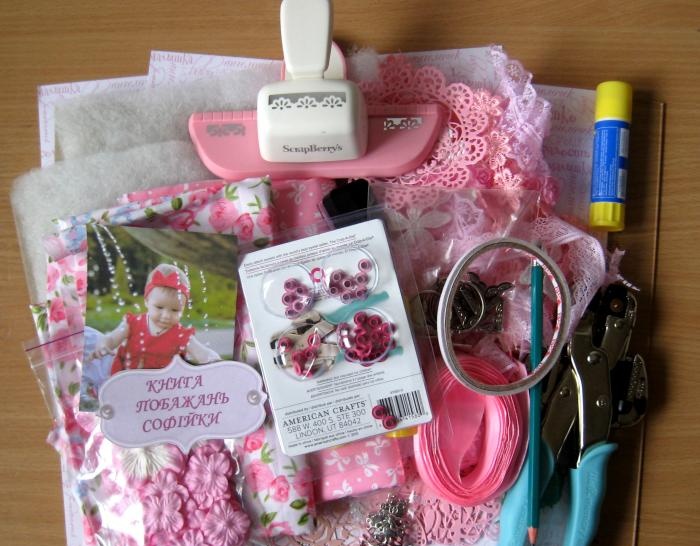
To make a book yourself, we take:
• 20*20 cm two binding sheets of cardboard;
• Two pink fabrics, take good cotton with a white bow, and the second with beautiful pink flowers;
• Sintepon;
• Two sheets of pink scrap paper 30*30 cm;
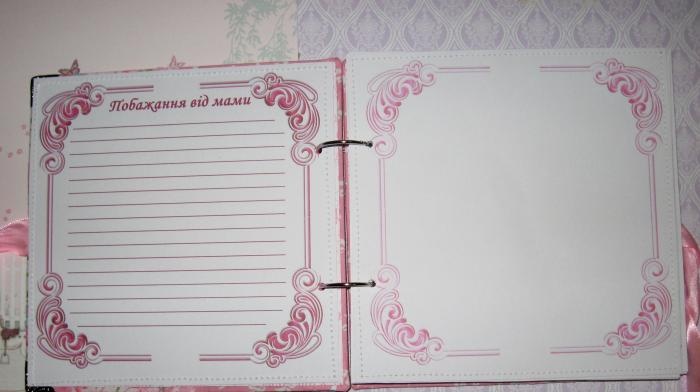
• Printed pages for photos and for places with wishes, we take 20 pieces each, so that in the end we have 20 stitched leaves;
• A pair of metal rings with a diameter of 35 mm;
• Four metal corners;
• Four pink eyelets and they require an installer;
• Pink delicate lace;
• Two photographs printed on whatman paper, as well as a personal inscription;
• Curb hole punch;
• Double-sided tape;
• Light pink and pink ribbons with chiffon roses;
• Light pink ribbon with pompoms;
• Light pink satin ribbon 25 mm wide;
• Metal crown pendant;
• Pink metal brads;
• Pink cut out napkin;
• Pink hydrangea flowers;
• Glue stick;
• Water-based glue;
• Scissors, ruler, eraser, pencil.
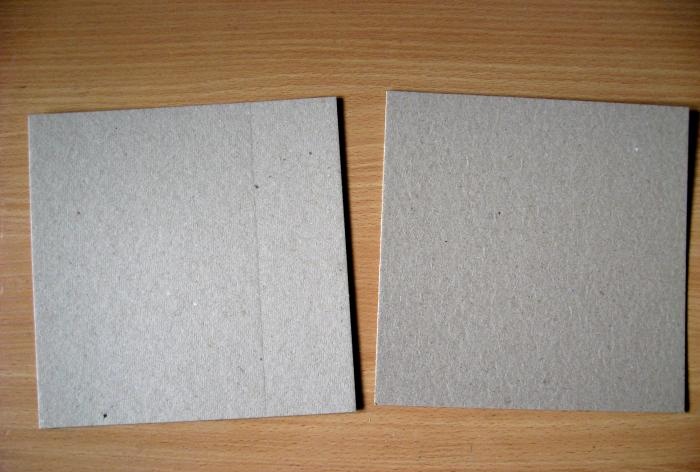
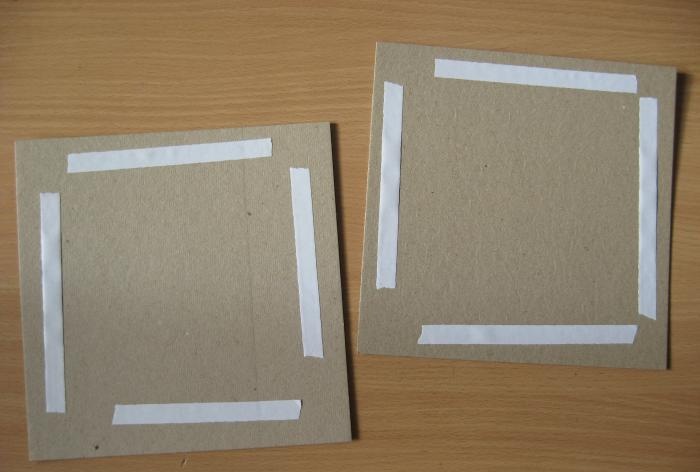
We will start by gluing strips of double-sided tape onto the cardboard blanks in order to glue the padding polyester.
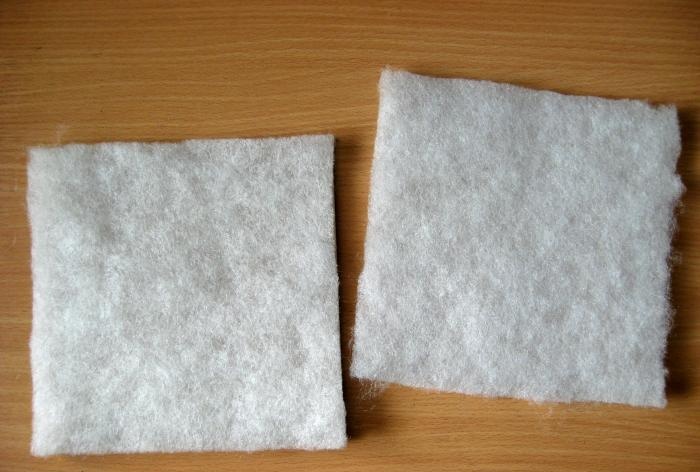
We glue the padding polyester squares and get soft bases. Now we need to cut a piece of fabric and lace for each blank to wrap the cover with fabric.
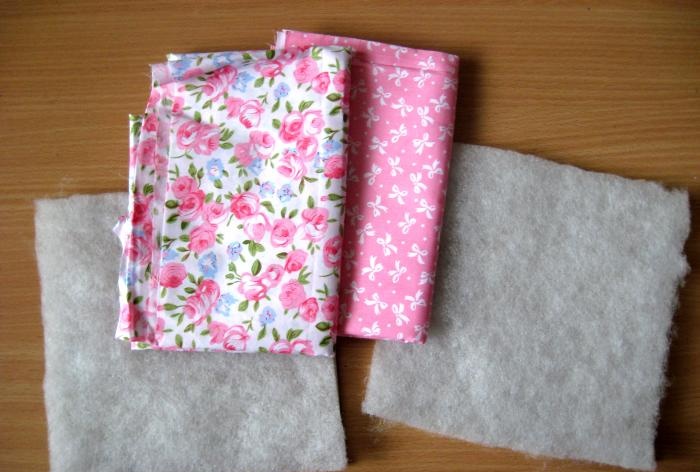
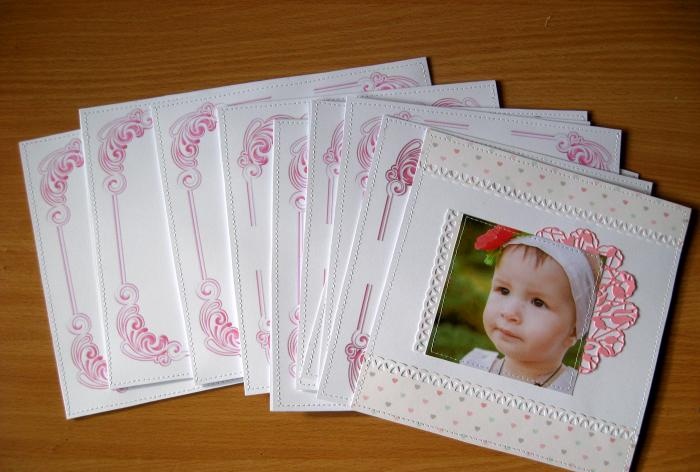
We cut it off, tried it on, and make sure to leave a 2 cm margin on all sides. We cut all the pages at the edges exactly so that we get equal squares of 19.5 * 19.5 cm. Take one page with a ruler, and one page with a frame and glue them together with a strip of double-sided tape.
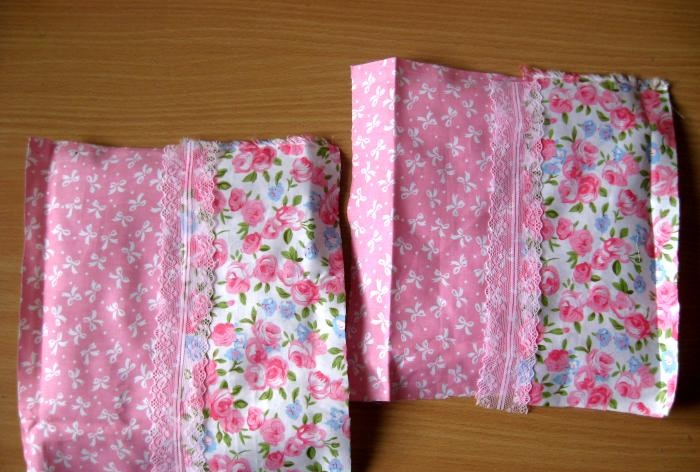
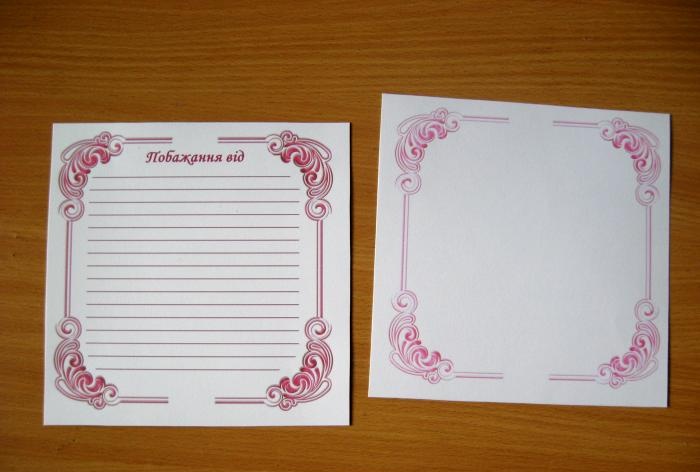
We sew all the sheets together in pairs.
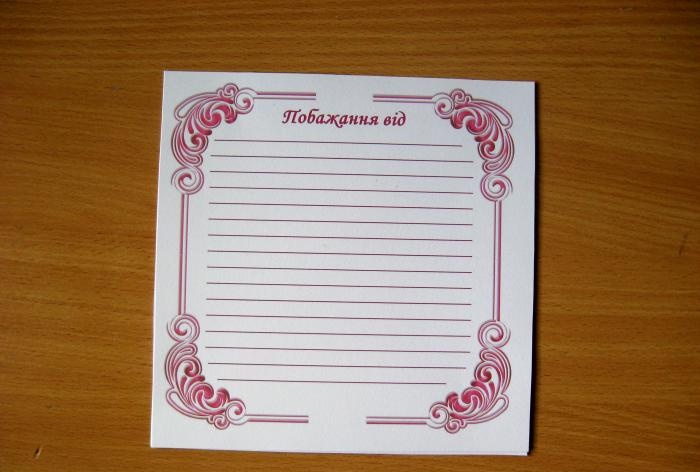
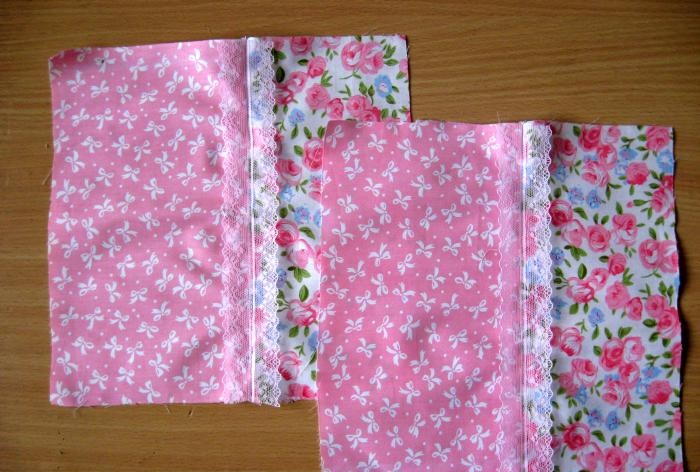
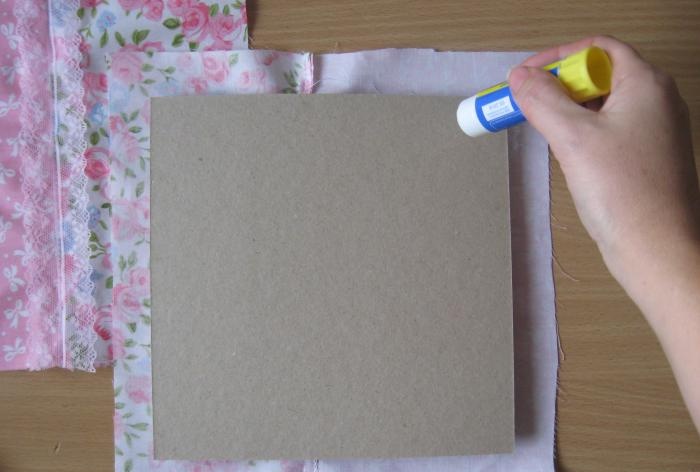
We iron the pieces of fabric, then sew them together in pairs and sew lace at the joint. Now we glue the solid blanks to the fabric using a glue stick. We start gluing from the corners.
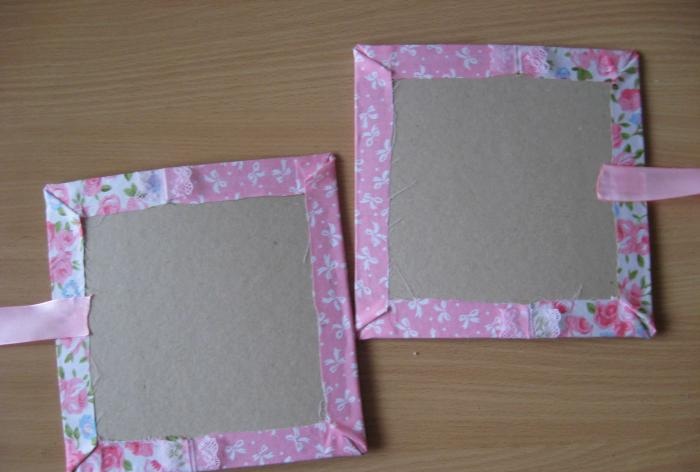
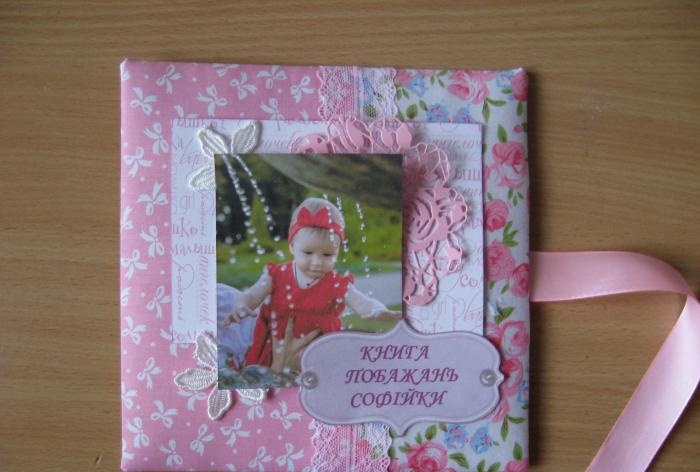
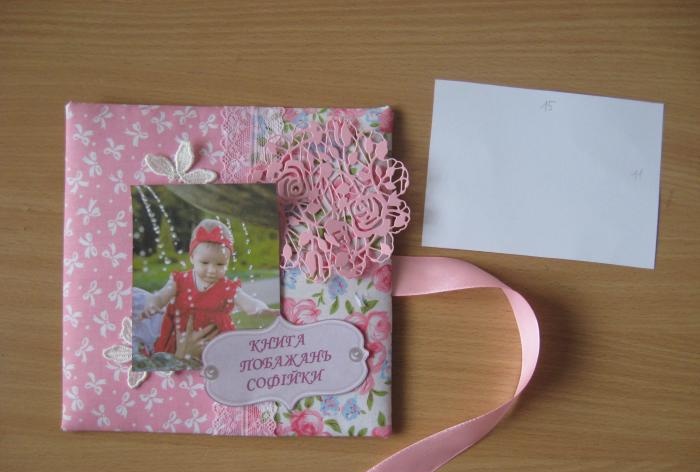
In the center, on both blanks we glue a strip of tape. Now we need to try on the design of the front side of the book. First, cut a piece of paper, then a napkin with flowers, a photo and an inscription on top.
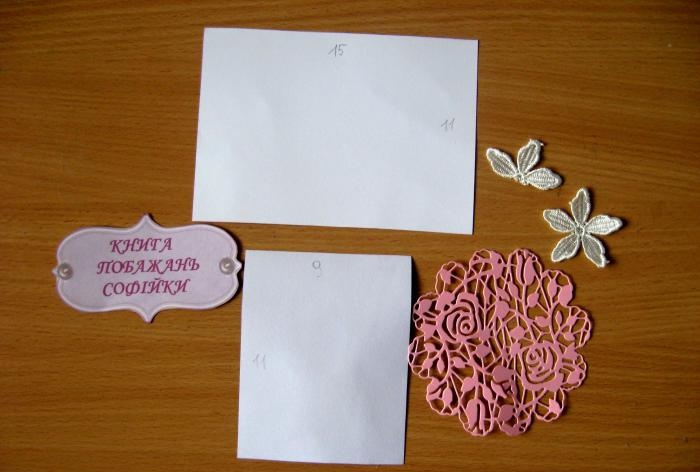
Paper and photo sizes are as follows.
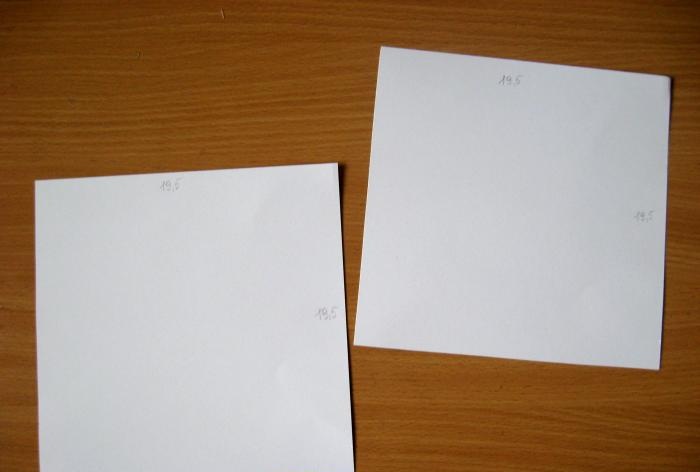
Inside for the cover we need two squares 19.5*19.5 cm.We sew on the cover design, as well as both parts of the cover along the edges.
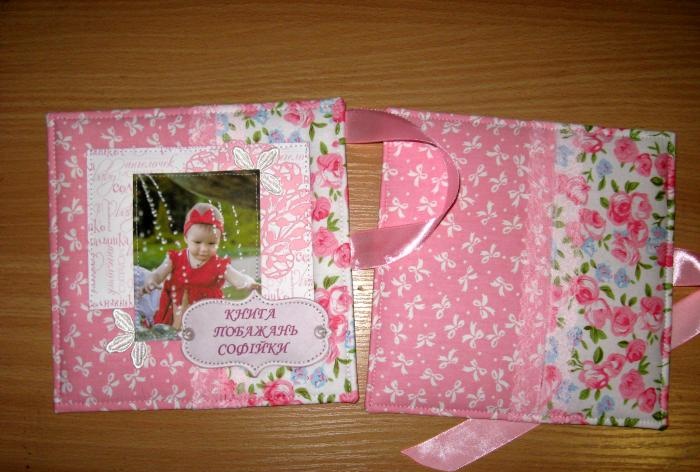
We glue squares of scrap paper inside the covers and place them under something heavy for a while.
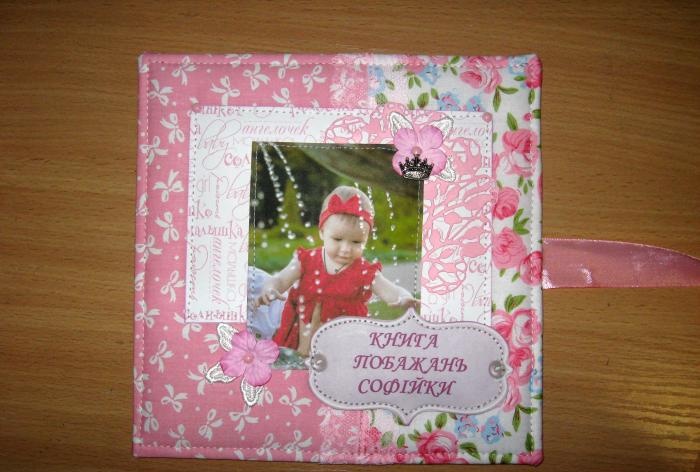
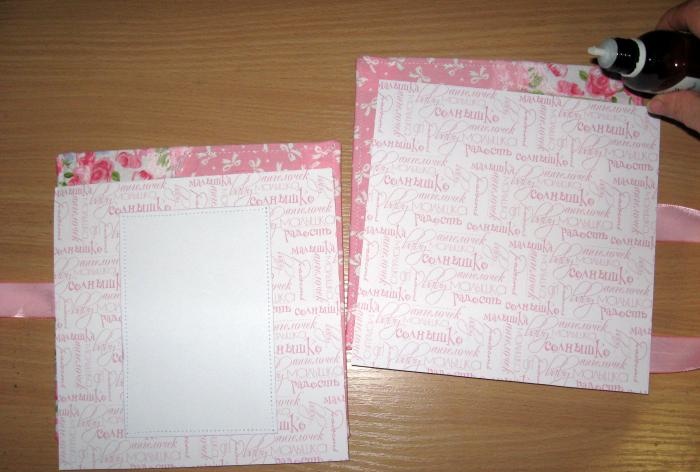
Now we make two holes on the cover, install eyelets, and attach eyelets at the same distance to the other one.
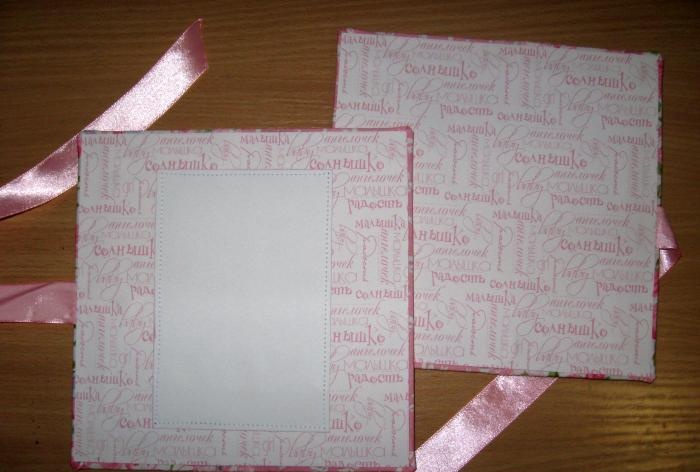
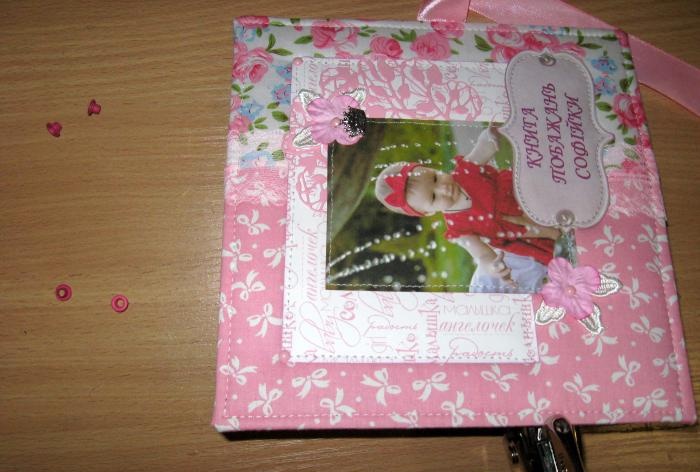
We put the corners on the cover.
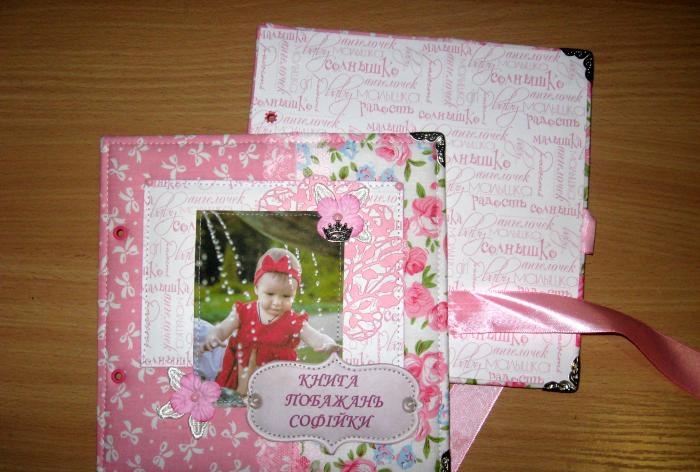
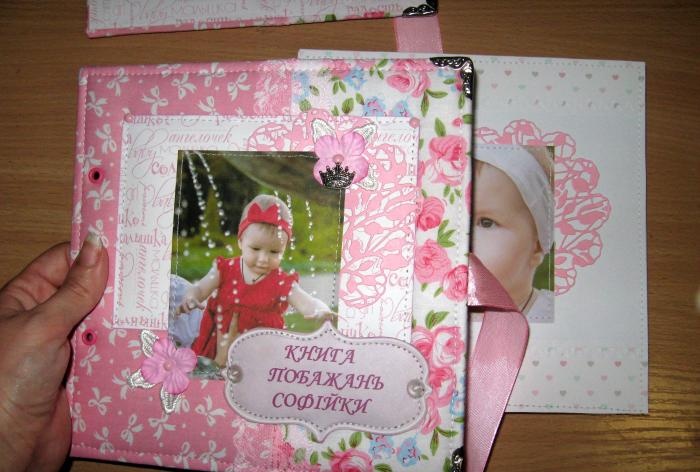
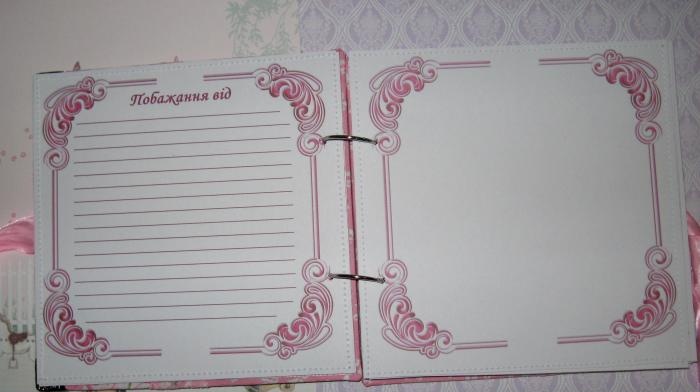
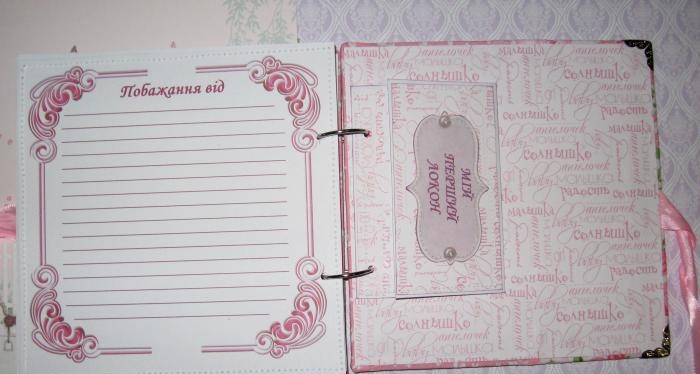
Now we make holes on all pages. You can also add an envelope for the curl.
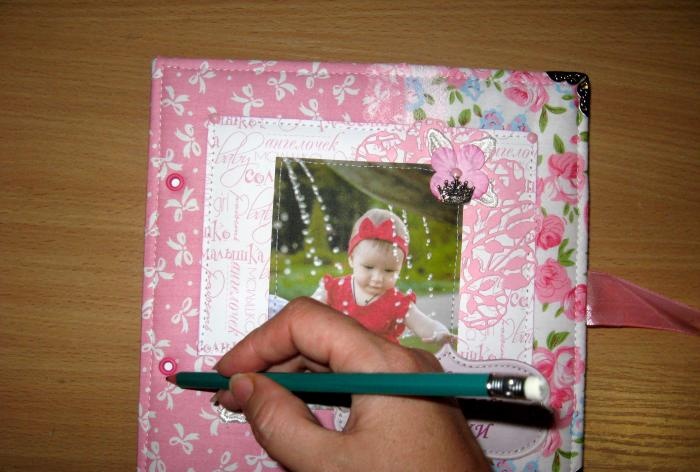
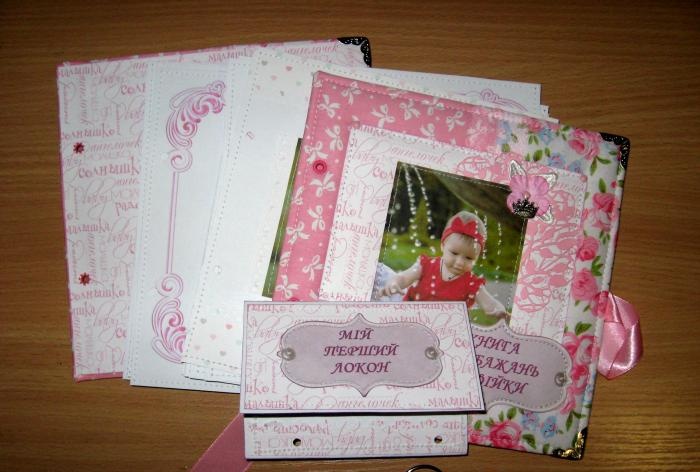
We collect the book on rings. Now glue on some decorations and you're done.
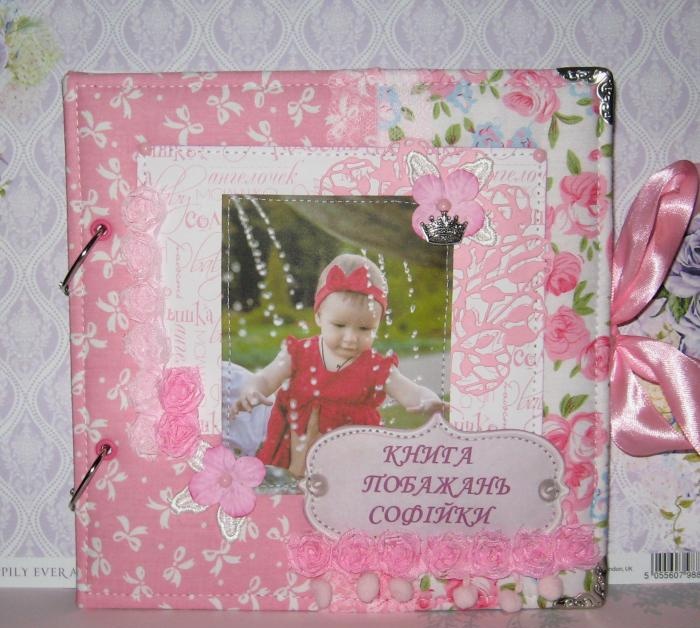
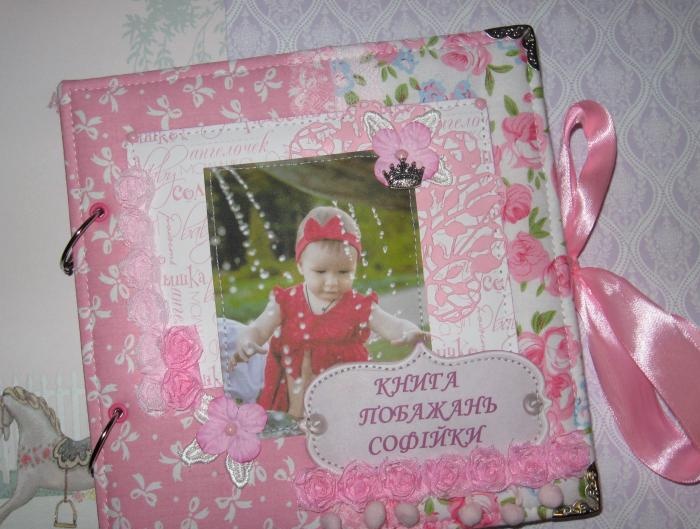
Thank you for your attention and good luck to everyone!
To make a book yourself, we take:
• 20*20 cm two binding sheets of cardboard;
• Two pink fabrics, take good cotton with a white bow, and the second with beautiful pink flowers;
• Sintepon;
• Two sheets of pink scrap paper 30*30 cm;
• Printed pages for photos and for places with wishes, we take 20 pieces each, so that in the end we have 20 stitched leaves;
• A pair of metal rings with a diameter of 35 mm;
• Four metal corners;
• Four pink eyelets and they require an installer;
• Pink delicate lace;
• Two photographs printed on whatman paper, as well as a personal inscription;
• Curb hole punch;
• Double-sided tape;
• Light pink and pink ribbons with chiffon roses;
• Light pink ribbon with pompoms;
• Light pink satin ribbon 25 mm wide;
• Metal crown pendant;
• Pink metal brads;
• Pink cut out napkin;
• Pink hydrangea flowers;
• Glue stick;
• Water-based glue;
• Scissors, ruler, eraser, pencil.


We will start by gluing strips of double-sided tape onto the cardboard blanks in order to glue the padding polyester.


We glue the padding polyester squares and get soft bases. Now we need to cut a piece of fabric and lace for each blank to wrap the cover with fabric.


We cut it off, tried it on, and make sure to leave a 2 cm margin on all sides. We cut all the pages at the edges exactly so that we get equal squares of 19.5 * 19.5 cm. Take one page with a ruler, and one page with a frame and glue them together with a strip of double-sided tape.


We sew all the sheets together in pairs.


We iron the pieces of fabric, then sew them together in pairs and sew lace at the joint. Now we glue the solid blanks to the fabric using a glue stick. We start gluing from the corners.


In the center, on both blanks we glue a strip of tape. Now we need to try on the design of the front side of the book. First, cut a piece of paper, then a napkin with flowers, a photo and an inscription on top.


Paper and photo sizes are as follows.


Inside for the cover we need two squares 19.5*19.5 cm.We sew on the cover design, as well as both parts of the cover along the edges.


We glue squares of scrap paper inside the covers and place them under something heavy for a while.


Now we make two holes on the cover, install eyelets, and attach eyelets at the same distance to the other one.


We put the corners on the cover.


Now we make holes on all pages. You can also add an envelope for the curl.


We collect the book on rings. Now glue on some decorations and you're done.


Thank you for your attention and good luck to everyone!


Similar master classes
Particularly interesting
Comments (0)

