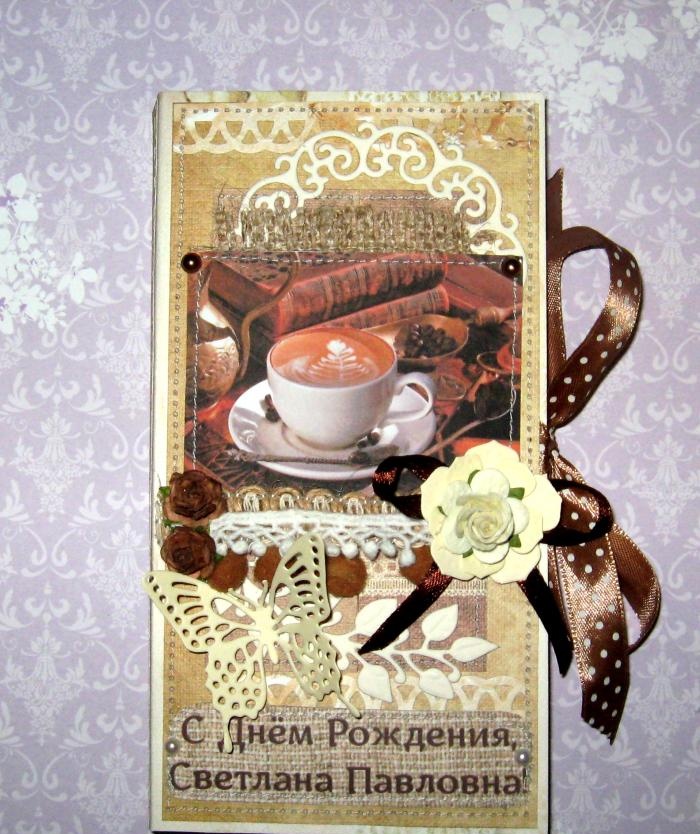
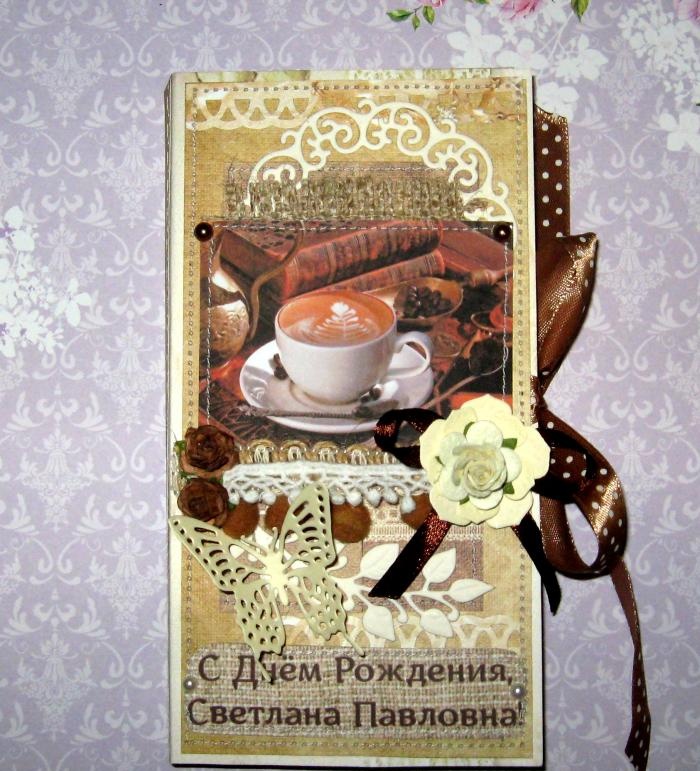
Coffee card-chocolate holder
There are quite a few people among us who are true connoisseurs and true gourmets of coffee. Many people cannot even imagine the morning without a cup of freshly brewed coffee. For them, the day is not considered to begin without their favorite drink. There is also a category of people who drink coffee occasionally, but simply adore the smell of coffee beans. It’s not for nothing that they even let you smell the coffee beans when you choose a perfume, so that the smells don’t mix with each other and you can choose the right one that’s right for you. Also, quite a lot of cosmetics with coffee aromas are now being produced, including soap, shower gels, and creams. For gourmets, this is a true pleasure to not only taste the taste of your favorite drink, but also smell your favorite aroma. For example, you need to congratulate a coffee lover on some holiday, and what interesting things can you present to him besides a jar of coffee. A good addition to such a gift is chocolate. Nowadays, so-called postcards called “chocolate girls” are relevant for chocolates. They contain a chocolate bar and in appearance they look a little like a flat-shaped box.
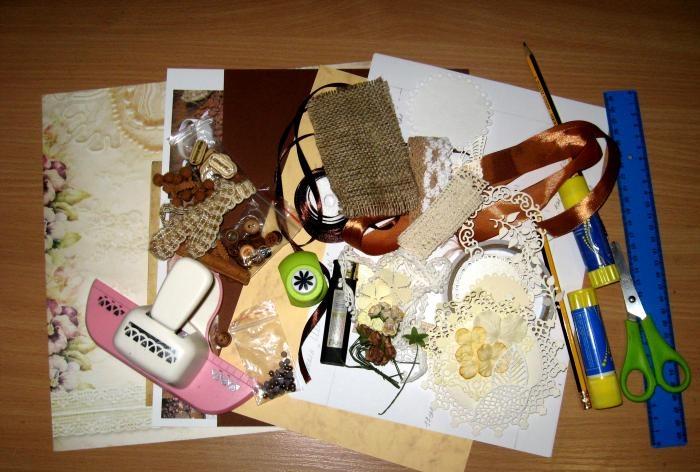
Now we will look at a master class on making a “chocolate box” in a coffee style. To make it we need to take:
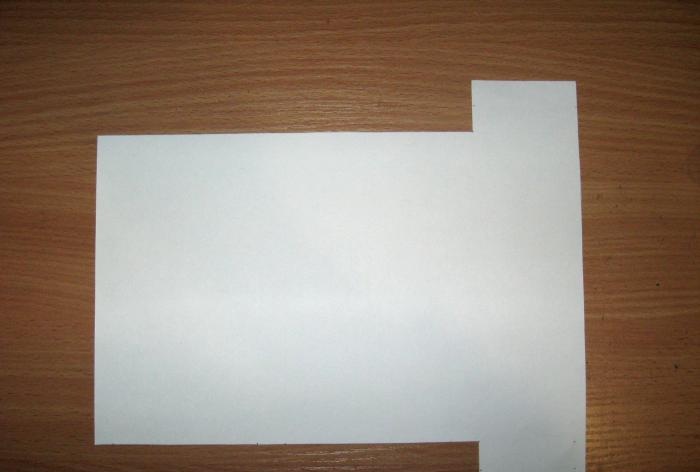
We lay out the diagram in front of us. Take a large sheet of scrap paper and turn it over with the design facing down.
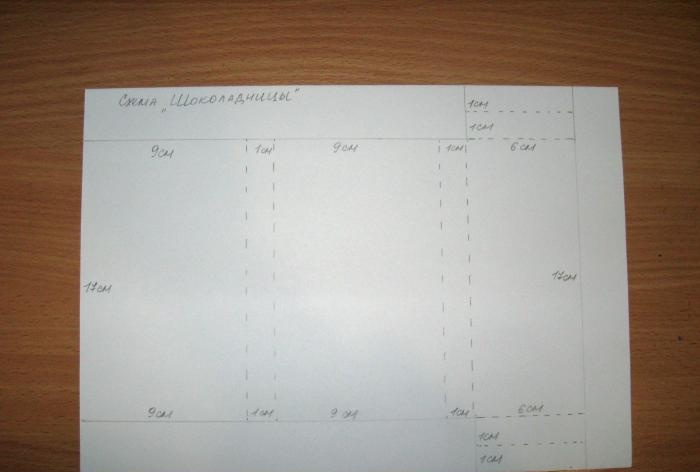
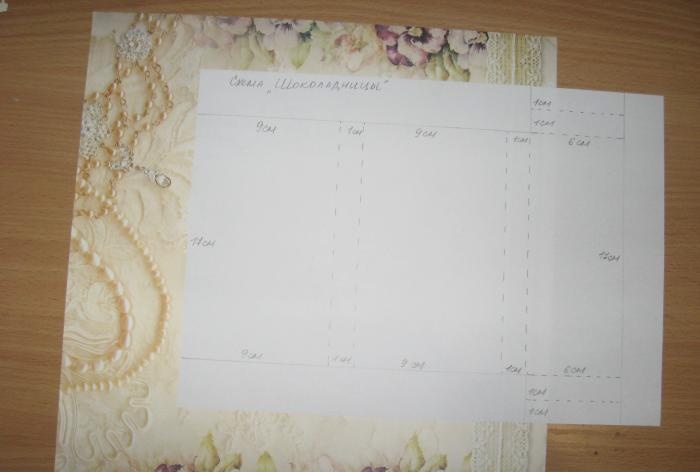
We transfer all the dimensions from the diagram onto scrap paper. We draw bend lines.
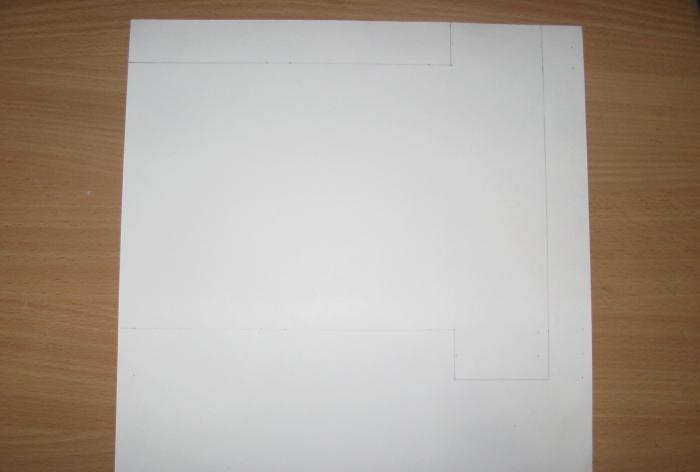
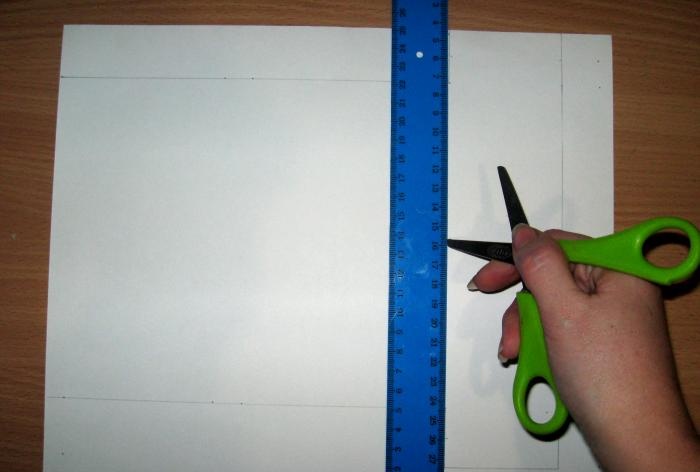
Let's cut out our base. Let's add it up and get this base.
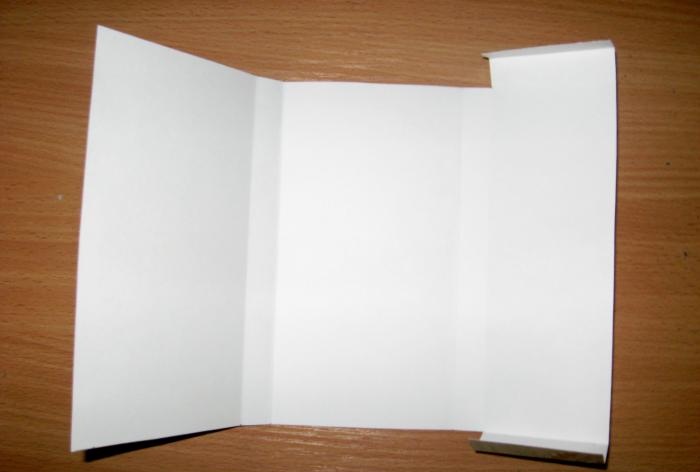
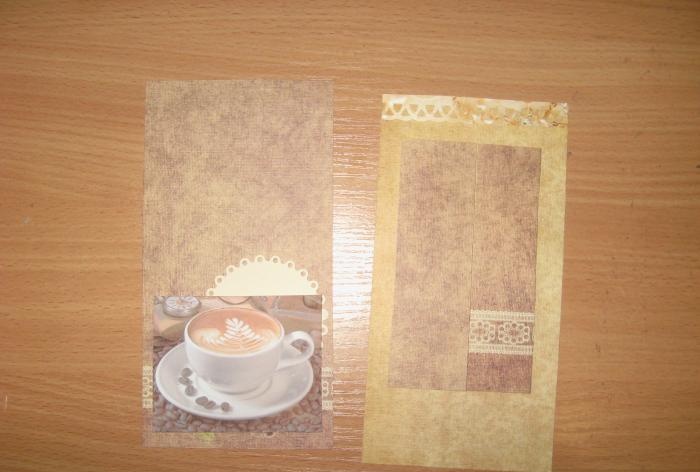
Now we take smaller scrap paper and cut out these rectangles. We also use a hole punch to make lace strips.
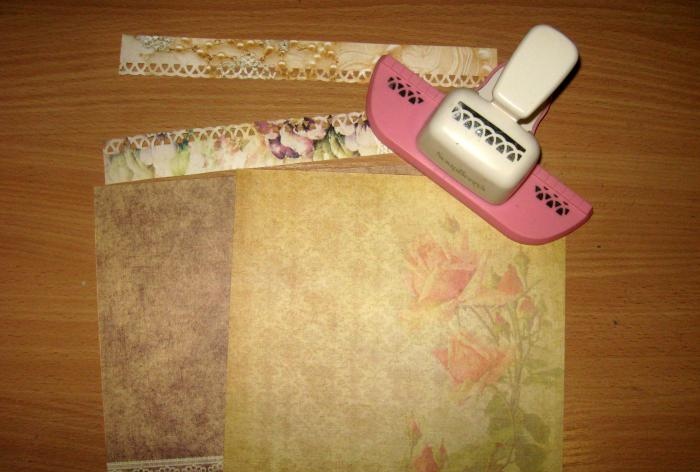
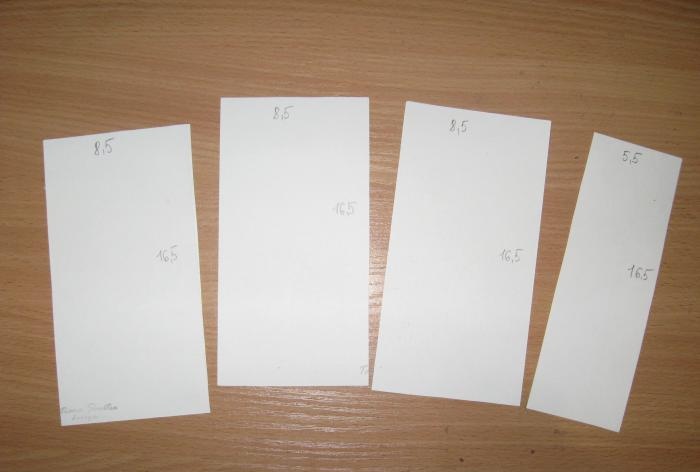
We will decorate two rectangles. Glue pictures, cutting, burlap and inscription.
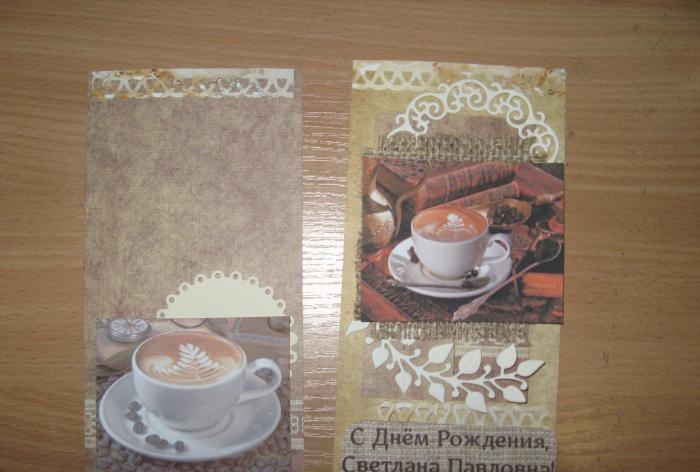
Cut two strips of tape and glue them on the back.
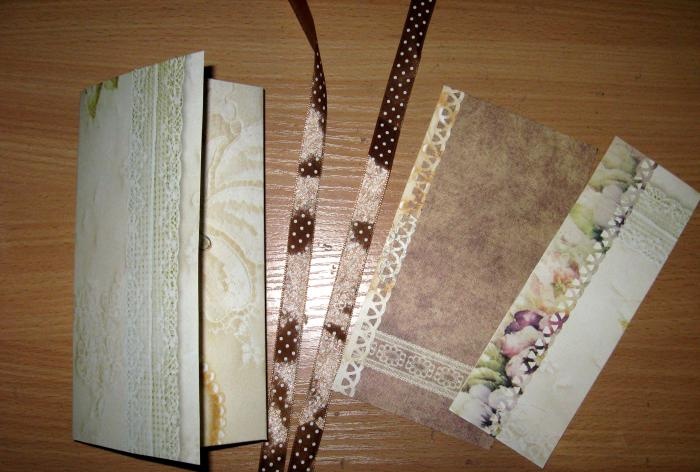
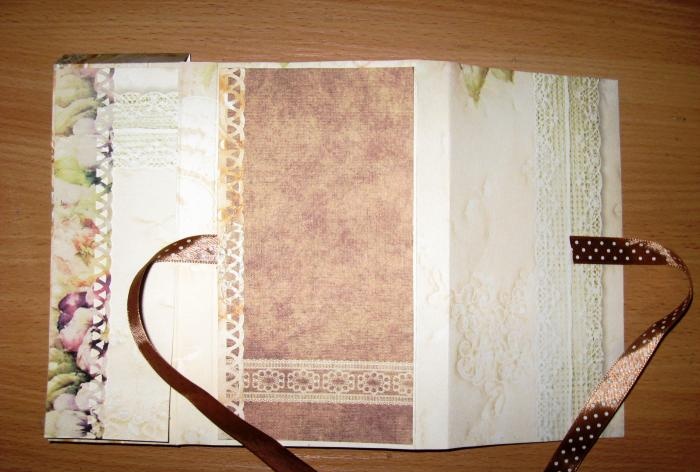
We sew the pictures. Now we glue all our rectangles onto the base. Sew on each side.
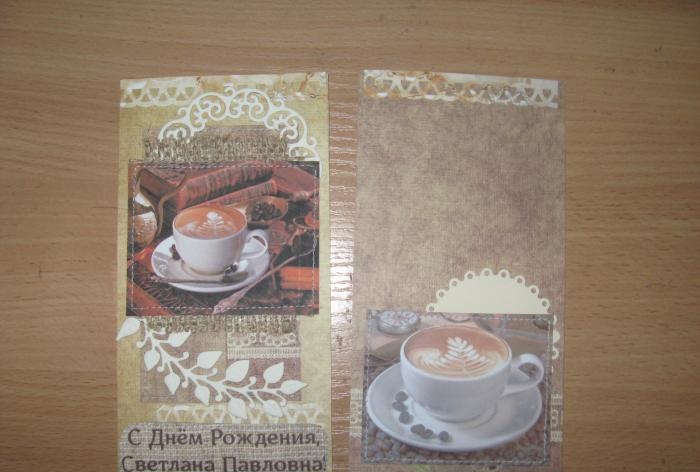
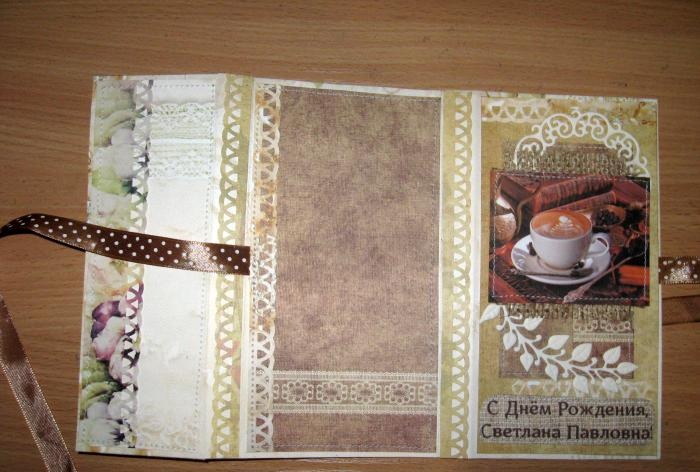
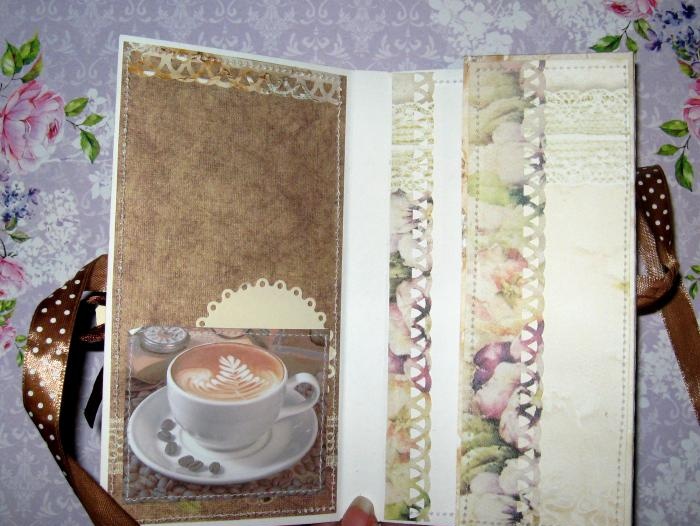
Now we coat the tails with a glue stick and glue the pocket of our chocolate bowl.
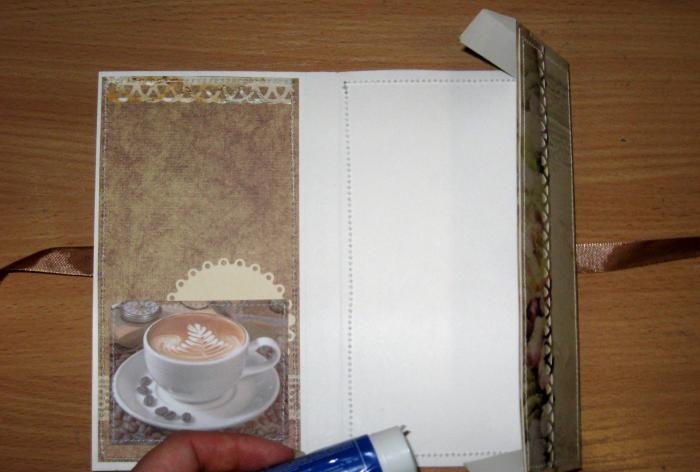
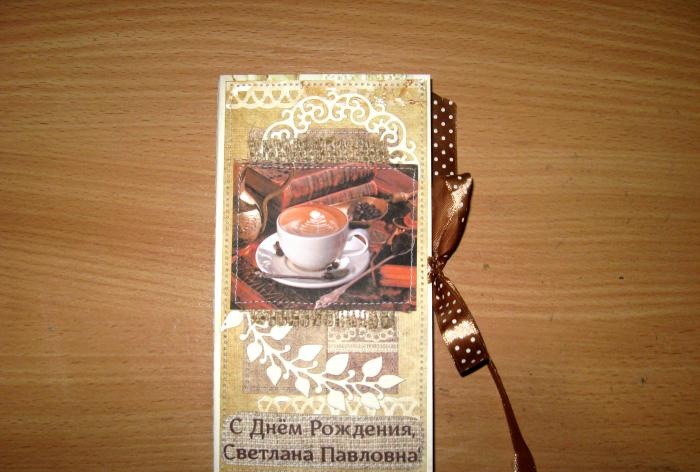
Now we decorate with flowers, lace, butterfly and bow. Now all that remains is to glue the whole decor and the chocolate bowl is completely ready. We select the birthday boy’s favorite chocolate, put it inside, you can also write a few nice lines of wishes and you’re done. Thank you all for your attention, I hope it turned out very interesting and informative, see you again!

Now we will look at a master class on making a “chocolate box” in a coffee style. To make it we need to take:
- Scrappaper sizes 30*30 cm and 20*20 cm in brown-beige color;
- Brown satin ribbon with polka dots;
- Chocolate pot diagram;
- Picture with a cup of coffee;
- Cut out elements: twig, openwork circle, butterfly, flowers;
- An inscription printed with the name of the birthday person;
- A piece of burlap;
- Brown and white pompom ribbons;
- Lace with twine;
- Brown pearl half beads;
- Roses are beige and brown;
- Lace border hole punch;
- Glue stick;
- Double-sided tape;
- Ruler, scissors, pencil.


We lay out the diagram in front of us. Take a large sheet of scrap paper and turn it over with the design facing down.


We transfer all the dimensions from the diagram onto scrap paper. We draw bend lines.


Let's cut out our base. Let's add it up and get this base.


Now we take smaller scrap paper and cut out these rectangles. We also use a hole punch to make lace strips.


We will decorate two rectangles. Glue pictures, cutting, burlap and inscription.


Cut two strips of tape and glue them on the back.


We sew the pictures. Now we glue all our rectangles onto the base. Sew on each side.


Now we coat the tails with a glue stick and glue the pocket of our chocolate bowl.


Now we decorate with flowers, lace, butterfly and bow. Now all that remains is to glue the whole decor and the chocolate bowl is completely ready. We select the birthday boy’s favorite chocolate, put it inside, you can also write a few nice lines of wishes and you’re done. Thank you all for your attention, I hope it turned out very interesting and informative, see you again!


Similar master classes
Particularly interesting
Comments (0)


