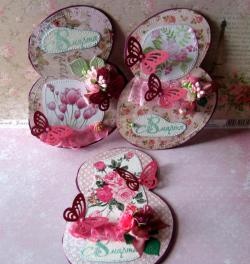
Beautiful and gentle card
Often we also give a greeting card with a gift, with poems prepared in advance. These cards are similar to each other. Over time, looking at it, it is difficult to remember who gave it. You won’t be able to surprise with such a postcard. It's another matter if you do it yourself.
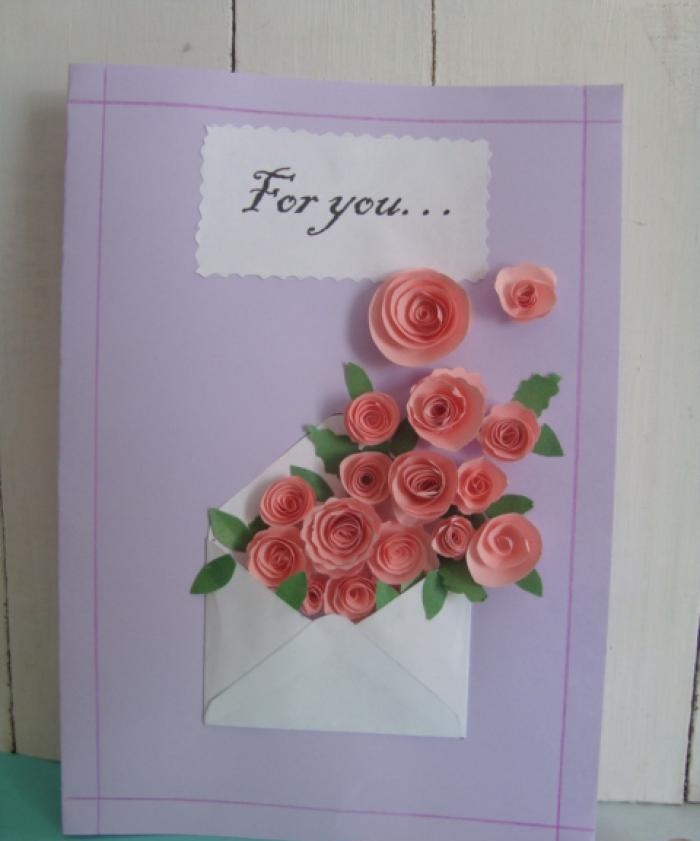
For this we need:
- colored sheet A4 (lilac, white, pink, green);
- glue;
- pencil (felt-tip pen);
- regular and curly scissors.
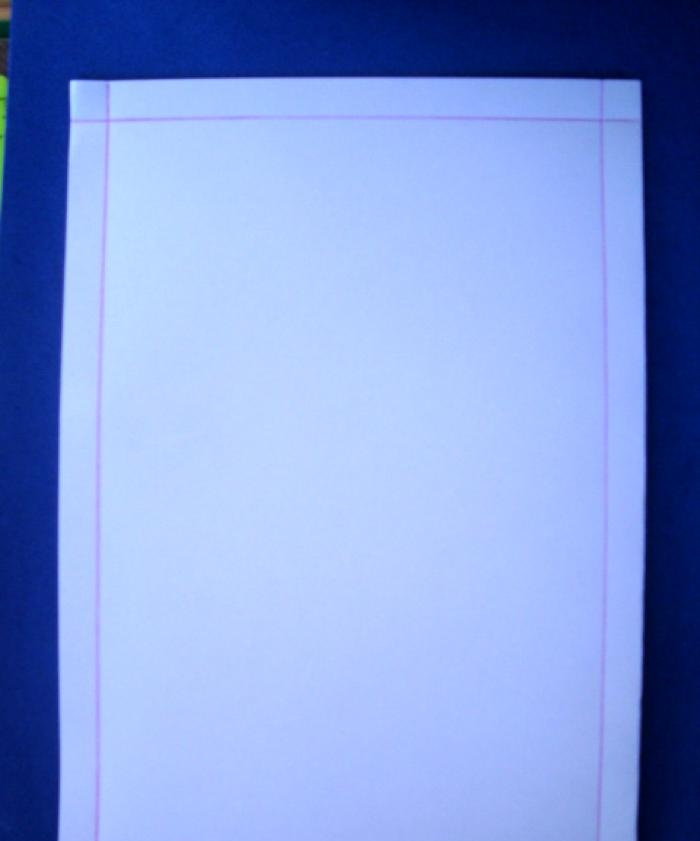
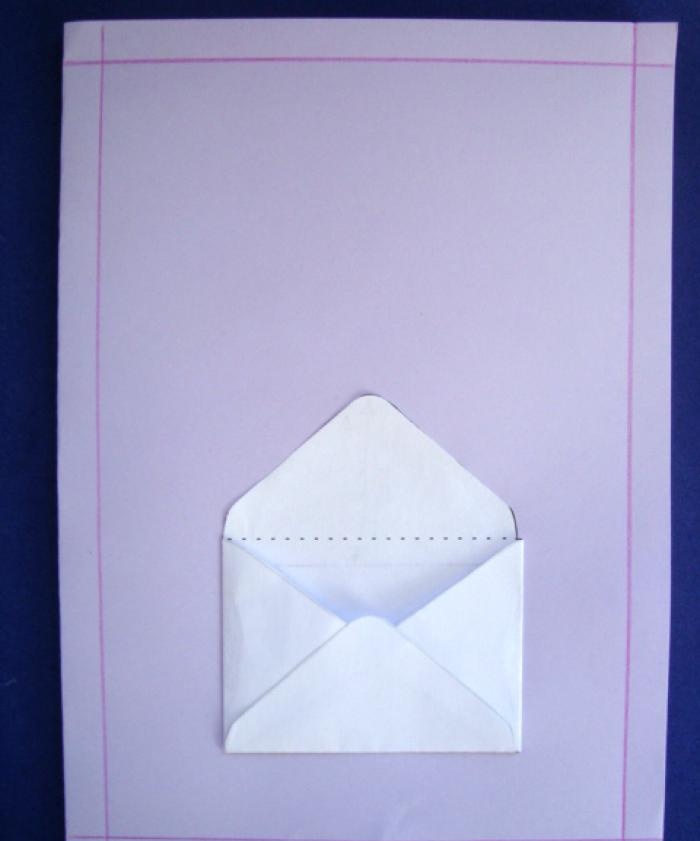
Step 1. Fold the lilac sheet in half, retreating 1 cm along the edges, draw a frame.
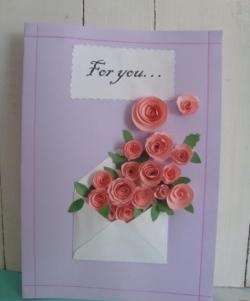
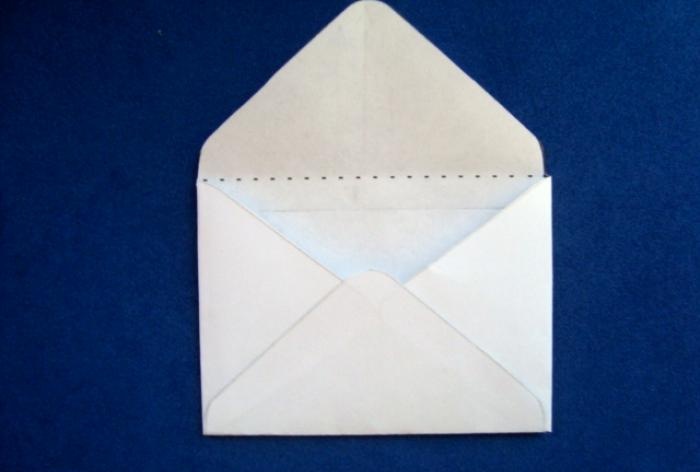
Step 2. Draw an envelope as shown in the photo.
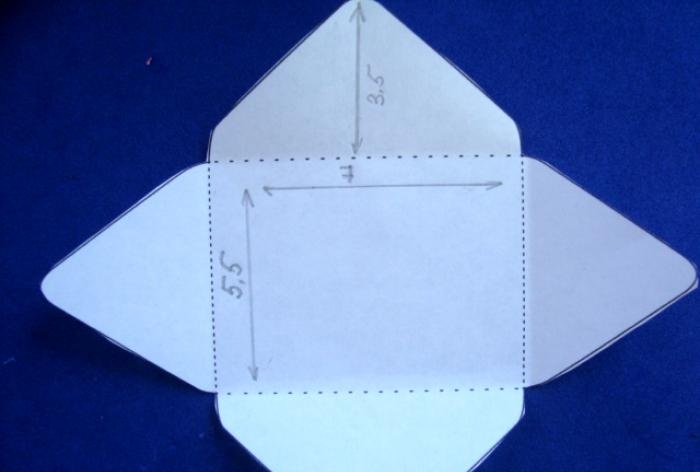
Step 3. Glue the envelope and glue it to the postcard base.
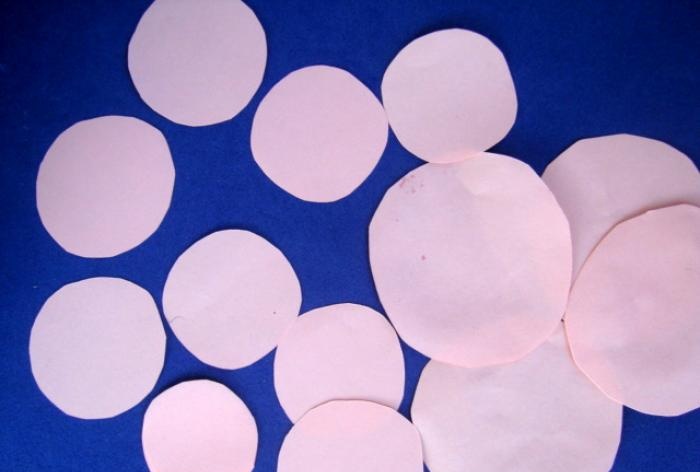
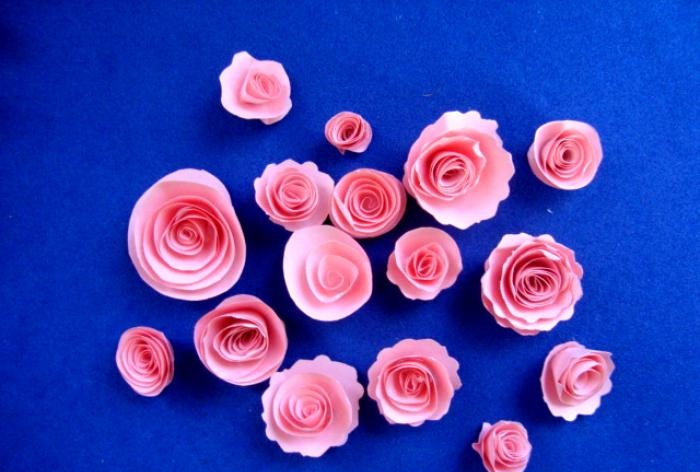
Step 4. Cut out circles of different diameters from a pink sheet. There can be any number of them (the number of circles you make, the number of roses there will be).
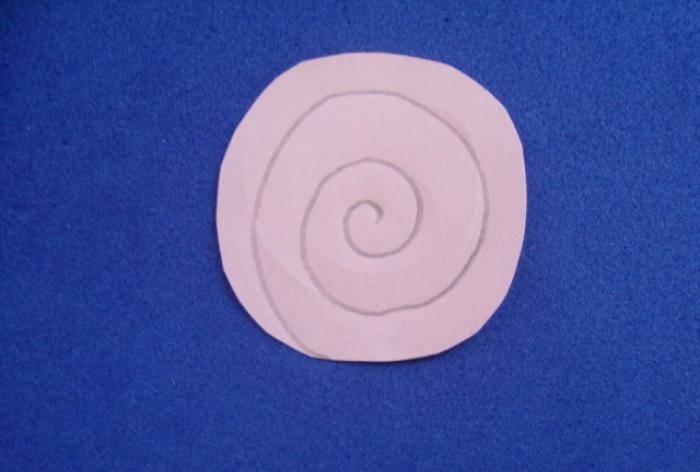
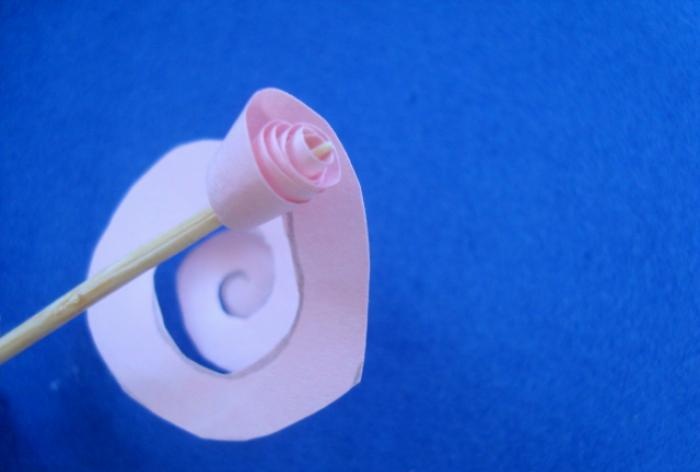
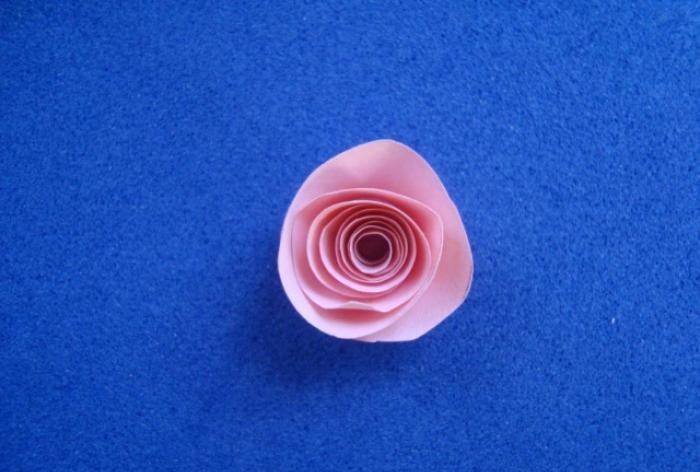
Step 5. Make a rose from the pink circle. We cut the circle in a spiral. Gently roll it into a circle, pressing with your fingers (it’s easier to roll it with a skewer). At the end, apply glue to the last turn. Thus, we make all the roses.
Step 6. You can also cut out several roses using curly scissors.
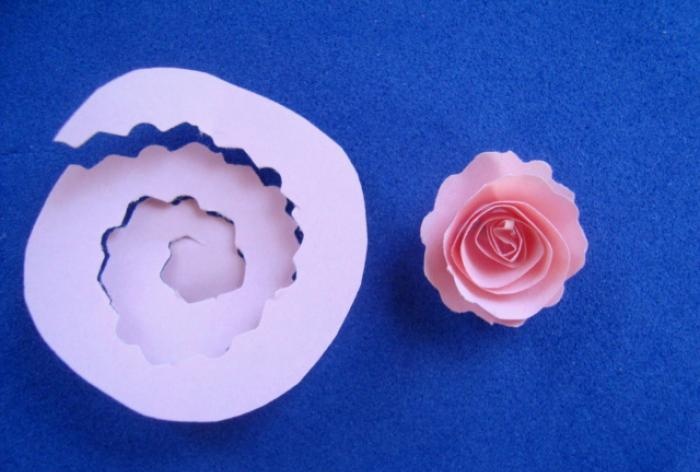
Step 7. The roses are ready!
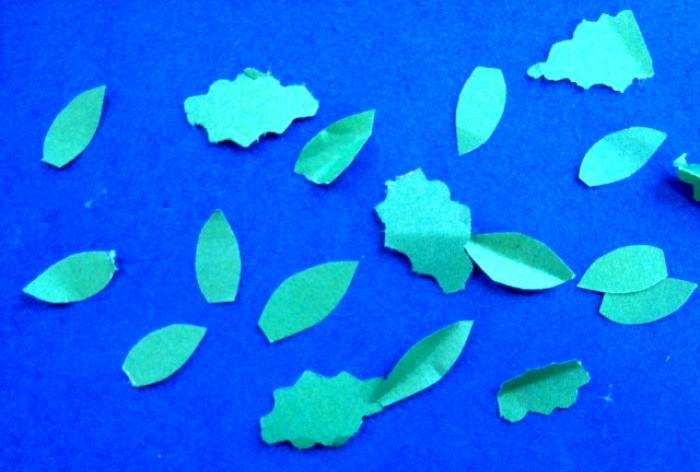
Step 8. Now let's move on to the leaves.We also cut them out using regular and curly scissors.
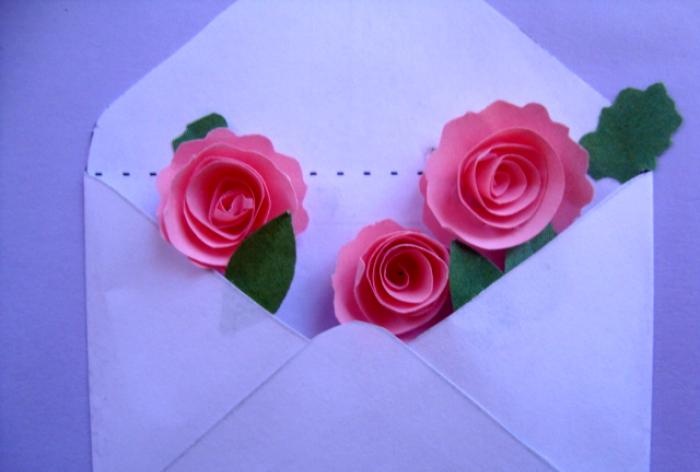
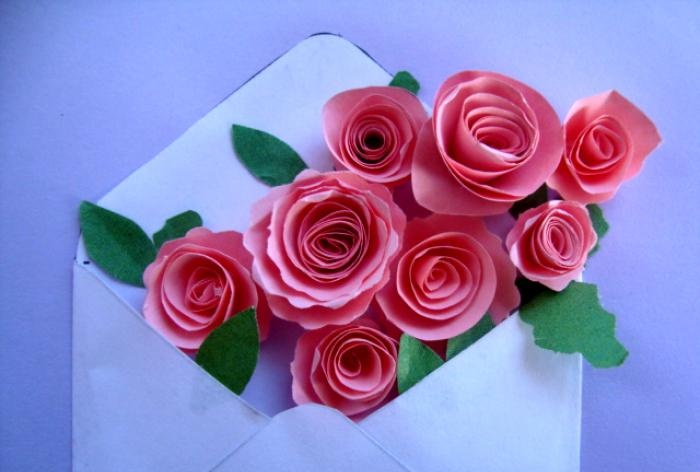
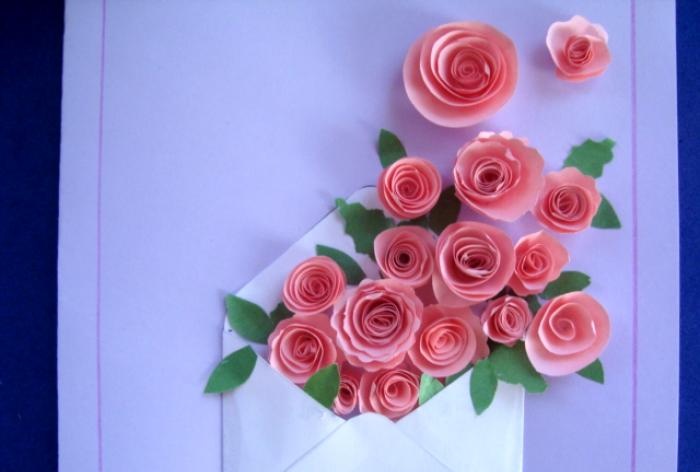
Step 9. We begin to glue the roses, as shown in the photo. At the same time, do not forget about the leaves.
Step 10. Let’s make the inscription “For you” (which is translated from English as “For you”). You can print it on a printer or write it yourself. Cut out with curly scissors.
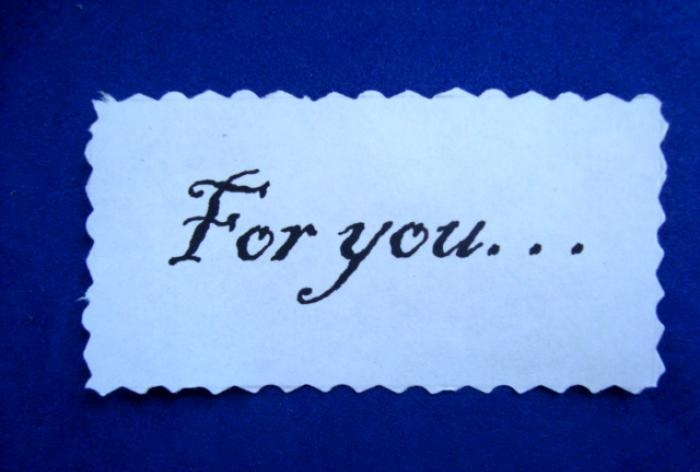
Step 11. Glue the inscription to the card.
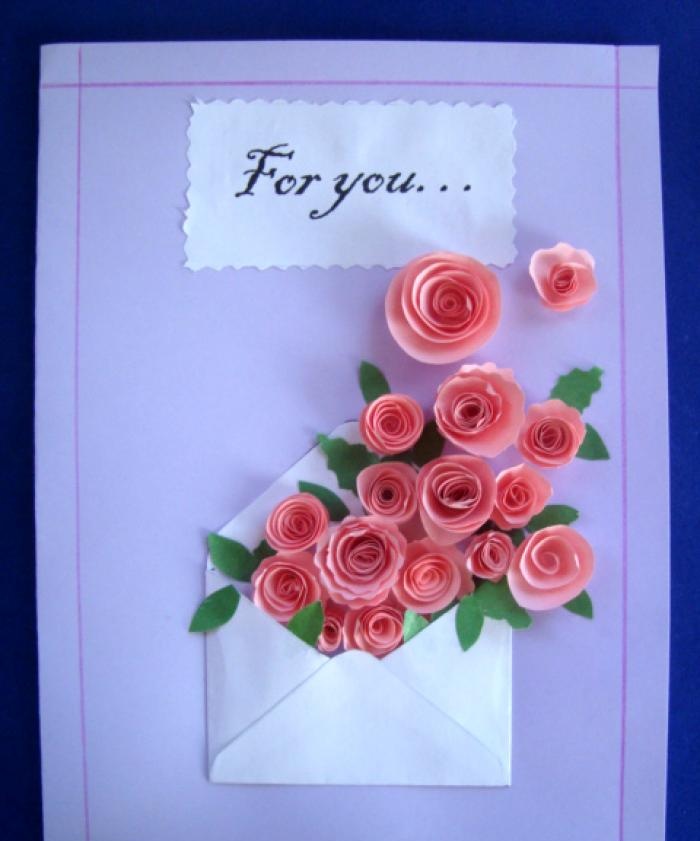
Ready! The card turned out very tender and unusual, everyone will like it.
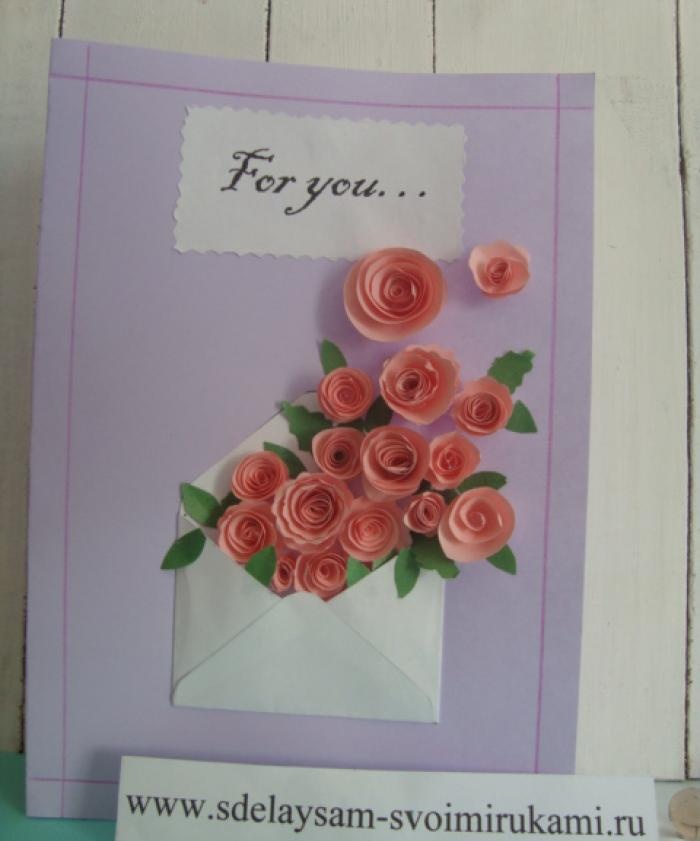
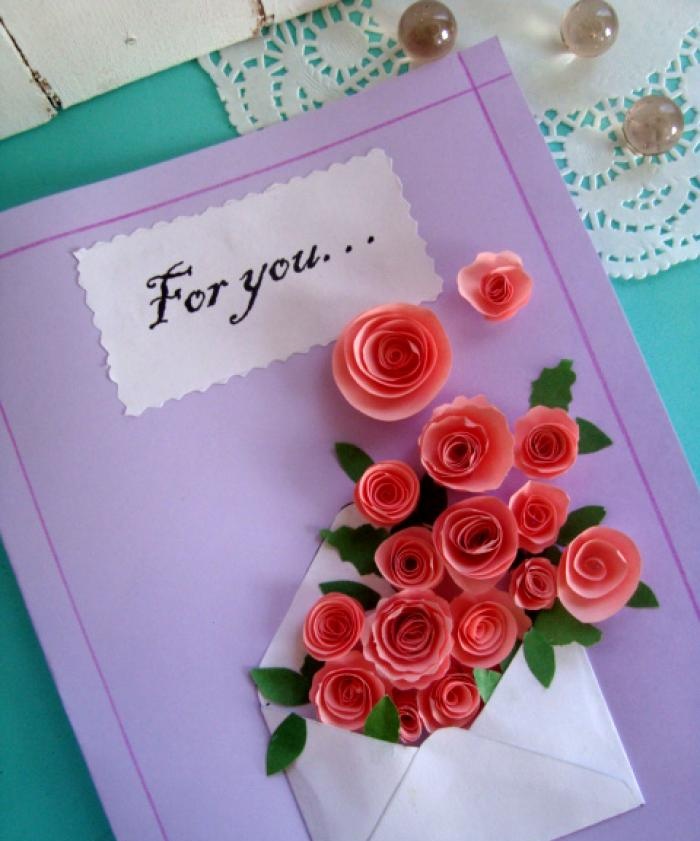

I wish you creative success!

For this we need:
- colored sheet A4 (lilac, white, pink, green);
- glue;
- pencil (felt-tip pen);
- regular and curly scissors.
Step 1. Fold the lilac sheet in half, retreating 1 cm along the edges, draw a frame.

Step 2. Draw an envelope as shown in the photo.

Step 3. Glue the envelope and glue it to the postcard base.


Step 4. Cut out circles of different diameters from a pink sheet. There can be any number of them (the number of circles you make, the number of roses there will be).

Step 5. Make a rose from the pink circle. We cut the circle in a spiral. Gently roll it into a circle, pressing with your fingers (it’s easier to roll it with a skewer). At the end, apply glue to the last turn. Thus, we make all the roses.


Step 6. You can also cut out several roses using curly scissors.

Step 7. The roses are ready!

Step 8. Now let's move on to the leaves.We also cut them out using regular and curly scissors.

Step 9. We begin to glue the roses, as shown in the photo. At the same time, do not forget about the leaves.


Step 10. Let’s make the inscription “For you” (which is translated from English as “For you”). You can print it on a printer or write it yourself. Cut out with curly scissors.

Step 11. Glue the inscription to the card.

Ready! The card turned out very tender and unusual, everyone will like it.


I wish you creative success!
Similar master classes
Particularly interesting
Comments (1)

