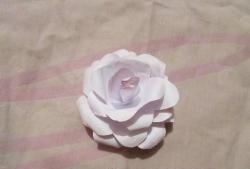
Lush flower made of circles
A beautiful and lush paper flower can become both a decorative element of a greeting card and an decoration for the gift itself. And making it is not at all difficult if you follow the step-by-step recommendations of this master class.
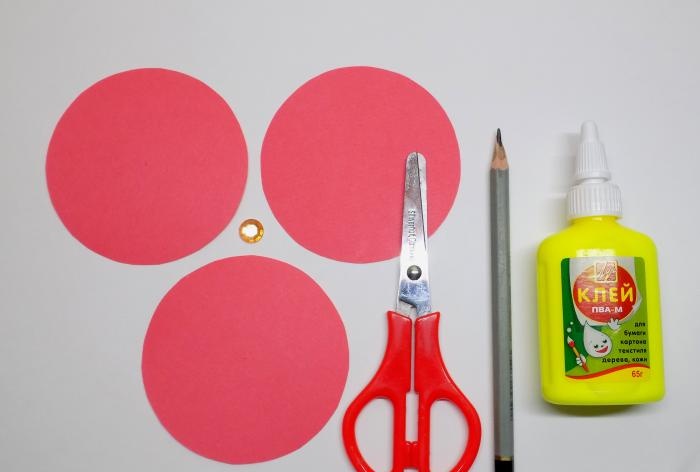
To work you will need:
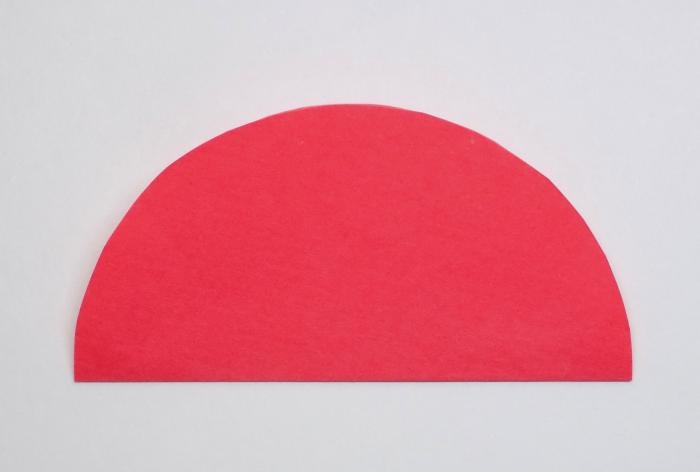
Our flower will consist of petals arranged in 3 tiers. However, they will not differ from each other. Therefore, we will show all stages of work on one color circle. First, fold it in half.
Then we make another fold in half. As a result, we get a quarter-circle blank.
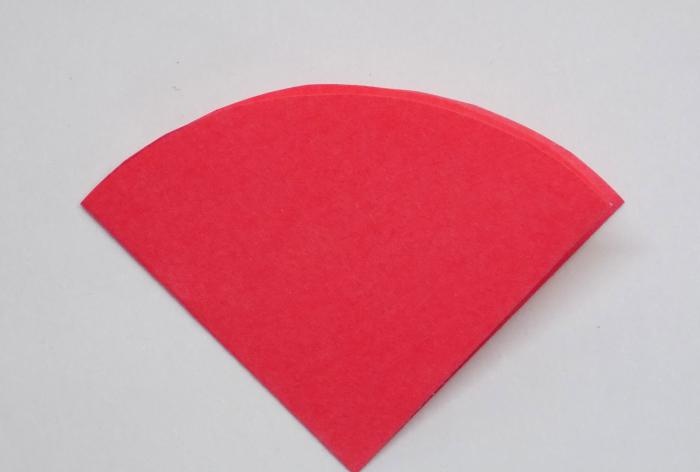
Bend one part of it (the top) to the left.
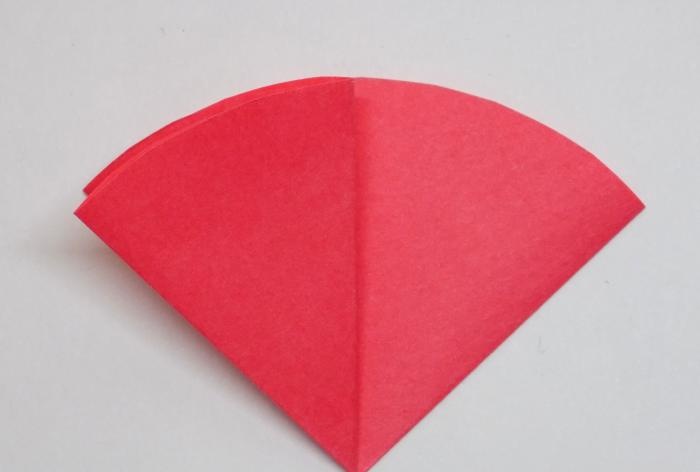
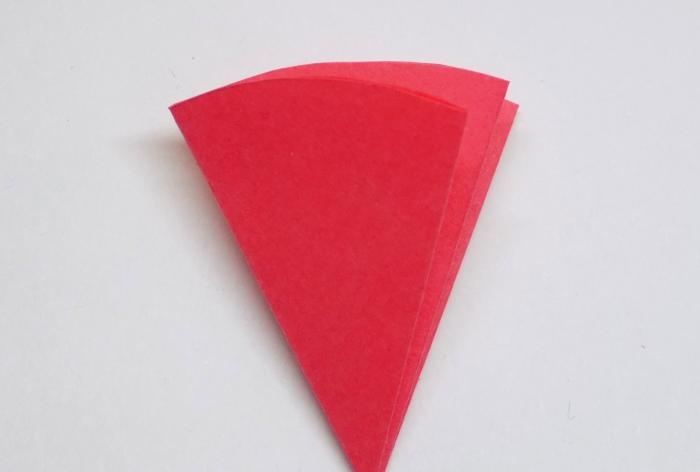
We turn the petal blank over and proceed in the same way - we bend the upper part, forming a segment that is an eighth of the circumference.
Let's draw with a pencil the outline of the petals of our flower. The shaded areas show the areas that will need to be cut.
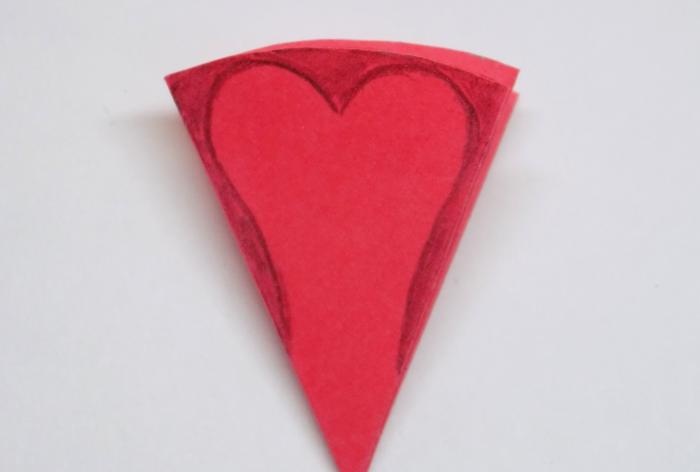
Carefully cut along the marked line.
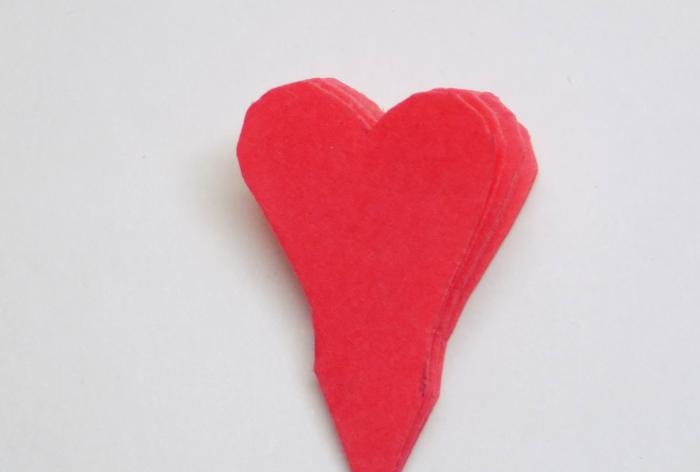
We unfold the circle and see that we have one tier consisting of 8 petals.
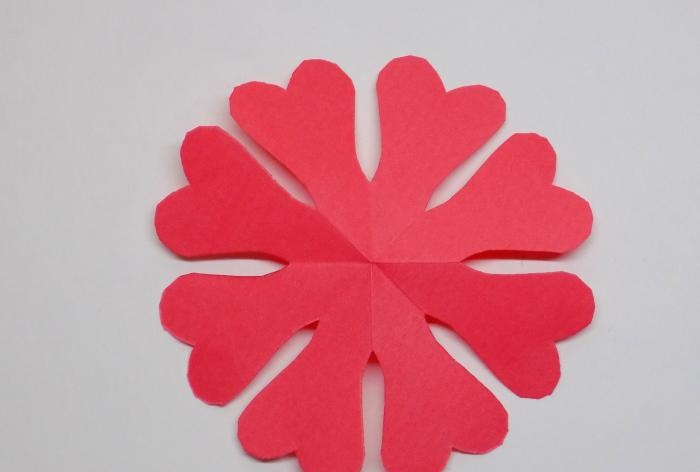
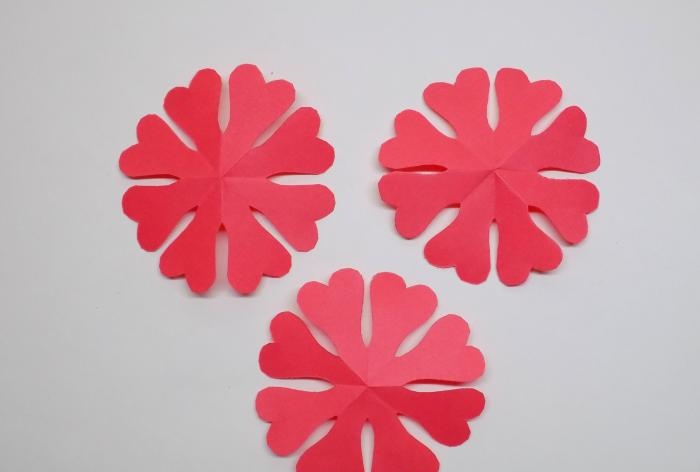
Using the same principle, we make 2 more tiers of petals.
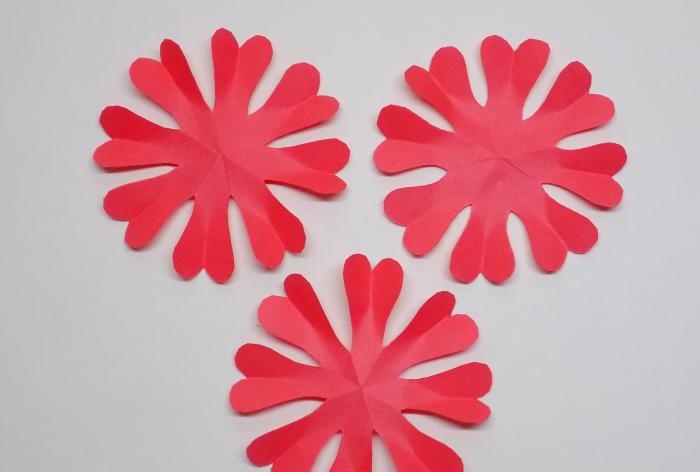
Now we need to add volume to our petals. To do this, make a small fold on each of them with your fingers.
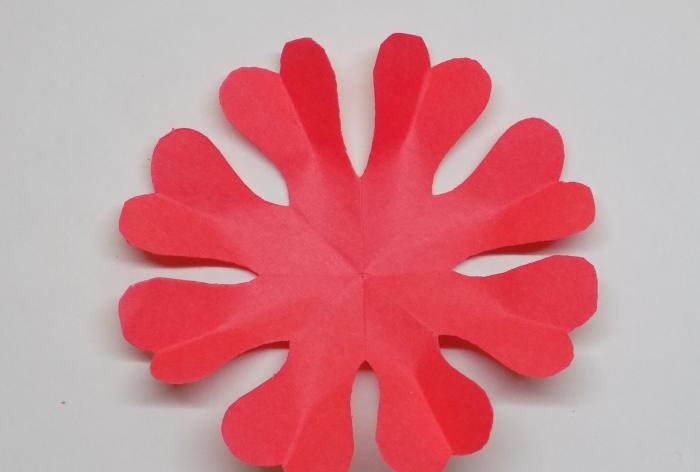
As a result, the petals of our future flower took on this appearance.
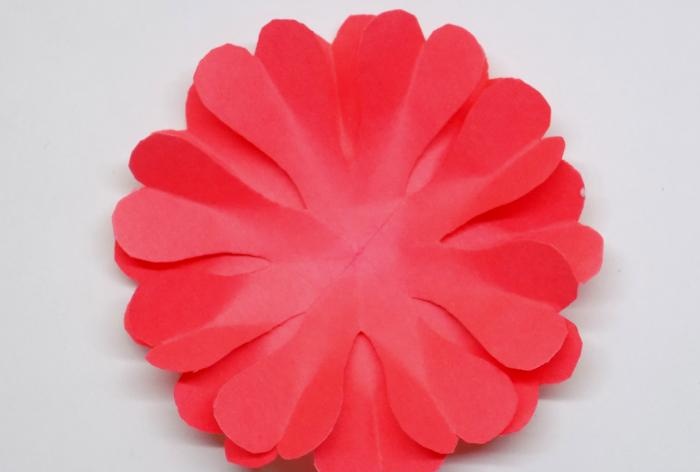
Let's start connecting them together. This will require glue. First, we apply 2 tiers of petals, slightly shifting them between each other.
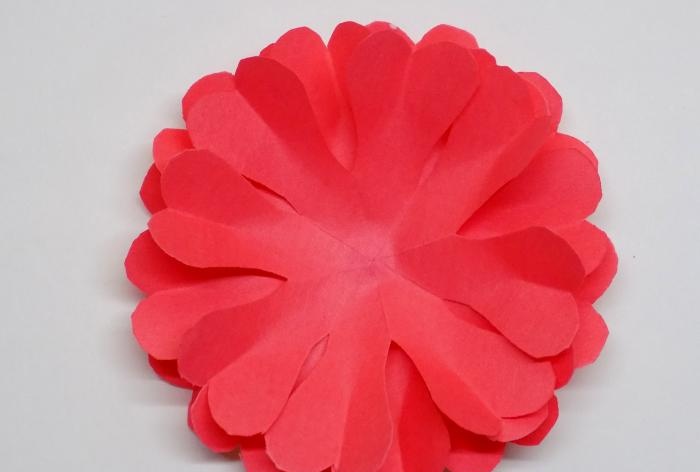
Then glue the 3rd tier of petals.
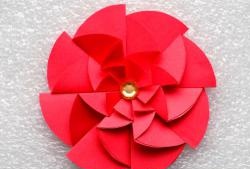
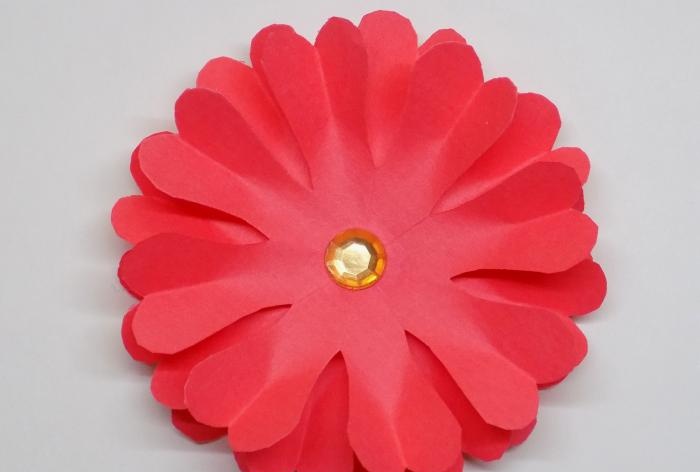
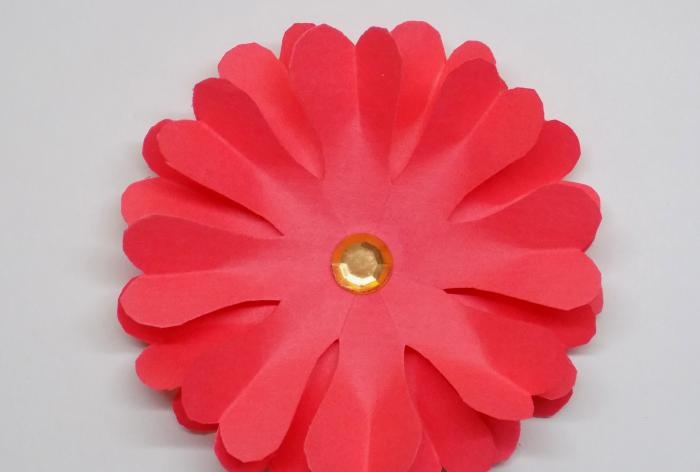
All that remains is to decorate the core, our paper circle flower is ready.

To work you will need:
- - 3 circles of red paper (the size of the future flower will depend on their diameter);
- - pencil;
- - scissors;
- - glue;
- - a decorative element for the core of the flower (we used rhinestones).

Our flower will consist of petals arranged in 3 tiers. However, they will not differ from each other. Therefore, we will show all stages of work on one color circle. First, fold it in half.

Then we make another fold in half. As a result, we get a quarter-circle blank.

Bend one part of it (the top) to the left.

We turn the petal blank over and proceed in the same way - we bend the upper part, forming a segment that is an eighth of the circumference.

Let's draw with a pencil the outline of the petals of our flower. The shaded areas show the areas that will need to be cut.

Carefully cut along the marked line.

We unfold the circle and see that we have one tier consisting of 8 petals.

Using the same principle, we make 2 more tiers of petals.

Now we need to add volume to our petals. To do this, make a small fold on each of them with your fingers.

As a result, the petals of our future flower took on this appearance.

Let's start connecting them together. This will require glue. First, we apply 2 tiers of petals, slightly shifting them between each other.

Then glue the 3rd tier of petals.

All that remains is to decorate the core, our paper circle flower is ready.

Similar master classes
Particularly interesting
Comments (0)

