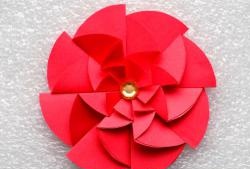
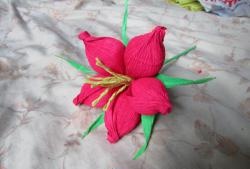
Paper flower "Harmony"
This flower looks very cute and romantic. It is very simple in its implementation.
For work we will need:
- paper.
- cardboard.
- pink pencil.
- glue gun.
- scissors.
Preparing a template for the flower. We take a square of cardboard measuring 10x10 cm. We use cardboard that is not too thick.
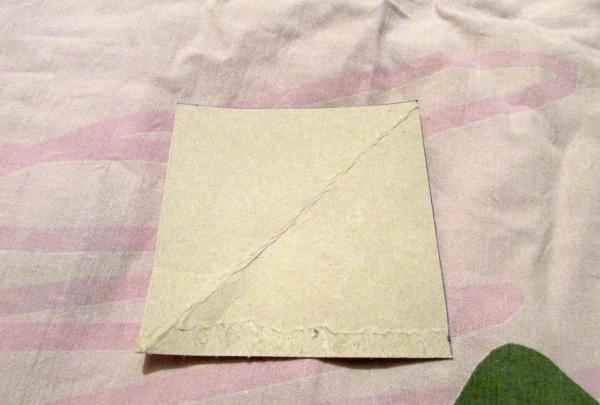
Fold the square in half, with the corners facing each other. Just connect two opposite corners.
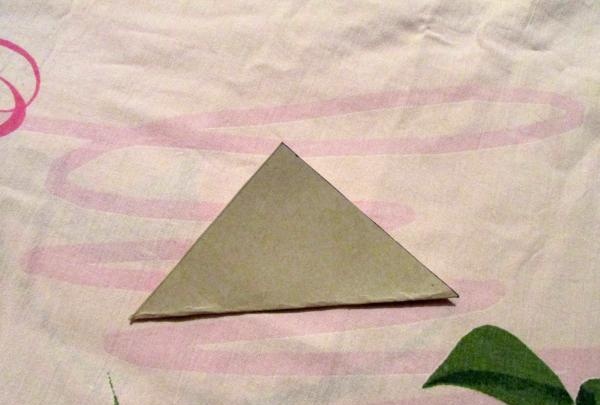
Then fold it in half again.
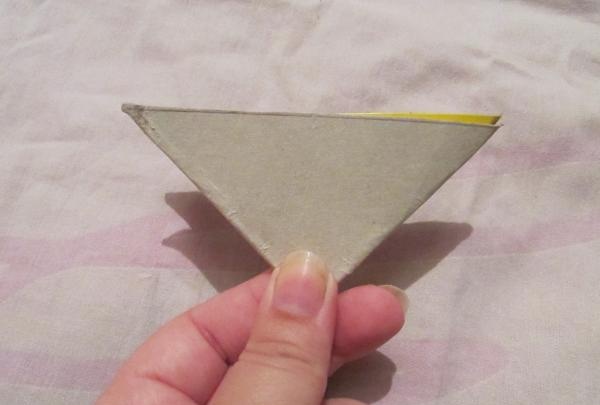
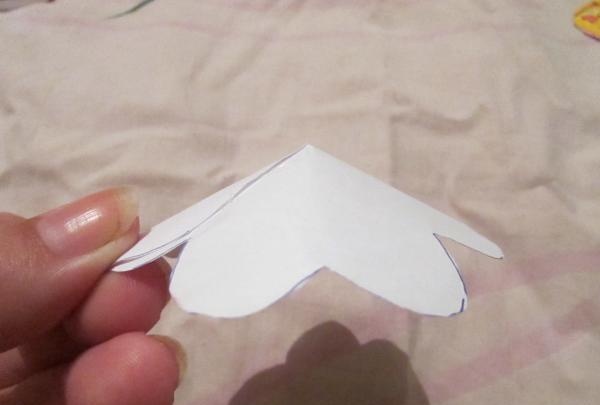
Fold corner to corner again to form a small triangle like this.
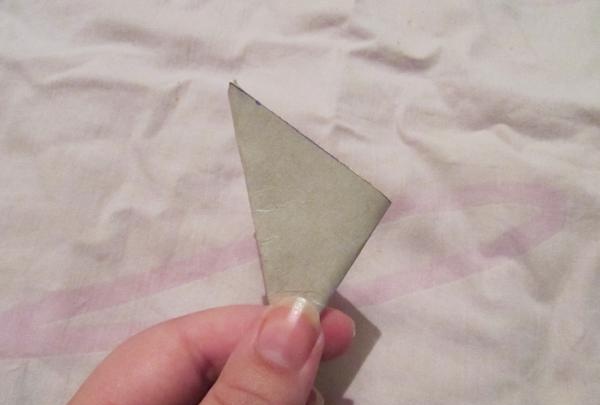
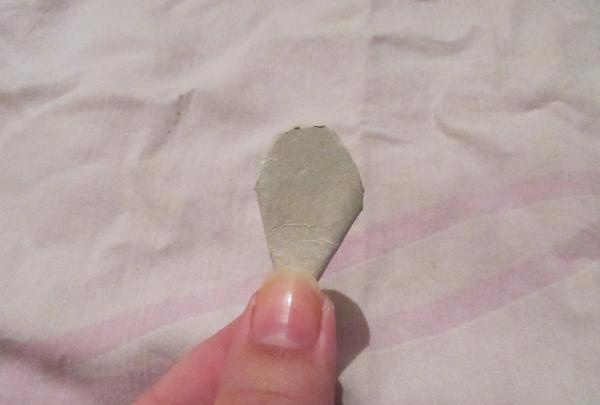
We cut the corners, making the petal round.
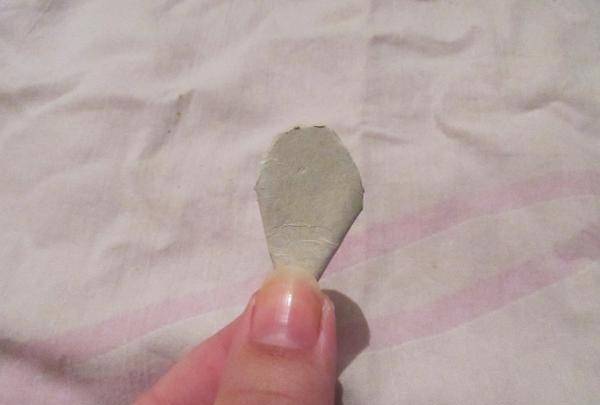
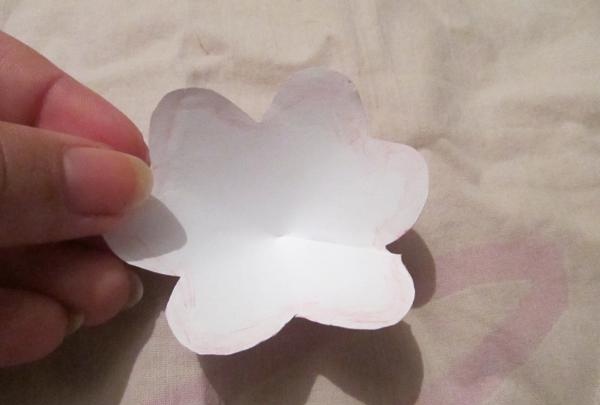
We unfold the petals, and we get this pattern.
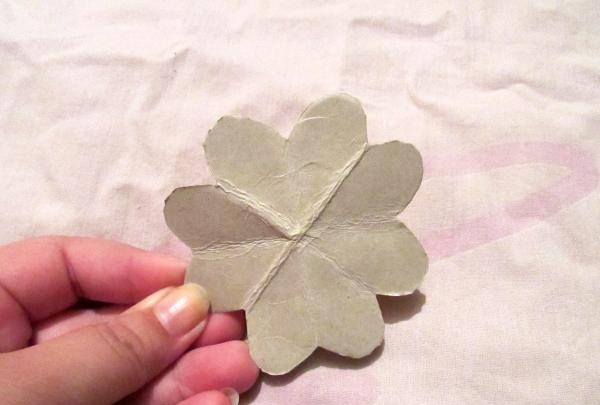
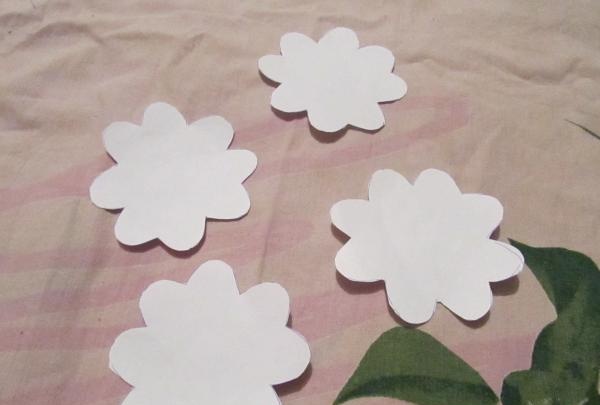
Using our template, we cut out 4 blanks. The flower will consist of them. Lightly tint the edges of the petals with a pink pencil.
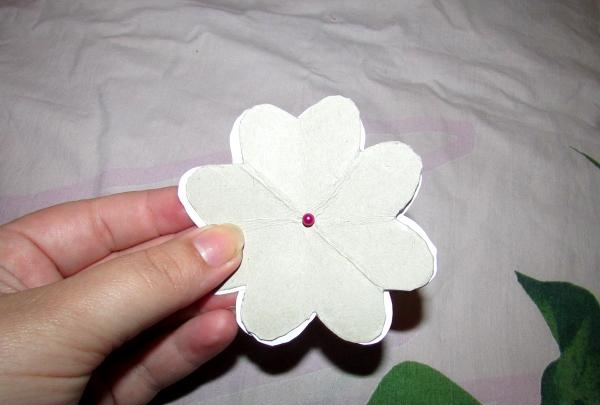
We collect all the blanks together and pierce the middle with a needle. Thus indicating where the middle is.
We begin to cut the workpieces to the middle of the hole marked with a needle.
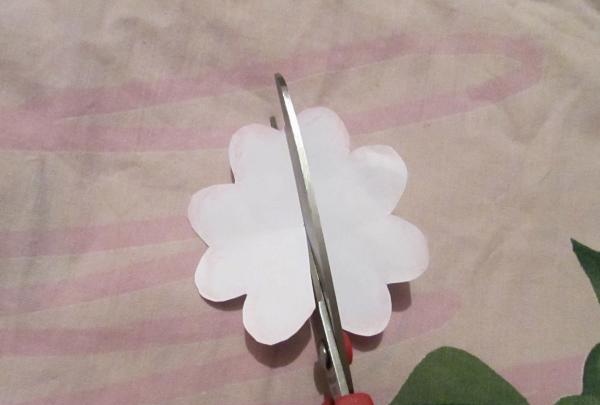
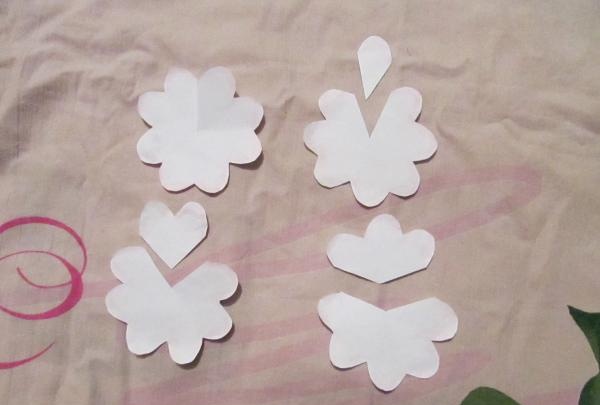
We cut all 4 blanks differently. The first one is simply cut. Cut off 1 petal from the second one. We cut out two petals from the third blank. And finally, from the fourth we cut off 3.
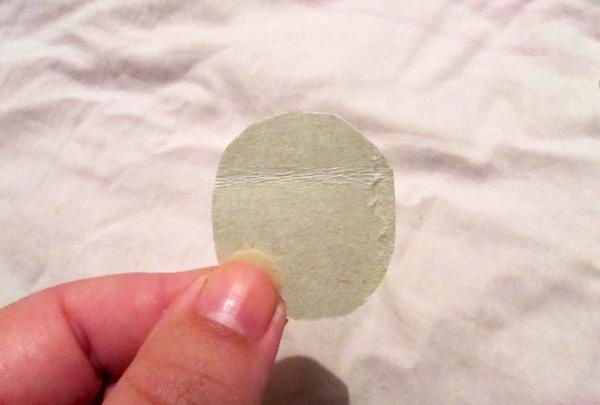
We prepare the base on which the flower will be attached. This will be a circle with a diameter of 3 cm.To make the flower stable, we will make the base from cardboard.
Let's start gluing the pieces together. We glue the petals on top of each other along the cuts.
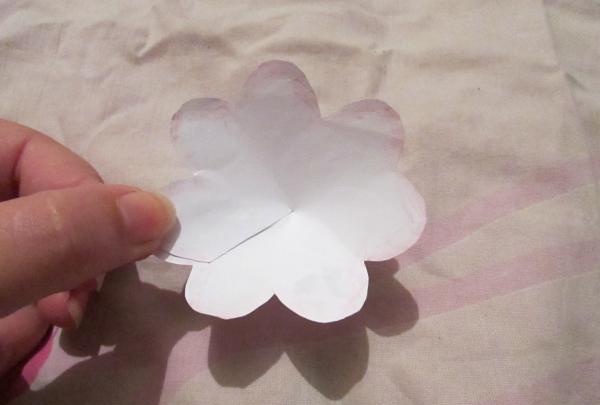
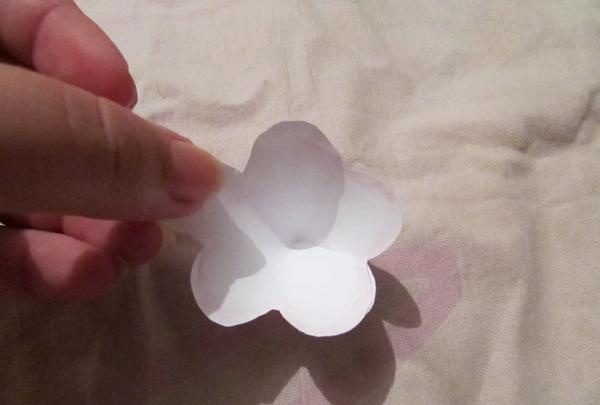
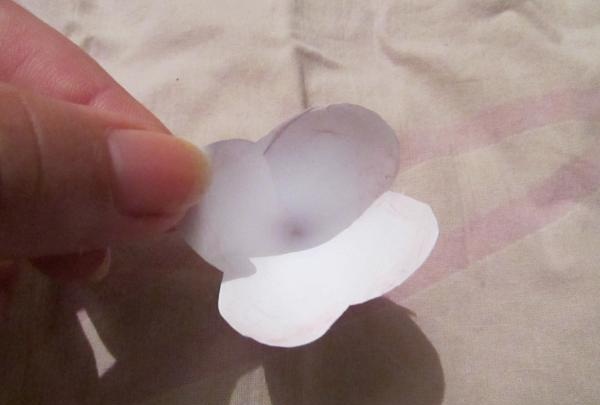
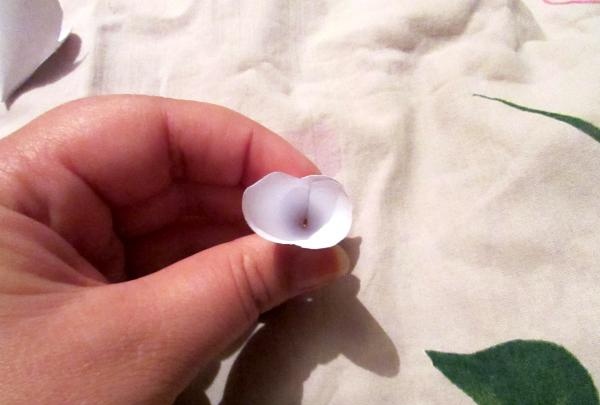
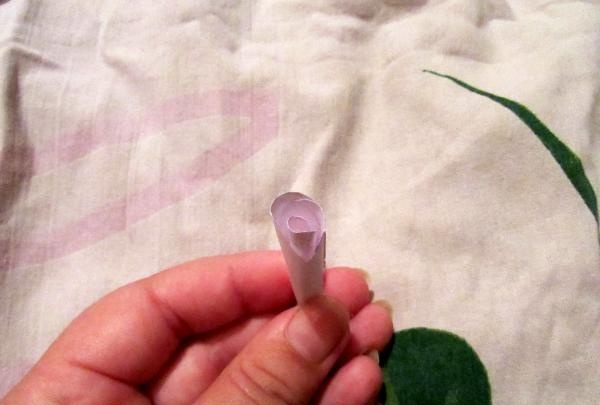
On all the workpieces at the bottom we cut off the resulting angle.
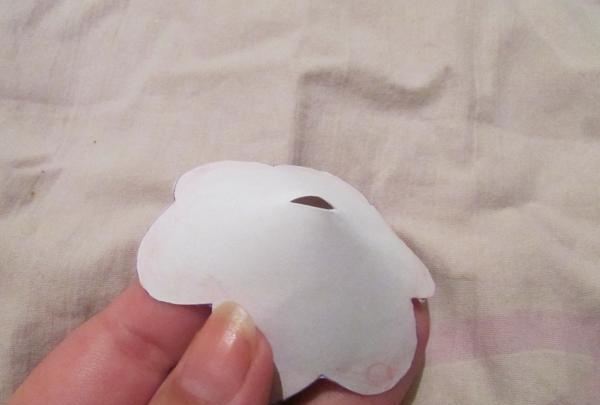
Using a glue gun, glue the largest piece onto the base. Let the glue dry.
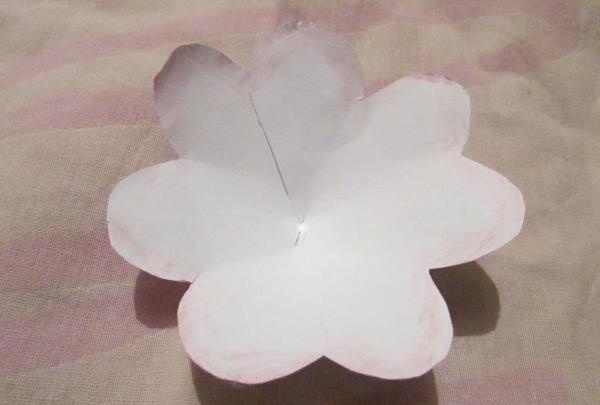
We glue all subsequent blanks with petals staggered relative to each other.
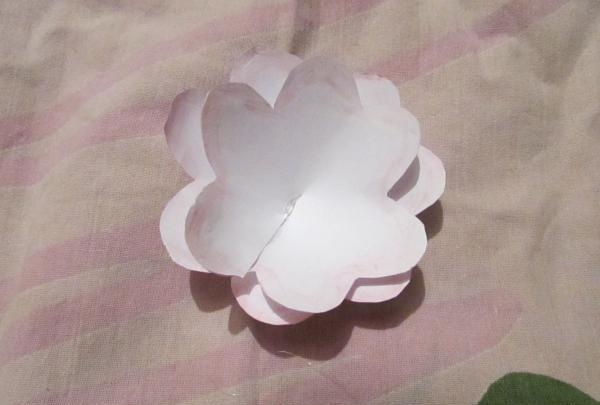
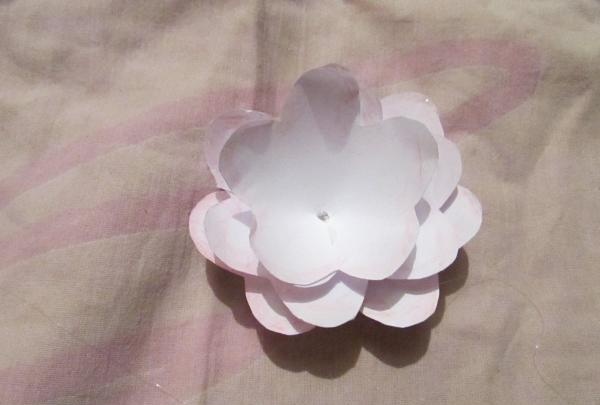
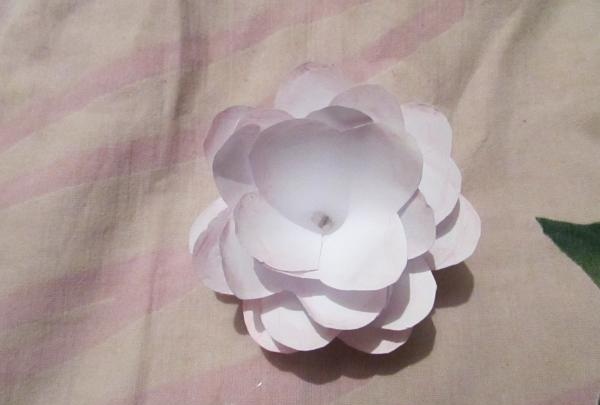
We attach the last part, the middle, to the flower. Our flower is almost ready.
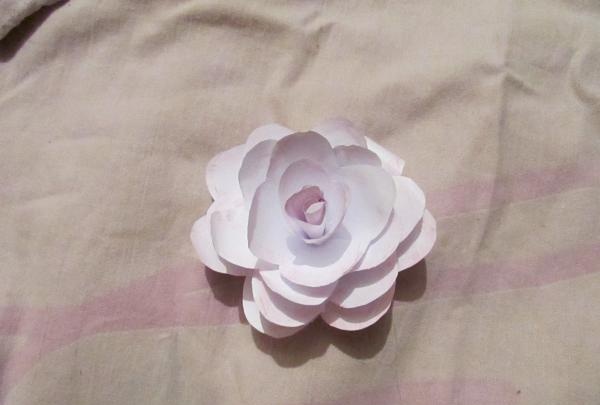
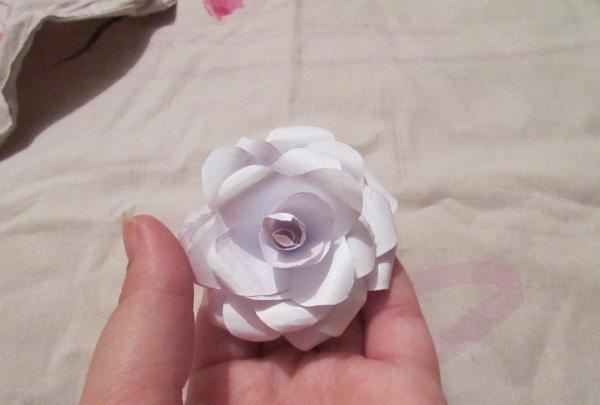
All that remains is to twist the edges of the flower petals. To do this, take a skewer and carefully twist each petal. The flower is ready.
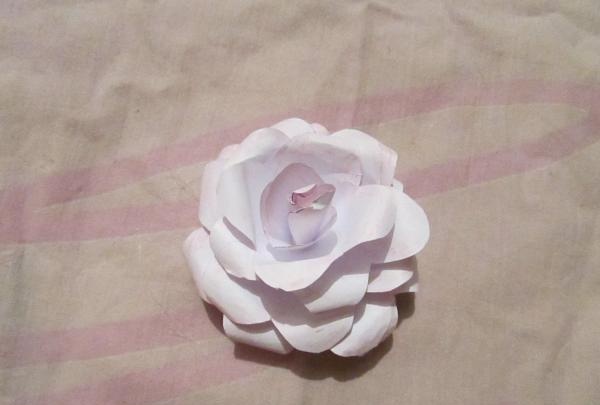
Good luck to all.

For work we will need:
- paper.
- cardboard.
- pink pencil.
- glue gun.
- scissors.
Preparing a template for the flower. We take a square of cardboard measuring 10x10 cm. We use cardboard that is not too thick.

Fold the square in half, with the corners facing each other. Just connect two opposite corners.

Then fold it in half again.

Fold corner to corner again to form a small triangle like this.

We cut the corners, making the petal round.

We unfold the petals, and we get this pattern.


Using our template, we cut out 4 blanks. The flower will consist of them. Lightly tint the edges of the petals with a pink pencil.

We collect all the blanks together and pierce the middle with a needle. Thus indicating where the middle is.

We begin to cut the workpieces to the middle of the hole marked with a needle.

We cut all 4 blanks differently. The first one is simply cut. Cut off 1 petal from the second one. We cut out two petals from the third blank. And finally, from the fourth we cut off 3.

We prepare the base on which the flower will be attached. This will be a circle with a diameter of 3 cm.To make the flower stable, we will make the base from cardboard.

Let's start gluing the pieces together. We glue the petals on top of each other along the cuts.


On all the workpieces at the bottom we cut off the resulting angle.

Using a glue gun, glue the largest piece onto the base. Let the glue dry.

We glue all subsequent blanks with petals staggered relative to each other.


We attach the last part, the middle, to the flower. Our flower is almost ready.

All that remains is to twist the edges of the flower petals. To do this, take a skewer and carefully twist each petal. The flower is ready.

Good luck to all.
Similar master classes
Particularly interesting
Comments (0)

