Making your own ironing board
The ironing board greatly simplifies the ironing process. It is difficult to do without this item in the household. Of course, you can buy an ironing board, but high-quality boards will be expensive. In addition, it is not always easy to find models that are comfortable, high-quality, inexpensive, and at the same time have a specific color. But there is a solution. You can do it yourself. Of course, this will require some skills and tools, but if you have it, then you will not only save a considerable part of your budget, but will also be able to make the option that will be convenient for you. This is precisely the advantage of doing the work yourself.
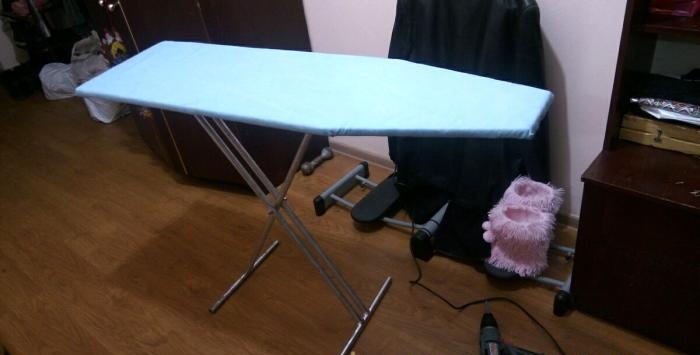
To begin with, we will look at how to make the very plane of the board on which you will iron things. For this you can use chipboard. It is advisable to use chipboard, which has increased moisture resistance properties. This way, your ironing board will last you much longer. Regular chipboard will deteriorate from water, moisture, and dampness. You can draw the outlines of the board with a pencil on a sheet of chipboard.The standard sizes of ironing boards that you can buy are 122x30 cm. But you can use other sizes, for example, 130x35 cm. You may want to use smaller sizes to make the board lighter and easier to transport.
Next, you need to cut the board using a jigsaw. Please note that one side has a right angle. On the other hand, you need to narrow the board a little. The end parts of the chipboard can be sanded a little to make them smoother.
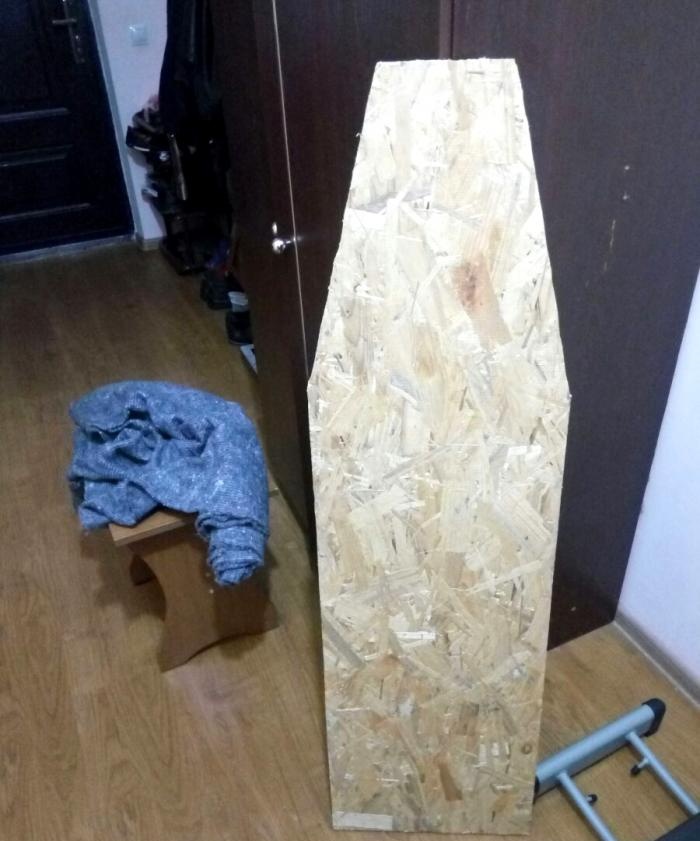
After this, you need to cover the board with fabric. You will need two types of fabric. Coarser and denser fabric is covered with the first layer. To do this, place the board on the fabric and cut out the fabric with a margin of 3 - 5 cm so that it can be tucked.
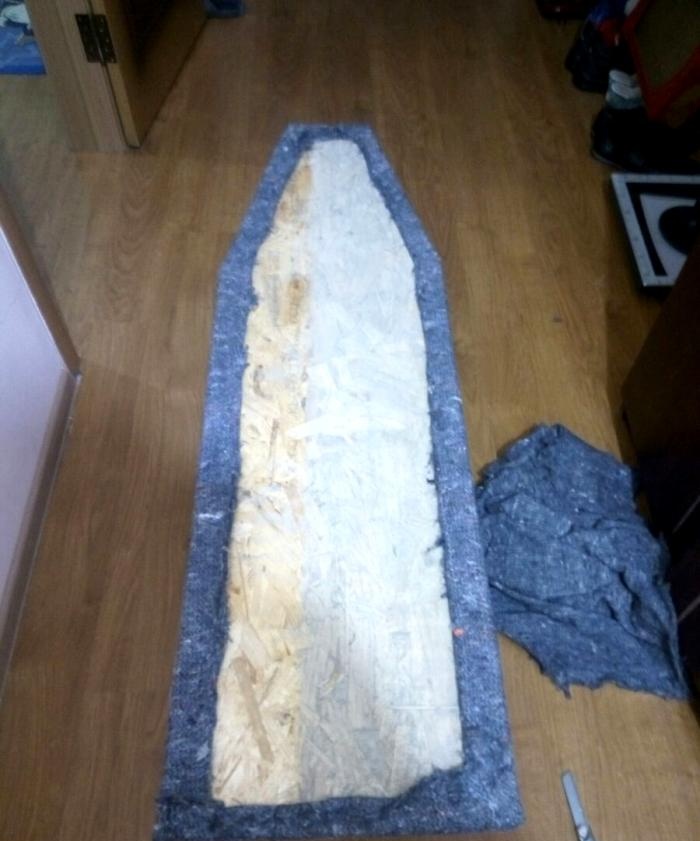
Then, using a staple gun and staples, you can attach the fabric to the bottom of the board.
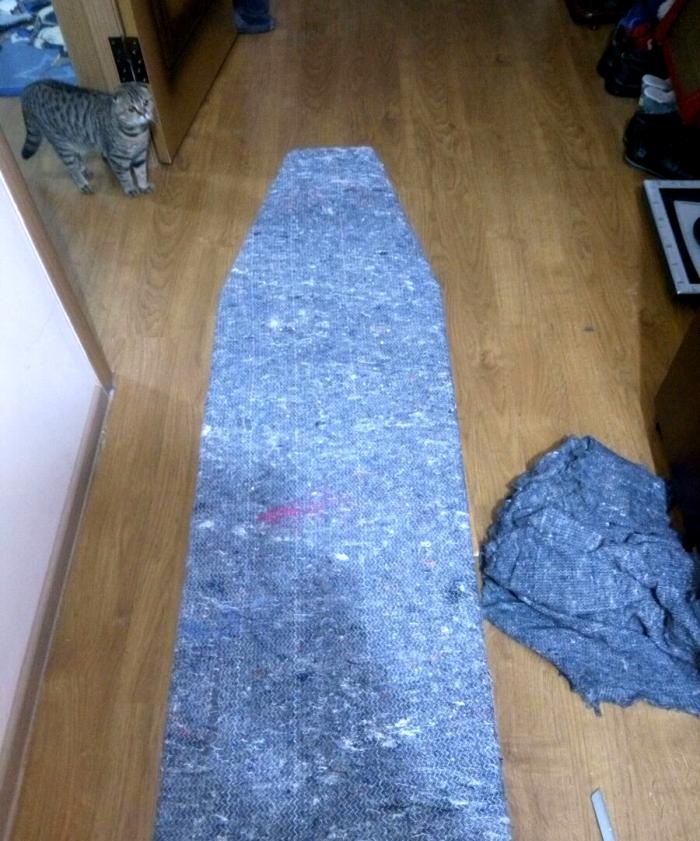
This fabric can be any color, as it will not be visible. Then you use a second layer of fabric, on which the laundry will subsequently be ironed.
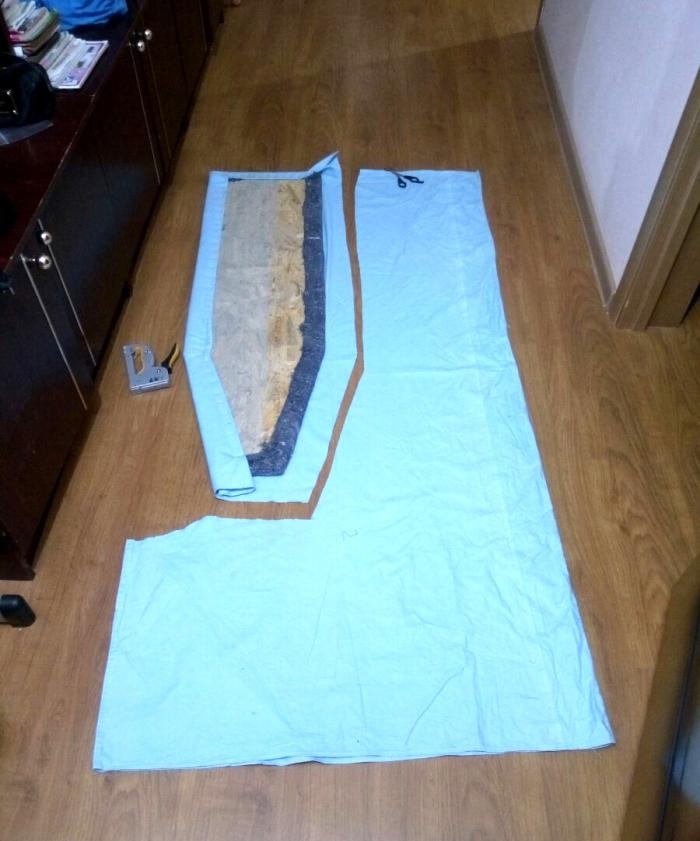
Here you already choose the color to your taste. In the same way, you need to cut a piece of fabric and staple it from the bottom of the board. Fasten the fabric with a slight stretch so that you can iron it comfortably. The distance between staples can be about 3 - 5 cm.
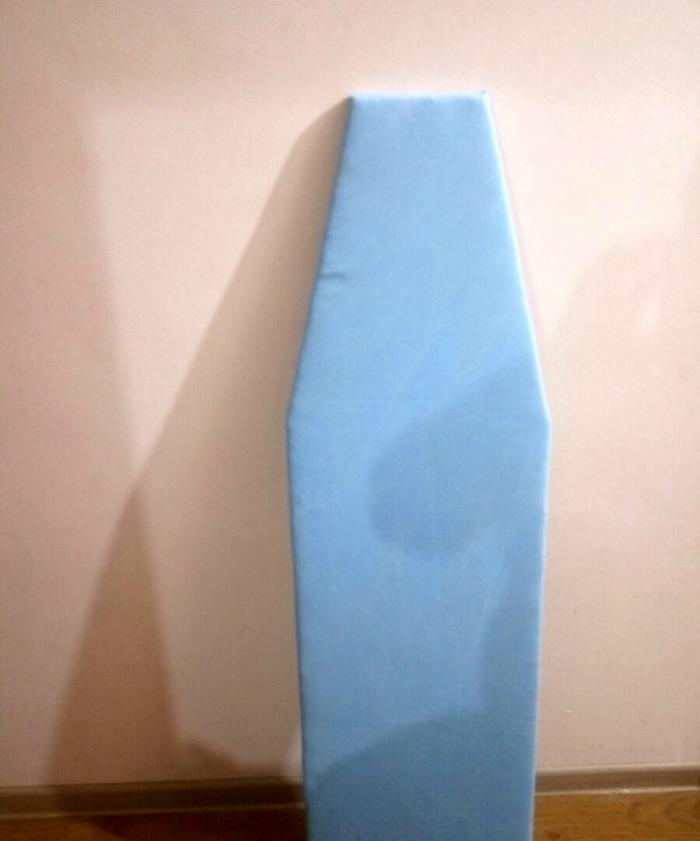
Then you can start making the legs for your ironing board. Of course, you can make wooden legs, but such a board will be less stable. It is much more practical to use metal legs. If you have a welding machine and know how to cook, then making the design shown in the illustration will not be difficult for you.
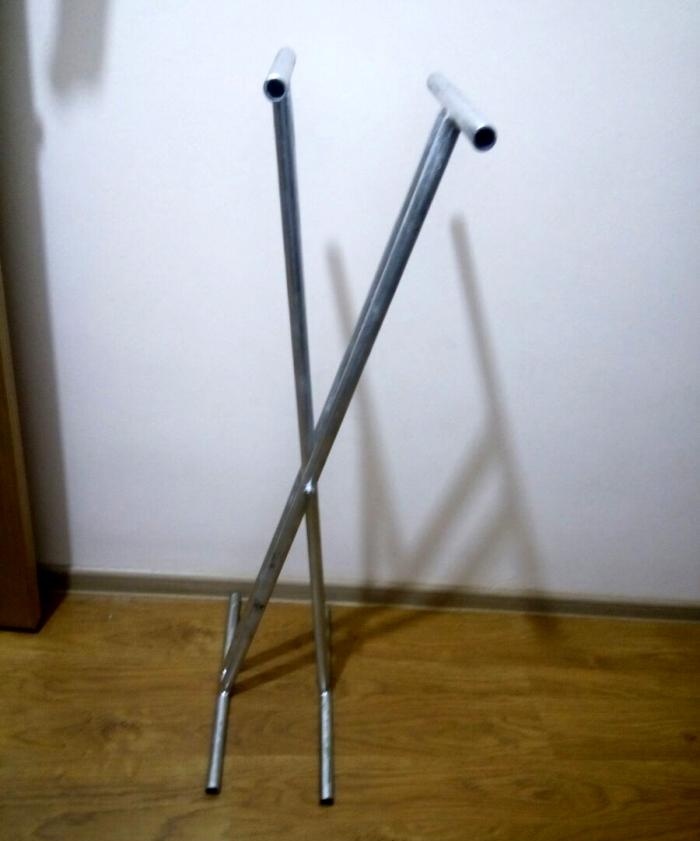
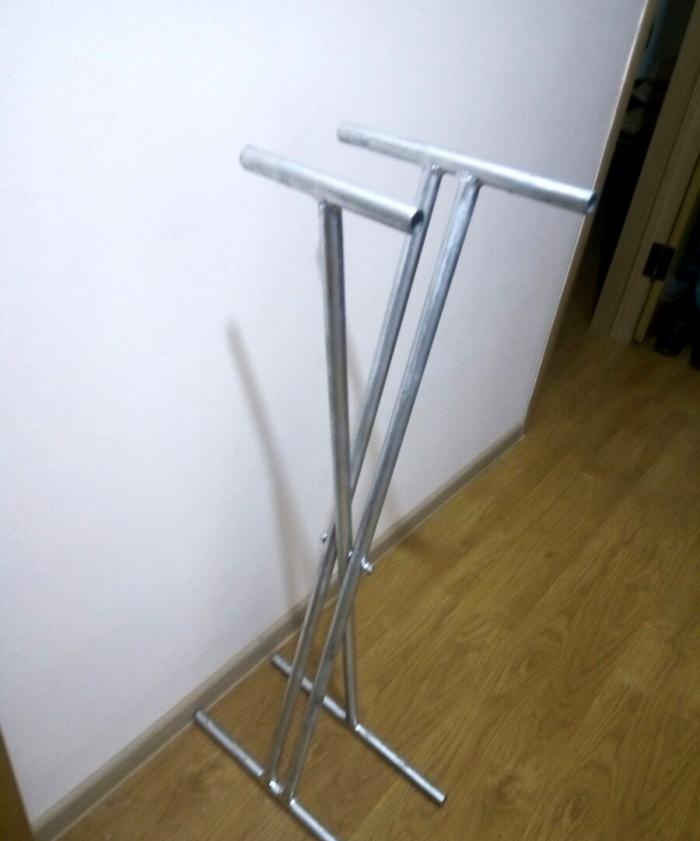
As a last resort, these legs can be ordered from a welder. These two legs are connected with a bolt.Then they can be painted. For example, you can use gold or silver spray paint. You select the height of the legs to suit your height.
Next you need to attach the legs to the board. You fasten one letter “T” tightly to the board with self-tapping screws using a rivet. You can make such a rivet yourself. To do this you need to have a small piece of tin. Use metal scissors to cut out the plate and bend it into the desired shape. You can see approximately what part you will need in the illustration.
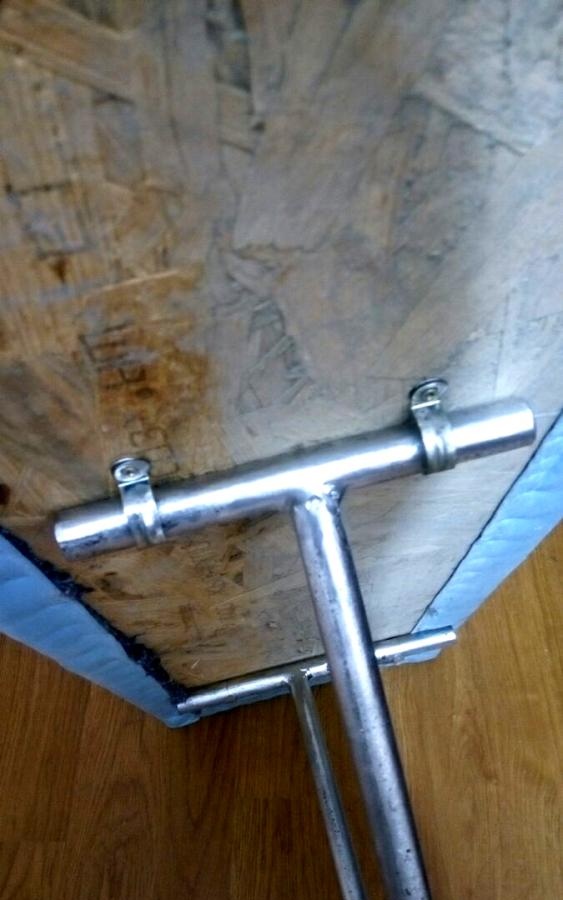
Before tightening the screws, you need to pre-drill holes in the plate and in the chipboard. The drill bit should be thinner than the screw you will use. The length of the screws should not be greater than the thickness of the chipboard.
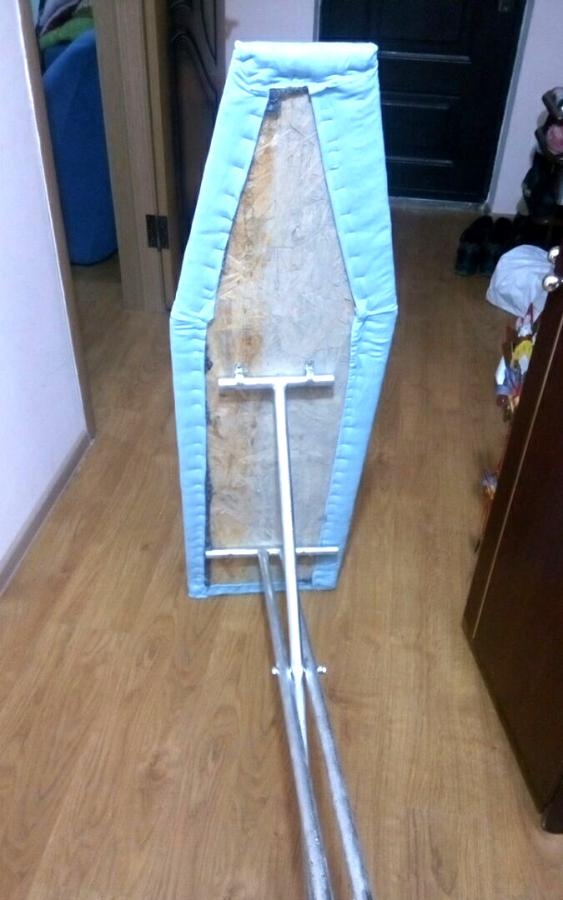
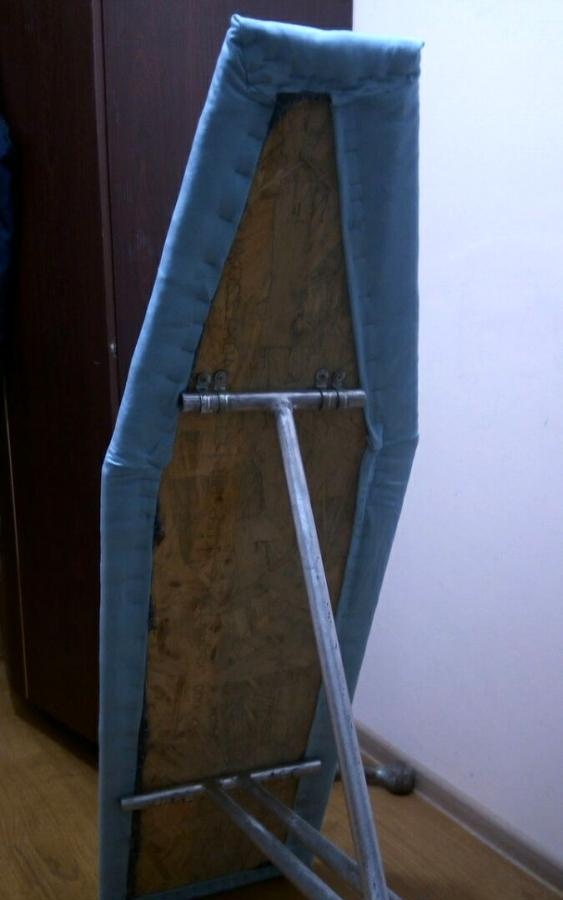
You do not attach the second letter “T” or leg to the board, but you attach a clamp at the required distance from the bottom of the board. To determine at what distance it needs to be fastened, the board must be laid out to determine the height that will be convenient for your height, and, based on this, secure the fasteners using self-tapping screws. If there are several people of different heights in the family, then you can use several clamps designed for different heights.
As practice shows, this model of ironing board will cost 2–3 times more than if you made it yourself.


To begin with, we will look at how to make the very plane of the board on which you will iron things. For this you can use chipboard. It is advisable to use chipboard, which has increased moisture resistance properties. This way, your ironing board will last you much longer. Regular chipboard will deteriorate from water, moisture, and dampness. You can draw the outlines of the board with a pencil on a sheet of chipboard.The standard sizes of ironing boards that you can buy are 122x30 cm. But you can use other sizes, for example, 130x35 cm. You may want to use smaller sizes to make the board lighter and easier to transport.
Next, you need to cut the board using a jigsaw. Please note that one side has a right angle. On the other hand, you need to narrow the board a little. The end parts of the chipboard can be sanded a little to make them smoother.

After this, you need to cover the board with fabric. You will need two types of fabric. Coarser and denser fabric is covered with the first layer. To do this, place the board on the fabric and cut out the fabric with a margin of 3 - 5 cm so that it can be tucked.

Then, using a staple gun and staples, you can attach the fabric to the bottom of the board.

This fabric can be any color, as it will not be visible. Then you use a second layer of fabric, on which the laundry will subsequently be ironed.

Here you already choose the color to your taste. In the same way, you need to cut a piece of fabric and staple it from the bottom of the board. Fasten the fabric with a slight stretch so that you can iron it comfortably. The distance between staples can be about 3 - 5 cm.

Then you can start making the legs for your ironing board. Of course, you can make wooden legs, but such a board will be less stable. It is much more practical to use metal legs. If you have a welding machine and know how to cook, then making the design shown in the illustration will not be difficult for you.


As a last resort, these legs can be ordered from a welder. These two legs are connected with a bolt.Then they can be painted. For example, you can use gold or silver spray paint. You select the height of the legs to suit your height.
Next you need to attach the legs to the board. You fasten one letter “T” tightly to the board with self-tapping screws using a rivet. You can make such a rivet yourself. To do this you need to have a small piece of tin. Use metal scissors to cut out the plate and bend it into the desired shape. You can see approximately what part you will need in the illustration.

Before tightening the screws, you need to pre-drill holes in the plate and in the chipboard. The drill bit should be thinner than the screw you will use. The length of the screws should not be greater than the thickness of the chipboard.
You do not attach the second letter “T” or leg to the board, but you attach a clamp at the required distance from the bottom of the board. To determine at what distance it needs to be fastened, the board must be laid out to determine the height that will be convenient for your height, and, based on this, secure the fasteners using self-tapping screws. If there are several people of different heights in the family, then you can use several clamps designed for different heights.


As practice shows, this model of ironing board will cost 2–3 times more than if you made it yourself.

Similar master classes
Particularly interesting
Comments (5)


