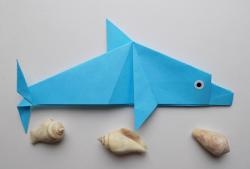
Paper dolphin
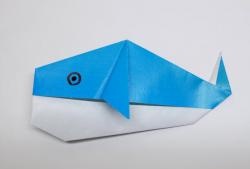
Dolphins are aquatic mammals that live in almost any ocean. It is believed that these are quite intelligent creatures seeking to communicate with humans. This master class offers a step-by-step creation of a paper dolphin, which can become a toy for a child.
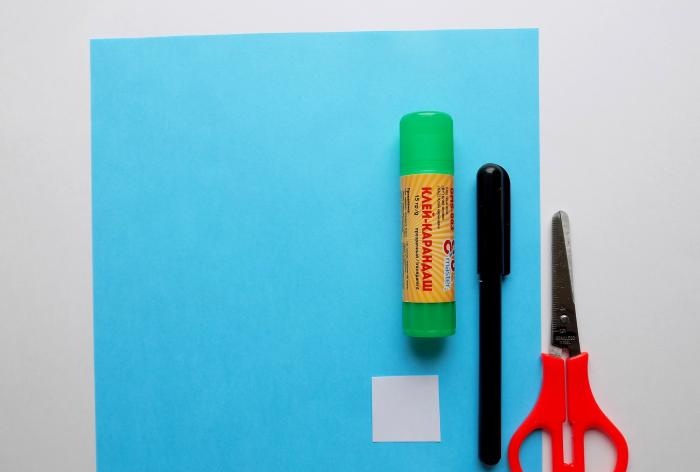
To create our dolphin you will need to take:
- a square of blue paper;
- a small piece of white paper;
- black marker;
- glue stick;
- scissors.
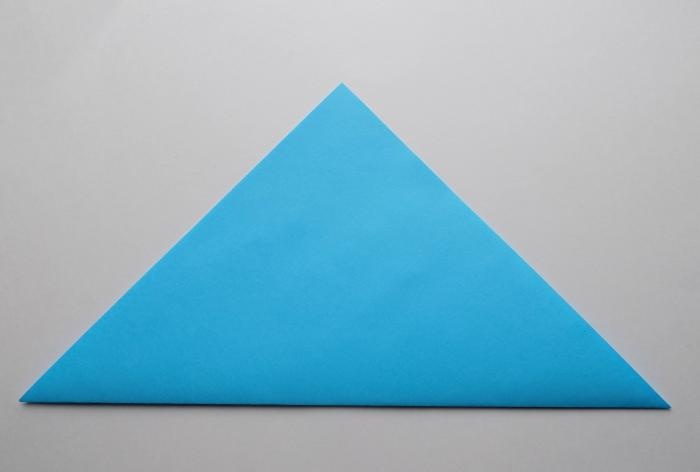
First, fold the blue square diagonally.
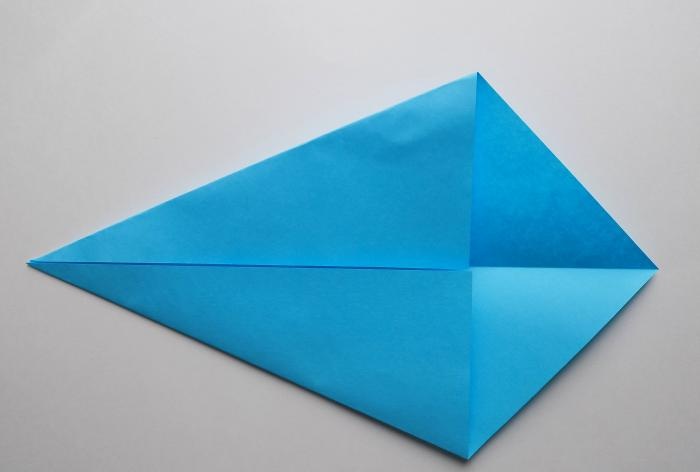
Then we unfold it and make folds on both sides in the direction of the center line.
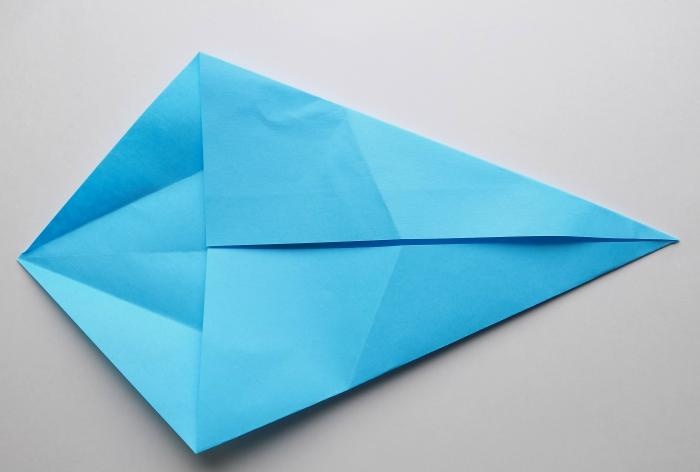
We do the same with the other side of the future dolphin blank.
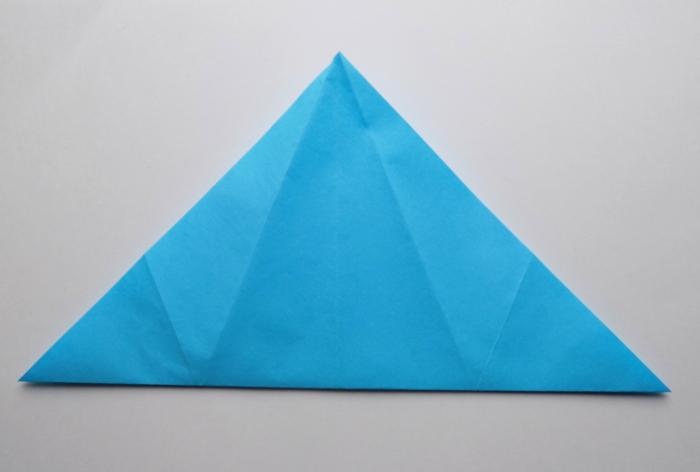
We completely unfold the sheet and make a transverse fold.
Now we fold the dolphin blank along the previously outlined folds in the form of an elongated diamond. The folds protruding from the front will later become the fins of the dolphin.
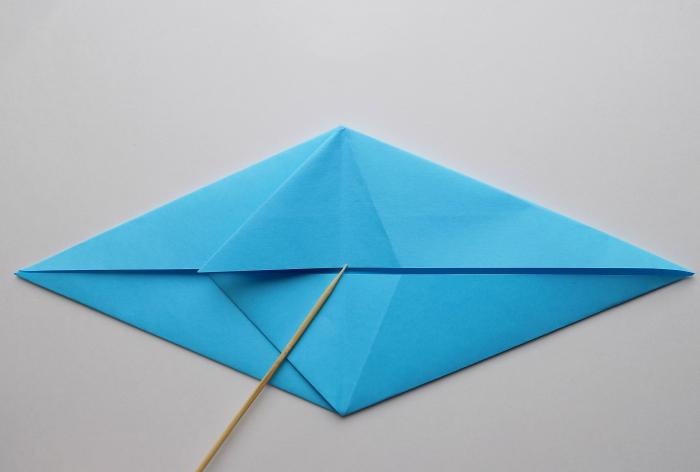
Let's turn the diamond over to the other side.
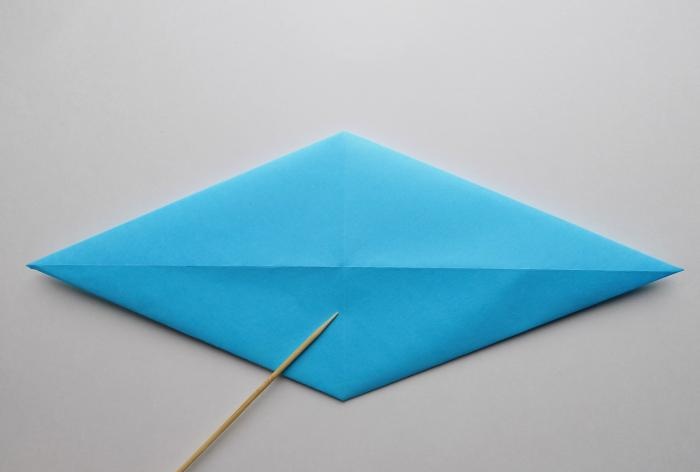
Let's bend its right corner towards the middle.
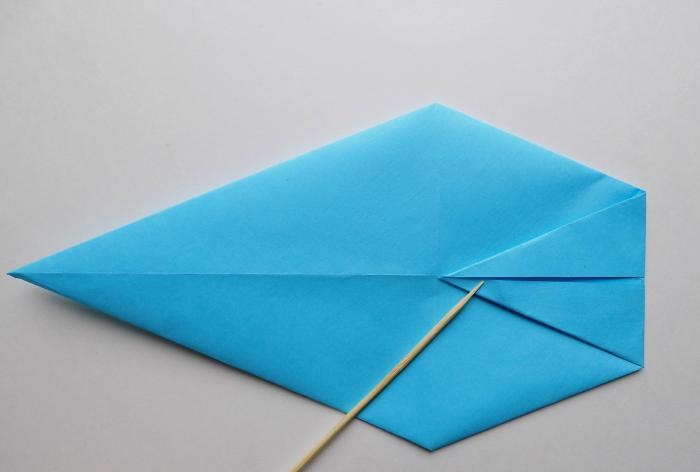
Then we bend it to the right side, forming a small fold.
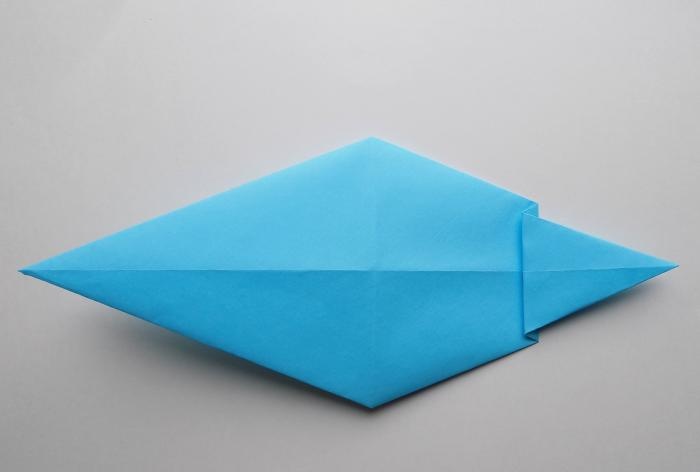
Let's make another fold in the opposite direction. This is how we formed the dolphin's face.
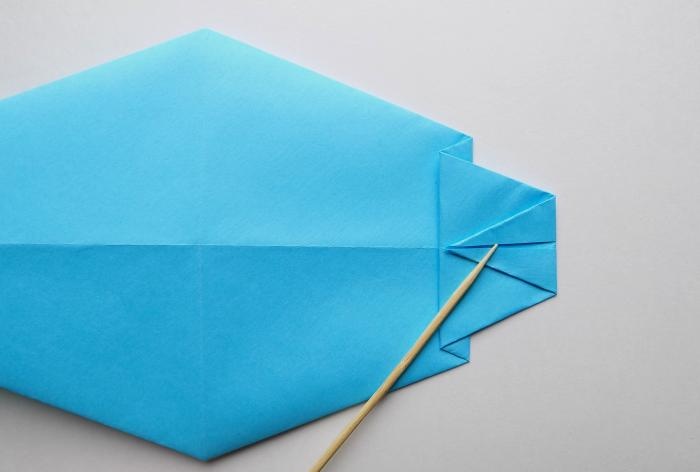
We fold the workpiece in the longitudinal direction and see the general outlines of our crafts.
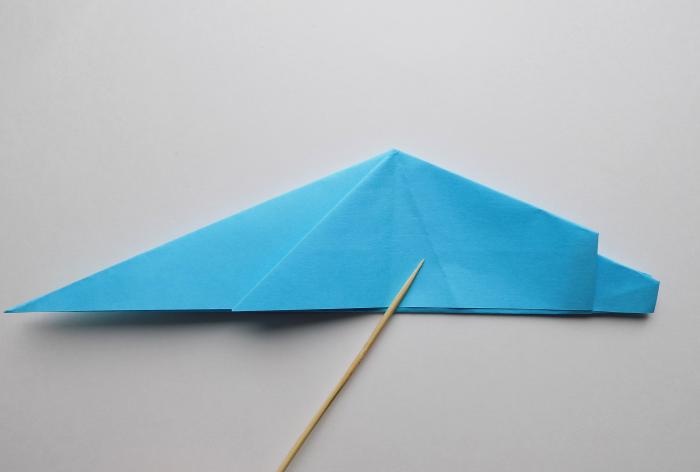
To form one of the fins, fold the fold in half.
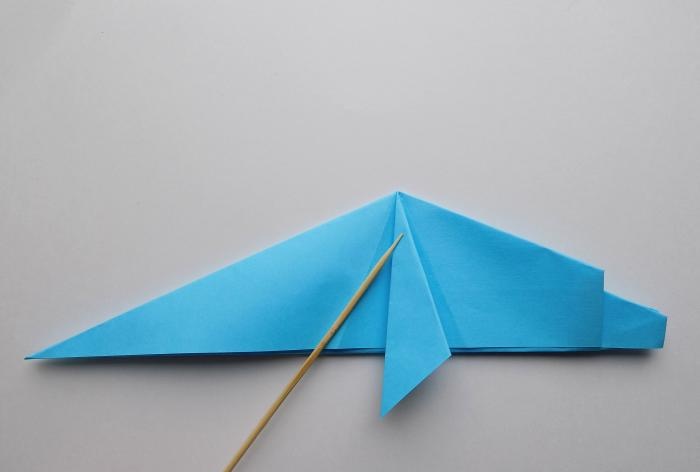
To make a fin located on the other side, you need to bend the fold a little.
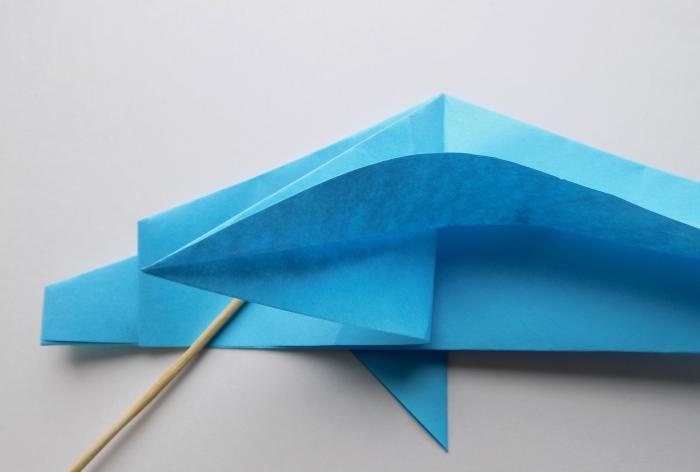
After this, it needs to be smoothed so that the fin points upward.
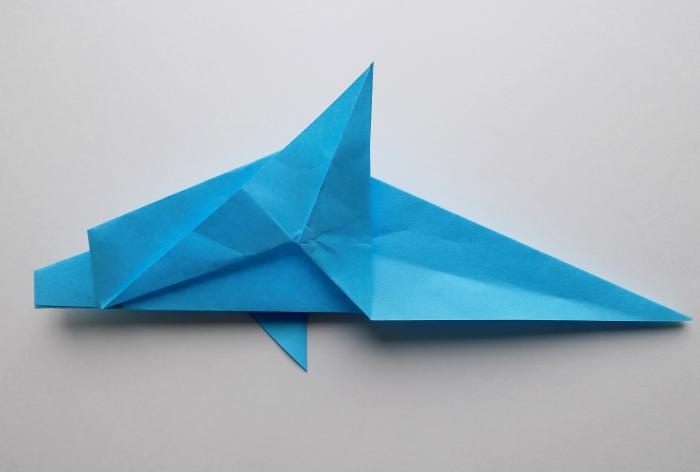
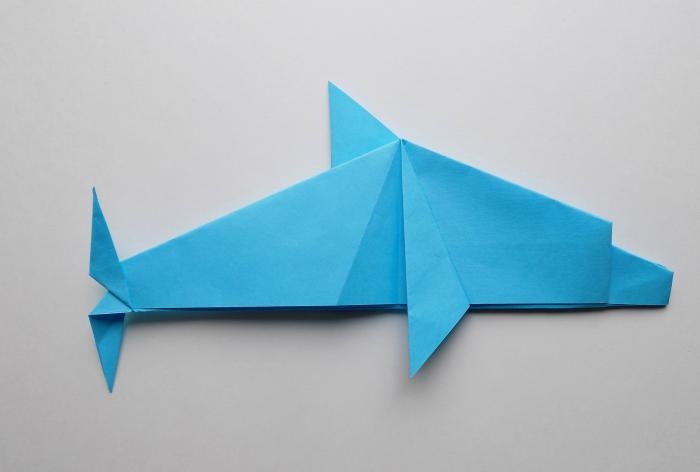
Let's turn our craft around again on the other side. This is what a dolphin looks like at this stage.
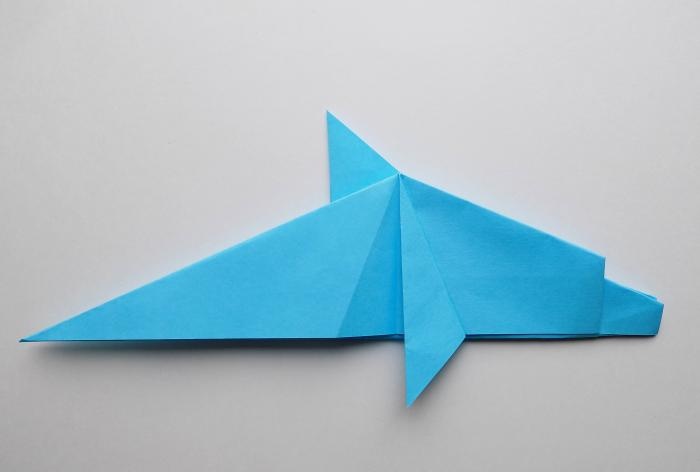
Let's take care of his tail. To do this, we will make a slight upward bend in this part of the workpiece.
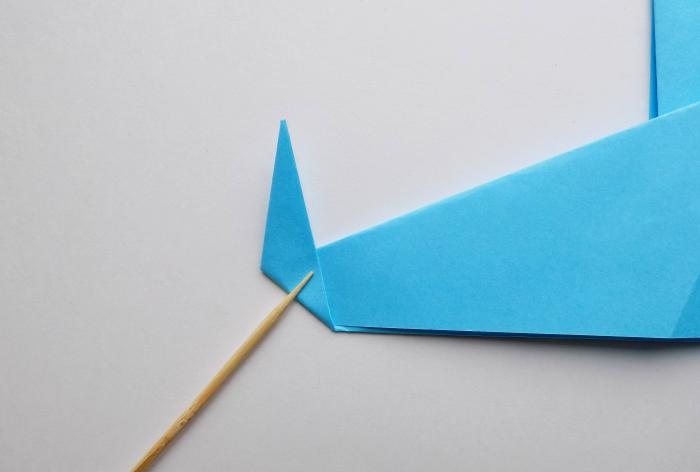
Then we cut the caudal fin along the midline.
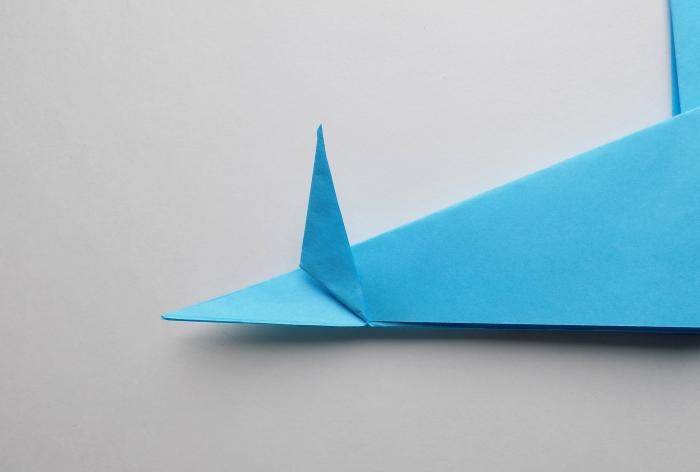
Let's form it as needed.
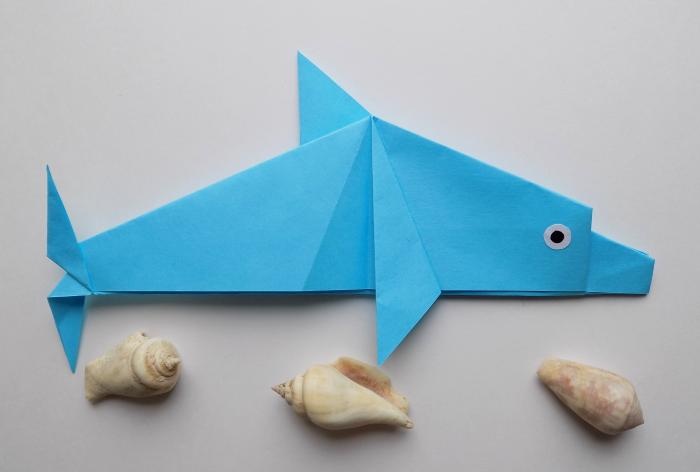
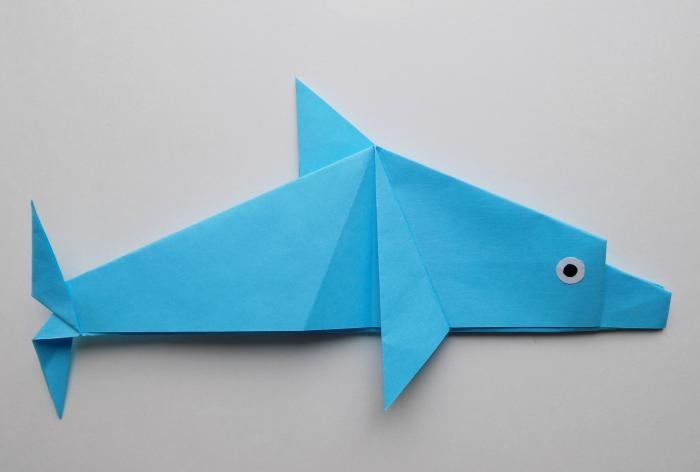
All that remains is to use white paper and use a black marker to make eyes. Our paper dolphin is ready.

To create our dolphin you will need to take:
- a square of blue paper;
- a small piece of white paper;
- black marker;
- glue stick;
- scissors.

First, fold the blue square diagonally.

Then we unfold it and make folds on both sides in the direction of the center line.

We do the same with the other side of the future dolphin blank.

We completely unfold the sheet and make a transverse fold.

Now we fold the dolphin blank along the previously outlined folds in the form of an elongated diamond. The folds protruding from the front will later become the fins of the dolphin.

Let's turn the diamond over to the other side.

Let's bend its right corner towards the middle.

Then we bend it to the right side, forming a small fold.

Let's make another fold in the opposite direction. This is how we formed the dolphin's face.

We fold the workpiece in the longitudinal direction and see the general outlines of our crafts.

To form one of the fins, fold the fold in half.

To make a fin located on the other side, you need to bend the fold a little.

After this, it needs to be smoothed so that the fin points upward.

Let's turn our craft around again on the other side. This is what a dolphin looks like at this stage.

Let's take care of his tail. To do this, we will make a slight upward bend in this part of the workpiece.

Then we cut the caudal fin along the midline.

Let's form it as needed.

All that remains is to use white paper and use a black marker to make eyes. Our paper dolphin is ready.

Similar master classes
Particularly interesting
Comments (0)


