Cardboard scratching post
Greetings to all fans of Murok and Vasek!
We want to share a budget-friendly way to make your pet happy. We bring to your attention such a necessary thing in your home as a scratching post.
Hardly anyone doubts its necessity. The instinct to scratch cannot be taken away from cats. They love to scratch and do this during play, when they stretch to mark territory or leave a warning signal to their relatives. Their claws require regular sharpening, and cats sharpen them on suitable surfaces to remove worn, dead outer plates. Unfortunately, this behavior in pets often causes significant damage. furniture, walls, draperies and carpeting.
The best tactic to combat scratching is not to try to stop the cat from scratching, but to teach it where and what to scratch. A great solution is to provide her with suitable, attractive surfaces and objects, such as a scratching post.
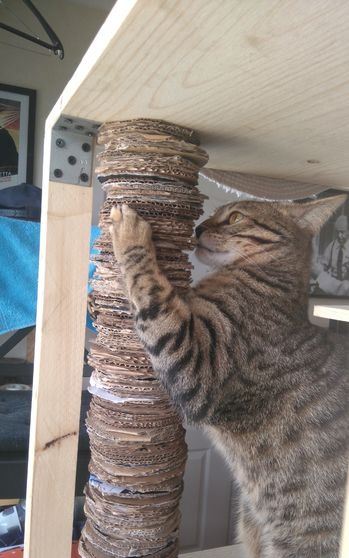
Our budget scratching post is made of cardboard.
This material was chosen for the following reasons:
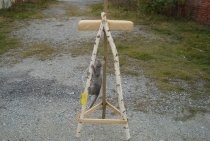
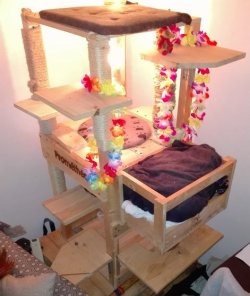
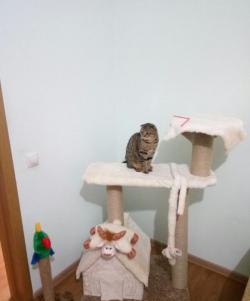
The scratching post shown in the photo is built into a cat tree (also homemade). (2.jpg) Here is a step by step tutorial on how to make this scratching post in just 4 easy steps.
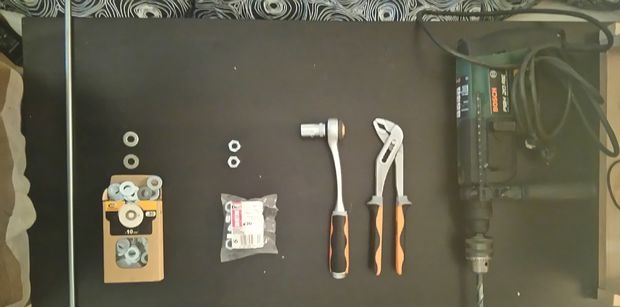
For this project you will only need:
Required tools:
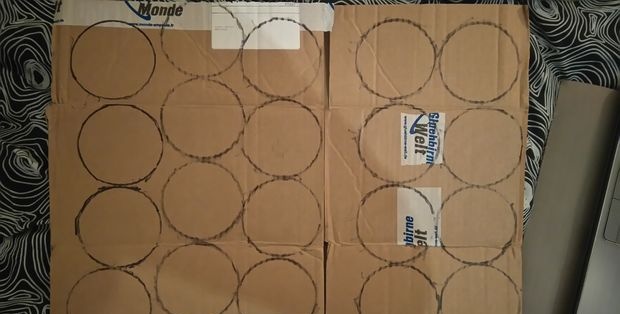
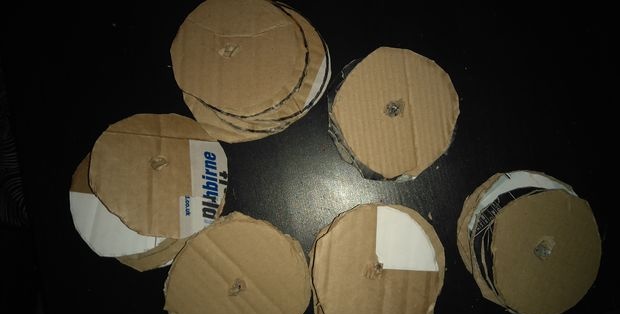
Draw circles on the cardboard, then use scissors to cut them out.

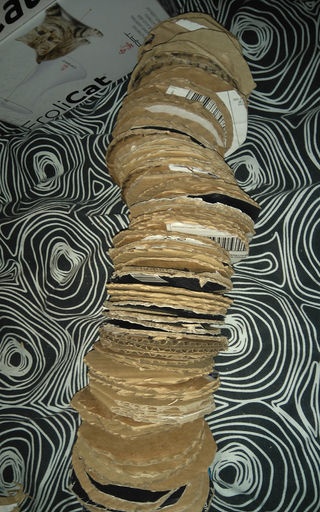
Use a threaded rod to pierce a cardboard circle in the center. Then the second circle is threaded, the third, etc. This process can be automated as follows: install the threaded rod in the drill, turn it on and insert the cardboard circles.
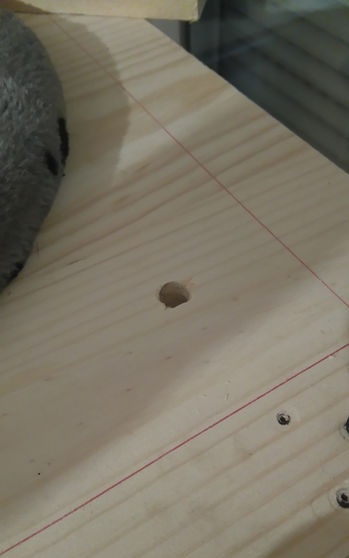
Drill 2 holes in the cat tree or two pieces of wood where you intend to install the scratching post. It can simply be secured to some heavy, stable base.
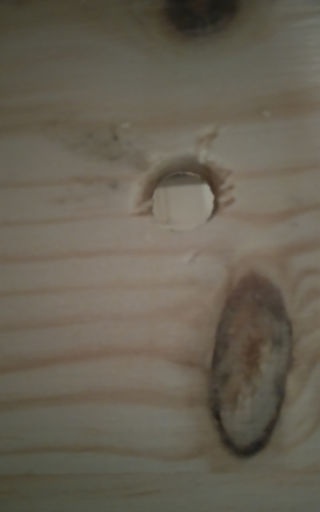
Place the scratching post in place and secure with nuts. Pay special attention to the stability of the structure, because it will have to withstand any cat’s emotions. Also correctly calculate the height of the column. It should be sufficient for the cat to be able to stretch out to its full height.
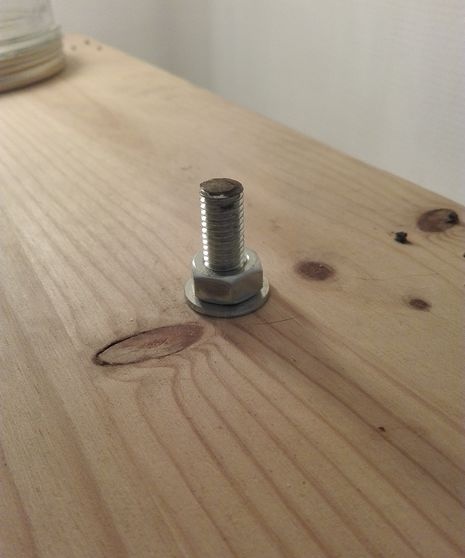
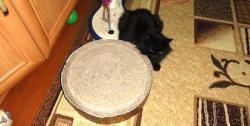
All is ready! This is a convenient device for scratching claws. Fast and cheap. We hope your cat enjoys the new scratching area and enjoys using it like the cat in the photo.
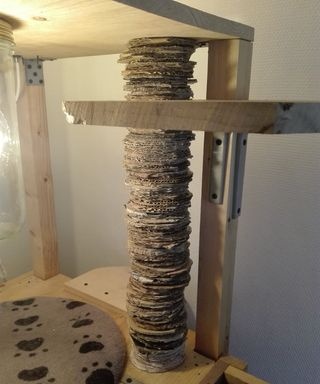
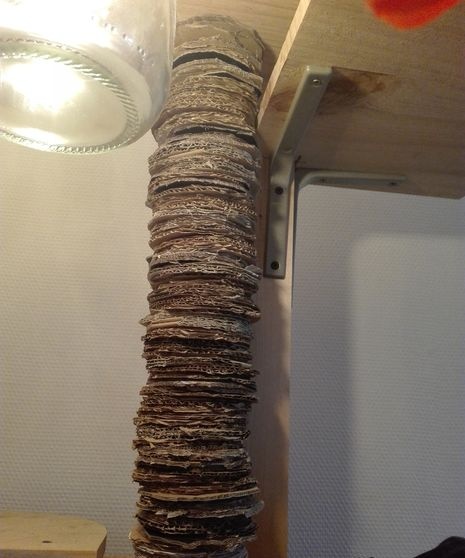
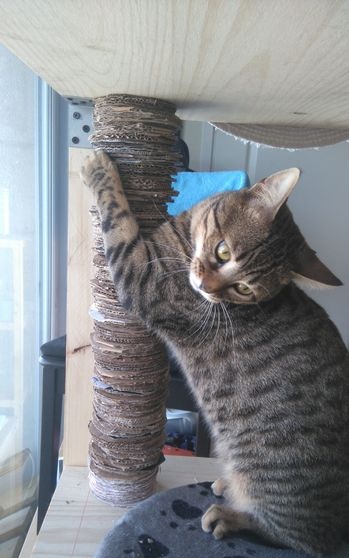
This design can be easily updated as soon as the need arises.
Choose a place to place the scratching post where your pet is most often seen doing such a destructive activity as damaging the owner’s property: near an armchair, sofa, at the door, etc. To attract your cat's attention to the gift, scent it with something attractive to her nose, such as catnip. You can hang toys on it.
Thank you for reading our post. If you liked it, or maybe you want to ask questions or recommend something, leave a comment.
Original article in English
We want to share a budget-friendly way to make your pet happy. We bring to your attention such a necessary thing in your home as a scratching post.
Hardly anyone doubts its necessity. The instinct to scratch cannot be taken away from cats. They love to scratch and do this during play, when they stretch to mark territory or leave a warning signal to their relatives. Their claws require regular sharpening, and cats sharpen them on suitable surfaces to remove worn, dead outer plates. Unfortunately, this behavior in pets often causes significant damage. furniture, walls, draperies and carpeting.
How to deal with cat habits
The best tactic to combat scratching is not to try to stop the cat from scratching, but to teach it where and what to scratch. A great solution is to provide her with suitable, attractive surfaces and objects, such as a scratching post.

Our budget scratching post is made of cardboard.
This material was chosen for the following reasons:
- availability (no need to spend money, you can use unnecessary boxes that will always be at hand);
- safety and environmental friendliness;
- ease of processing;
- cats like to shred cardboard/paper.
The scratching post shown in the photo is built into a cat tree (also homemade). (2.jpg) Here is a step by step tutorial on how to make this scratching post in just 4 easy steps.
Materials and accessories
For this project you will only need:
- corrugated cardboard (used for making packaging materials);
- threaded rod;
- 2 washers;
- 2 nuts.
Required tools:
- drill,
- scissors,
- wrench for nuts.

Cardboard circles
Draw circles on the cardboard, then use scissors to cut them out.


Use a threaded rod to pierce a cardboard circle in the center. Then the second circle is threaded, the third, etc. This process can be automated as follows: install the threaded rod in the drill, turn it on and insert the cardboard circles.


Installing a cat tree
Drill 2 holes in the cat tree or two pieces of wood where you intend to install the scratching post. It can simply be secured to some heavy, stable base.


Final stage
Place the scratching post in place and secure with nuts. Pay special attention to the stability of the structure, because it will have to withstand any cat’s emotions. Also correctly calculate the height of the column. It should be sufficient for the cat to be able to stretch out to its full height.

All is ready! This is a convenient device for scratching claws. Fast and cheap. We hope your cat enjoys the new scratching area and enjoys using it like the cat in the photo.


This design can be easily updated as soon as the need arises.
Where to post
Choose a place to place the scratching post where your pet is most often seen doing such a destructive activity as damaging the owner’s property: near an armchair, sofa, at the door, etc. To attract your cat's attention to the gift, scent it with something attractive to her nose, such as catnip. You can hang toys on it.
Thank you for reading our post. If you liked it, or maybe you want to ask questions or recommend something, leave a comment.
Original article in English
Similar master classes
Particularly interesting
Comments (3)

