Crochet hat with a bow for a baby
A children's headdress knitted by the hands of a loving mother, grandmother or sister is great present a newborn baby in whom the soul is invested. Knitting a hat with a bow for a baby is not at all difficult and even a novice craftswoman can do it. The most important thing is to master the basics of crochet and follow the simple instructions of the master class. The finished hat can be worn by a baby approximately 3 to 6 months old in the fall or winter under the hood of a jacket.
All you need for knitting is less than half a standard skein of yarn (you can choose any one that is most convenient to work with), leftover yarn of a different color, a hook of the corresponding number and scissors.
The following abbreviations were used in the description of the manufacture of the product:
VP - air loop
RLS - single crochet
СС1Н - double crochet
SPS - connecting floor column
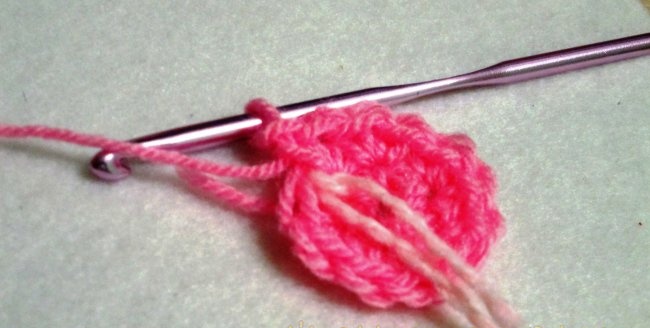
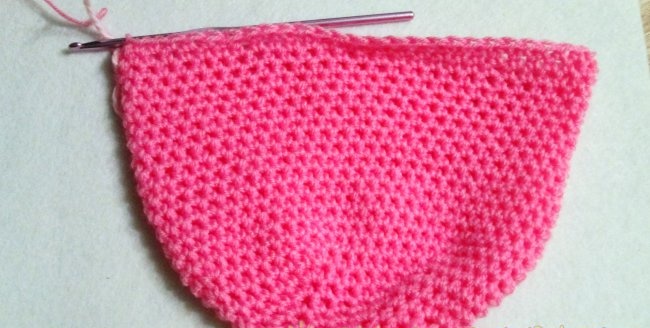
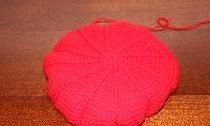
To start knitting a hat, you need to cast on 2 VPs and knit 6 sc into the second loop from the hook (the one that was cast on first). Mark the end of the row by tying a marker thread, which will then need to be transferred to complete each row.It is needed in order not to get confused in the number of rows. Next, you need to close the row - make 1 SPS by inserting a hook into the base of the very first column. So the first row is ready - everything is very simple.
Row 2 - 12 sc (2 sc in each stitch of the 1st row), mark the end of the row with a thread marker, then 1 sp.
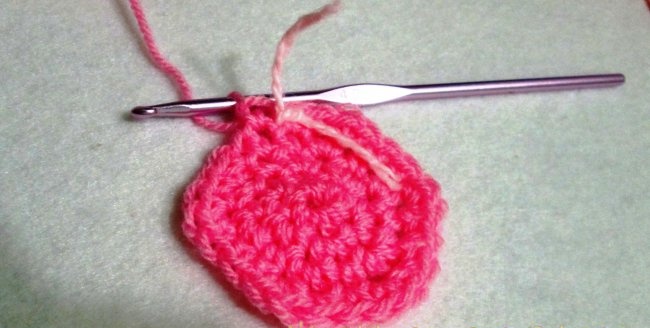
3rd row - starts with 1 VP, then 1 RLS in the first loop of the 2nd row, then 2 RLS in the second loop of the 2nd row and so on until the end of the row, knitting every second loop twice. This row will consist of 18 sc. Don’t forget to move the marker and knit 1 sps into the first stitch of the 2nd row.
4th row - 1 VP, then 1 RLS in the first loop, 1 RLS in the second, 2 RLS in the third. You should knit this way until the end of the row, resulting in 24 loops. Move the marker, close row 1 ATP.
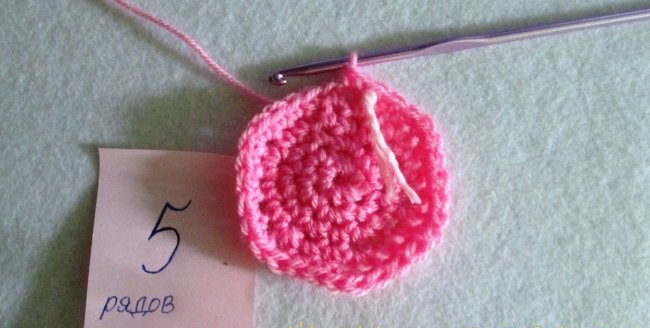
5th row - 1 VP, then continue increasing, increasing the distance between them by 1 loop (i.e. in the first 3 loops of the 4th row, knit 1 RLS, and in every 4th - 2 RLS). At the end you should get 30 sc.
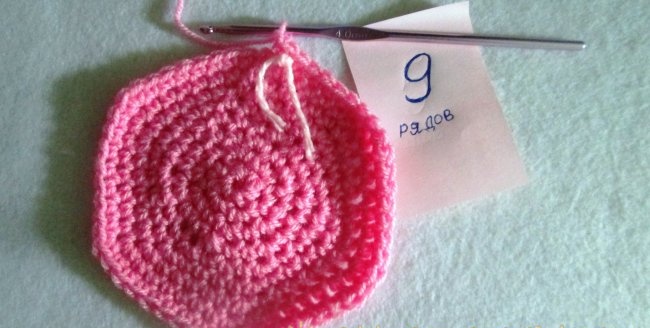
Rows 6-9 are knitted according to the same principle - the beginning of the row is 1 VP, then with an increase in increments of 1 loop. In the 6th row, knit 2 sc in every fifth stitch; in the 7th row - every sixth; in the 8th row - every seventh; in the 9th row - 2 sc in every eighth stitch.
At the end of the 9th row there are 54 loops.
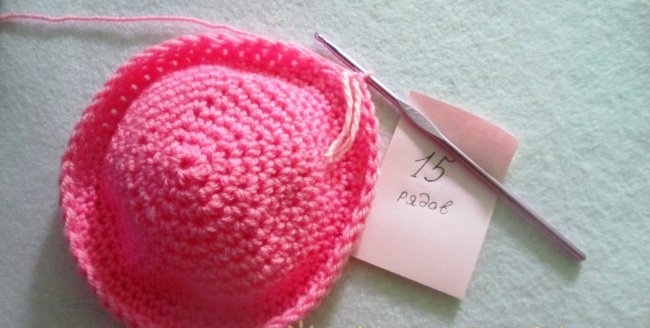
Rows 10-25 should be knitted without increments, i.e. 1 sc in each loop of the previous row. The number of loops is always 54. Each row of VP begins and ends with SPS.
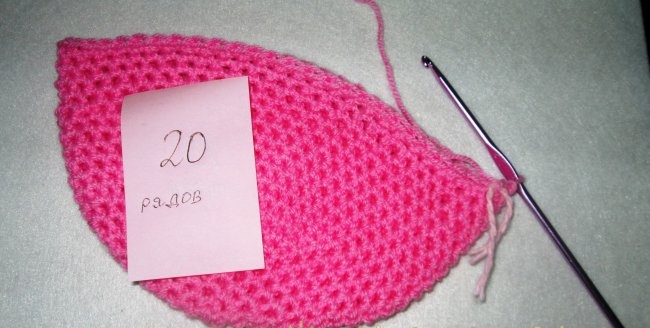
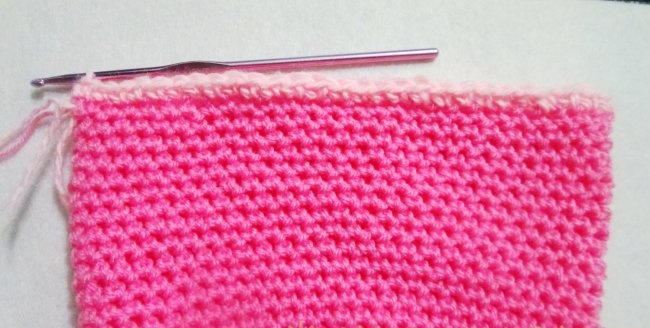
Knit rows 26-27 exactly the same as 25, only with a thread of a different color.
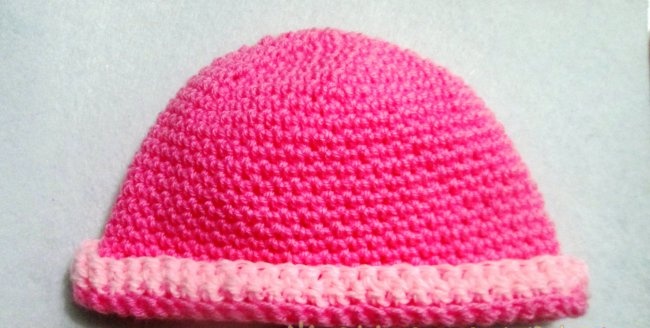
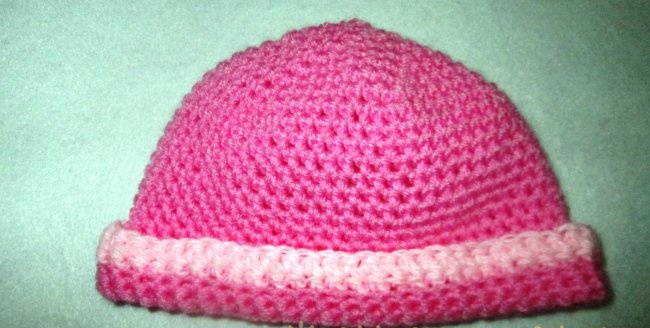
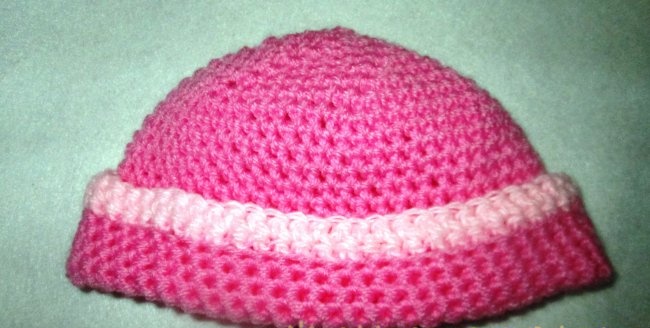
At the end of knitting, the working thread should be cut, leaving a tail. Then tie the tail into a knot and hide it between the loops. The bottom of the finished hat can be folded up.
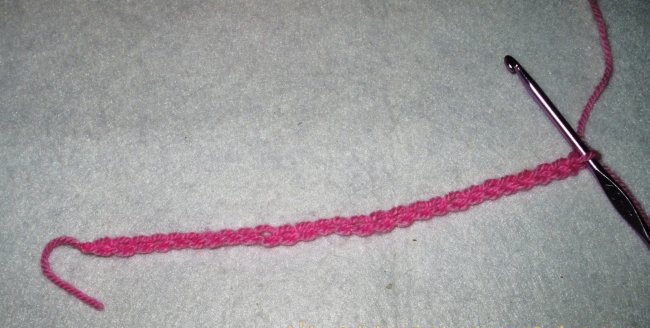
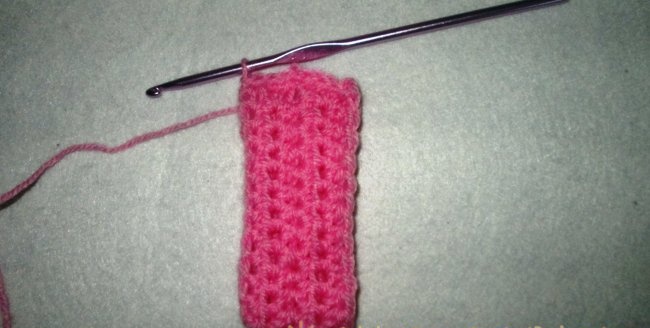
To knit a bow you need to cast a chain of 27 VPs.
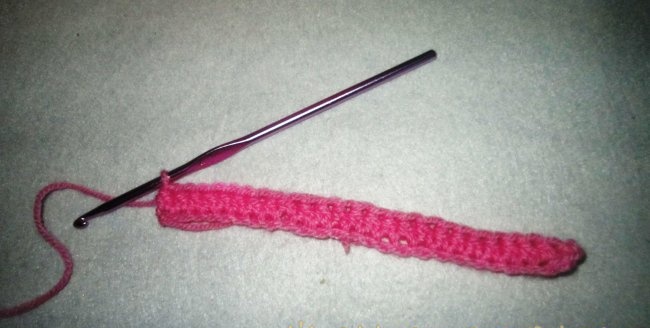
Knitting starts with the 4th loop from the hook (those that were missed are necessary for lifting the row). Work 24 CC1H into each loop of the chain.
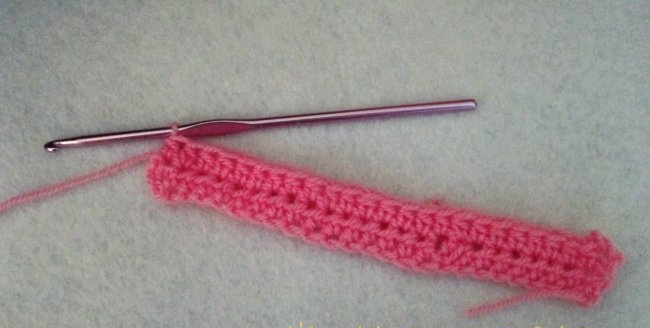
Next, turn the cartridge over, dial 3 VPs, again to rise to a new row. In the second row of the bow, knit 24 CC1H.
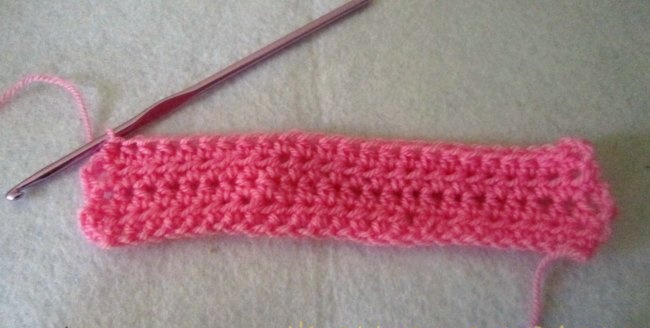
Rows 3-4 are knitted exactly the same as the second.
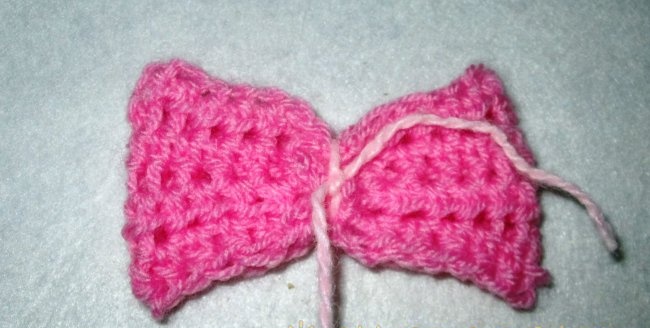
When all 4 rows are ready, you need to fold the cartridge in half and connect the edges by knitting a connecting row.
Now you need to position the bow socket in front of you so that the seam is in the back in the middle. Take threads of a different color and secure them to the socket, tying a strong knot at the back, in the middle of the product along the seam.
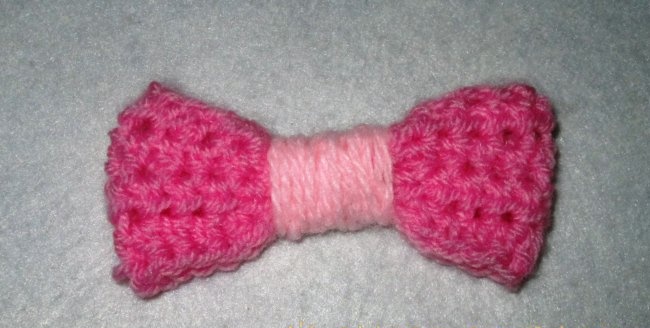
Wrap a thread in several layers around the cartridge, forming the middle of the bow. Hide the end of the thread between the layers. This is how the bow turns out!
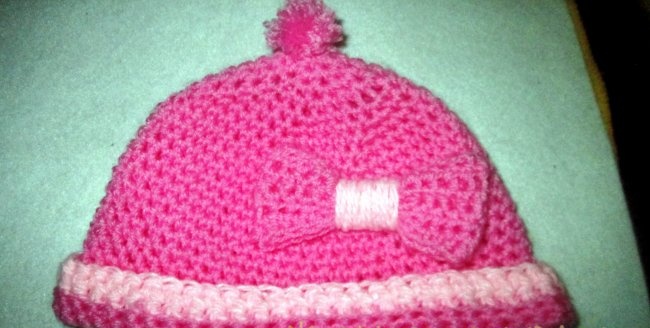
Sew or glue the bow to the hat.
You can make a pompom and attach it to the top of the hat.
The children's headdress is ready!
Materials
All you need for knitting is less than half a standard skein of yarn (you can choose any one that is most convenient to work with), leftover yarn of a different color, a hook of the corresponding number and scissors.
Abbreviations
The following abbreviations were used in the description of the manufacture of the product:
VP - air loop
RLS - single crochet
СС1Н - double crochet
SPS - connecting floor column
Knitting a hat
To start knitting a hat, you need to cast on 2 VPs and knit 6 sc into the second loop from the hook (the one that was cast on first). Mark the end of the row by tying a marker thread, which will then need to be transferred to complete each row.It is needed in order not to get confused in the number of rows. Next, you need to close the row - make 1 SPS by inserting a hook into the base of the very first column. So the first row is ready - everything is very simple.
Row 2 - 12 sc (2 sc in each stitch of the 1st row), mark the end of the row with a thread marker, then 1 sp.
3rd row - starts with 1 VP, then 1 RLS in the first loop of the 2nd row, then 2 RLS in the second loop of the 2nd row and so on until the end of the row, knitting every second loop twice. This row will consist of 18 sc. Don’t forget to move the marker and knit 1 sps into the first stitch of the 2nd row.
4th row - 1 VP, then 1 RLS in the first loop, 1 RLS in the second, 2 RLS in the third. You should knit this way until the end of the row, resulting in 24 loops. Move the marker, close row 1 ATP.
5th row - 1 VP, then continue increasing, increasing the distance between them by 1 loop (i.e. in the first 3 loops of the 4th row, knit 1 RLS, and in every 4th - 2 RLS). At the end you should get 30 sc.
Rows 6-9 are knitted according to the same principle - the beginning of the row is 1 VP, then with an increase in increments of 1 loop. In the 6th row, knit 2 sc in every fifth stitch; in the 7th row - every sixth; in the 8th row - every seventh; in the 9th row - 2 sc in every eighth stitch.
At the end of the 9th row there are 54 loops.
Rows 10-25 should be knitted without increments, i.e. 1 sc in each loop of the previous row. The number of loops is always 54. Each row of VP begins and ends with SPS.
Knit rows 26-27 exactly the same as 25, only with a thread of a different color.
At the end of knitting, the working thread should be cut, leaving a tail. Then tie the tail into a knot and hide it between the loops. The bottom of the finished hat can be folded up.
Knitting a bow
To knit a bow you need to cast a chain of 27 VPs.
Knitting starts with the 4th loop from the hook (those that were missed are necessary for lifting the row). Work 24 CC1H into each loop of the chain.
Next, turn the cartridge over, dial 3 VPs, again to rise to a new row. In the second row of the bow, knit 24 CC1H.
Rows 3-4 are knitted exactly the same as the second.
When all 4 rows are ready, you need to fold the cartridge in half and connect the edges by knitting a connecting row.
Now you need to position the bow socket in front of you so that the seam is in the back in the middle. Take threads of a different color and secure them to the socket, tying a strong knot at the back, in the middle of the product along the seam.
Wrap a thread in several layers around the cartridge, forming the middle of the bow. Hide the end of the thread between the layers. This is how the bow turns out!
Sew or glue the bow to the hat.
You can make a pompom and attach it to the top of the hat.
The children's headdress is ready!
Similar master classes
Particularly interesting
Comments (0)

