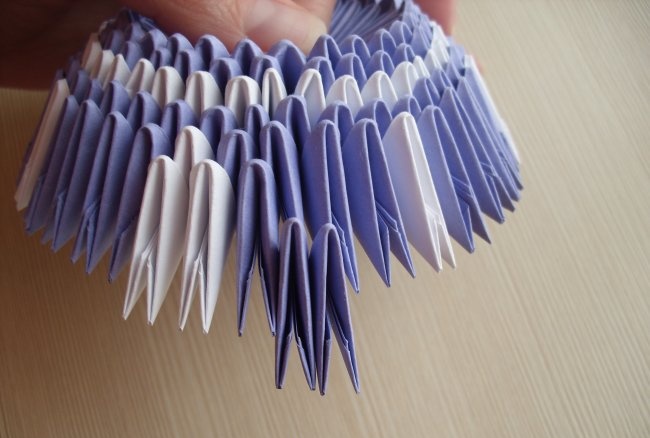
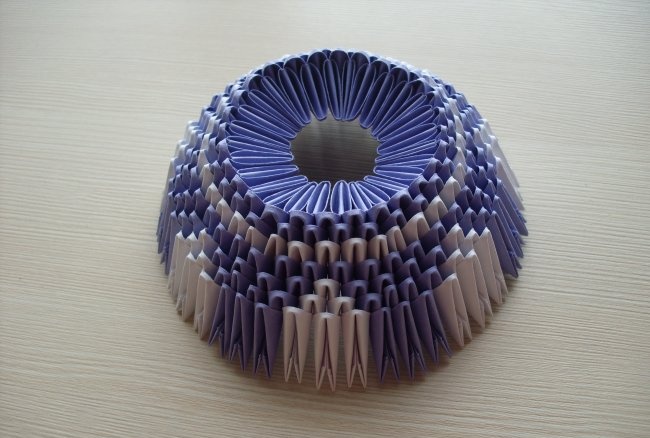
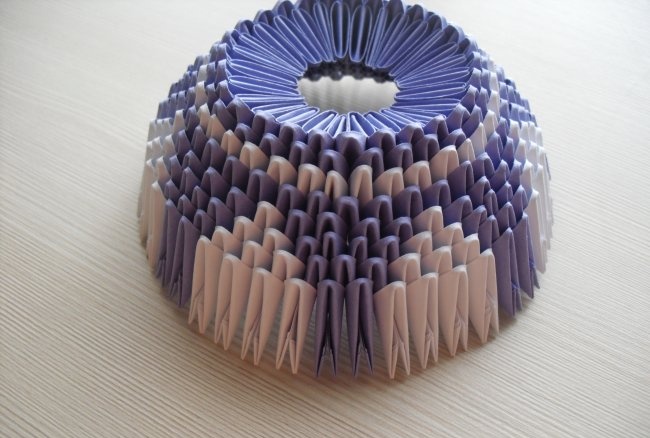
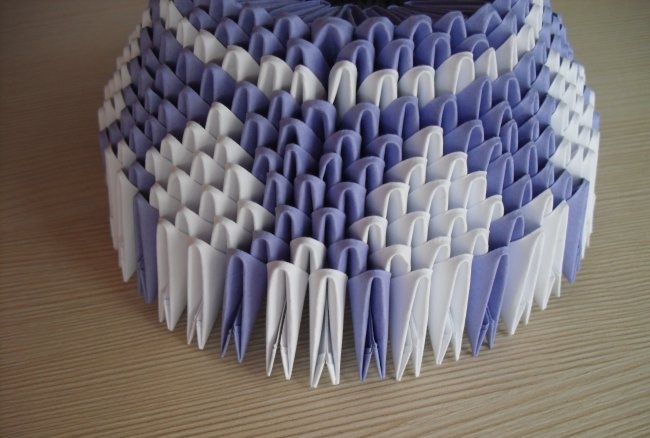
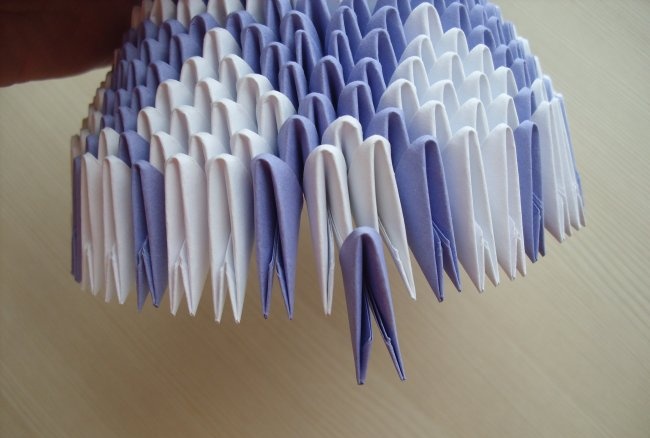
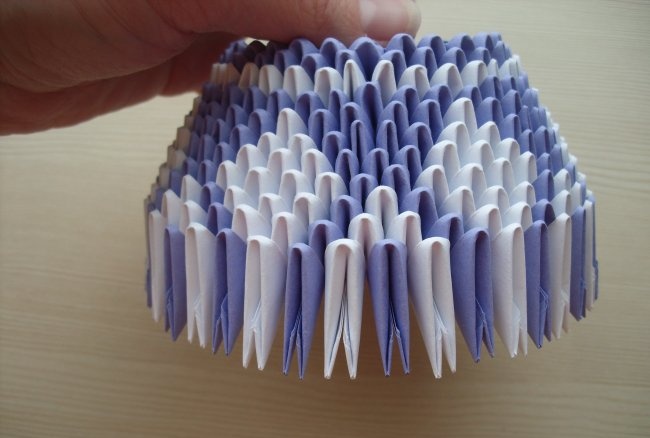
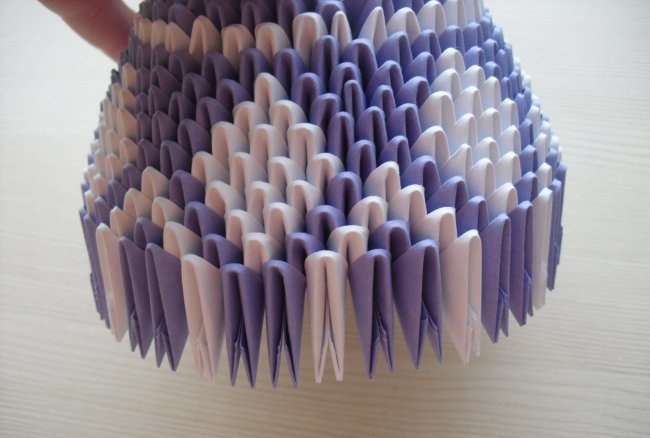
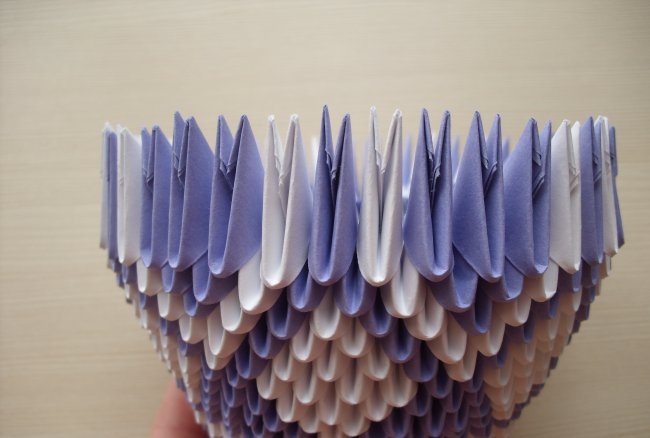
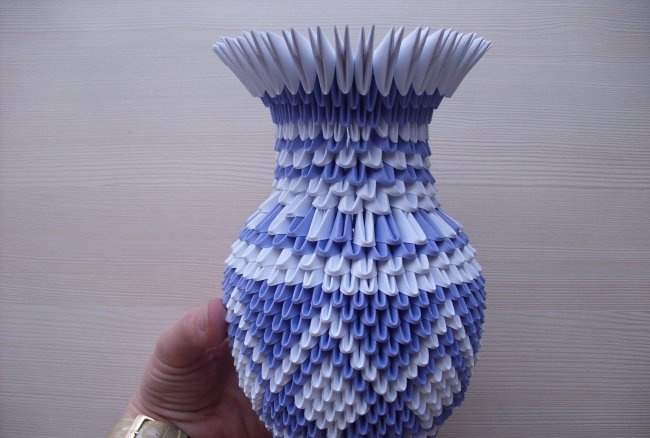
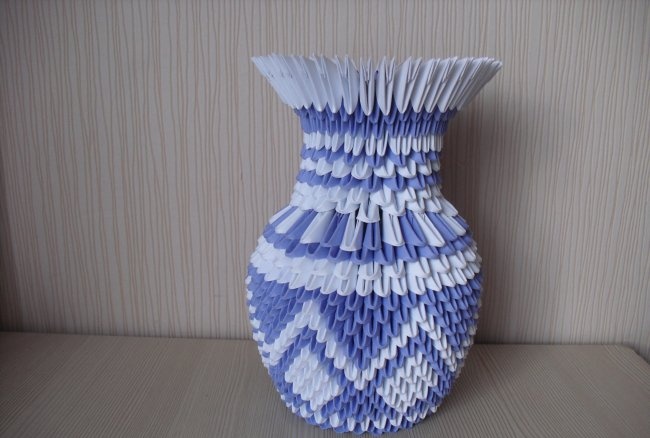
Vase made of triangular origami modules
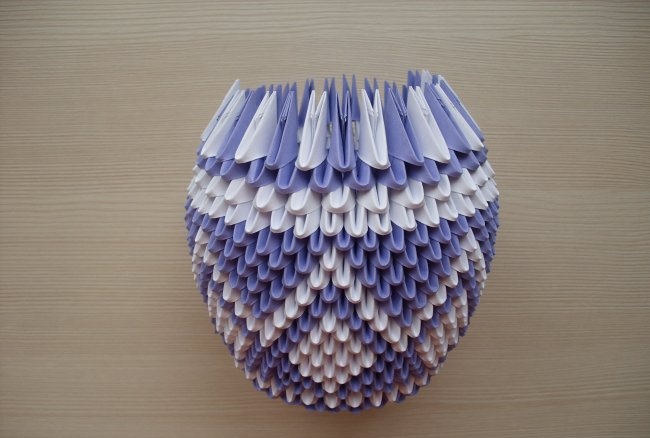
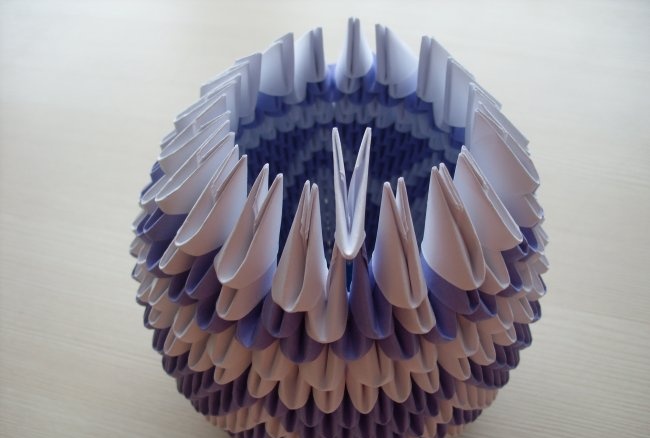
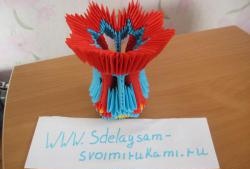
Very beautiful vase made using modular technique origami with your own hands. The two-color palette makes for an interesting combination. This is an unusual craft that can be made from just paper of all colors.
Necessary parts for creation crafts:
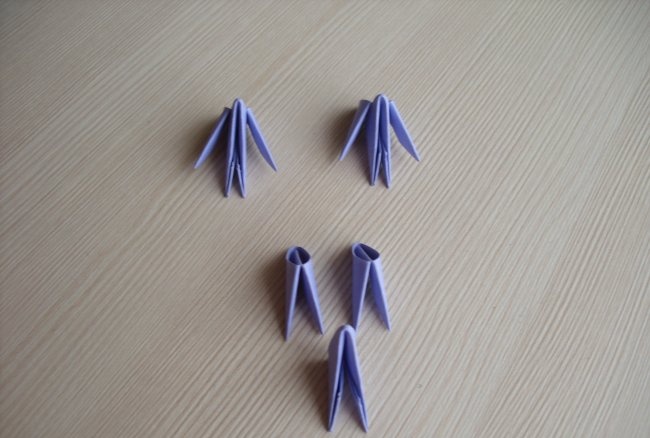
We start the assembly with purple triplets, which we place as illustrated in the photo:
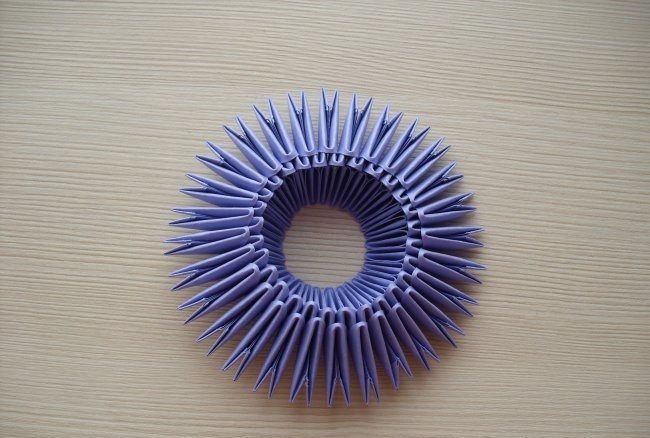
In total you need to make 14 triplets. We close the blanks in a circle. We assemble two more circular rows of purple triangles with 28 parts in each row. The result is the following:
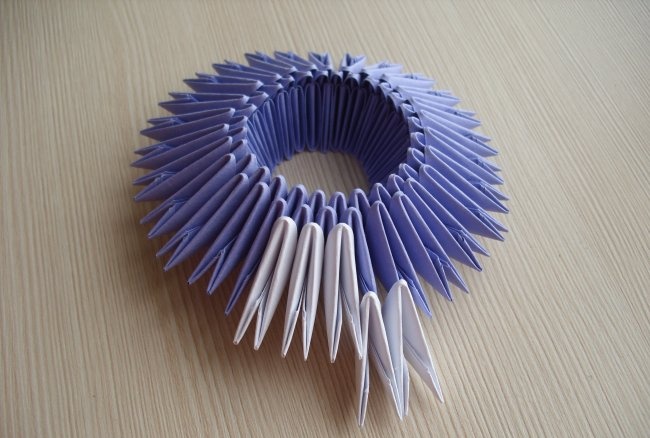
4r. – assembly is carried out using white triangles. In the current row, you need to increase the number of modules to 35. To do this, for every fourth origami triangle from the previous row, you need to string not 1, but 2 elements at once
5 rub. – 35 purple triangles;
6r. – alternating elements according to the scheme: 1 white origami triangle, 4 purple
7r. – in this row you need to increase the number of component elements to 42. To do this, perform the assembly as follows:
We string 2 white paper triangles onto a white element of the previous row, then 1 purple, then 2 purple ones onto one triangle of the previous row.
and again purple, we dress as usual.
Next, repeat the combination until the end of the row.
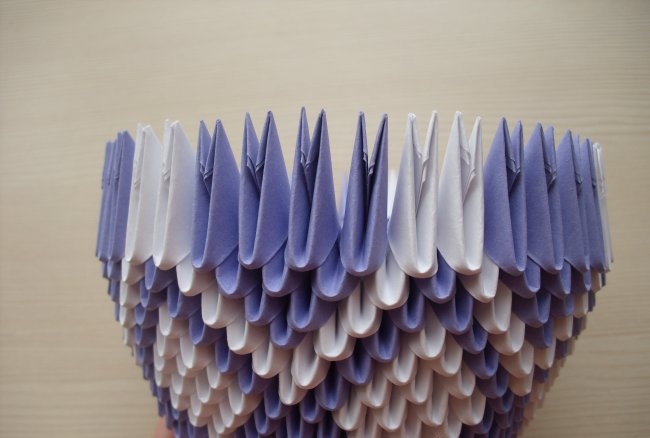
8 rub. – alternation of elements: 3 white, 3 purple modules;
9r. – alternation: 4 white, 2 purple elements;
10 rub. – alternation: insert 1 white triangle between two purple ones of the previous row, then – 1 purple, 3 white, 1 purple;
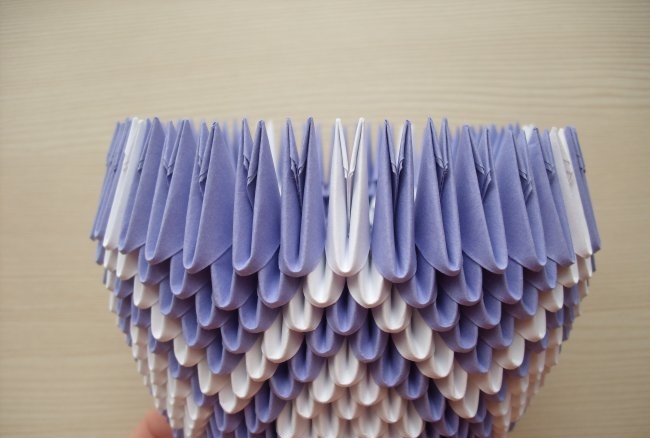
11r. – alternation of elements according to the scheme: 1 purple, 2 white;
12 rub. – alternation: insert 1 purple origami triangle between the two white ones of the previous row, then 1 white one;
13r. – alternation of elements: 2 purple, 1 white;
14 rub. – alternation: 1 purple, 1 white, 3 purple, 1 white;
15 rub. – alternation: 2 white, 4 purple triangles;
16 rub. – alternation: 1 white, 5 purple;
17r. – 42 components of violet color;
18 rub. – 42 white triangles;
19 rub. – in this row you need to reduce the number of elements to 28. To do this, put 1 white on the 3 corners of the modules of the previous row (1.5 modules).
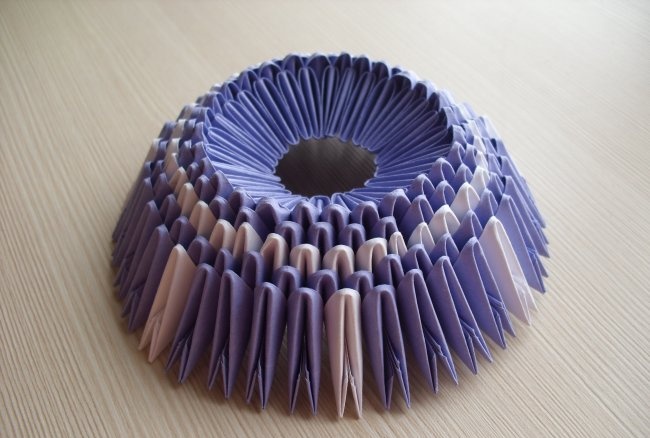
This is what the final product looks like:
In this row, you can fix the triangles with adhesive so that they do not move as a result of subsequent assembly.
20 rub. – 28 purple origami triangles. Starting from this row, we put on each triangular module, slightly lifting it and moving it forward.
21r. – alternation: 1 white, 1 purple element;
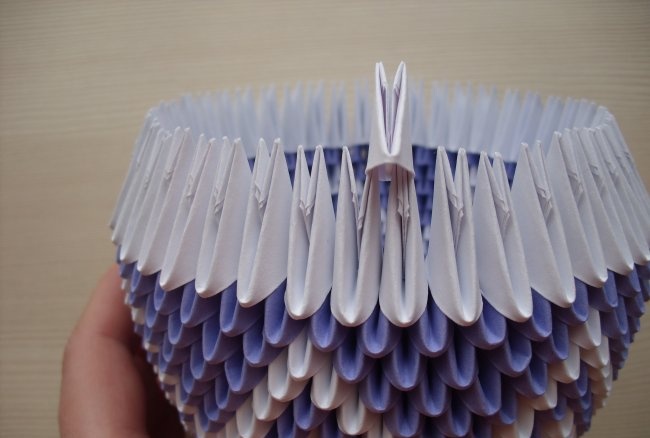
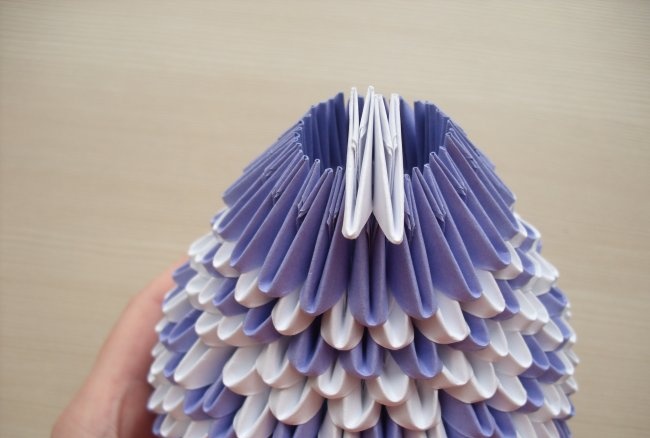
22r. – we reduce the number of triangles in the row to 19. We dress 18 white elements in the same way as in the 19th row, and we dress the nineteenth as usual, on two corners.
23r. – 19 white elements;
24 rub. – 19 purple;
25 rub.– 19 white triangles;
26 rub. – 19 purple;
27 rub. – again we increase the number of parts: we put two elements on one origami triangle from the previous row.
The row consists of 38 white pieces.
28 rub. – We put on 38 purple triangles with a forward tilt;
29 rub. – repeat row No. 28;
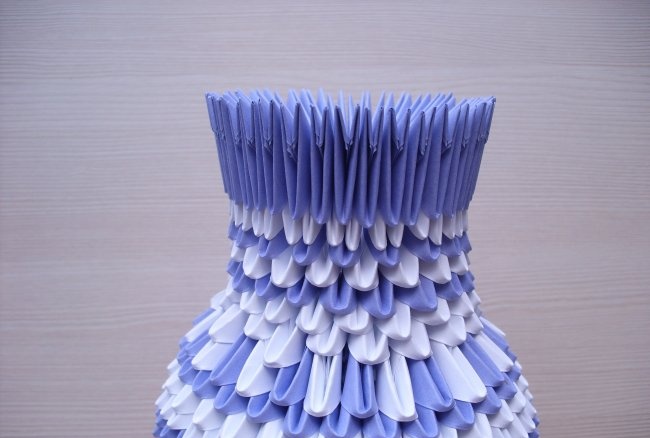
30 rub. – We dress 38 white origami triangles with a forward tilt.
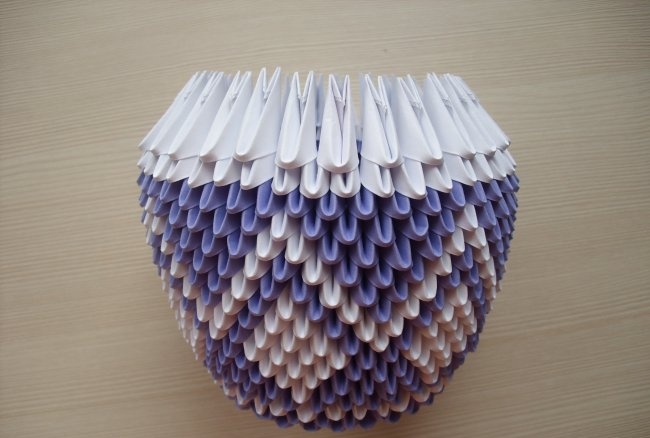
The vase made of paper triangles is ready!
Necessary parts for creation crafts:
- Paper triangles for origami in purple and white;
- Glue gel or glue gun.
Stages of work:
We start the assembly with purple triplets, which we place as illustrated in the photo:
In total you need to make 14 triplets. We close the blanks in a circle. We assemble two more circular rows of purple triangles with 28 parts in each row. The result is the following:
4r. – assembly is carried out using white triangles. In the current row, you need to increase the number of modules to 35. To do this, for every fourth origami triangle from the previous row, you need to string not 1, but 2 elements at once
5 rub. – 35 purple triangles;
6r. – alternating elements according to the scheme: 1 white origami triangle, 4 purple
7r. – in this row you need to increase the number of component elements to 42. To do this, perform the assembly as follows:
We string 2 white paper triangles onto a white element of the previous row, then 1 purple, then 2 purple ones onto one triangle of the previous row.
and again purple, we dress as usual.
Next, repeat the combination until the end of the row.
8 rub. – alternation of elements: 3 white, 3 purple modules;
9r. – alternation: 4 white, 2 purple elements;
10 rub. – alternation: insert 1 white triangle between two purple ones of the previous row, then – 1 purple, 3 white, 1 purple;
11r. – alternation of elements according to the scheme: 1 purple, 2 white;
12 rub. – alternation: insert 1 purple origami triangle between the two white ones of the previous row, then 1 white one;
13r. – alternation of elements: 2 purple, 1 white;
14 rub. – alternation: 1 purple, 1 white, 3 purple, 1 white;
15 rub. – alternation: 2 white, 4 purple triangles;
16 rub. – alternation: 1 white, 5 purple;
17r. – 42 components of violet color;
18 rub. – 42 white triangles;
19 rub. – in this row you need to reduce the number of elements to 28. To do this, put 1 white on the 3 corners of the modules of the previous row (1.5 modules).
This is what the final product looks like:
In this row, you can fix the triangles with adhesive so that they do not move as a result of subsequent assembly.
20 rub. – 28 purple origami triangles. Starting from this row, we put on each triangular module, slightly lifting it and moving it forward.
21r. – alternation: 1 white, 1 purple element;
22r. – we reduce the number of triangles in the row to 19. We dress 18 white elements in the same way as in the 19th row, and we dress the nineteenth as usual, on two corners.
23r. – 19 white elements;
24 rub. – 19 purple;
25 rub.– 19 white triangles;
26 rub. – 19 purple;
27 rub. – again we increase the number of parts: we put two elements on one origami triangle from the previous row.
The row consists of 38 white pieces.
28 rub. – We put on 38 purple triangles with a forward tilt;
29 rub. – repeat row No. 28;
30 rub. – We dress 38 white origami triangles with a forward tilt.
The vase made of paper triangles is ready!
Similar master classes
Particularly interesting
Comments (2)

