Original Christmas tree decorations are not difficult
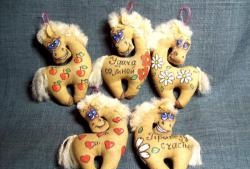
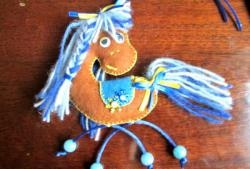
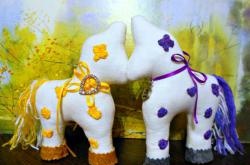
The New Year holidays are approaching and many have already started putting up Christmas trees and decorating them with toys. In this master class I want to share with you an interesting idea. I will teach you how to sew wonderful horses to decorate the Christmas tree. New Year 2014 will be the Year of the Horse, so these Christmas tree decorations will look especially beautiful.
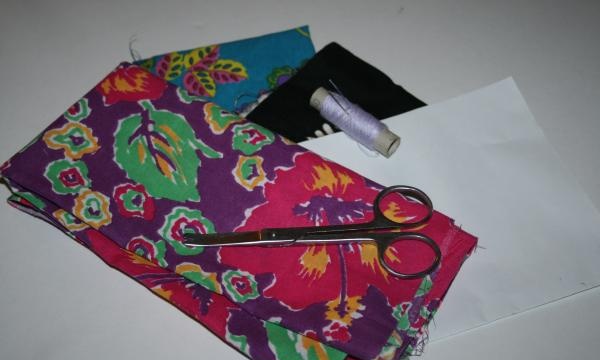
To make a Christmas tree toy you must have:
• Two types of fabric – one for the horse’s body, the other for the mane and tail.
• Synthetic fluff for stuffing toys.
• A piece of paper to make a pattern.
• Scissors.
• Needles and threads matching the color of the fabric.
• Pencil or pen.
• Chain, wire or string to make a fastening for a toy.
First of all, we draw the image of the future horse in order to transfer it to the fabric. We draw the mane and tail along the body, since we will cut out these details separately, and they must be left with enough reserve to be sewn into the horse’s body.
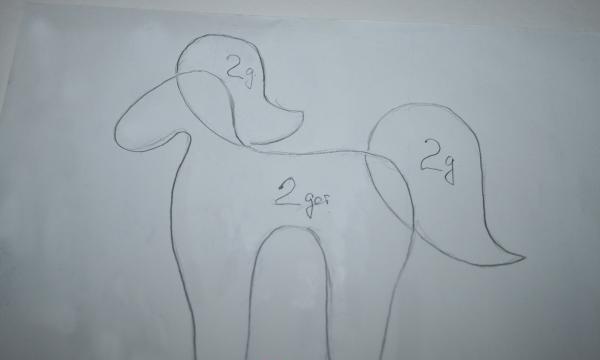
Cut out the pattern and apply it to the fabric. We outline the horse not exactly according to the pattern, but 0.5 cm retreating from it.
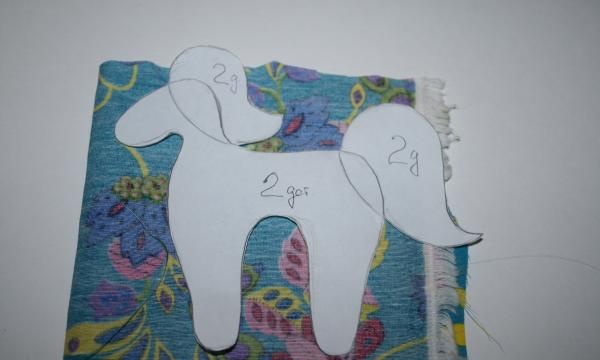
We cut out blanks for the body, tail and mane. There should be two of each element.
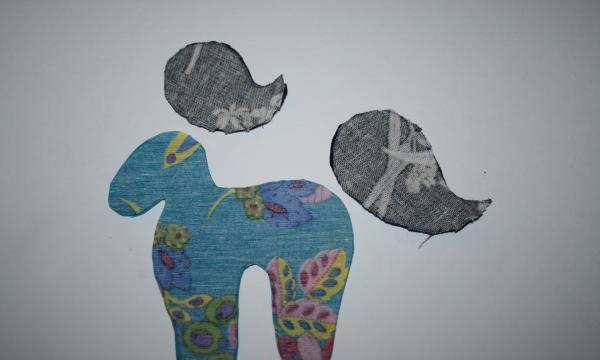
The mane and tail will be sewn into the body, so we sew them first. Lightly stuff them with synthetic fluff.
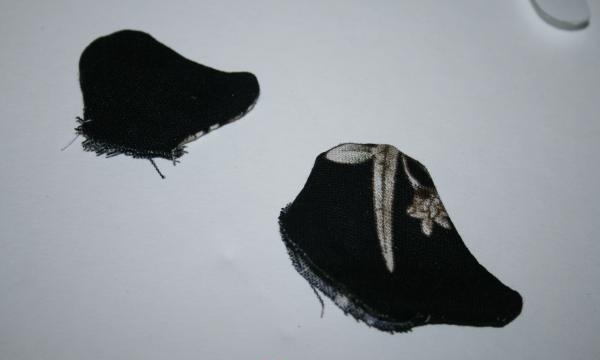
We begin to sew together the details of the horse's body.
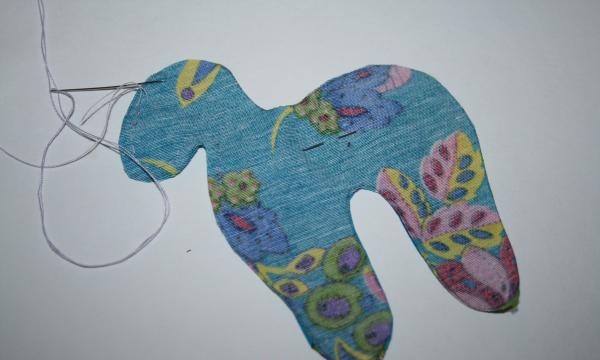
When we reach the place of the mane, we insert the piece into the body and sew it up. We also sew in the tail. When the body is almost completely stitched and only a small hole remains, we stuff the horse with synthetic down.
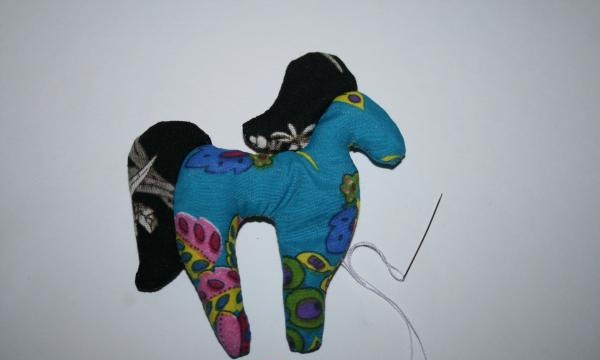
Sew up the remaining hole with a blind stitch. We insert a ring with a chain into the back of the horse and hang a wire hook at the end of the chain. It turns out to be such a lovely toy.
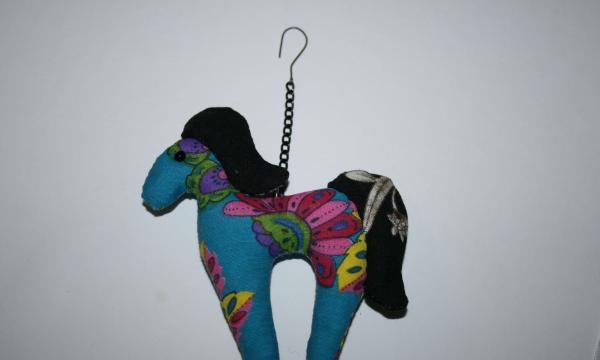
Making such a Christmas tree toy is not difficult. With such a horse you can please your loved ones or make several toys in present friends.
To make a Christmas tree toy you must have:
• Two types of fabric – one for the horse’s body, the other for the mane and tail.
• Synthetic fluff for stuffing toys.
• A piece of paper to make a pattern.
• Scissors.
• Needles and threads matching the color of the fabric.
• Pencil or pen.
• Chain, wire or string to make a fastening for a toy.

First of all, we draw the image of the future horse in order to transfer it to the fabric. We draw the mane and tail along the body, since we will cut out these details separately, and they must be left with enough reserve to be sewn into the horse’s body.

Cut out the pattern and apply it to the fabric. We outline the horse not exactly according to the pattern, but 0.5 cm retreating from it.

We cut out blanks for the body, tail and mane. There should be two of each element.

The mane and tail will be sewn into the body, so we sew them first. Lightly stuff them with synthetic fluff.

We begin to sew together the details of the horse's body.

When we reach the place of the mane, we insert the piece into the body and sew it up. We also sew in the tail. When the body is almost completely stitched and only a small hole remains, we stuff the horse with synthetic down.

Sew up the remaining hole with a blind stitch. We insert a ring with a chain into the back of the horse and hang a wire hook at the end of the chain. It turns out to be such a lovely toy.

Making such a Christmas tree toy is not difficult. With such a horse you can please your loved ones or make several toys in present friends.

Similar master classes
Particularly interesting
Comments (0)

