A simple microwave welding machine
A simple electric arc welding machine can be made by anyone at home, without using any specialized equipment or circuits. All we need is just two microwave ovens that can be found in a landfill or two transformers from them.
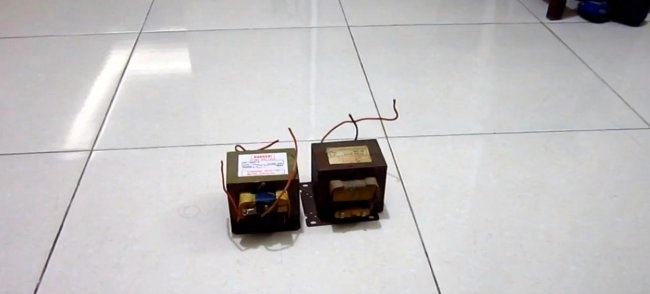
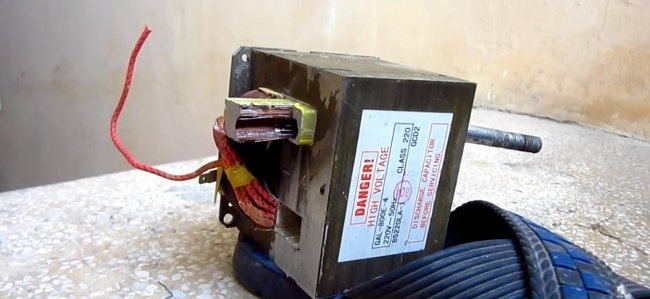
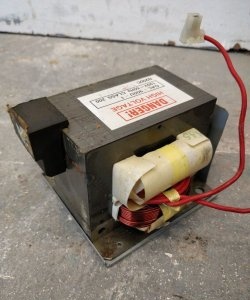
We disassemble the microwaves and take out the transformers.
These transformers are step-up, that is, they convert 220 Volts into a voltage of about 2.5 kV, necessary for the operation of the magnetron. Therefore, their secondary winding contains a less thick wire and with a larger number of turns. Such a transformer has a power of about 1200 W.
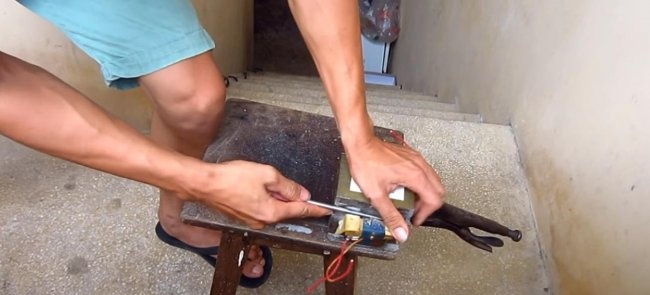
To assemble an arc welding machine, we do not have to disassemble the core of these transformers. We will simply cut down and drill out the secondary high-voltage winding. Usually this winding comes from the top, and the primary winding is 220 V from the bottom.
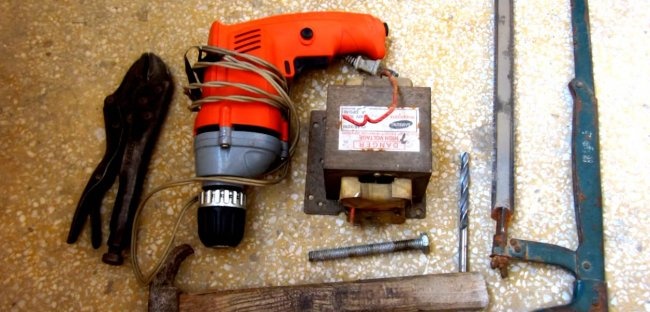
The tool we need for our work.
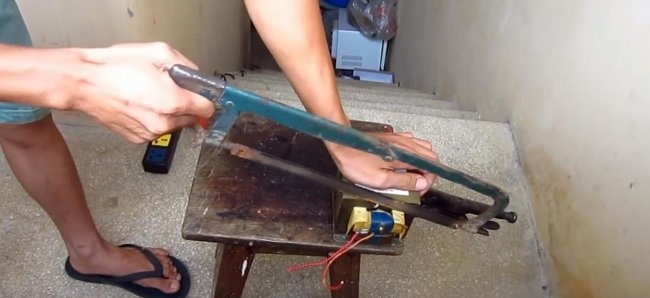
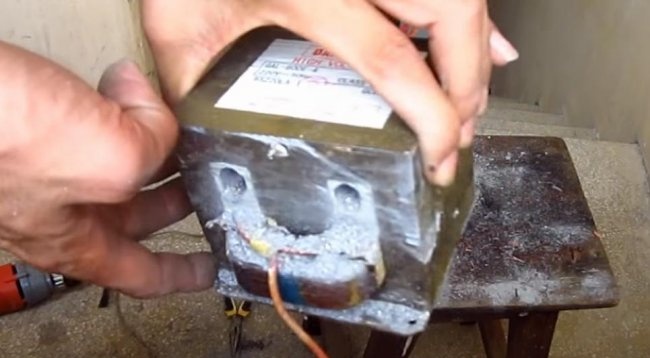
We take the transformer and secure it so that it does not move.We take a hacksaw and cut off the secondary winding on both sides of both transformers. If you decide to repeat, be careful not to damage the primary winding.
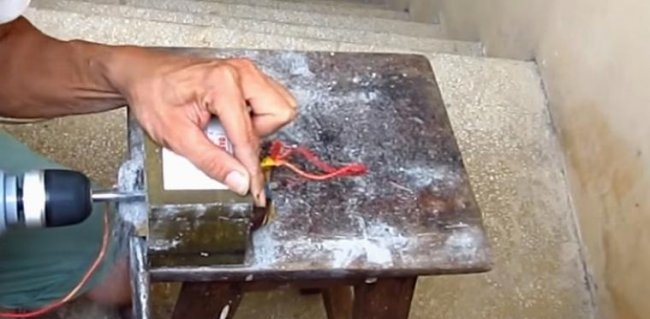
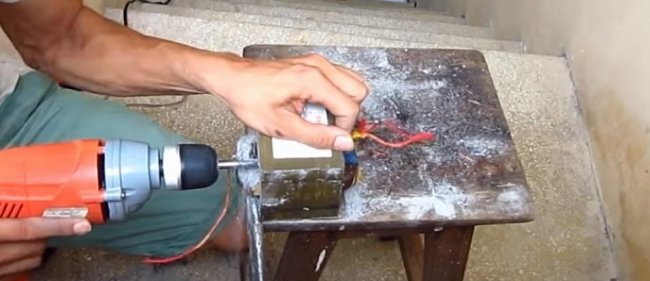
Then we drill the winding with a drill with a metal drill, thereby relieving the internal stress of the metals, making it easier to knock out the remains.
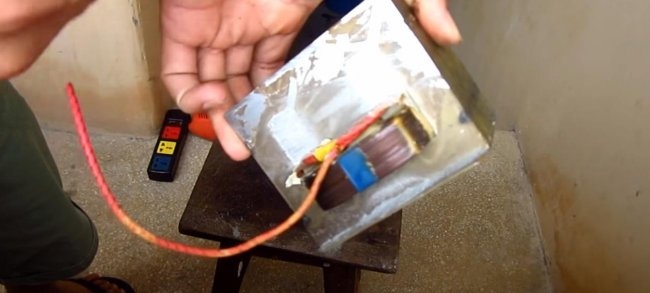
We knock out the remnants of the winding.
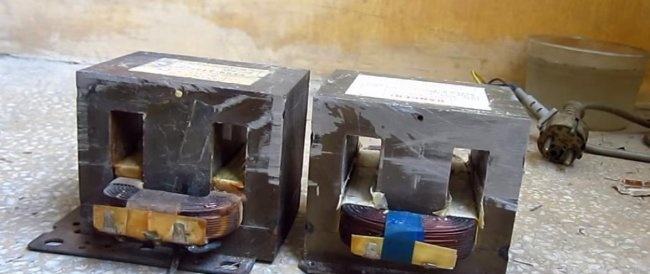
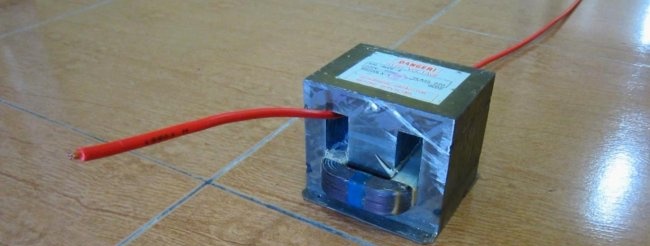
We have two transformers with 220 V windings. The transformer on the left, above the winding, has a current shunt that separates the windings. To increase power, they also need to be knocked out. Such manipulation will increase the power of the transformer by 20-25 percent.
There is also a small low-voltage winding made of a pair of wires between the large windings - we also throw that out.
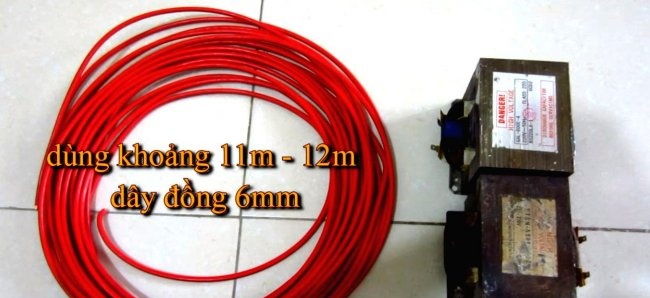
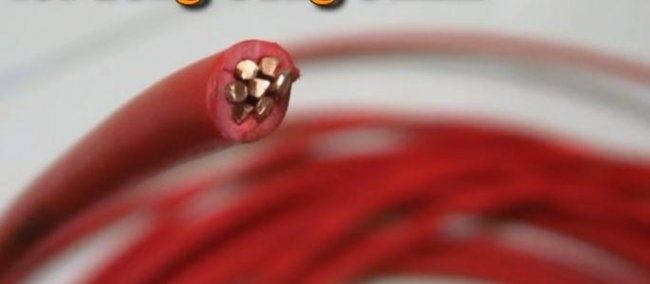
We take a stranded wire in plastic insulation with a cross-section of six squares and a length of 11-12 meters. You can take a more stranded wire, not coarse like in my example.
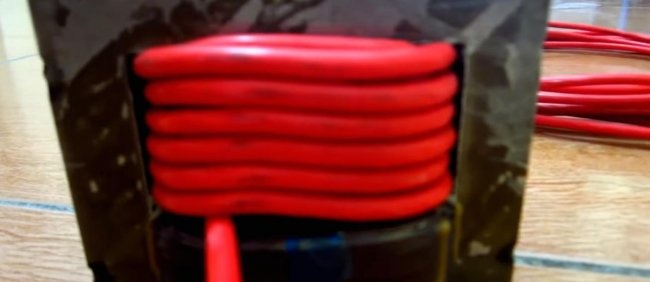
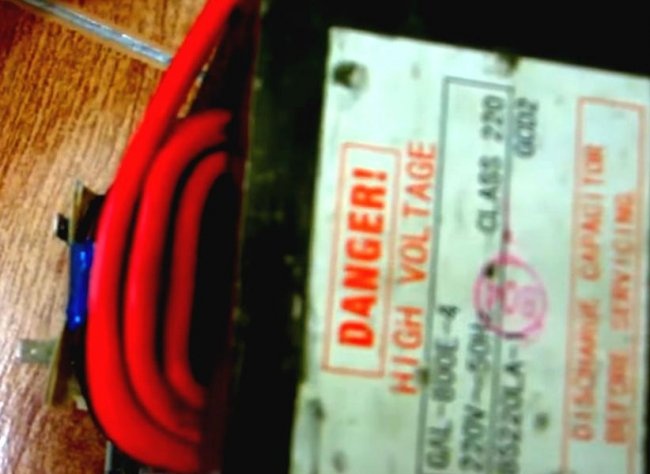
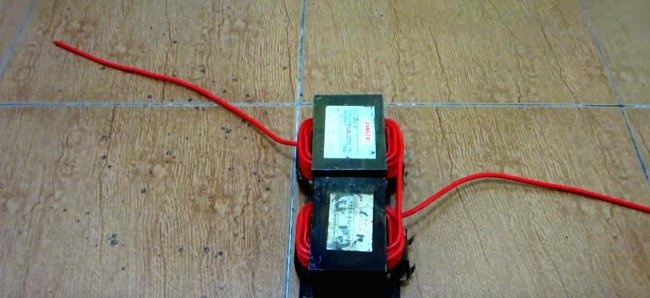
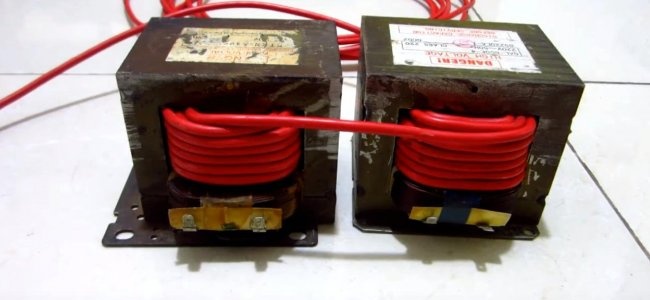
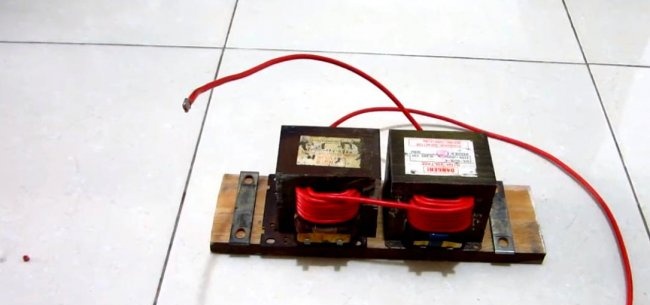
I wound about 17-18 turns on each transformer, 6 rows high and 3 layers thick.
The windings are connected in series. I wound everything with one wire, but you can wind each transformer separately and then connect it. The entire winding is very tight and should not dangle.
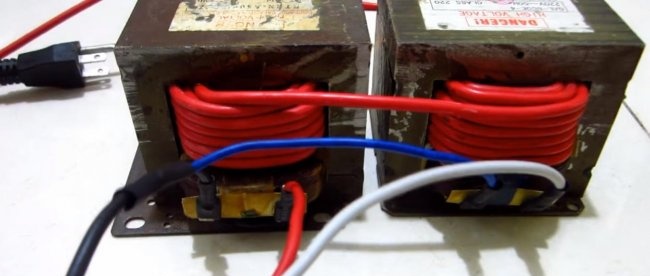
After winding is completed, we connect the high-voltage 220 V windings in parallel. I used automotive grade ferrules, insulated with heat shrink tubing.
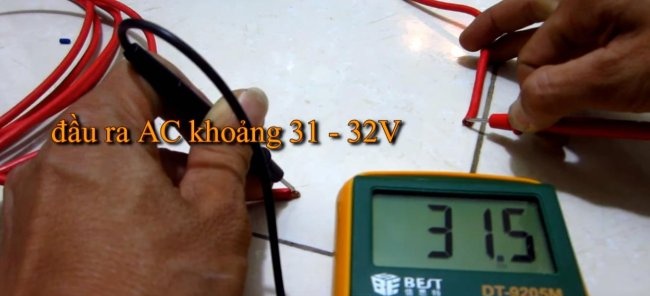
I plug in the entire structure and measure the voltage on the secondary that I wound. The result was about 31-32 Volts.
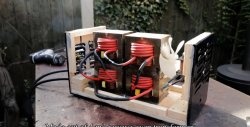
Then I took a wooden board and screwed both transformers with self-tapping screws to make one unit.
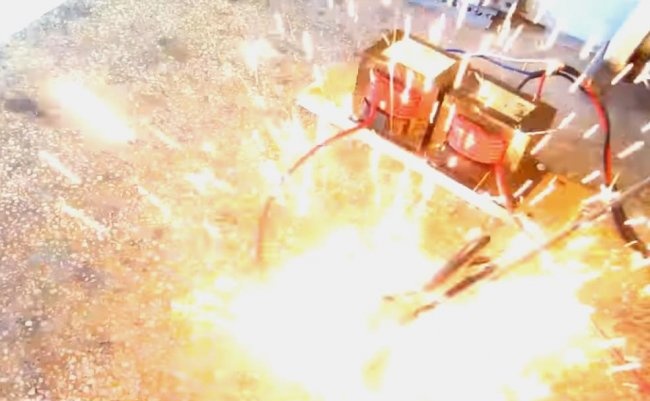
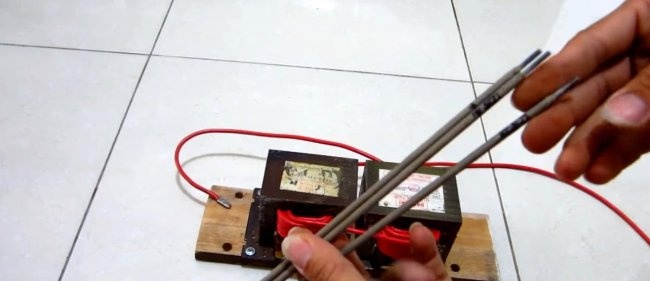
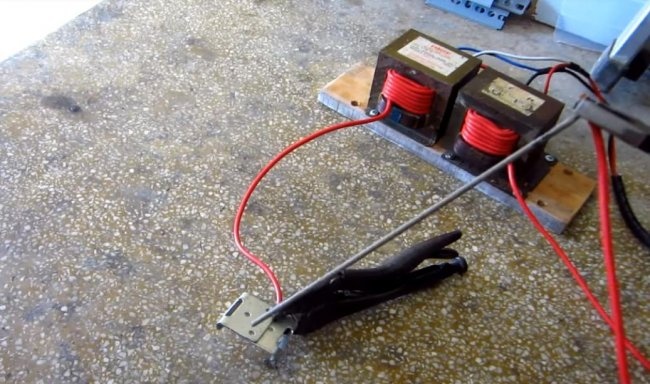
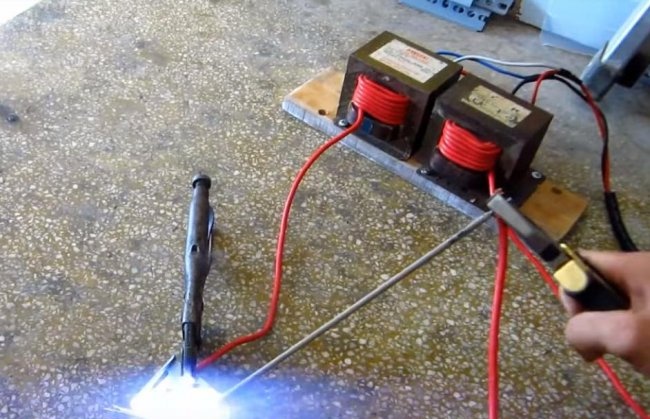
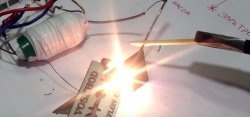
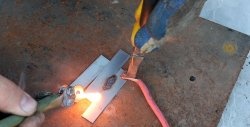
When welding, I will use 2.5 mm electrodes and weld two pieces of iron 2 mm thick.
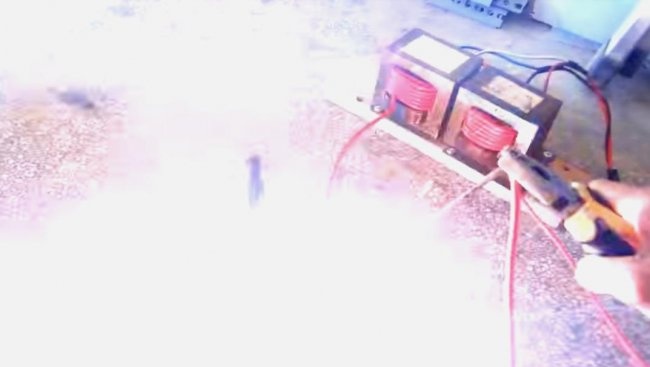
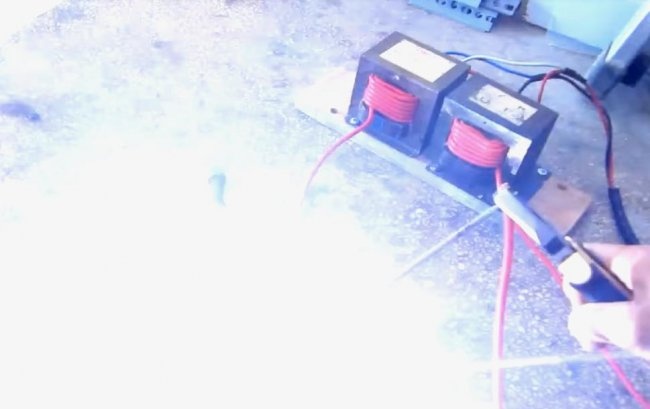
Here is the result.
In principle, you can cook, but not for long, since the transformers get very hot and therefore, after each electrode, you need to give the device time to cool.
There is enough current, so it’s not very easy to weld thin metal, as it simply cuts it. To reduce the current in the circuit, you can use a choke or a balanced resistor. As a resistor, you can take a piece of steel wire, connect it to the circuit of the low-voltage winding, and select the current using its length, adjusting the evenness of the arc.
I'm happy with the result; it's quite suitable for household needs, considering that I actually got everything for free.
We disassemble the microwaves and take out the transformers.
These transformers are step-up, that is, they convert 220 Volts into a voltage of about 2.5 kV, necessary for the operation of the magnetron. Therefore, their secondary winding contains a less thick wire and with a larger number of turns. Such a transformer has a power of about 1200 W.
To assemble an arc welding machine, we do not have to disassemble the core of these transformers. We will simply cut down and drill out the secondary high-voltage winding. Usually this winding comes from the top, and the primary winding is 220 V from the bottom.
The tool we need for our work.
Making a simple welding machine from a microwave with your own hands
We take the transformer and secure it so that it does not move.We take a hacksaw and cut off the secondary winding on both sides of both transformers. If you decide to repeat, be careful not to damage the primary winding.
Then we drill the winding with a drill with a metal drill, thereby relieving the internal stress of the metals, making it easier to knock out the remains.
We knock out the remnants of the winding.
We have two transformers with 220 V windings. The transformer on the left, above the winding, has a current shunt that separates the windings. To increase power, they also need to be knocked out. Such manipulation will increase the power of the transformer by 20-25 percent.
There is also a small low-voltage winding made of a pair of wires between the large windings - we also throw that out.
We take a stranded wire in plastic insulation with a cross-section of six squares and a length of 11-12 meters. You can take a more stranded wire, not coarse like in my example.
I wound about 17-18 turns on each transformer, 6 rows high and 3 layers thick.
The windings are connected in series. I wound everything with one wire, but you can wind each transformer separately and then connect it. The entire winding is very tight and should not dangle.
After winding is completed, we connect the high-voltage 220 V windings in parallel. I used automotive grade ferrules, insulated with heat shrink tubing.
I plug in the entire structure and measure the voltage on the secondary that I wound. The result was about 31-32 Volts.
Then I took a wooden board and screwed both transformers with self-tapping screws to make one unit.
When welding, I will use 2.5 mm electrodes and weld two pieces of iron 2 mm thick.
Here is the result.
In principle, you can cook, but not for long, since the transformers get very hot and therefore, after each electrode, you need to give the device time to cool.
There is enough current, so it’s not very easy to weld thin metal, as it simply cuts it. To reduce the current in the circuit, you can use a choke or a balanced resistor. As a resistor, you can take a piece of steel wire, connect it to the circuit of the low-voltage winding, and select the current using its length, adjusting the evenness of the arc.
I'm happy with the result; it's quite suitable for household needs, considering that I actually got everything for free.
Watch the video of making an arc welding machine
Similar master classes
Particularly interesting

Cable antenna for digital TV in 5 minutes

A selection of simple and effective schemes.

Three-phase voltage from single-phase in 5 minutes

Starting a three-phase motor from a single-phase network without a capacitor

Eternal flashlight without batteries

How to make an inexpensive but very powerful LED lamp
Comments (6)

