Welding machine made of four microwave ovens
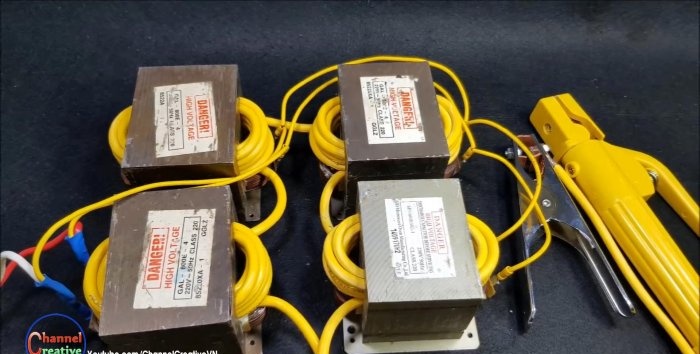
A full-fledged welding machine can be assembled from four microwave ovens. Finding them in our time is not difficult, models may differ. The design is not complicated; there is no need to disassemble the transformer cores. Such a homemade welder is quite capable of providing a current of 200 A, which is excellent enough to maintain a stable arc.
Needed to assemble the device
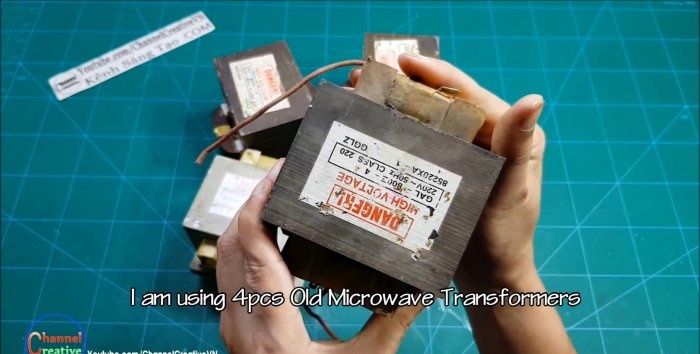
- Four transformers from microwave ovens.
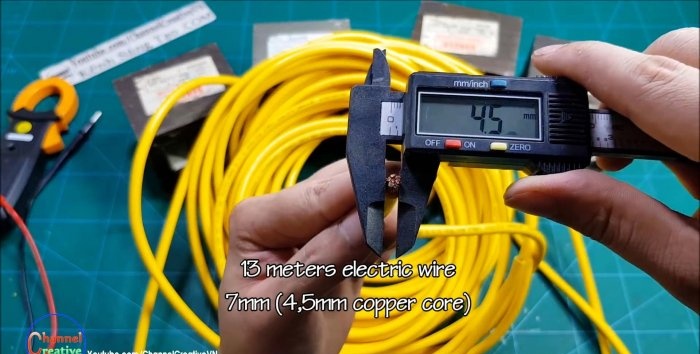
- A wire with an external diameter of 7 mm, with an internal diameter of 4.5 mm (16 sq. mm.) - 13 meters.
- Network cable 1.5 sq. mm. - 2 meters.
- Electrode holder and ground clamp.
Manufacturing of welding machine
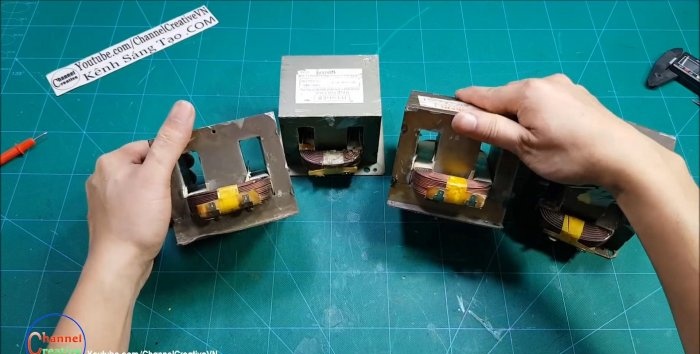
We disassemble microwave ovens and remove transformers from them. You won't need any more of them. On average, each transformer has a power of 800-1000 W. All of them are step-up, which means the secondary winding has a larger number of turns. It's usually at the top, but there are exceptions, so keep that in mind.
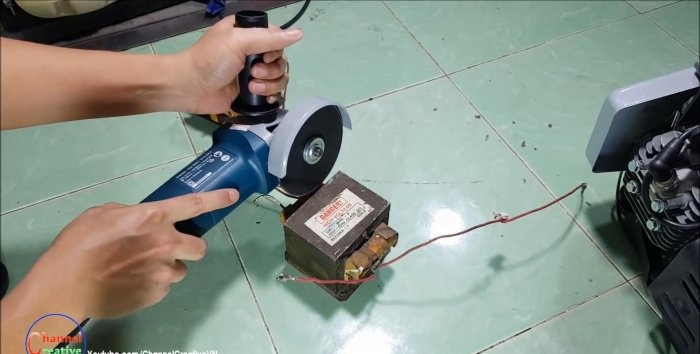
We cut it down with a grinder on both sides. This can also be done with a hand hacksaw.
On the one hand and on the other.
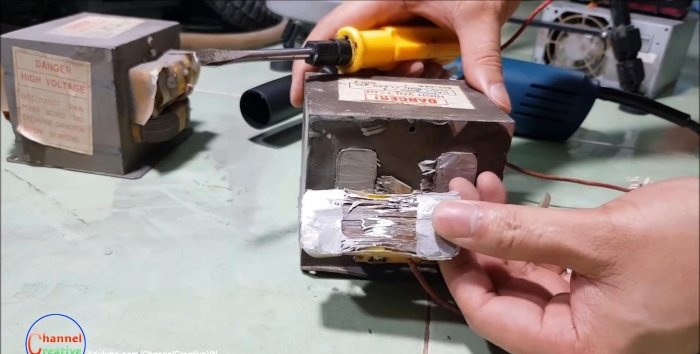
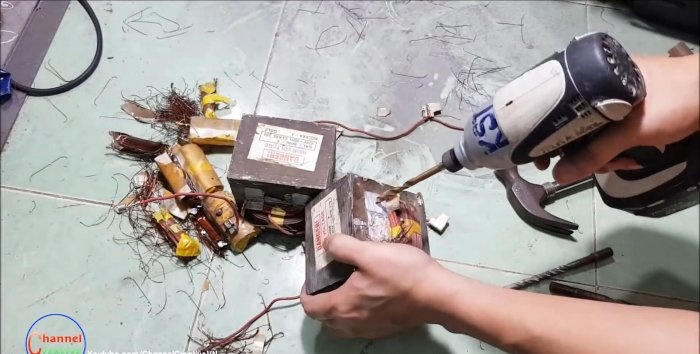
To remove the central part we will use a drill.Drill a hole and knock out the remaining wire. Also between these two massive windings there is also a third one. It consists of several turns and serves to heat the magnetron cathode. We remove it too, it is not needed.
Transformers are prepared for further winding. But before that, I recommend checking the resistance of all windings - it should be approximately equal for all four. And it wouldn’t hurt to also check for a short to the core, you never know...
This way we will be on the safe side and check whether we have damaged the windings due to mechanical impact. Or if someone did this before us, if you found these microwaves in an unknown condition.
Let's take a wire 16 squares and approximately 13 meters long.
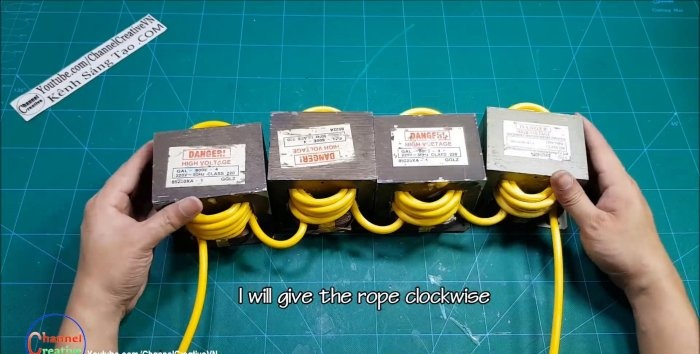
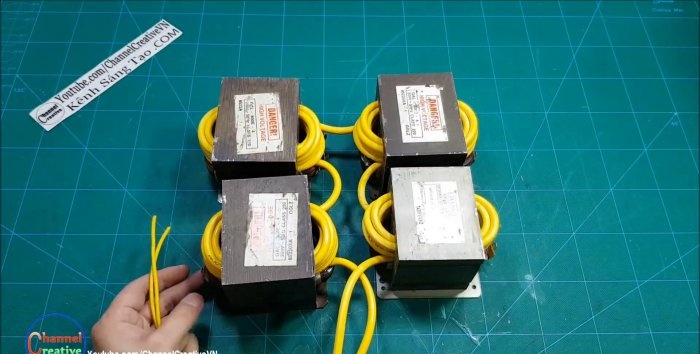
With this wire we wind the windings on all transformers sequentially and in the same direction. There should be a total of 32 turns, 8 for each transformer.
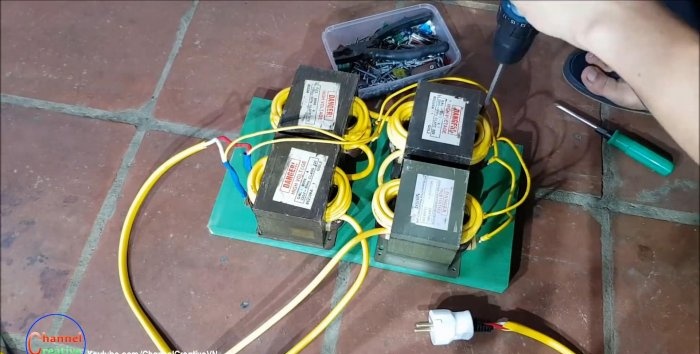
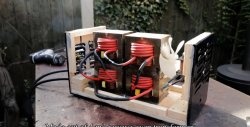
There should be about a meter of wire ends left for connecting the clamp and holder. We arrange the transformers in the form of a square.
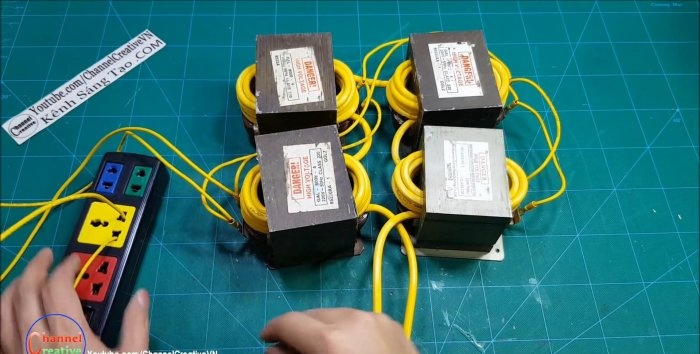
We connect all network windings parallel to each other. The most important thing is to connect everything correctly, otherwise the transformers will work out of phase.
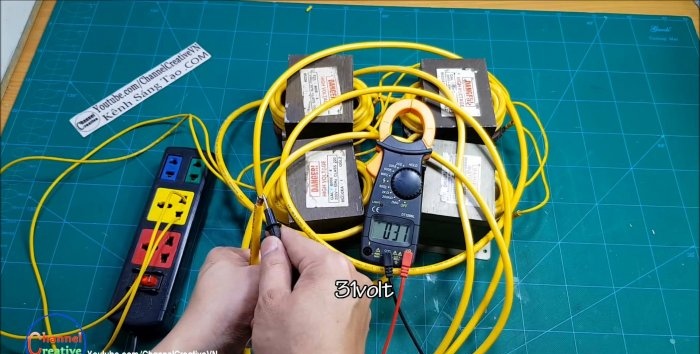
We plug it into the network. We measure the voltage at the output. It should be approximately equal to 30-32 V. If it is radically different, check that all windings are turned on.
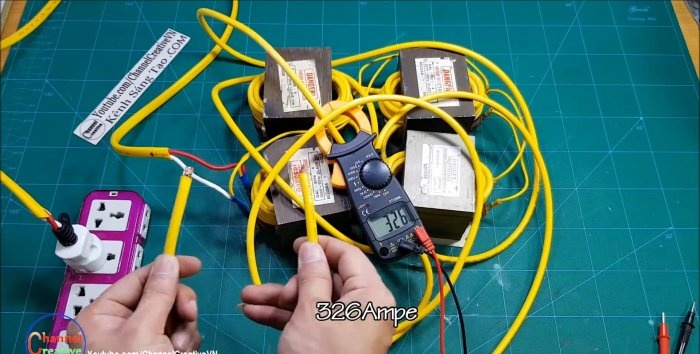
We check the short circuit current with a clamp-on ammeter. Of course, it is problematic to measure it, since the wire heats up sharply, but the device shows 326 A. The current when the arc burns will naturally be less.
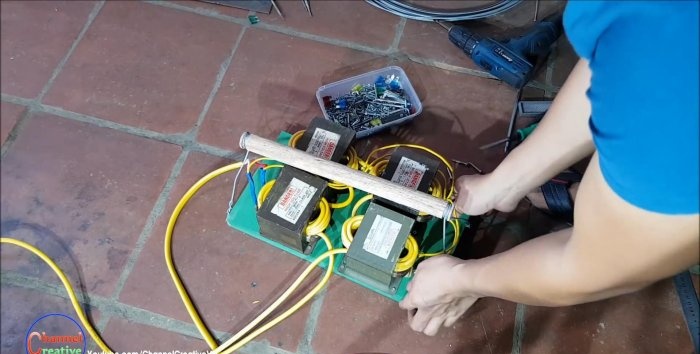
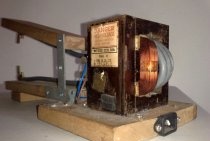
The welding machine is almost ready. Let's take a wooden plank and screw all the transformers to it with self-tapping screws.
We will make a carrying handle from a round stick and thick steel wire.
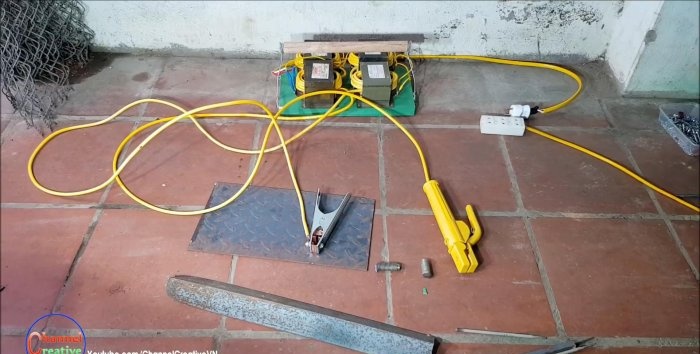
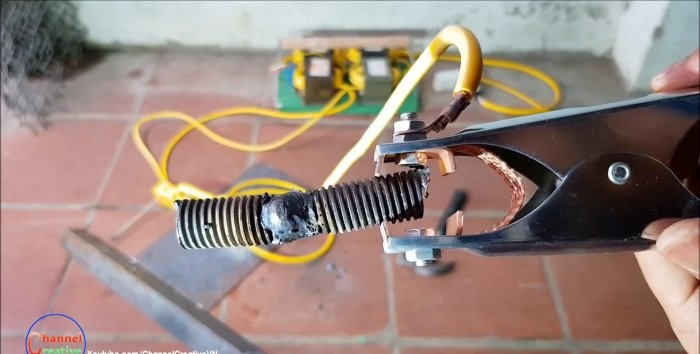
We will attach the purchased electrode holder and grounding clamp to the output wires of the secondary winding. And we will attach a power plug to the input of the primary windings.
Welding machine testing
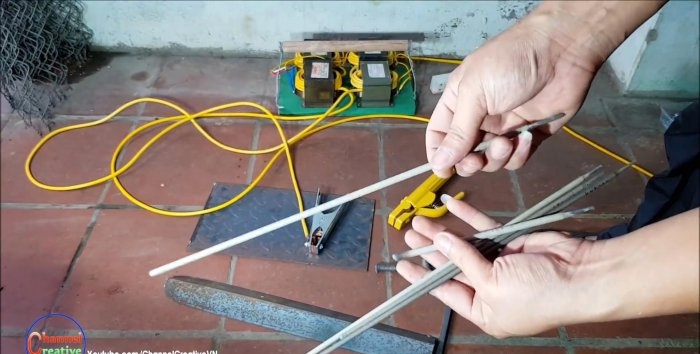
Take electrode three
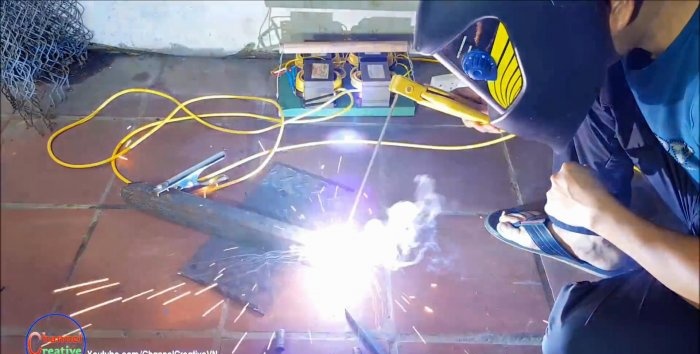
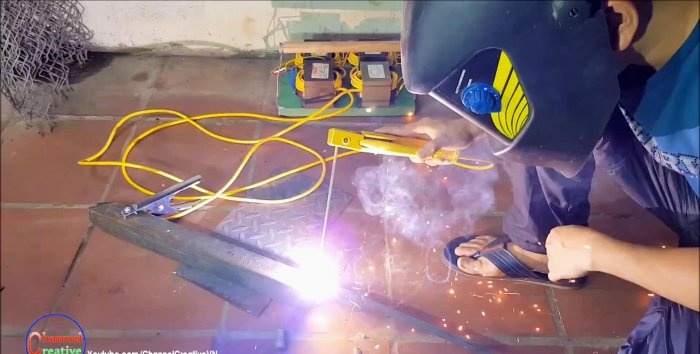
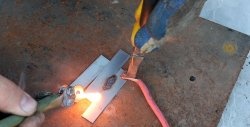
Let's try to weld a piece of thick steel to a steel corner.
The arc burns quite stably.
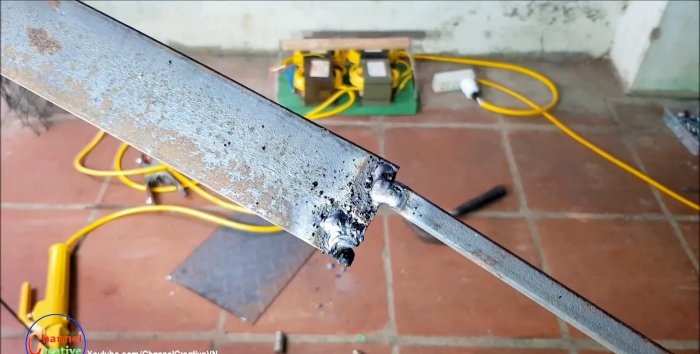
Everything was welded well.
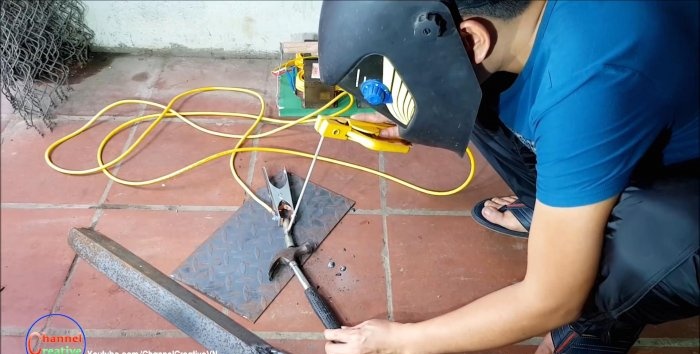
We weld two thick steel studs.
I'm not a professional welder, so it didn't turn out quite smooth. The main thing is that everything works properly.
This welding machine does not have current adjustment, there are other disadvantages, but it is suitable for home use. Bye! See you again!
Watch the video
Similar master classes
Particularly interesting

Cable antenna for digital TV in 5 minutes

A selection of simple and effective schemes.

Three-phase voltage from single-phase in 5 minutes

Starting a three-phase motor from a single-phase network without a capacitor

Eternal flashlight without batteries

How to make an inexpensive but very powerful LED lamp
Comments (4)

