Converting a halogen spotlight into an LED one
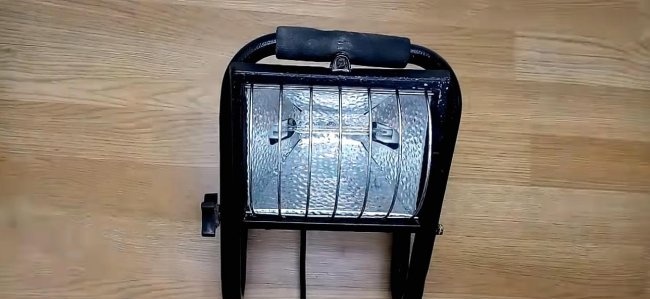
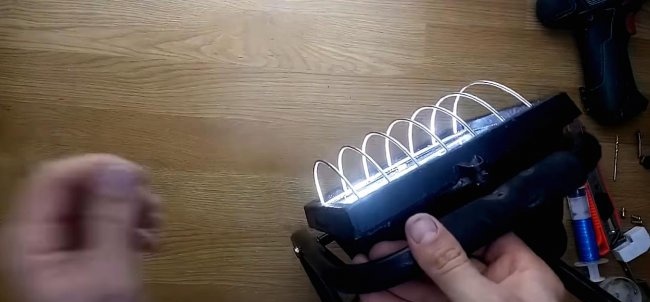
I had an old 500 W halogen lamp lying in my garage. I used it to illuminate the lower part of the car from the inspection hole. A very convenient good lantern with a handle and a protective grille. But here's the problem: the halogen lamp burned out. Of course, such lamps are still on sale today, but I decided to update the lamp to make it more economical, brighter and more durable.
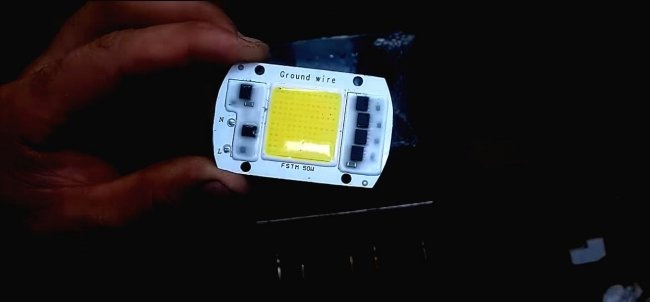
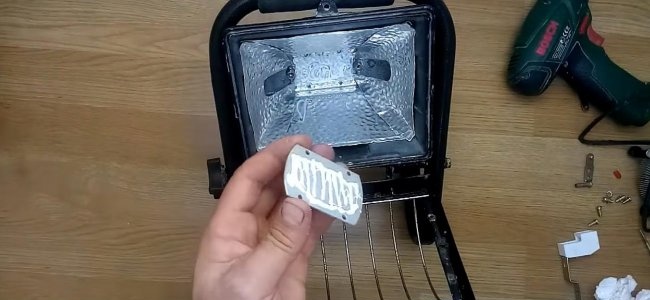
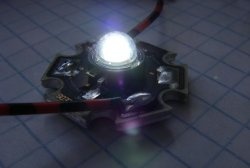
Not very long ago, LED matrices with built-in drivers directly on the body of the matrix began to appear on the Chinese market. This driver is designed for 220 V AC voltage. In a nutshell, it’s simple Light-emitting diode, which is powered directly from mains voltage without additional boxes and accessories.
And the main advantage is the low price - look at Ali Express.
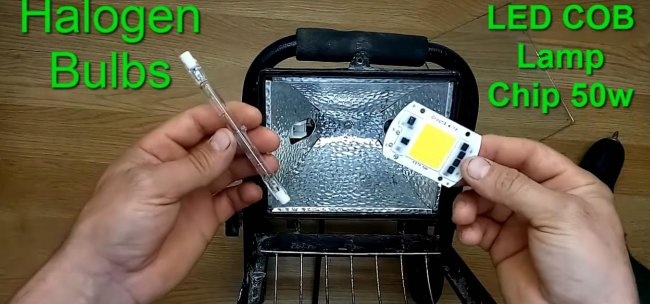
The purchase cost less than 150 rubles. I took a 50 W LED matrix and a voltage of 220 V, which is exactly what I needed. The brightness of this LED quite comparable to a 500 W halogen lamp.
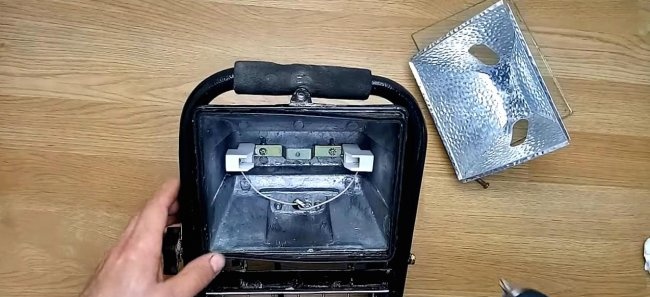
I unscrewed the screw securing the glass and took out the glass with the rubber gasket. Another advantage of this lamp is that it is sealed.
And I started thinking about how to replace the lamp with Light-emitting diode. The idea came naturally.
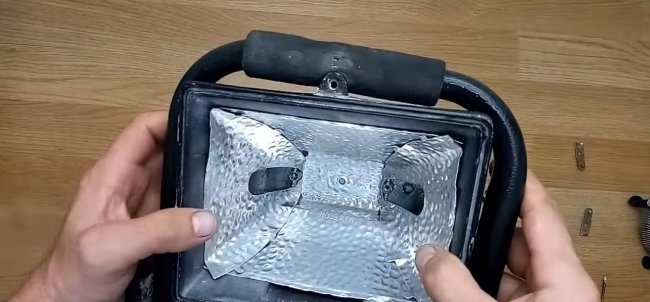
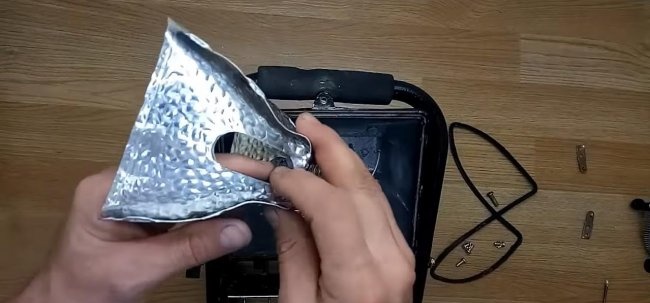
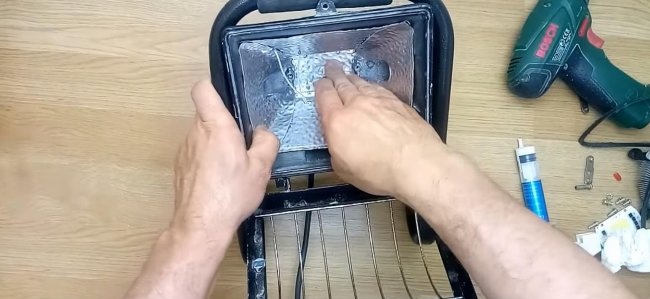
I unscrew the screw securing the reflector. I take it off, it is made of thin aluminum, it bends very easily.
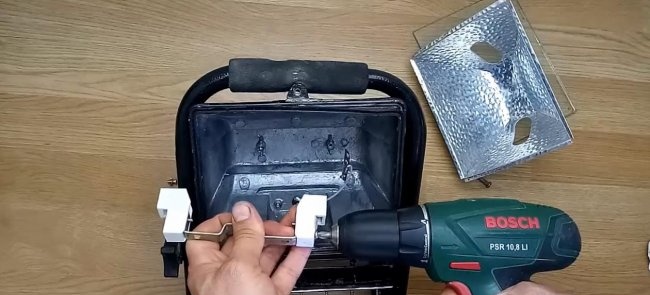
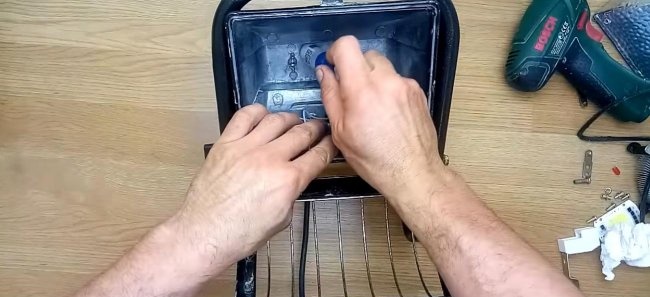
Then I unscrew the halogen lamp mounting block. I disconnect the mains voltage supply wires from the block.
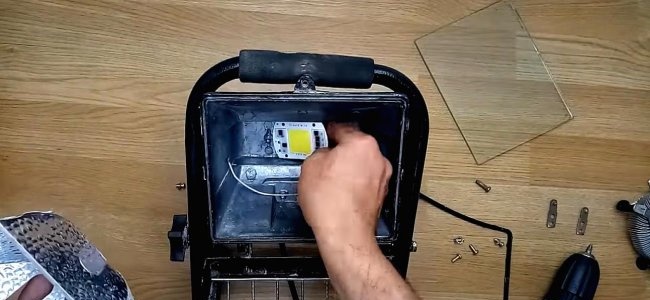
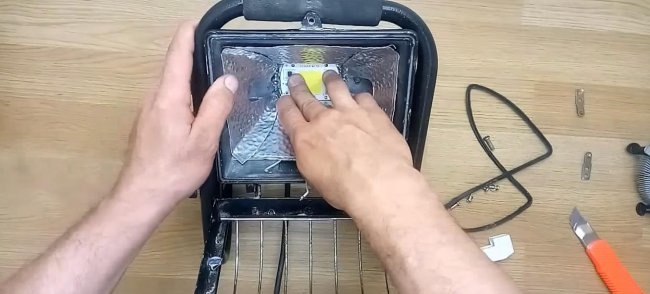
I will strengthen Light-emitting diode on the back wall - it fits perfectly, and the body of the spotlight will act as a radiator (it is made of duralumin), since Light-emitting diode cannot be turned on without some kind of heat sink. Although it has built-in overheating protection, we will not test it.
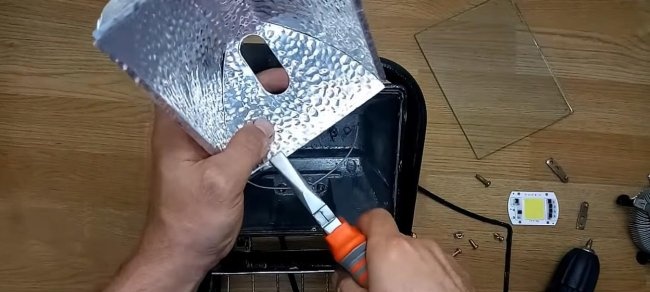
I will not make a cutout in the reflector, but will screw everything together with it. To do this, it is necessary that the reflector sits tightly on the housing of the back wall of the lamp. Therefore, we shape the aluminum reflector with pliers. We periodically check that everything fits tightly and well.
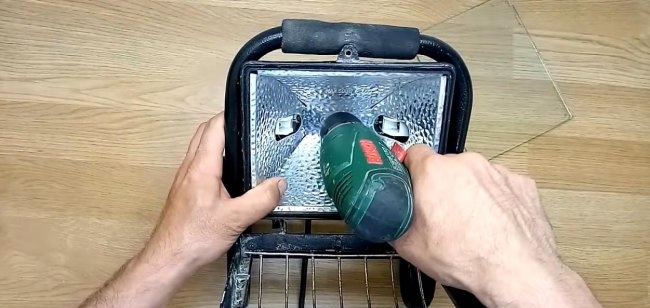
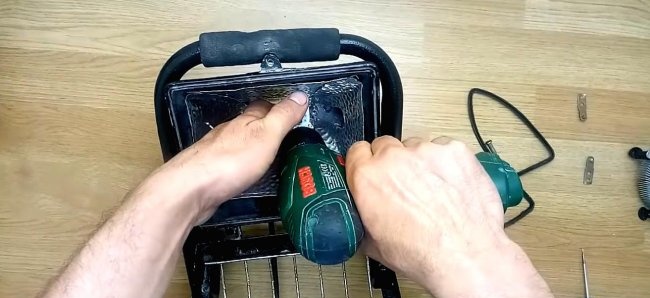
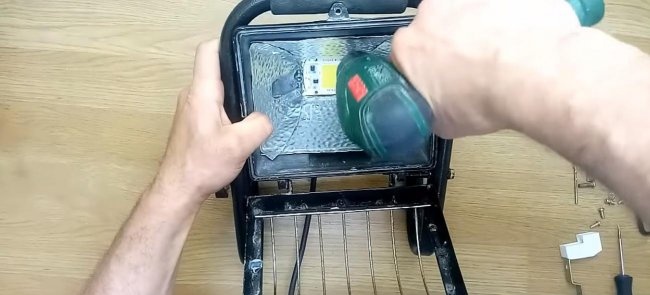
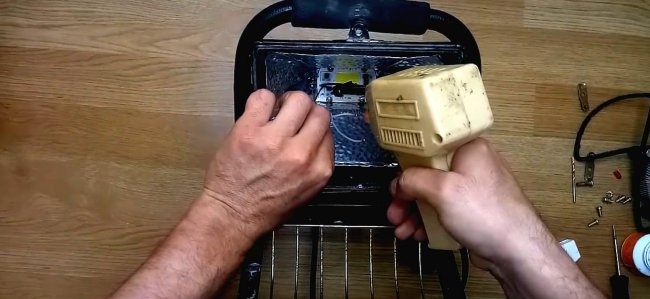
If everything fits well, take a screwdriver with a thin metal drill and drill four holes to mount the LED right in place.
Then take thermal conductive paste and apply it to four surfaces: the back wall of the lamp, the back and front of the reflector, and the LED matrix seat.
Let's put everything back together and secure it with self-tapping screws. You can also use screws with nuts, but I personally used small self-tapping screws. It's okay if they stick out a little at the back - I'll fix that a little later with a file.
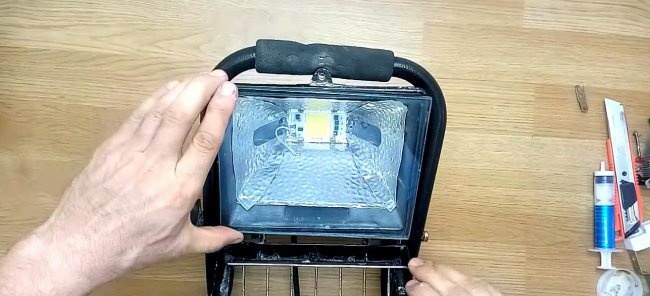
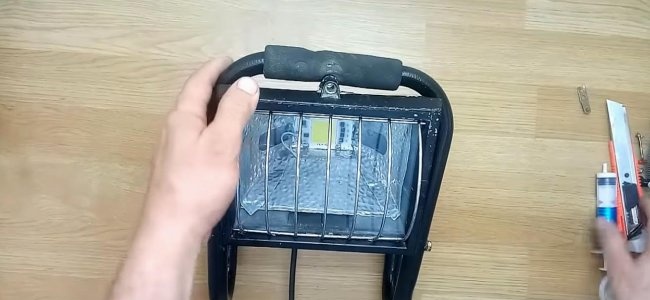
That's it, almost everything is ready. All that remains is to solder the network wires to the matrix, install the sealing rubber with glass and close the lamp.
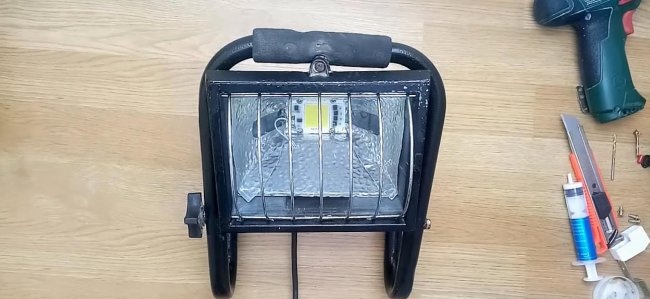
Everything works perfectly.It seems to me that it has begun to shine even brighter than before, but it heats up several times less, that’s for sure.
The LED matrix is decoupled in voltage from the landing pad, and the network phase will not transfer to the housing. But it’s better not to forget to tighten the grounding wire to the housing.
I used this converted spotlight for over a month. In principle, there are no disadvantages, only advantages. Especially the savings in rubles for electricity are obvious.
Not very long ago, LED matrices with built-in drivers directly on the body of the matrix began to appear on the Chinese market. This driver is designed for 220 V AC voltage. In a nutshell, it’s simple Light-emitting diode, which is powered directly from mains voltage without additional boxes and accessories.
And the main advantage is the low price - look at Ali Express.
The purchase cost less than 150 rubles. I took a 50 W LED matrix and a voltage of 220 V, which is exactly what I needed. The brightness of this LED quite comparable to a 500 W halogen lamp.
Converting a lamp to LED
I unscrewed the screw securing the glass and took out the glass with the rubber gasket. Another advantage of this lamp is that it is sealed.
And I started thinking about how to replace the lamp with Light-emitting diode. The idea came naturally.
I unscrew the screw securing the reflector. I take it off, it is made of thin aluminum, it bends very easily.
Then I unscrew the halogen lamp mounting block. I disconnect the mains voltage supply wires from the block.
I will strengthen Light-emitting diode on the back wall - it fits perfectly, and the body of the spotlight will act as a radiator (it is made of duralumin), since Light-emitting diode cannot be turned on without some kind of heat sink. Although it has built-in overheating protection, we will not test it.
I will not make a cutout in the reflector, but will screw everything together with it. To do this, it is necessary that the reflector sits tightly on the housing of the back wall of the lamp. Therefore, we shape the aluminum reflector with pliers. We periodically check that everything fits tightly and well.
If everything fits well, take a screwdriver with a thin metal drill and drill four holes to mount the LED right in place.
Then take thermal conductive paste and apply it to four surfaces: the back wall of the lamp, the back and front of the reflector, and the LED matrix seat.
Let's put everything back together and secure it with self-tapping screws. You can also use screws with nuts, but I personally used small self-tapping screws. It's okay if they stick out a little at the back - I'll fix that a little later with a file.
That's it, almost everything is ready. All that remains is to solder the network wires to the matrix, install the sealing rubber with glass and close the lamp.
Everything works perfectly.It seems to me that it has begun to shine even brighter than before, but it heats up several times less, that’s for sure.
The LED matrix is decoupled in voltage from the landing pad, and the network phase will not transfer to the housing. But it’s better not to forget to tighten the grounding wire to the housing.
I used this converted spotlight for over a month. In principle, there are no disadvantages, only advantages. Especially the savings in rubles for electricity are obvious.
Watch a video of the process of converting a halogen spotlight into an LED one
Similar master classes
Particularly interesting
Comments (6)

