LED daylight lamp
Deciding to keep up with the times and save my money in the future, I decided to make some useful innovation. Or rather, convert lamps with fluorescent lamps into lamps with LED lamps. The service life is long, the savings are great, and the cost is not much more expensive. Of course, you can buy it, but believe me, it’s a little expensive to buy, compared to the made version.
Do-it-yourself conversion of a fluorescent lamp into an LED lamp
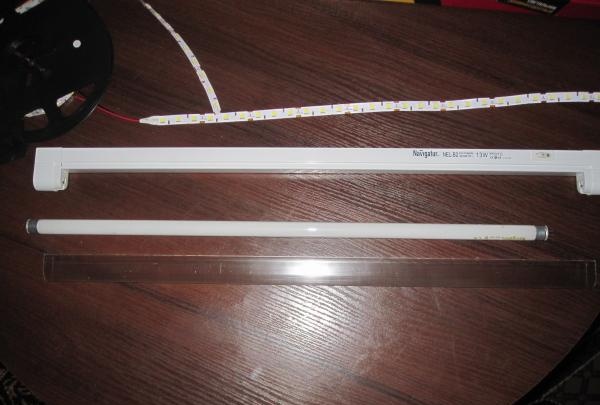
Let's begin. To begin with, I bought a fluorescent lamp with a power of 13 watts (you will need 2 pieces) and about half a meter long.
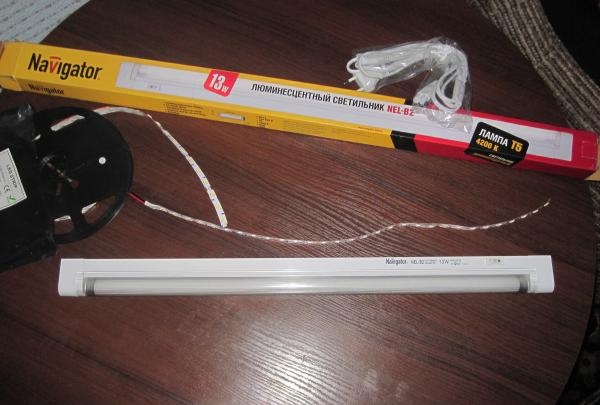
Next I bought an LED strip. I didn’t just buy it, but spent a long time choosing it, to be precise. There is a wide variety of LED strips on the radio electronics market: colored and white, small and large. Make your choice on a tape with natural light (not cold or warm - pure white), with a power of 14 W per meter with a power supply of 12 volts.
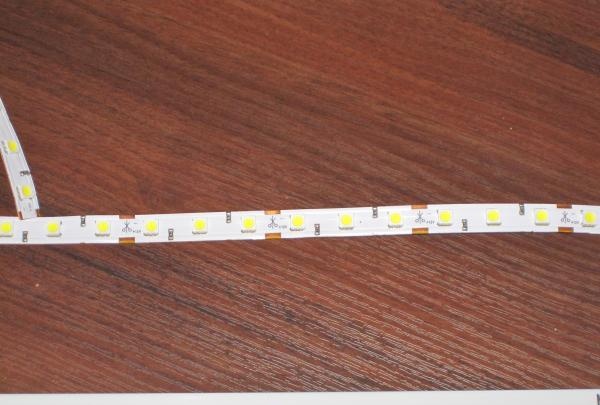
Here is her diagram:
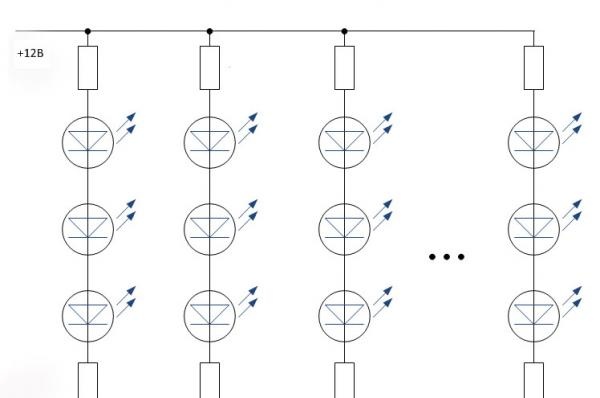
As can be seen from the diagram LEDs connect 3 in a group. I will rework this circuit in order to connect the LED strip to 230 volts of alternating voltage without any expensive and unnecessary converters.
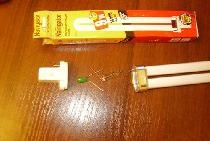
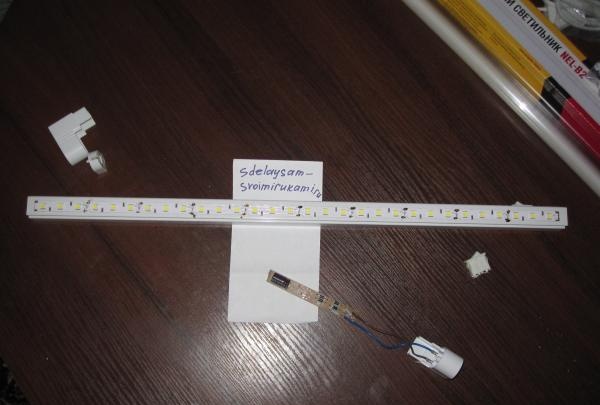
Let's disassemble the lamp.
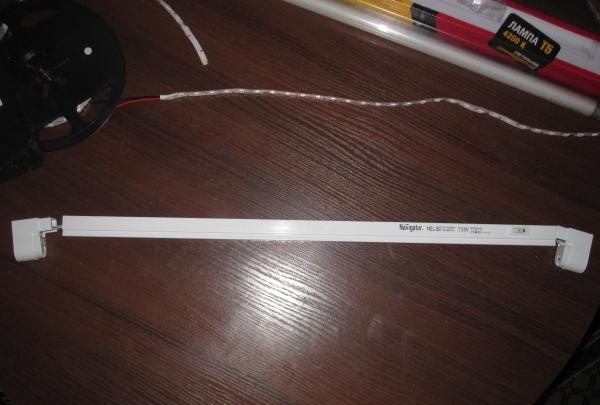
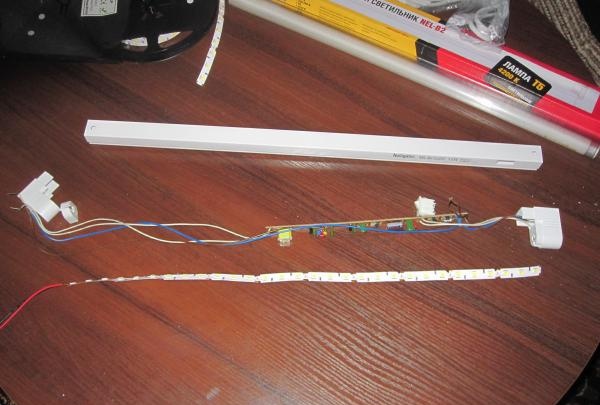
We see inside a pulse converter for a fluorescent lamp. Let's put it aside - we'll need it later.
Now we need to do some small calculations to calculate how many groups of LEDs we need for a 230 volt network. 230 volts after rectification turn into 250 V, or even more, there is such an effect of converting alternating voltage into direct voltage. We take 250 volts and divide by 12 V (so one section out of three LEDs powered by 12 volts), we get 20.8333. We always round up and take another section in reserve, and we get 22, that is, 22 sections. In general, it will shine 66 LEDs. Serial connection diagram:
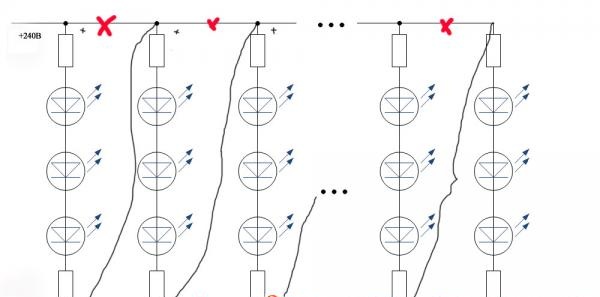
I connected it like this: I cut out pieces with scissors and soldered them with wire, see the pictures.
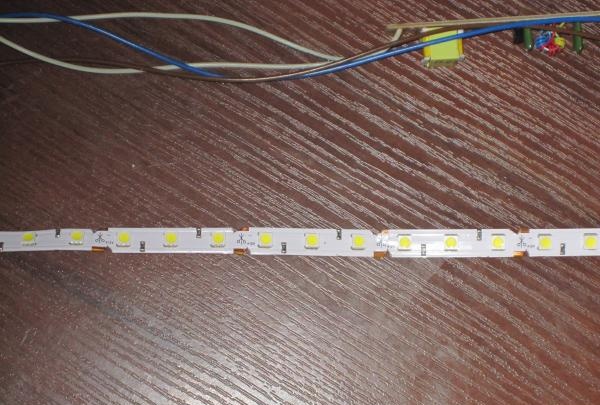
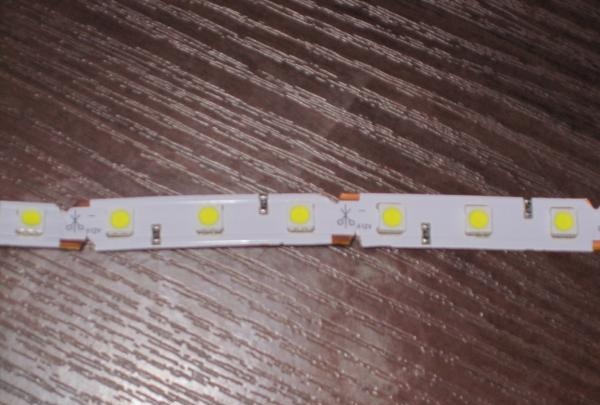
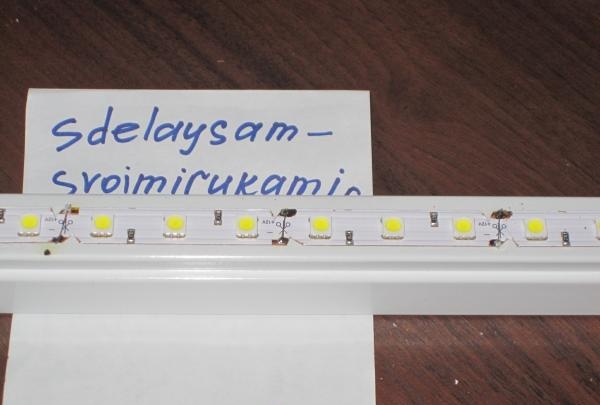
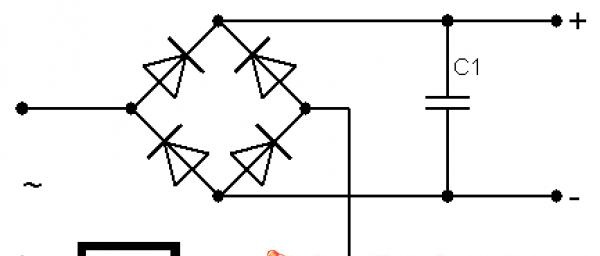
Next we need a DC rectifier, I made it from the same lamp. We take out the converter torn out of the lamp and bite off the capacitor. The diodes with the capacitor are located separately, so you just need to break off the board in the appropriate place; there is practically no need to solder, except for the wires.
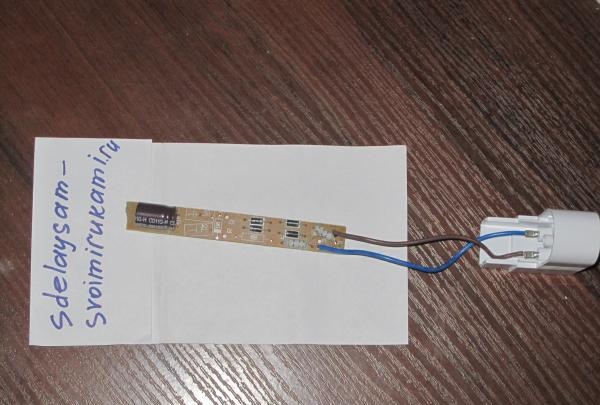
Here's the diagram, if anyone doesn't know what we're talking about.
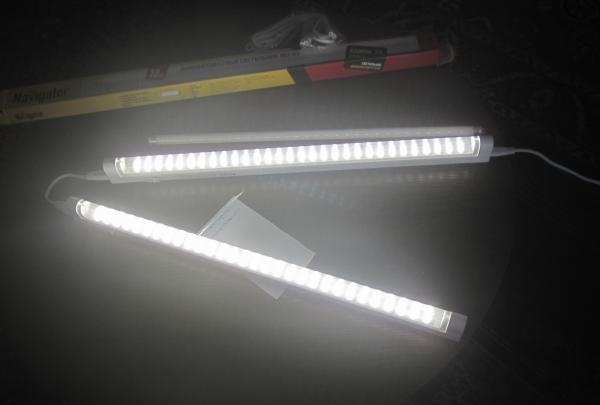
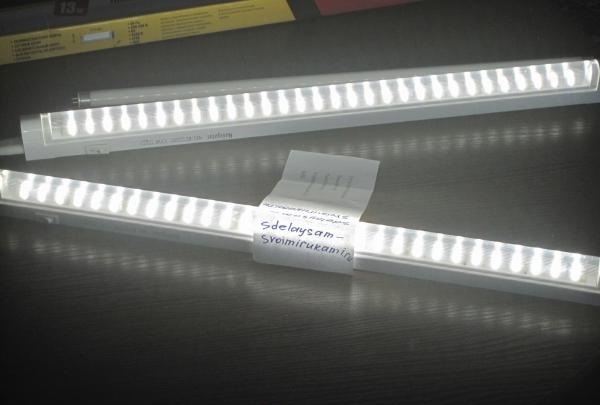
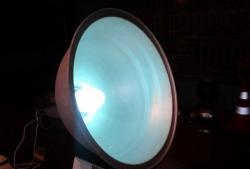
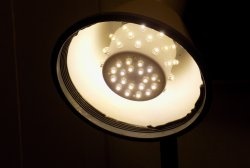
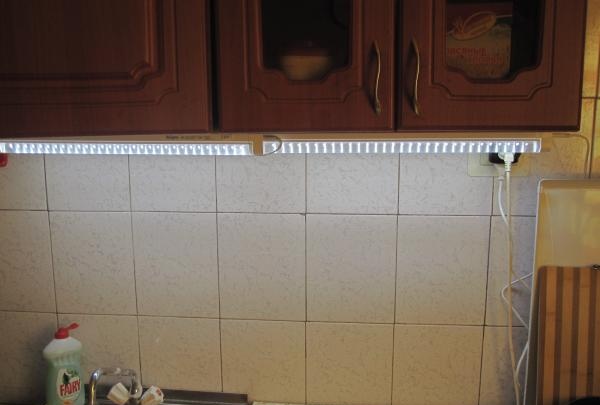
I can’t say anything about the minuses, but about the pluses: The light is one and a half times better than the previously installed 13-watt lamp.Two fluorescent lamps consumed 26 watts, but here two consume less than 10 watts. Durability, reliability.
The biggest plus, in my opinion, is the direction of the glow: there is practically no light from the side and no glare, but the table is illuminated perfectly.
Keep up with the times, friends! All the best!
Similar master classes
Particularly interesting


