How to make a resistor at home
These instructions for making a resistor with your own hands from scrap materials are most likely for informational purposes. Although it is possible that it may be necessary someday.
Developing your horizons is a very useful activity, especially for those who are interested in homemade crafts.
Will need
- Wooden skewer.
- Paper.
- Stationery glue.
- A simple pencil or graphite rod.
- Electrical tape and heat shrink.
- Copper wire without insulation.
Making a homemade resistor
Everyone knows that graphite, which makes up the core of a simple pencil, conducts electricity. We will use this feature to build future resistance.
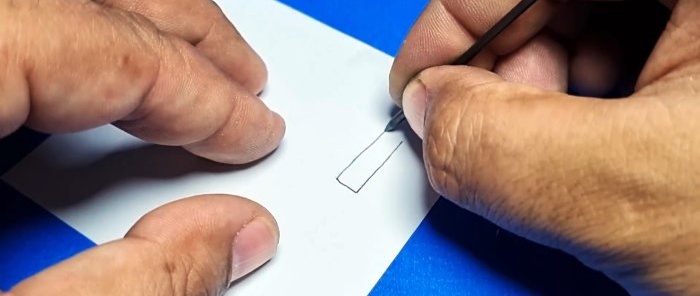
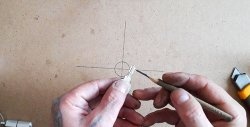
On a piece of clean paper, draw a rectangle, approximately 0.5x3 cm.
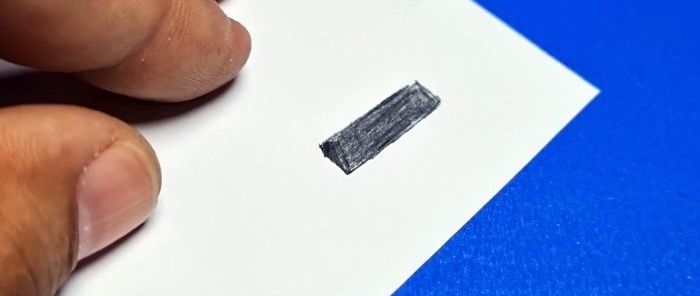
Let's paint it tightly with a simple pencil.
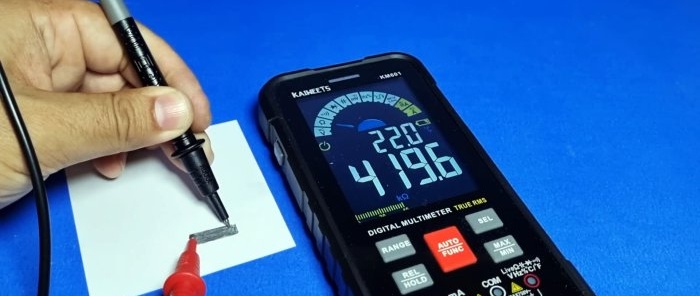
With help multimeter Let's check the conductivity of the layer.
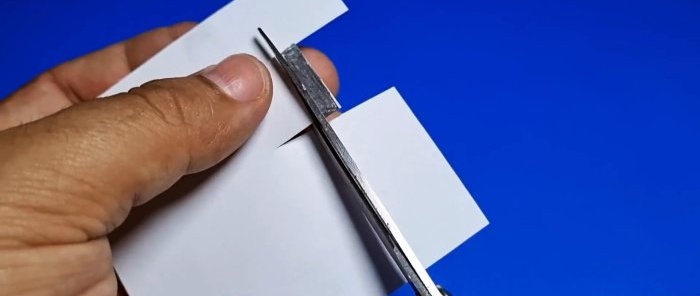
Cut out a rectangle with scissors.
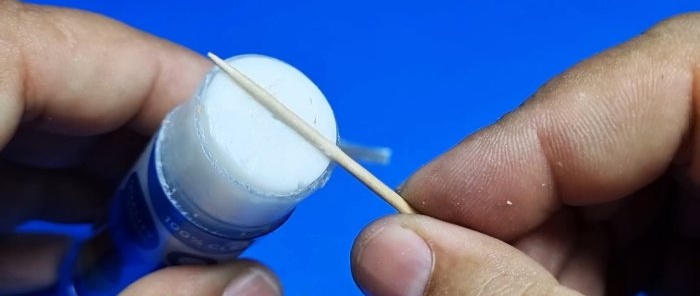
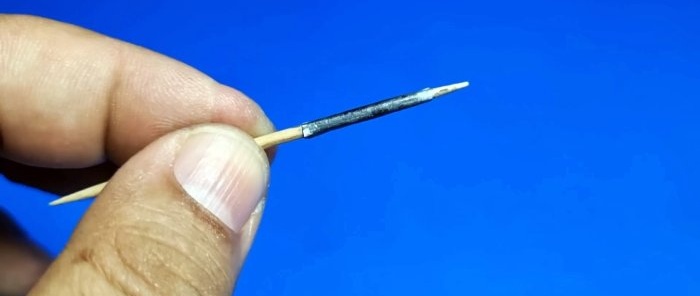
Lubricate a wooden skewer with glue and glue the cut out rectangle.
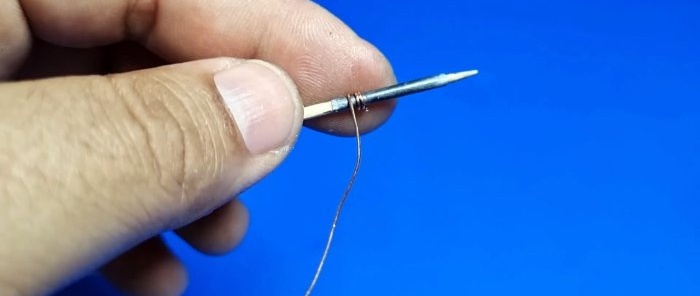
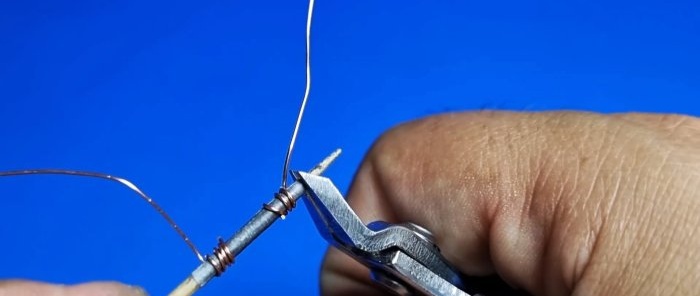
Using wire we will make an electrode with several turns.
We make a second electrode at a short distance. We cut off the excess skewers with wire cutters on both sides.
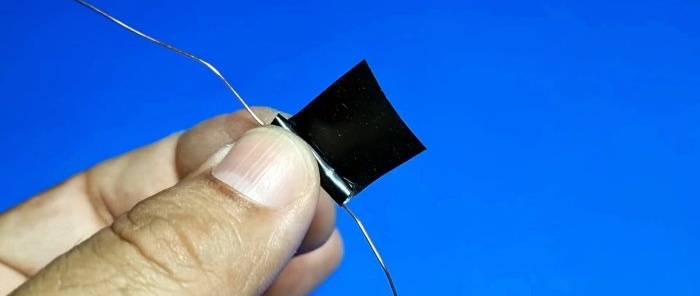
Let's connect the resulting resistor to the multimeter.By adjusting the distance between the electrodes we will achieve the desired resistance. Next, wrap everything with electrical tape.
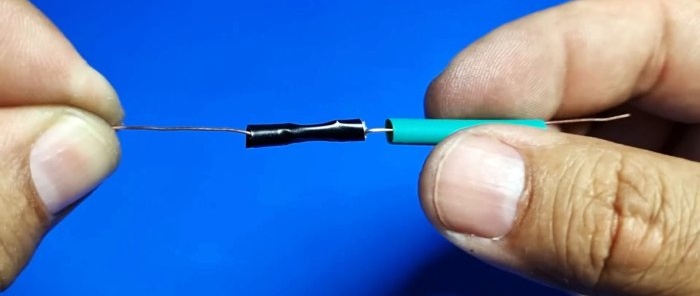
To securely fix all contacts, put on heat shrink and blow with a hairdryer.
Homemade resistance is ready for use.
Result
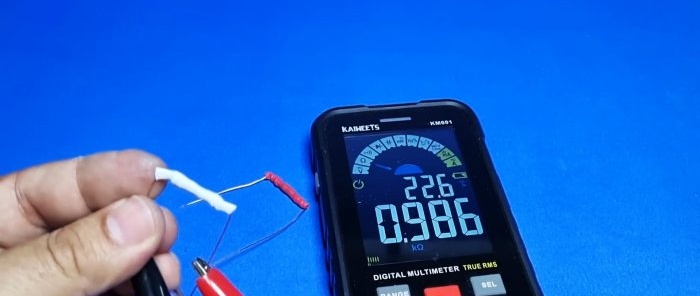
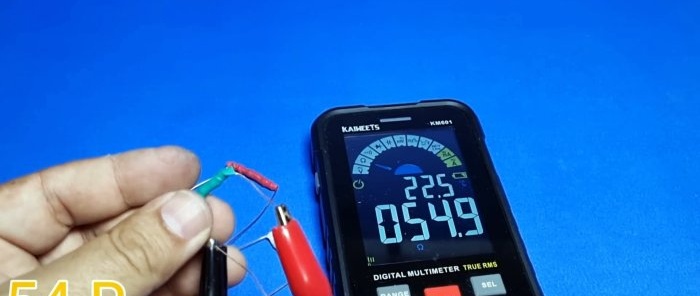
Here is the result of making completely working models. The first resistor is 54 Ohm.
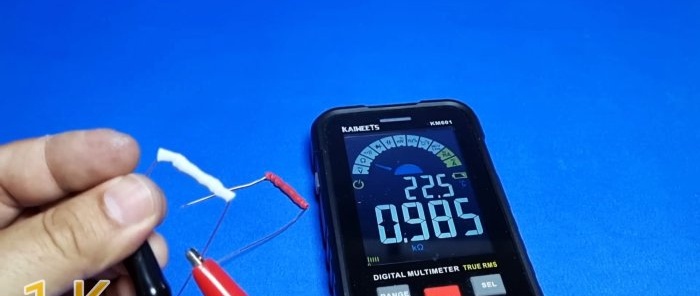
Next to 1 kOhm.
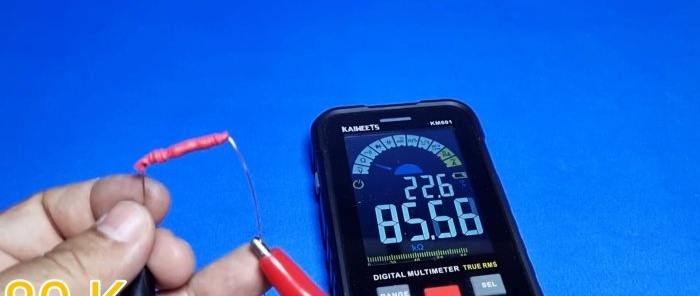
And at 80 kOhm.
A deviation of 10%, even for some factory versions, is the norm.

