Kusudama "little turtle"
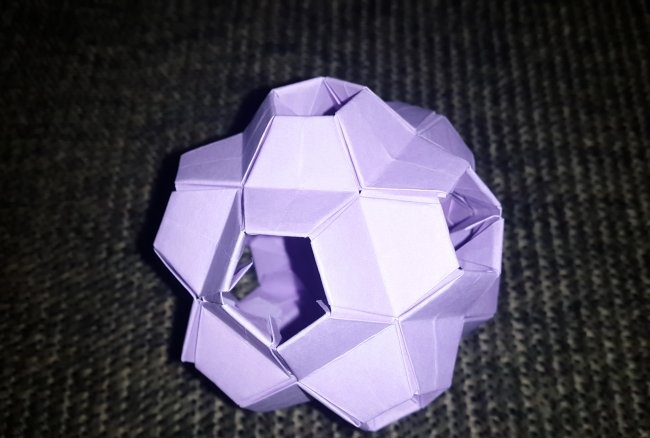
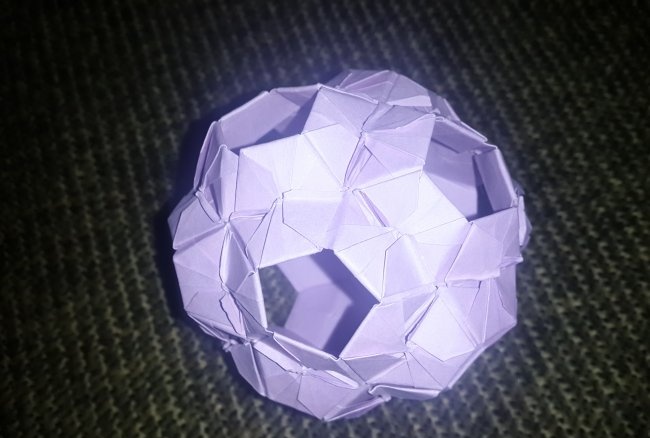
This kusudama was designed by a famous master origami Tomoko Fuse. Tomoko created many models, including kusuda, which are included in more than 60 books. The modules fold quite easily, and the assembly itself is not difficult at all. Kusudama has many variations, but the “little turtle”, consisting of 30 modules, looks better than the rest.
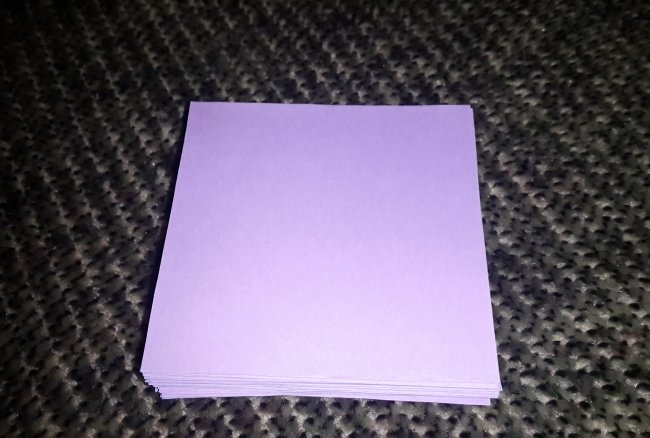
1. Take 30 square sheets of paper.
The colors can be anything, kusudama looks good in any design.
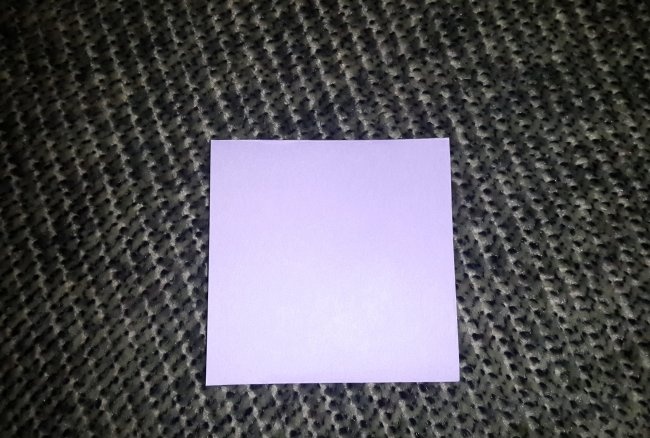
2. Select one sheet. Bend it in half and straighten it out.
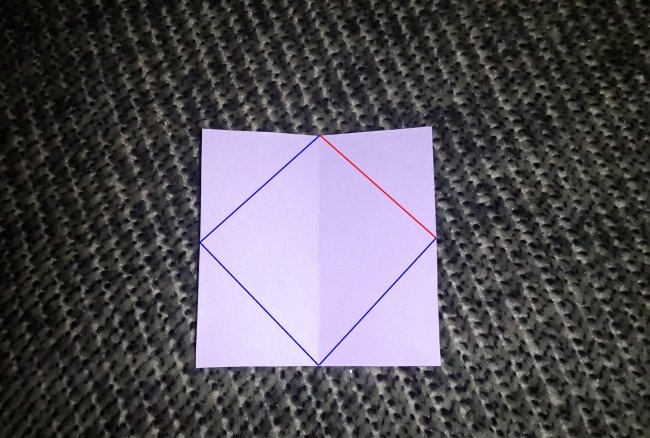
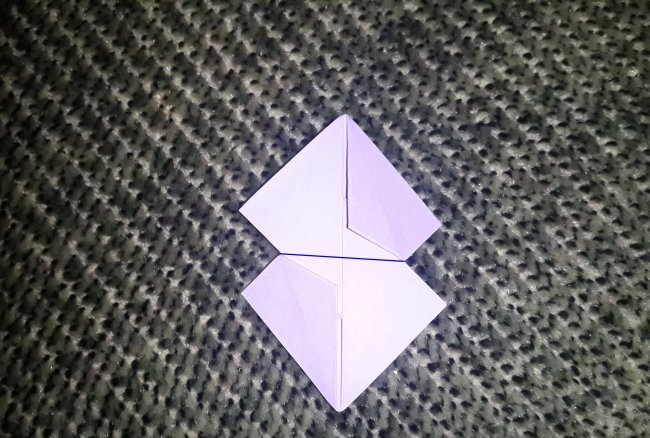
3. Fold along the lines marked in Figure 3. Blue - mountains, red - valleys.
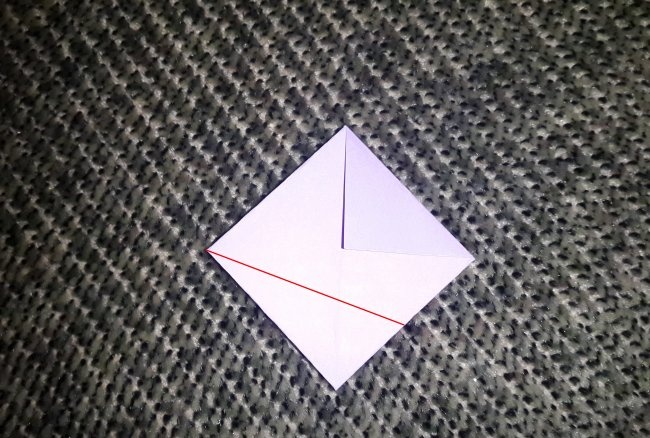
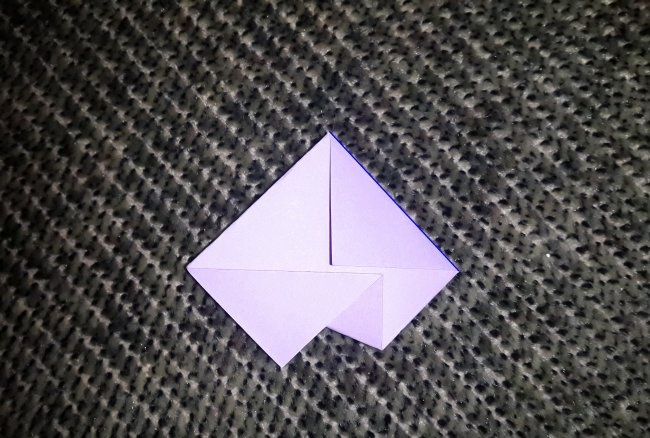
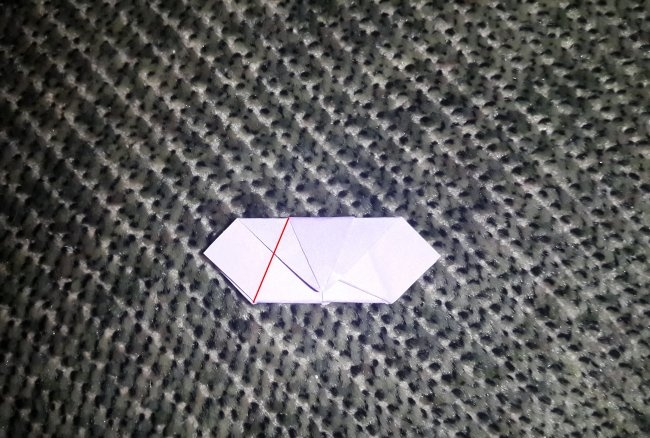
4. Fold the valley along the red line.
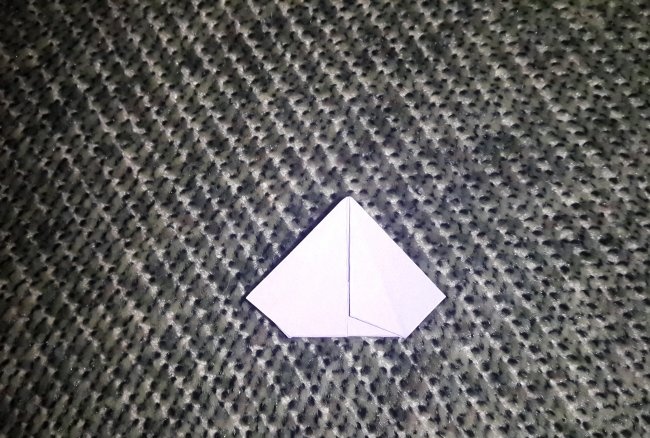
5. Move the triangle (the selected fold must be turned from a valley into a mountain) to the other side.
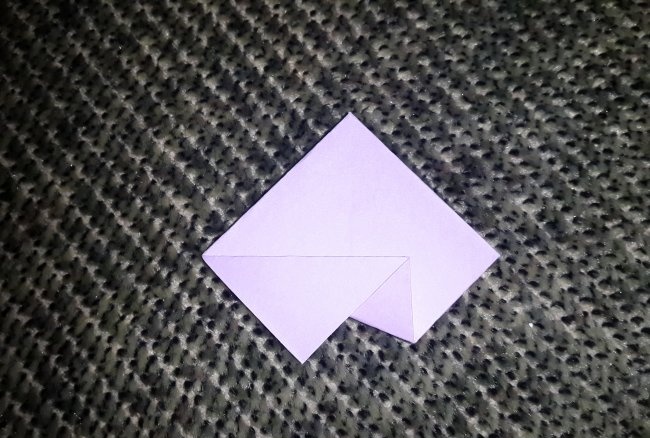
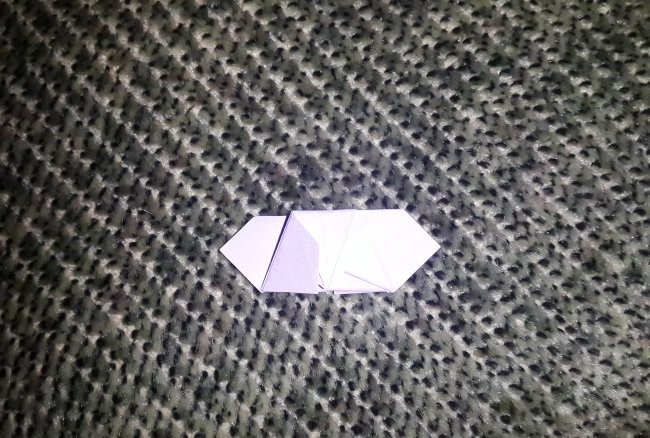
6. Make the fold from step 4 on the opposite side of the module.
7. Fold into a valley.
8. Rotate 90 degrees.
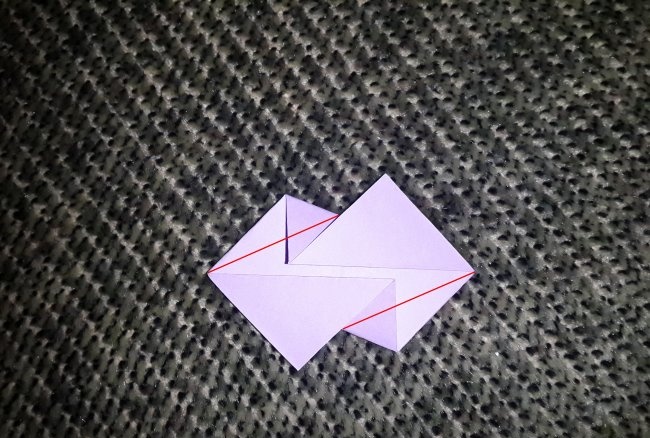
9. Fold in a mountain along the blue line.
10. Fold the valley in half. Repeat at the back.
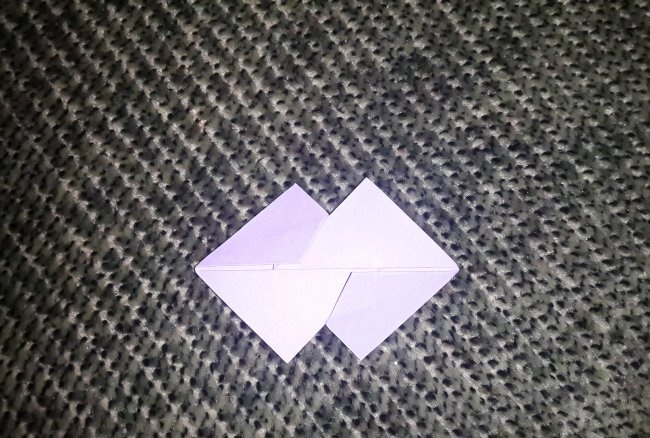
11. Fold the valley along the red line, repeat on the opposite side at the back.
12. Make the pleats from step 12 over the other two ends of the module, but unlike the previous step, fold them back.
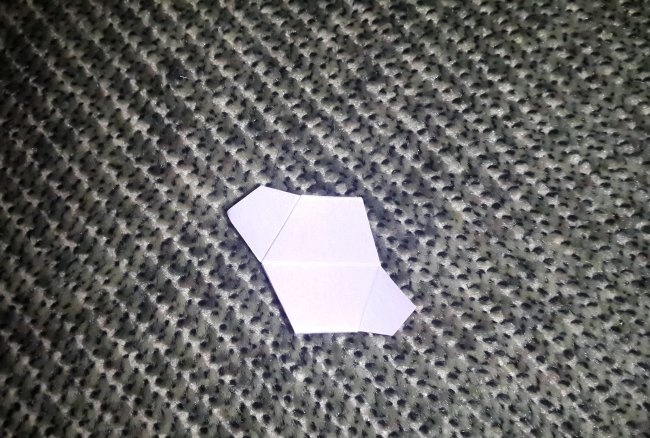
13. Unfold the center fold, but not completely.
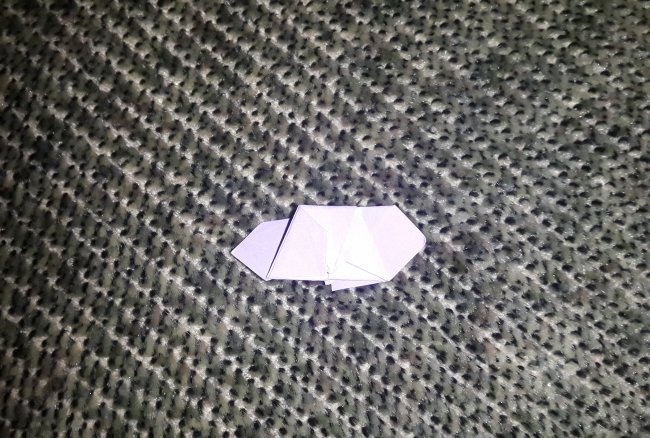
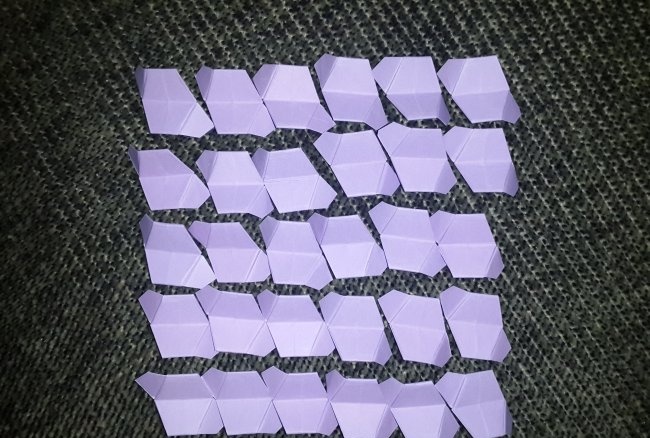
14. The module is ready. Add another 29.
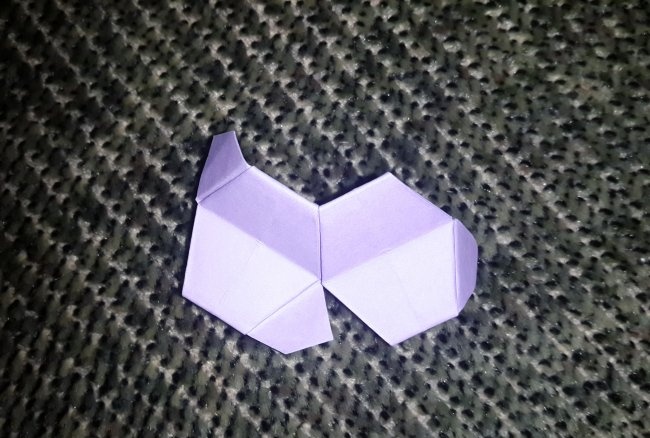
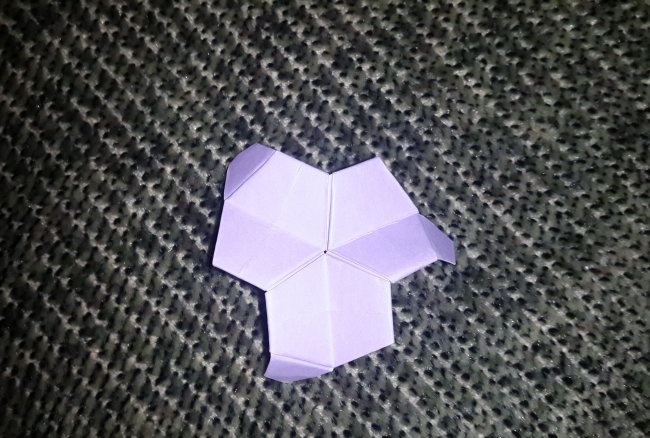
15. Two connected modules. The end of one goes into the other.
16. Three connected modules.
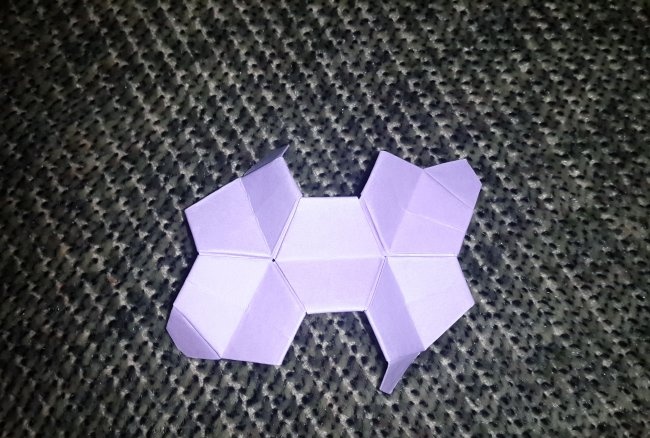
17. Five modules.
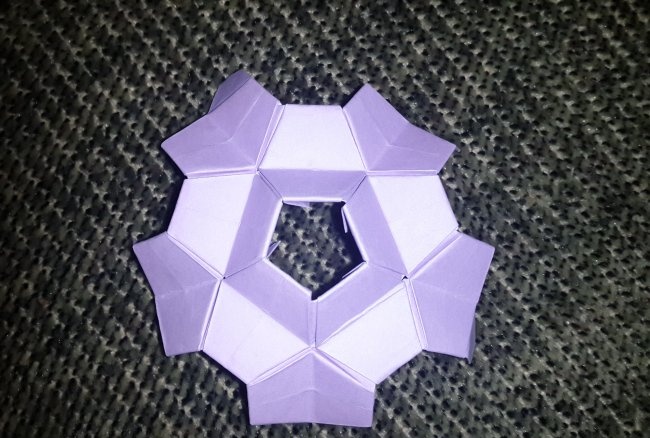
18. Ten modules.
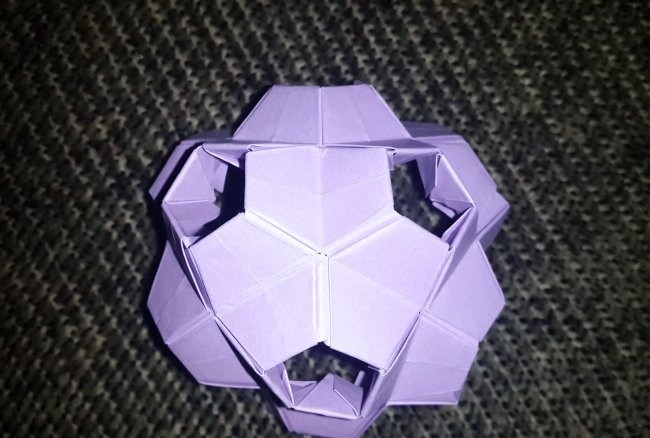
19. Continue assembling the kusudama.
20. The closer you are to the end of the assembly, the more careful your actions should be.
21. Last module.
22. Kusudama is ready.
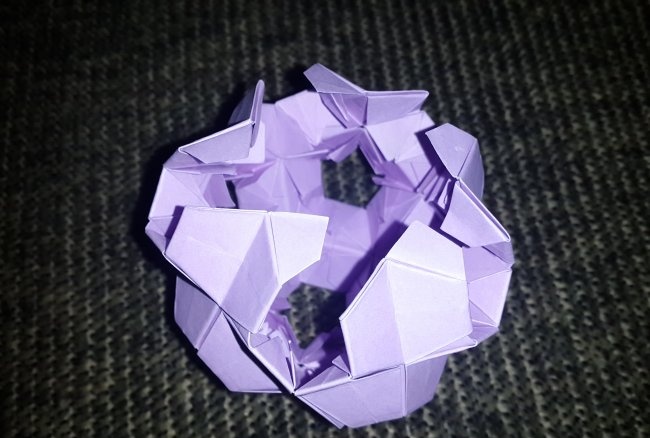
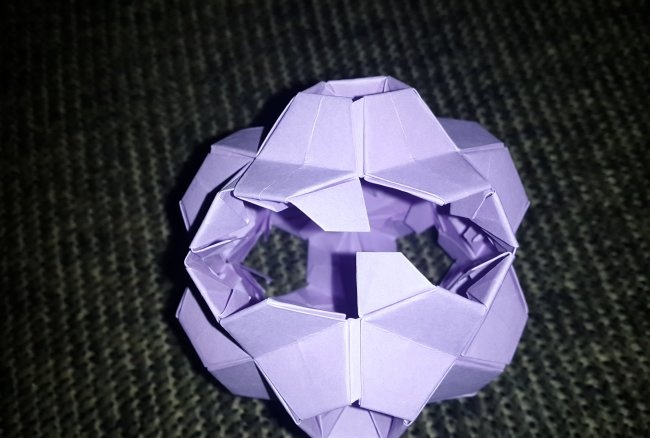
If you wish, you can reassemble the kusudama by first turning each module in the other direction. Then the kusudama will look more abstract, like in the picture.
Similar master classes
Particularly interesting
Comments (0)

