Pocket grill
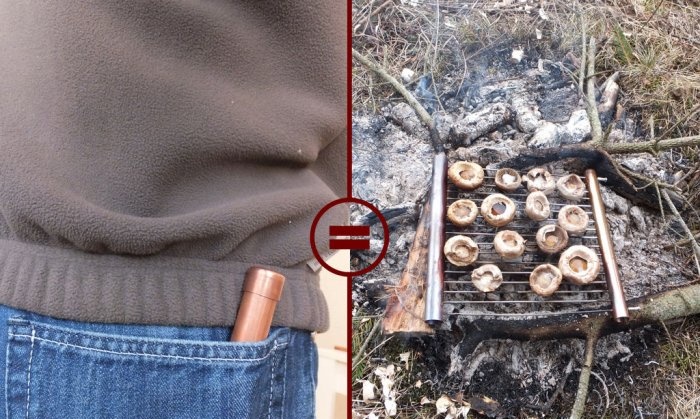
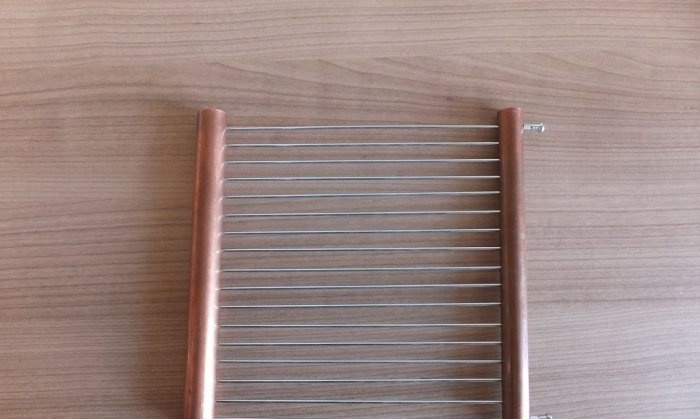
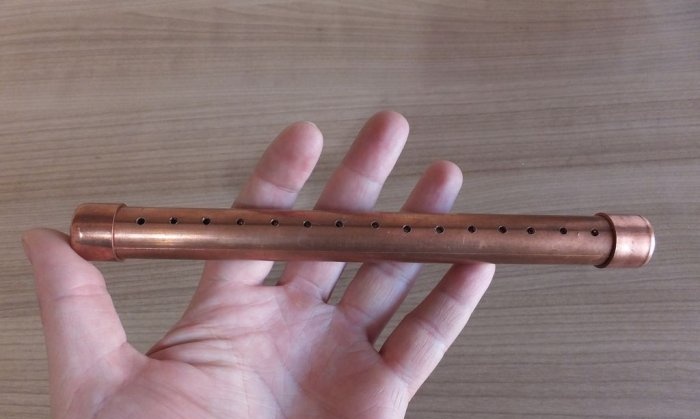
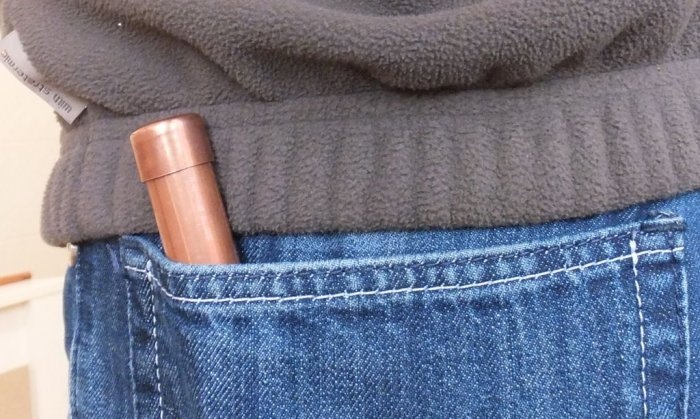
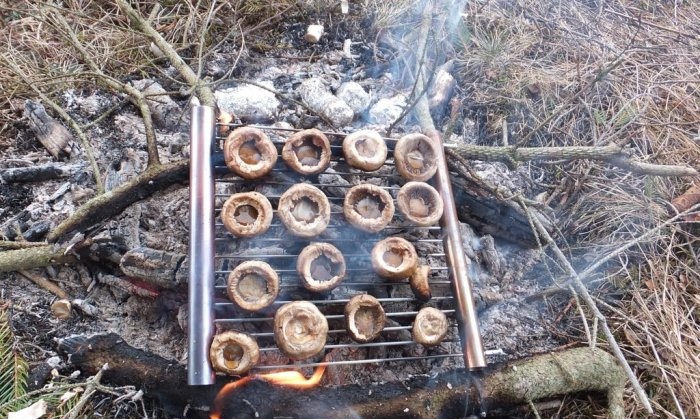
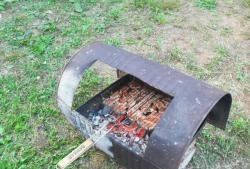
I present to your attention a homemade grill grate - an ideal solution for camping, mountaineering or tourism. It can easily fit into your pocket, backpack or bag. With this simple barbecue you can cook meat, vegetables or mushrooms over a fire while camping or fishing.
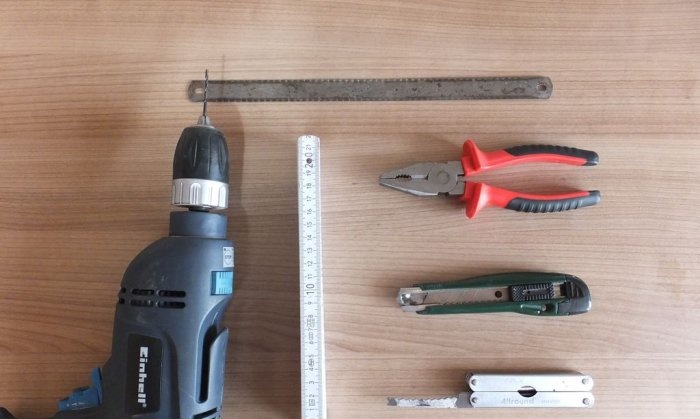
We will need:
Of course, this list is subject to change and you're welcome to use a little imagination, but please remember to wear protective gear and follow safety precautions (otherwise you risk injury).
Materials:
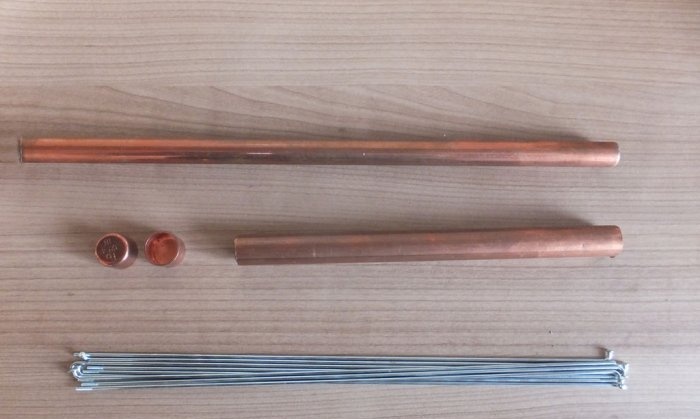
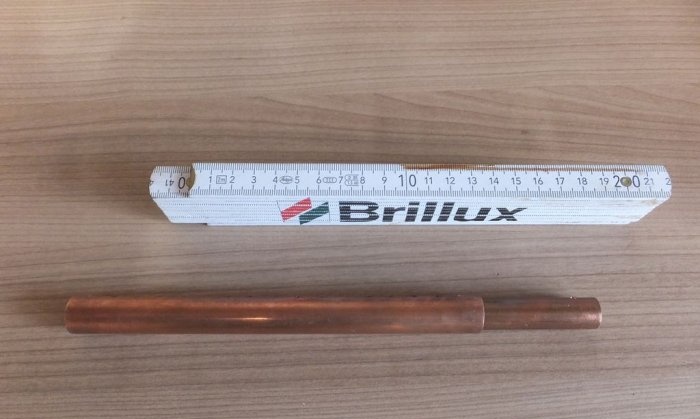
You will need 2 tubes, one should fit inside the other. I used 18mm and 15mm copper tubes. In principle, any metal will do, but I used copper because such tubes are lighter, they do not deform much under the influence of fire, they have thin walls and, most importantly, I had them in abundance (leftovers from working on a heating system for the house), so they didn't cost me anything.
2 caps for larger diameter pipes (also available).
Some 2mm spokes from a bicycle wheel. I can’t indicate the exact number of spokes, but later you will understand why. The knitting needles should be made of stainless steel - food will be fried on them.
Tip: if you have a bicycle repair shop nearby, ask them about the spokes - they can get you for free (I personally had to tinker with the wheel from my old bicycle for a long time to do this).
Measurements:
Everything here is quite simple, since the parts will have to be cut to the same size (to obtain a rectangular barbecue).
Tip: The larger your grill, the more knitting needles you will need. All knitting needles must fit on a tube of smaller diameter.
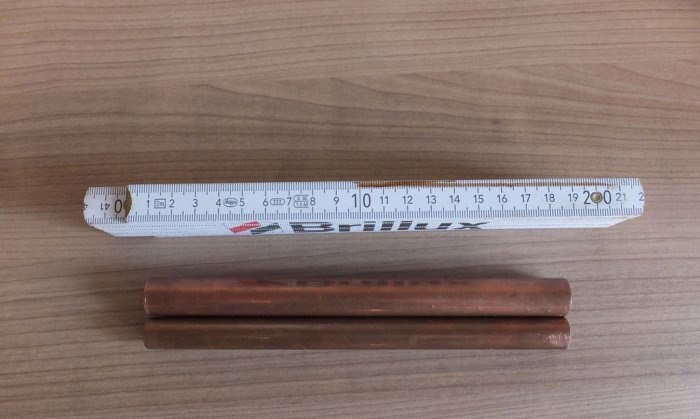
I took 20 cm increments because I calculated that about 25 2.2 mm diameter knitting needles would fit in a 15 mm diameter tube.
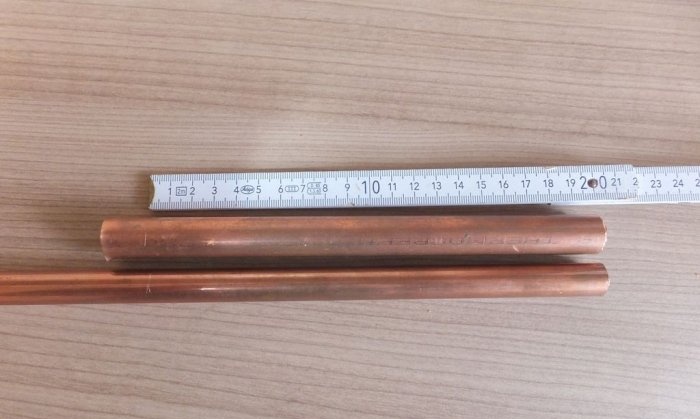
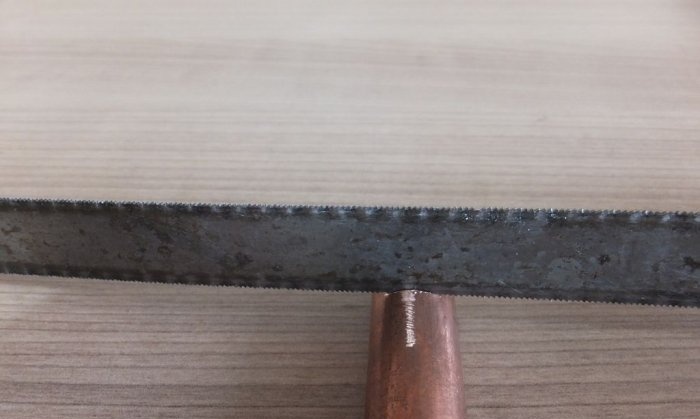
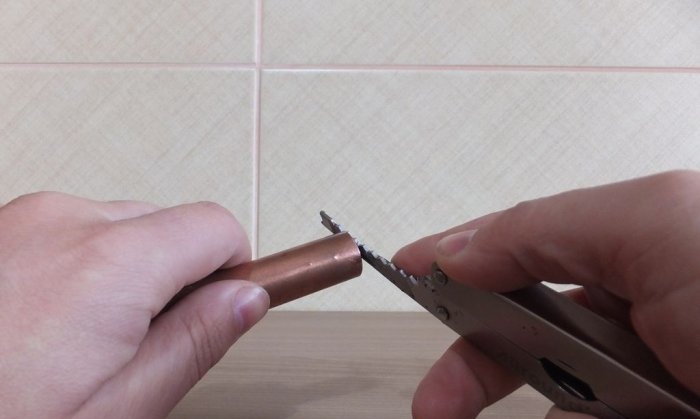
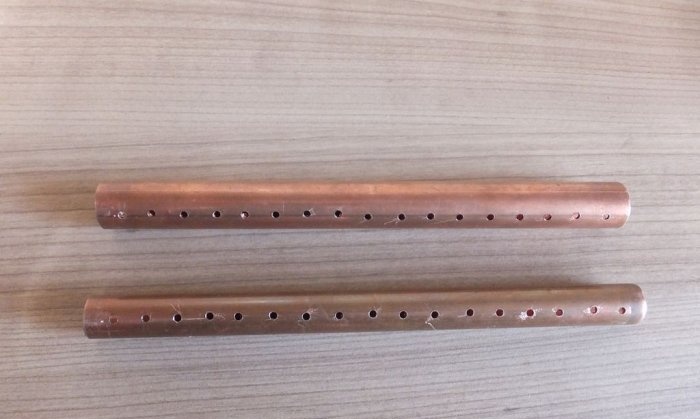
Saw off the two tubes to equal lengths and sand down the rough edges. As I already mentioned, I made them 20 cm long.
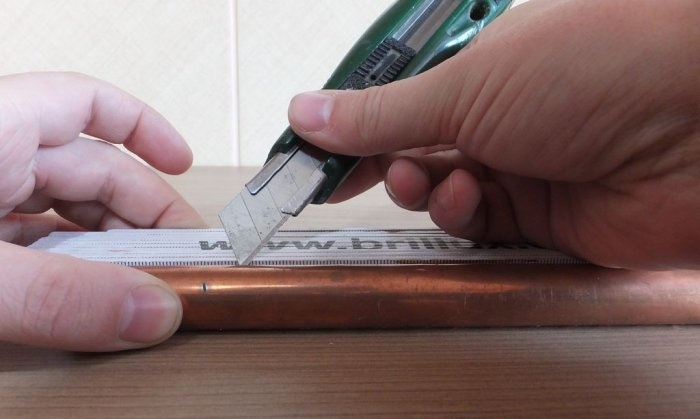
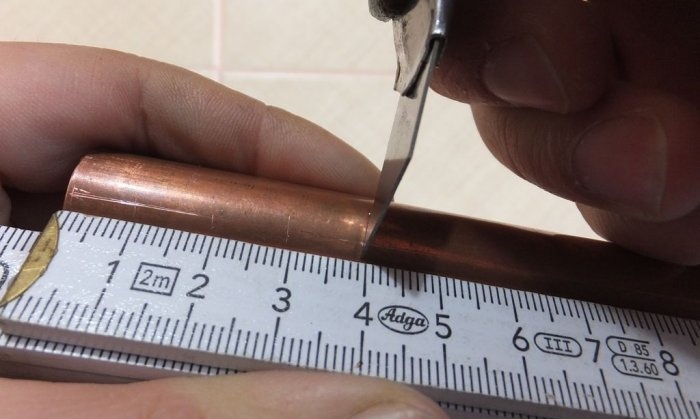
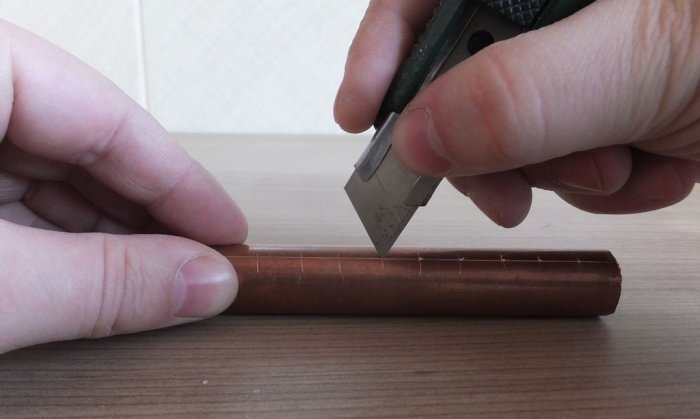
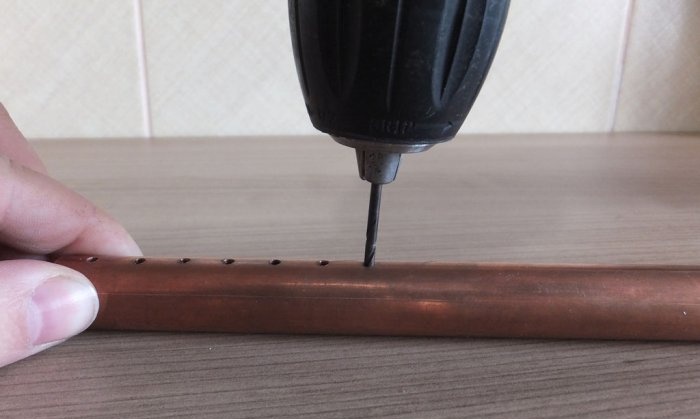
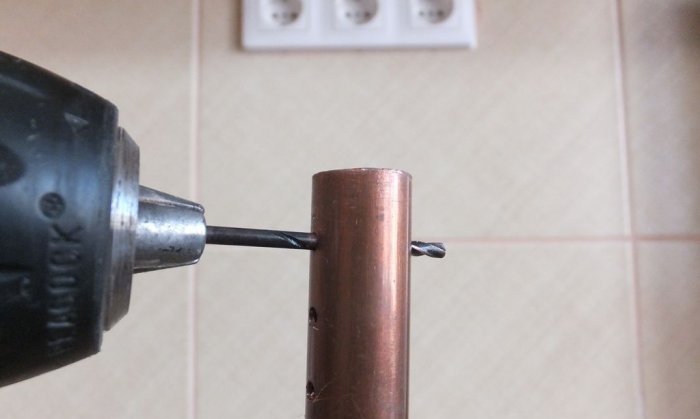
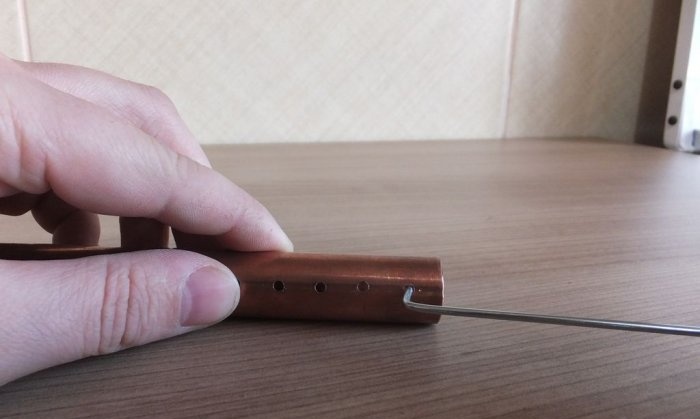
Now that you have cut the tubes to the desired length, you need to mark and drill the holes for the spokes.
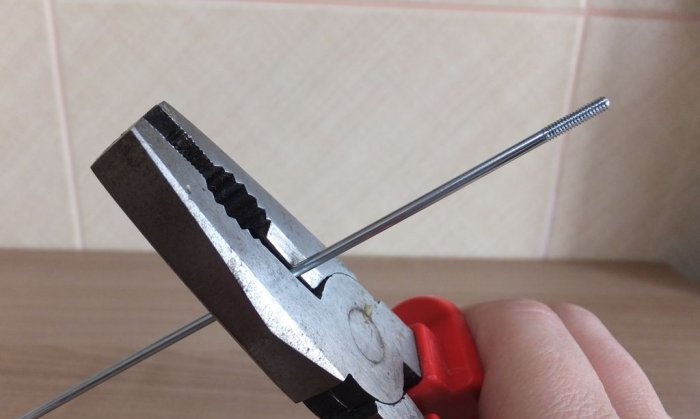
You have the right number of spokes, all that's left to do is count the holes. The spokes should also be the same length as they will fit evenly into the slots you drilled.
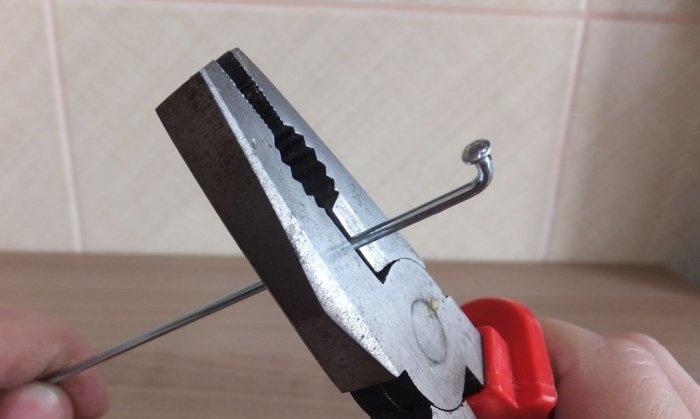
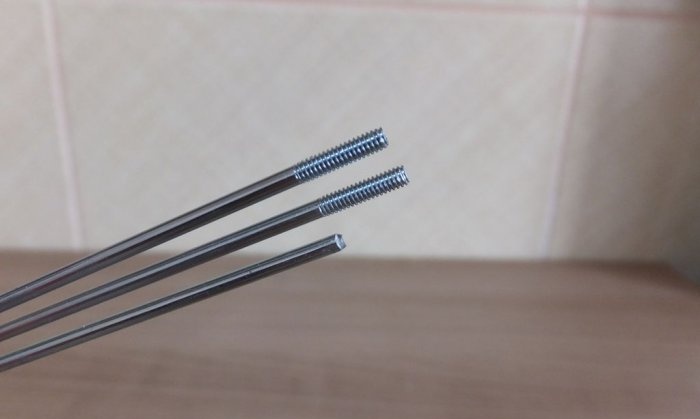
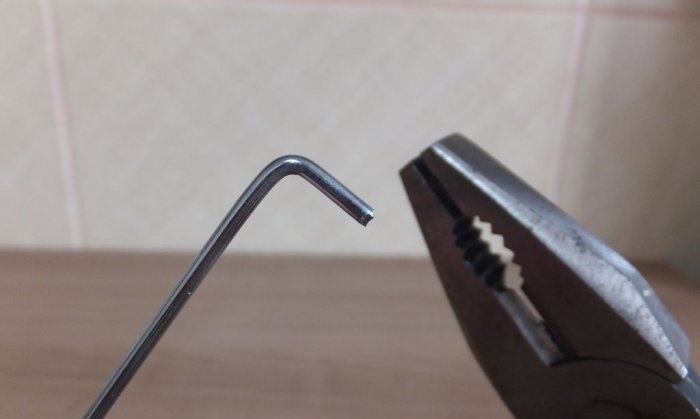
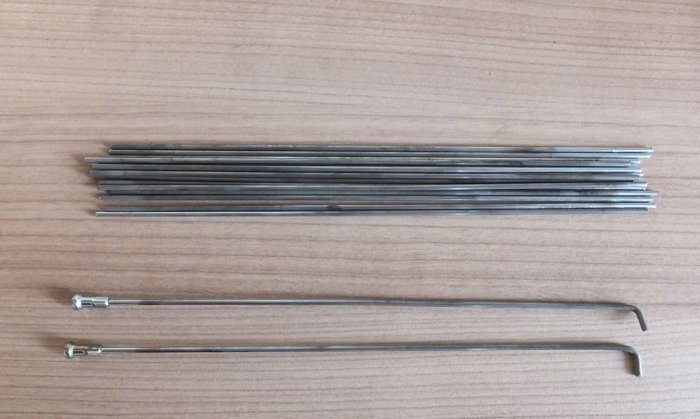
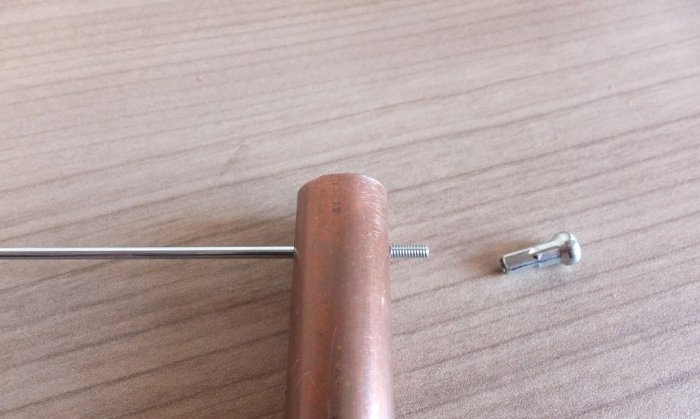
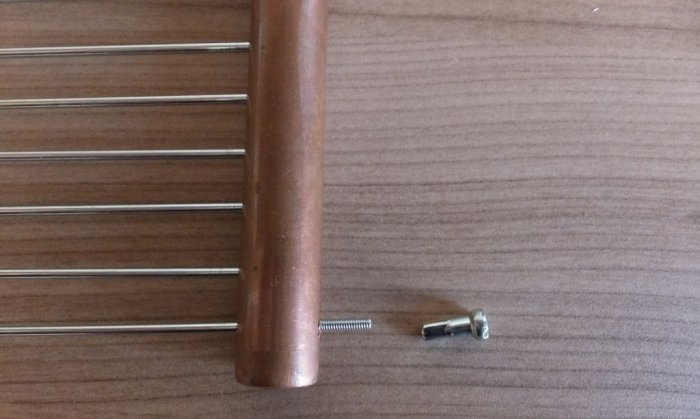
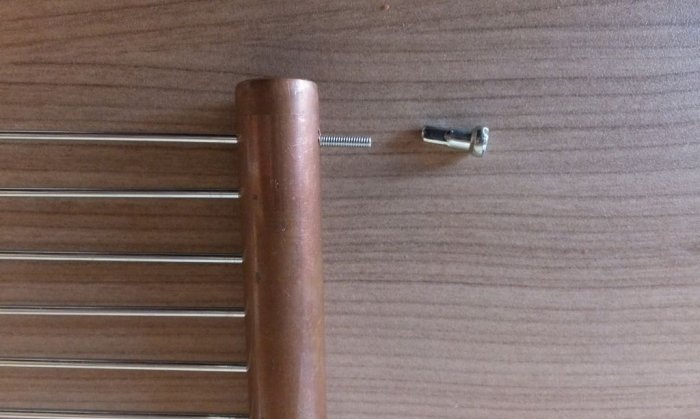
Advice: you will need 2 spokes with the original thread and nipple on one end and bent at 90° on the other, so that their length should be about 5 - 10 mm longer than the rest. Please keep this in mind!
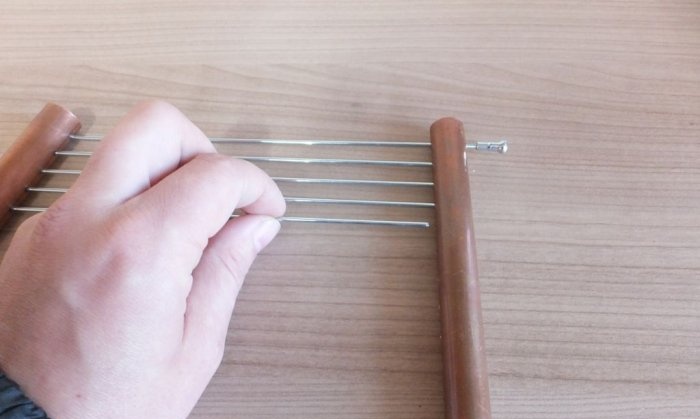
I don’t want to lie to you: it’s not so easy to do it the first time without the necessary dexterity and skillful hands.
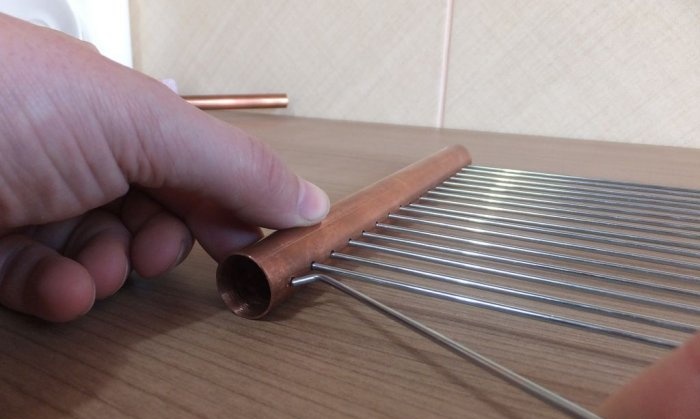
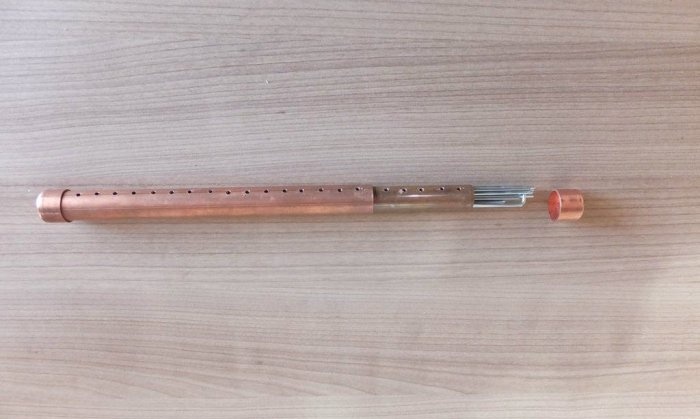
Everything is very simple here - we unscrew the nipples at the ends of the outer spokes, and the whole structure falls apart on its own.Packing it is also not difficult.
So, as you have seen for yourself, everything is not so complicated.
Addition #1: Some of you have expressed concern that copper releases harmful gases when heated. I can't disprove this scientifically, but I couldn't find a single source on the Internet that would prove this thesis, so: future comments a la "copper emits toxic fumes when heated" will be ignored until A link to a reliable source will be posted.
Addendum #3: The Centers for Disease Control and Prevention website says the following about copper fumes: “Outgassing may occur in copper and brass smelters and during the production of copper alloys.” Considering the melting point of copper or copper alloys, we can say that there can be no talk of any harmful emissions over a fire.
I’m not very good with the language, so in some places my speech may seem incomprehensible, so don’t hesitate to ask questions or ask to send a photo - I’ll be happy to help!
Thank you for your attention and have a nice day!
source
Tools and materials
We will need:
- 1. Hacksaw (or at least just a blade).
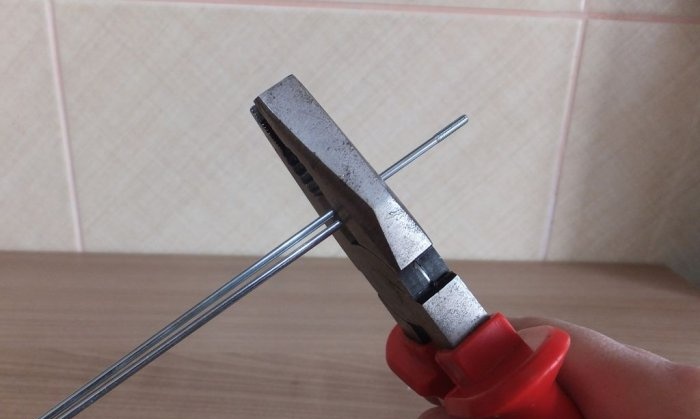
- 2. Pliers with wire cutters.
- 3. Drill and bit.
- 4. Utility knife.
- 5. File (or sandpaper).
- 6. Ruler.
Of course, this list is subject to change and you're welcome to use a little imagination, but please remember to wear protective gear and follow safety precautions (otherwise you risk injury).
Materials:
You will need 2 tubes, one should fit inside the other. I used 18mm and 15mm copper tubes. In principle, any metal will do, but I used copper because such tubes are lighter, they do not deform much under the influence of fire, they have thin walls and, most importantly, I had them in abundance (leftovers from working on a heating system for the house), so they didn't cost me anything.
2 caps for larger diameter pipes (also available).
Some 2mm spokes from a bicycle wheel. I can’t indicate the exact number of spokes, but later you will understand why. The knitting needles should be made of stainless steel - food will be fried on them.
Tip: if you have a bicycle repair shop nearby, ask them about the spokes - they can get you for free (I personally had to tinker with the wheel from my old bicycle for a long time to do this).
Measurements:
Everything here is quite simple, since the parts will have to be cut to the same size (to obtain a rectangular barbecue).
Tip: The larger your grill, the more knitting needles you will need. All knitting needles must fit on a tube of smaller diameter.
I took 20 cm increments because I calculated that about 25 2.2 mm diameter knitting needles would fit in a 15 mm diameter tube.
Cutting off the tubes
Saw off the two tubes to equal lengths and sand down the rough edges. As I already mentioned, I made them 20 cm long.
We measure, mark and make holes
Now that you have cut the tubes to the desired length, you need to mark and drill the holes for the spokes.
Cutting the knitting needles to the required length
You have the right number of spokes, all that's left to do is count the holes. The spokes should also be the same length as they will fit evenly into the slots you drilled.
Advice: you will need 2 spokes with the original thread and nipple on one end and bent at 90° on the other, so that their length should be about 5 - 10 mm longer than the rest. Please keep this in mind!
Let's start assembling
I don’t want to lie to you: it’s not so easy to do it the first time without the necessary dexterity and skillful hands.
We disassemble and pack our grill
Everything is very simple here - we unscrew the nipples at the ends of the outer spokes, and the whole structure falls apart on its own.Packing it is also not difficult.
Final Thoughts
So, as you have seen for yourself, everything is not so complicated.
Addition #1: Some of you have expressed concern that copper releases harmful gases when heated. I can't disprove this scientifically, but I couldn't find a single source on the Internet that would prove this thesis, so: future comments a la "copper emits toxic fumes when heated" will be ignored until A link to a reliable source will be posted.
Addendum #3: The Centers for Disease Control and Prevention website says the following about copper fumes: “Outgassing may occur in copper and brass smelters and during the production of copper alloys.” Considering the melting point of copper or copper alloys, we can say that there can be no talk of any harmful emissions over a fire.
I’m not very good with the language, so in some places my speech may seem incomprehensible, so don’t hesitate to ask questions or ask to send a photo - I’ll be happy to help!
Thank you for your attention and have a nice day!
source
Similar master classes
Particularly interesting
Comments (1)

