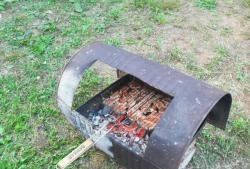
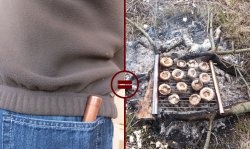
Brazier made from scrap materials
From time immemorial, people literally adore food cooked with fire - over coal or flame. Oh, what an appetite this brings! Nature, smoke, meat...
But to cook it over a fire, you need some helpers. The most common of them is the grill. This is where everyone’s favorite kebabs are prepared. Today you can find many ready-made barbecue options on sale. Choose the one you like. Is it possible to make a barbecue with your own hands? Of course yes! There would be the necessary materials, tools and skill. Let's consider the process of making an ordinary classic barbecue.
What is a grill? Simply put, it’s a rectangular iron box in which firewood burns and coals smolder. The kebab is cooked in the heat from the coals. To make them smolder, ventilation holes are made in the walls for better air flow. Of course, there are entire systems - ovens with a firebox, grate and exhaust pipe, on which you can cook shish kebab, barbecue, and grill. Today we will make a barbecue without frills - a classic of centuries.
What do we need? And you will need the following:
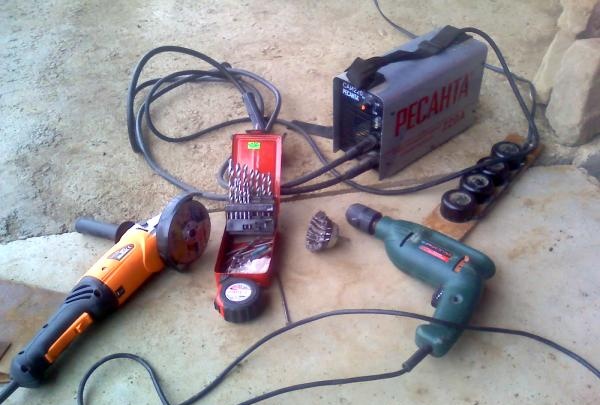
- sheets of iron 2-4 mm thick for the manufacture of the body and rods or fittings (with a diameter of at least 10 mm) for the manufacture of stands-legs;
- an angle grinder (angle grinder), popularly known as a “grinder” or “impeller”;
- welding machine (any one capable of welding our iron);
- a drilling machine or drill with a set of metal drills and a brush attachment;
- measuring instrument - ruler, tape measure or meter.
Let's start manufacturing by selecting the necessary materials. Iron sheets can be of any shape. The main thing is their thickness. Often, purchased barbecues are so fragile and flimsy that they hardly last one summer season. Therefore, the thicker the wall, the better. In addition, the hotter it will be.
So, we find sheets (scraps) of iron and use a grinder to give them the desired shape.
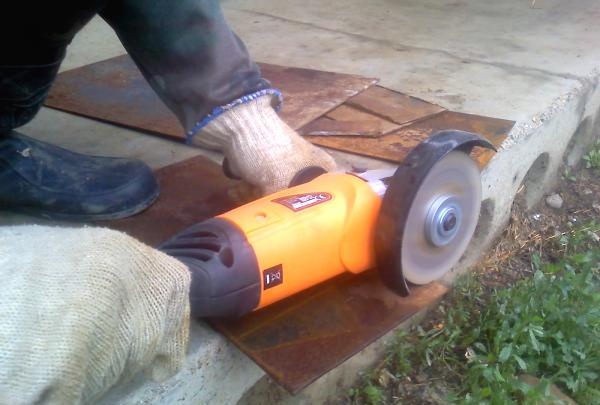
And the shape is as follows - five rectangles: two measuring 180x480 mm, two measuring 180x270 mm and one measuring 320x560 mm. Accordingly, these will be the side and end walls and the bottom-base. We draw the markings using a measuring tool and an ordinary sharp nail.
Next, you should evenly mark and drill holes in the workpieces: five in the sides and two in the ends. First, we drill holes with a thin drill with a diameter of 6-8 mm, and then with a thicker drill with a diameter of 14-20 mm.
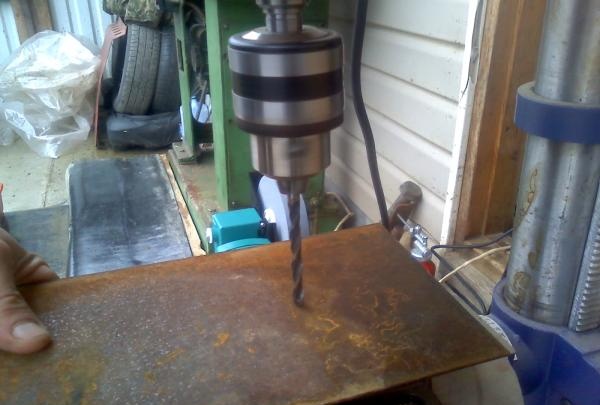
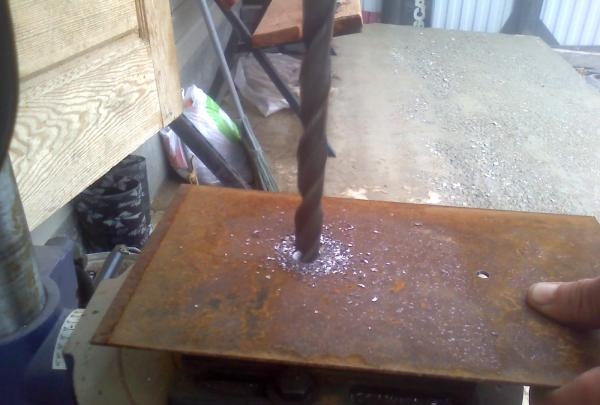
It will be difficult to drill straight away with a large drill. When drilling, select the lowest rotation speed. If desired, you can make holes in the lower base. It is also possible to replace large holes with a large number of small ones.
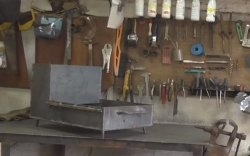
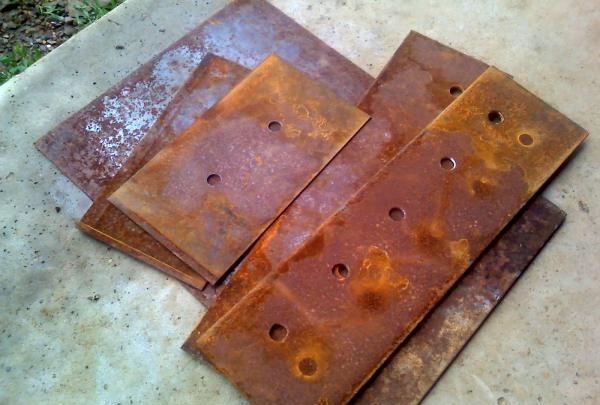
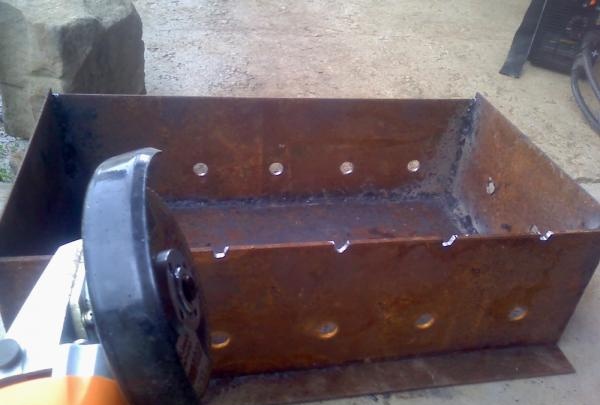
As a result, the blanks look like this - see photo.
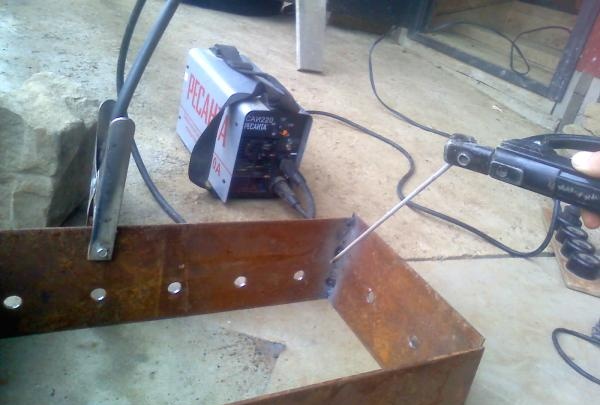
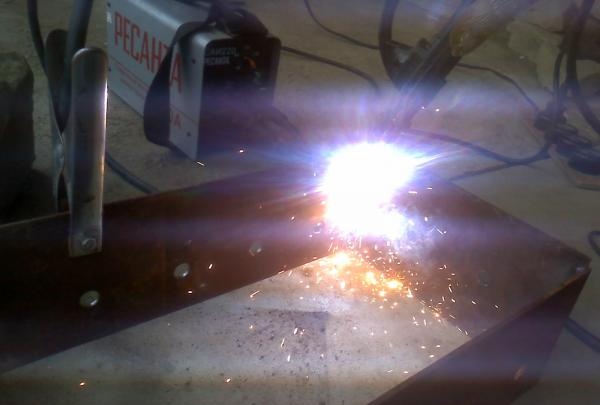
At the next stage, we weld the body parts together using electric welding, clean them of burrs and carbon deposits with a drill with an attachment or a grinder.On the finished barbecue body, you can cut out small recesses for skewers every 9 cm in the upper edge of the side walls using a grinder.
Now all that remains is to cut and weld small legs or a stand from the rods - their shape and size are chosen by you.
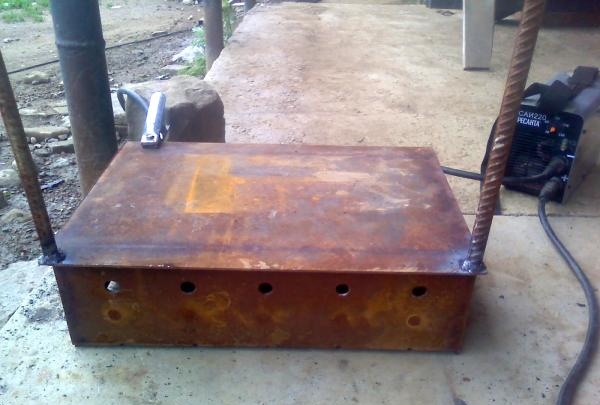
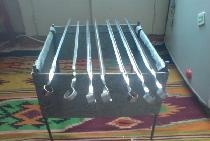
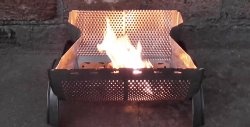
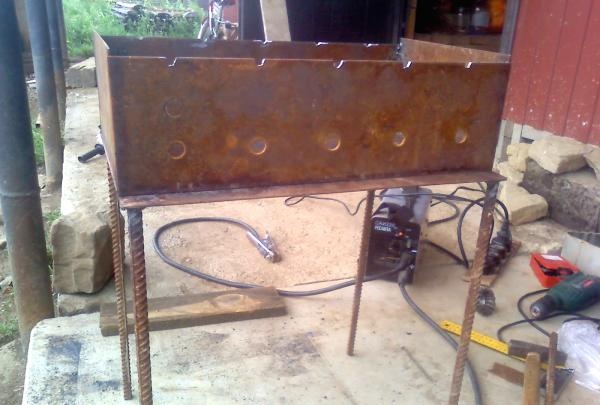
The final result of our work can be seen in the photo. The result was a small but very durable grill. Bon appetit and have fun!

But to cook it over a fire, you need some helpers. The most common of them is the grill. This is where everyone’s favorite kebabs are prepared. Today you can find many ready-made barbecue options on sale. Choose the one you like. Is it possible to make a barbecue with your own hands? Of course yes! There would be the necessary materials, tools and skill. Let's consider the process of making an ordinary classic barbecue.
What is a grill? Simply put, it’s a rectangular iron box in which firewood burns and coals smolder. The kebab is cooked in the heat from the coals. To make them smolder, ventilation holes are made in the walls for better air flow. Of course, there are entire systems - ovens with a firebox, grate and exhaust pipe, on which you can cook shish kebab, barbecue, and grill. Today we will make a barbecue without frills - a classic of centuries.
What do we need? And you will need the following:

- sheets of iron 2-4 mm thick for the manufacture of the body and rods or fittings (with a diameter of at least 10 mm) for the manufacture of stands-legs;
- an angle grinder (angle grinder), popularly known as a “grinder” or “impeller”;
- welding machine (any one capable of welding our iron);
- a drilling machine or drill with a set of metal drills and a brush attachment;
- measuring instrument - ruler, tape measure or meter.
Let's start manufacturing by selecting the necessary materials. Iron sheets can be of any shape. The main thing is their thickness. Often, purchased barbecues are so fragile and flimsy that they hardly last one summer season. Therefore, the thicker the wall, the better. In addition, the hotter it will be.
So, we find sheets (scraps) of iron and use a grinder to give them the desired shape.

And the shape is as follows - five rectangles: two measuring 180x480 mm, two measuring 180x270 mm and one measuring 320x560 mm. Accordingly, these will be the side and end walls and the bottom-base. We draw the markings using a measuring tool and an ordinary sharp nail.
Next, you should evenly mark and drill holes in the workpieces: five in the sides and two in the ends. First, we drill holes with a thin drill with a diameter of 6-8 mm, and then with a thicker drill with a diameter of 14-20 mm.


It will be difficult to drill straight away with a large drill. When drilling, select the lowest rotation speed. If desired, you can make holes in the lower base. It is also possible to replace large holes with a large number of small ones.
As a result, the blanks look like this - see photo.

At the next stage, we weld the body parts together using electric welding, clean them of burrs and carbon deposits with a drill with an attachment or a grinder.On the finished barbecue body, you can cut out small recesses for skewers every 9 cm in the upper edge of the side walls using a grinder.


Now all that remains is to cut and weld small legs or a stand from the rods - their shape and size are chosen by you.

The final result of our work can be seen in the photo. The result was a small but very durable grill. Bon appetit and have fun!


Similar master classes
Particularly interesting
Comments (0)


