New Year card
Very easy to make job.
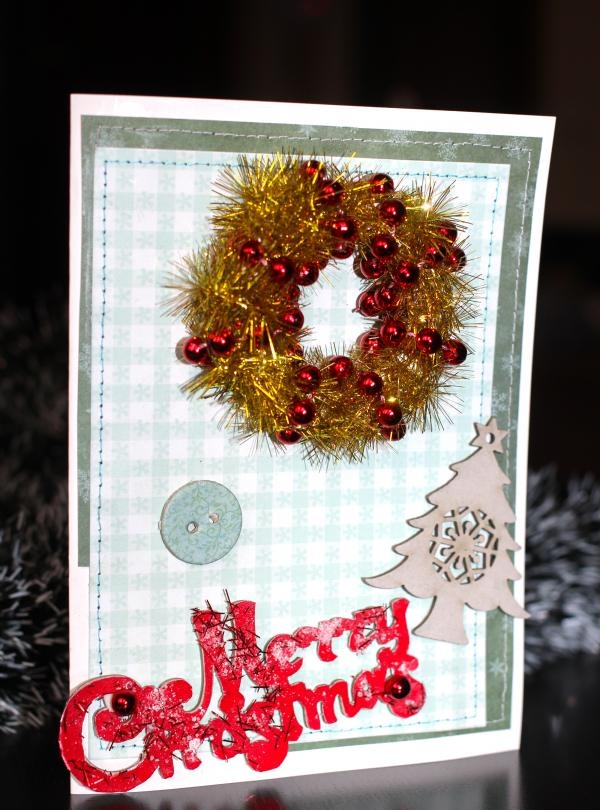
For the postcard you will need:
- PVA or glue stick,
- threads of two colors,
- “Herringbone” chipboard,
- paper for scrapbooking (2 types),
- a knife for cutting paper,
- double sided tape,
- thick cardboard as a base,
- sewing machine,
- decorative element "Button",
- coarse salt (sugar),
- stapler,
- scissors
- velvet paper,
- tinsel,
- paper clip (wire),
- red New Year's beads,
- "Merry Christmas" chipboard.
Product assembly process
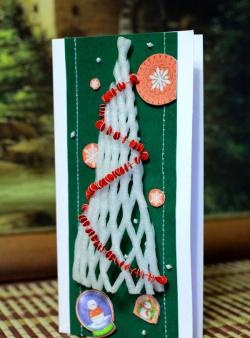
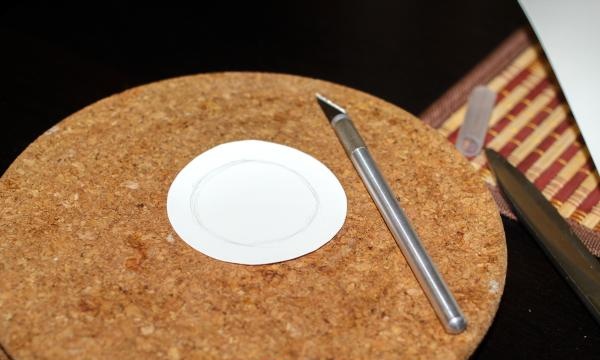
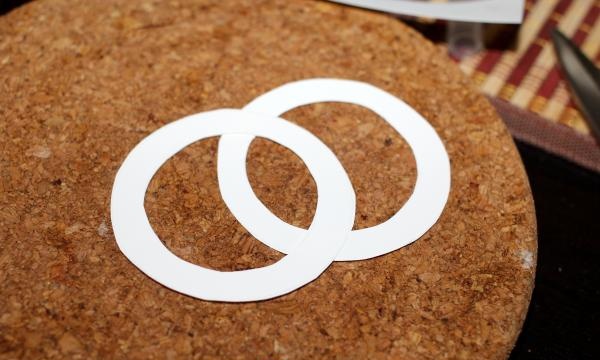
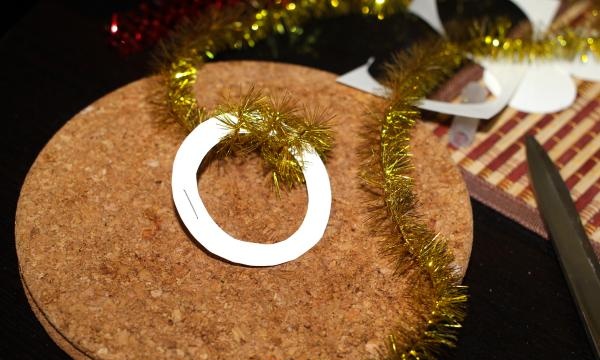
1. Cut out two “rings” from thick cardboard. Connect them with a stapler. This blank will serve as a solid basis for the “wreath”.
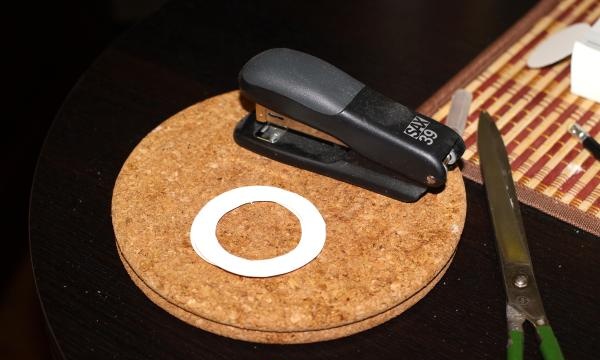
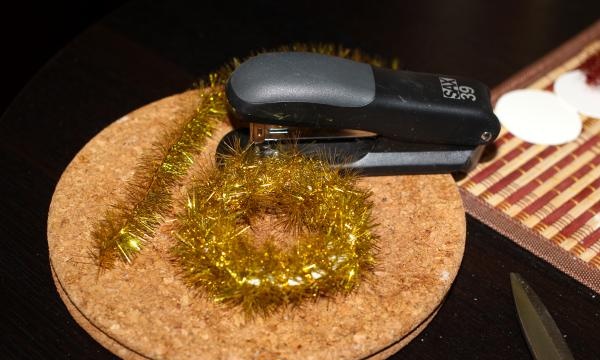
2. Wrap tinsel around the “ring”, securing the ends with a stapler.
3. Cut out two rectangles from colored paper. One of the fragments must be smaller than the other. In this case, a larger rectangle was cut into shapes to add originality.
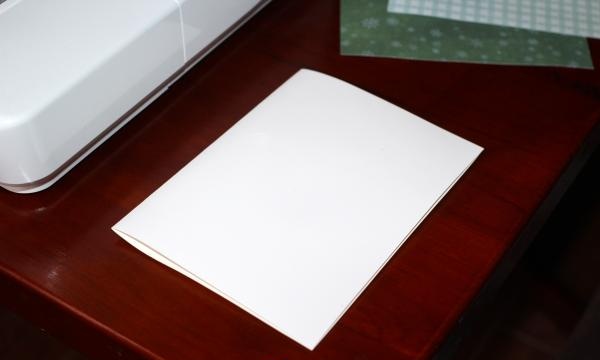
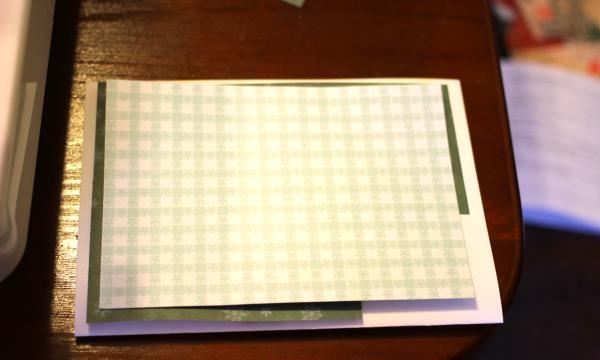
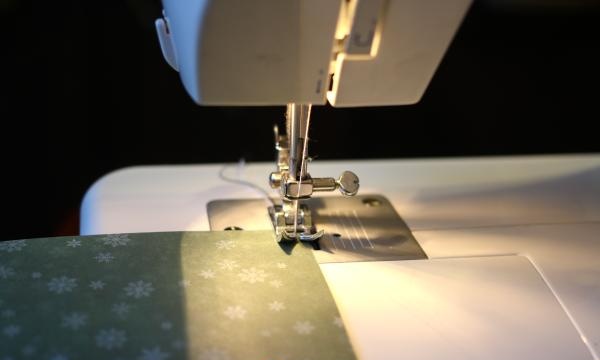
4. Sew along the edges of each rectangle. Use threads in contrasting colors.
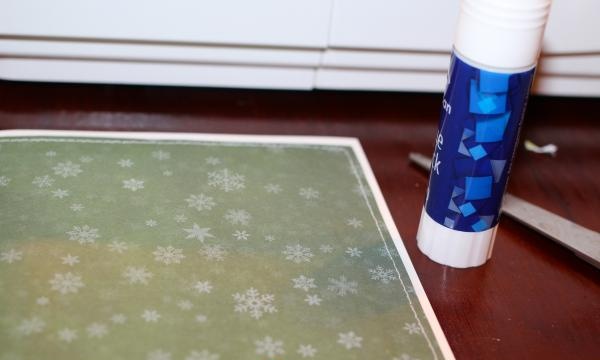
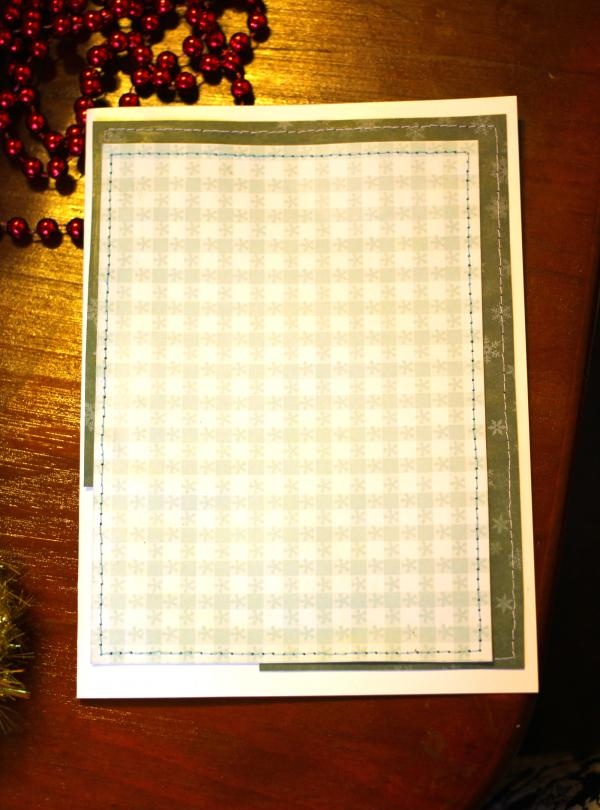
5. Glue colored paper onto the card base.
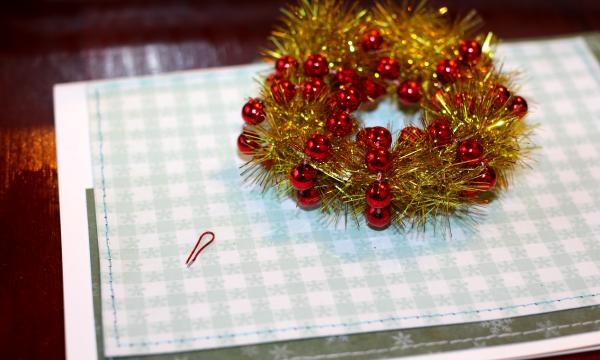
6. Continue working on the “wreath”. Thread the beads through the "ring".

7. Secure the end of the beads to the back of the piece with wire or a paper clip.
8. Prepare the chipboard. You need to cut out the same inscription from velvet paper.
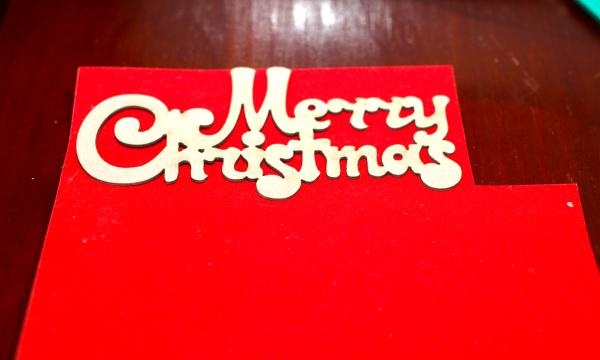
9. Secure the inscription with glue.
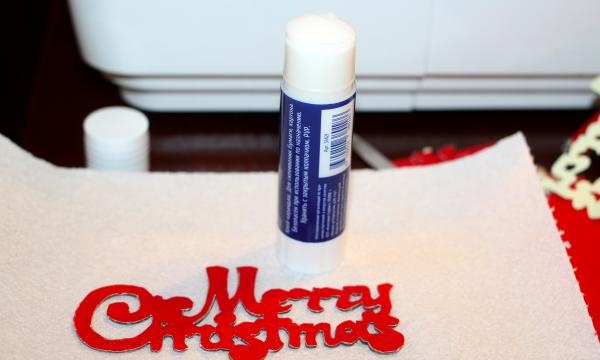
10. Apply glue over the chipboard, sprinkle the workpiece with glitter and salt.
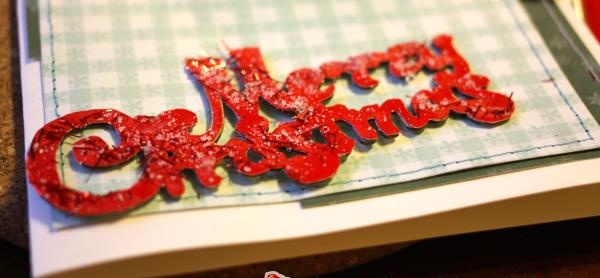
11. Glue the blank to the card.
12. Decorate the inscription with beads, securing them with double-sided tape.
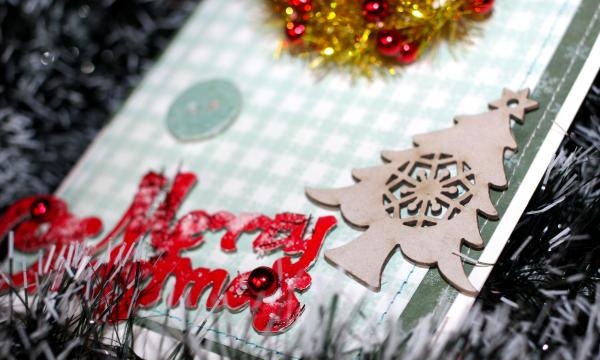
13. Complete the composition with a few more decorative elements.
Happy New Year!

For the postcard you will need:
- PVA or glue stick,
- threads of two colors,
- “Herringbone” chipboard,
- paper for scrapbooking (2 types),
- a knife for cutting paper,
- double sided tape,
- thick cardboard as a base,
- sewing machine,
- decorative element "Button",
- coarse salt (sugar),
- stapler,
- scissors
- velvet paper,
- tinsel,
- paper clip (wire),
- red New Year's beads,
- "Merry Christmas" chipboard.
Product assembly process
1. Cut out two “rings” from thick cardboard. Connect them with a stapler. This blank will serve as a solid basis for the “wreath”.


2. Wrap tinsel around the “ring”, securing the ends with a stapler.


3. Cut out two rectangles from colored paper. One of the fragments must be smaller than the other. In this case, a larger rectangle was cut into shapes to add originality.


4. Sew along the edges of each rectangle. Use threads in contrasting colors.

5. Glue colored paper onto the card base.


6. Continue working on the “wreath”. Thread the beads through the "ring".

7. Secure the end of the beads to the back of the piece with wire or a paper clip.

8. Prepare the chipboard. You need to cut out the same inscription from velvet paper.

9. Secure the inscription with glue.

10. Apply glue over the chipboard, sprinkle the workpiece with glitter and salt.

11. Glue the blank to the card.
12. Decorate the inscription with beads, securing them with double-sided tape.

13. Complete the composition with a few more decorative elements.
Happy New Year!
Similar master classes
Particularly interesting
Comments (0)

