How to properly sharpen a drill by hand
For sharpening drills, there are special devices that help to correctly maintain all working angles of this tool. But if the necessary device is not at hand, then it is not difficult to learn how to carry out this important operation yourself. It is better to start practicing sharpening with a drill of medium diameter 10 - 12 mm.
This is the sharpening angle of the drill, it is approximately 120 degrees.
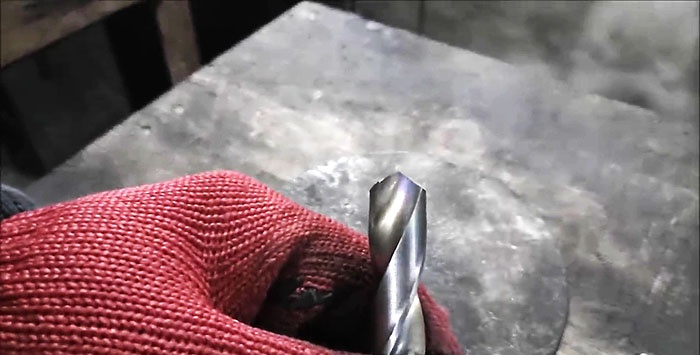
After sharpening, the front cutting part of the tool should be symmetrical. If a shift occurs, it needs to be corrected - re-sharpened.
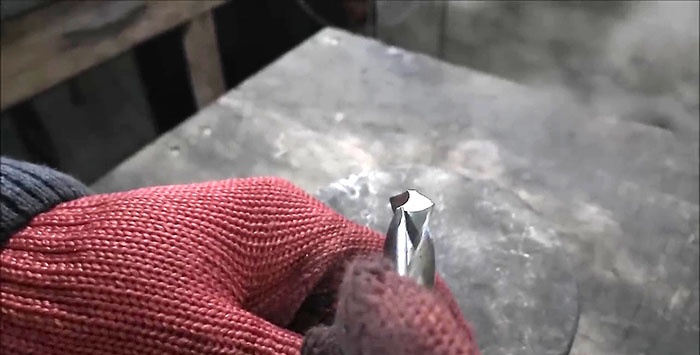
Behind the cutting edge there is a back cut or back surface. It should be directed relative to the cutting edge 1 - 1.5 mm down towards the drill shank.
Using a marker, draw a line parallel to the axis of rotation on the sharpening stone. Now we will try to correctly position the drill in the space for sharpening. We apply the drill with the back cut of the cutting edge to the line on the sharpening stone, tightly without gaps. The drill must be positioned strictly horizontally!
In this case, the drawn line will be slightly higher than the axis of rotation of the sharpener.
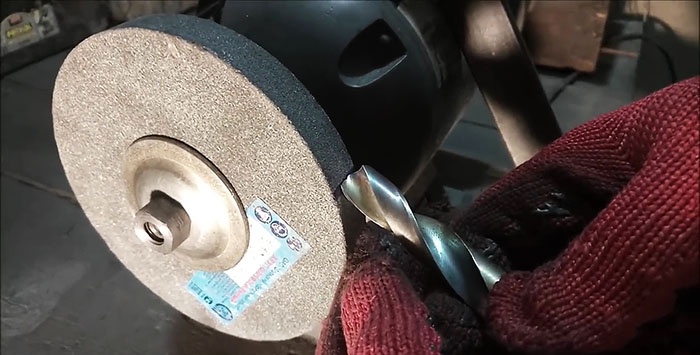
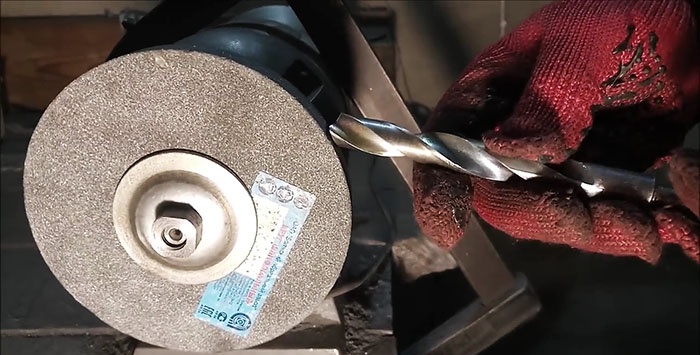
The longitudinal axis of the tool in the horizontal plane will be rotated to the left by approximately 30 degrees, this will ensure the correct overall sharpening angle of 120 degrees. Let us remember this position in space.
We take a drill that has been in use, with knocked down cutting edges, and try to sharpen it. We find the correct position of the tool in space and begin sharpening.
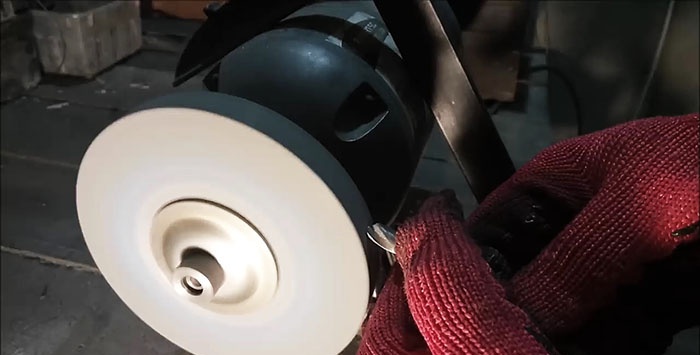
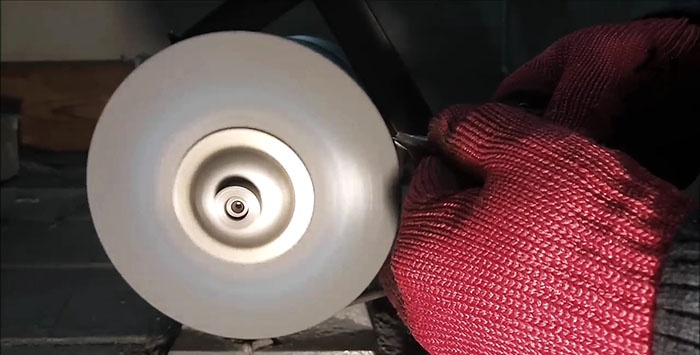
First one side, then the other. We take our time and do the work as carefully as possible. If the sharpened lump overheats, becomes red hot, dip the tool in a container of water. Then we continue working.
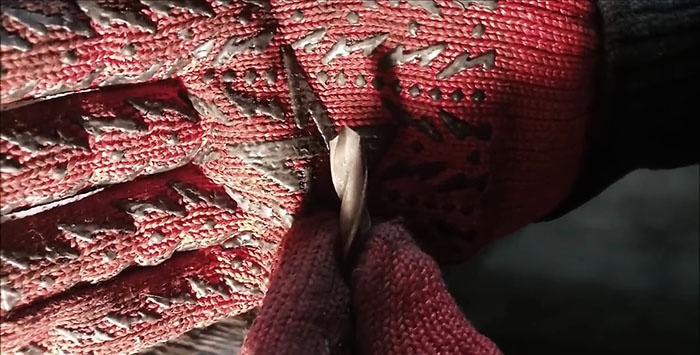
As if everything worked out. The sharpening angle is about 120 degrees, the back cut has the correct bevel to the drill shank.
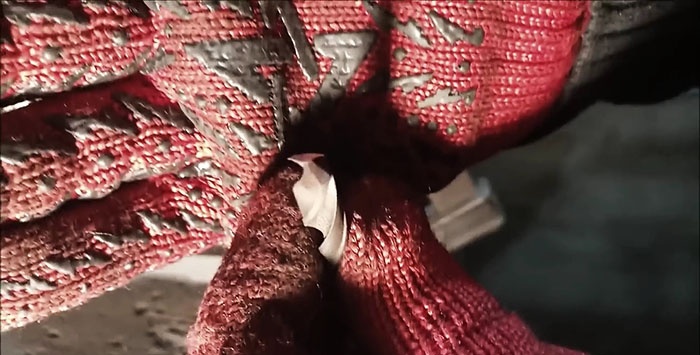
Take a drill and insert the sharpened tool into the chuck. We are trying to drill a steel plate 8 mm thick.
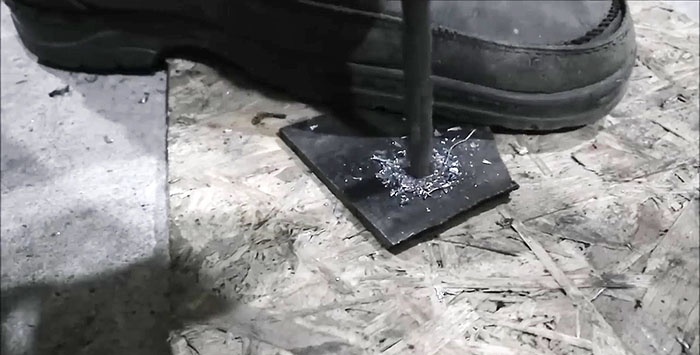
Everything is going pretty well.
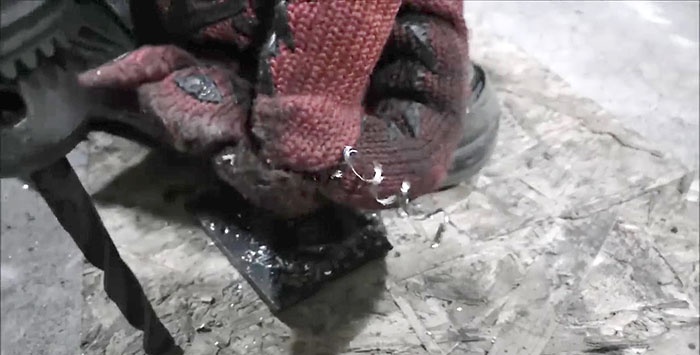
However, the true criterion of a correctly performed operation is the spiral-shaped chip. If it is also symmetrical on both sides, then the sharpening angles are optimal.
It is quite possible that the operation may not work out the first time. It's OK. Patience and accuracy will give a positive result. A few words about safety precautions. The sharpener must have a protective casing. It is necessary to work in gloves, and durable ones, for example, split leather. The face and eyes should ALWAYS be protected with goggles, or better yet, with a mask. Successful work to you!
The video clearly shows the process of sharpening a drill by hand, so be sure to watch it.
A little bit of theory
This is the sharpening angle of the drill, it is approximately 120 degrees.

After sharpening, the front cutting part of the tool should be symmetrical. If a shift occurs, it needs to be corrected - re-sharpened.
Behind the cutting edge there is a back cut or back surface. It should be directed relative to the cutting edge 1 - 1.5 mm down towards the drill shank.

Preparing for surgery
Using a marker, draw a line parallel to the axis of rotation on the sharpening stone. Now we will try to correctly position the drill in the space for sharpening. We apply the drill with the back cut of the cutting edge to the line on the sharpening stone, tightly without gaps. The drill must be positioned strictly horizontally!
In this case, the drawn line will be slightly higher than the axis of rotation of the sharpener.


The longitudinal axis of the tool in the horizontal plane will be rotated to the left by approximately 30 degrees, this will ensure the correct overall sharpening angle of 120 degrees. Let us remember this position in space.
Let's move on to practice
We take a drill that has been in use, with knocked down cutting edges, and try to sharpen it. We find the correct position of the tool in space and begin sharpening.

First one side, then the other. We take our time and do the work as carefully as possible. If the sharpened lump overheats, becomes red hot, dip the tool in a container of water. Then we continue working.

Checking the result
As if everything worked out. The sharpening angle is about 120 degrees, the back cut has the correct bevel to the drill shank.


Take a drill and insert the sharpened tool into the chuck. We are trying to drill a steel plate 8 mm thick.

Everything is going pretty well.

However, the true criterion of a correctly performed operation is the spiral-shaped chip. If it is also symmetrical on both sides, then the sharpening angles are optimal.
A short afterword
It is quite possible that the operation may not work out the first time. It's OK. Patience and accuracy will give a positive result. A few words about safety precautions. The sharpener must have a protective casing. It is necessary to work in gloves, and durable ones, for example, split leather. The face and eyes should ALWAYS be protected with goggles, or better yet, with a mask. Successful work to you!
Watch the video
The video clearly shows the process of sharpening a drill by hand, so be sure to watch it.
Similar master classes
Particularly interesting
Comments (10)

