7 ways to make a fire outdoors
It’s a shame to be in tears when you’re in the forest among the trees and not be able to make a fire, especially if a cold and hungry night awaits you. Growing trees have high humidity and in order for them to catch fire, quite significant initial thermal energy is required. Where can I get it if there is no dead wood or at least dry grass nearby?
Let's not despair: having some tools and accessories at hand, you can get out of a difficult situation if you know the following 7 rules for making a fire, which have long been used by experienced tourists, lumberjacks, hunters, geologists and everyone who often finds themselves in the forest far from human habitation .
1. Reliable fire
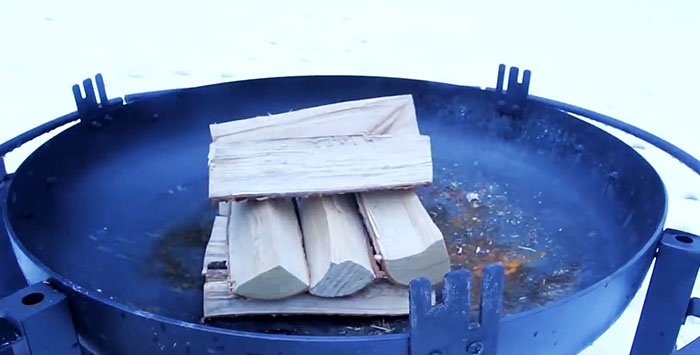
It is very easy to start a fire if you have a metal fire bowl. It is enough to lay the logs in the form of a loose lattice, three or more on each of the tiers. This arrangement will allow air oxygen to flow to the combustion front from below and from the sides along the gaps between the tiers and logs on the floors.
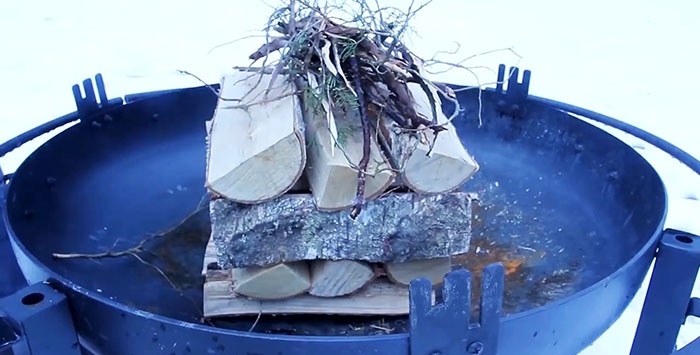
On top we place dry small twigs, pieces of bark, birch bark, paper - anything that can be easily lit.
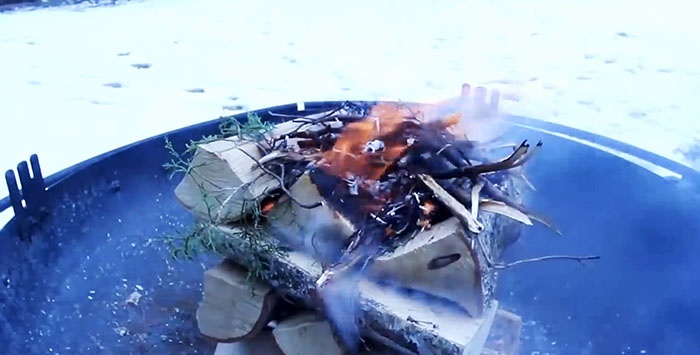
After some time, the outer layer of the top logs will dry out from the primary fire, and the fire will transfer to them. Gradually, the flame, drying out the tiers underneath, will sink lower and lower until the bottom row of the grate ignites.
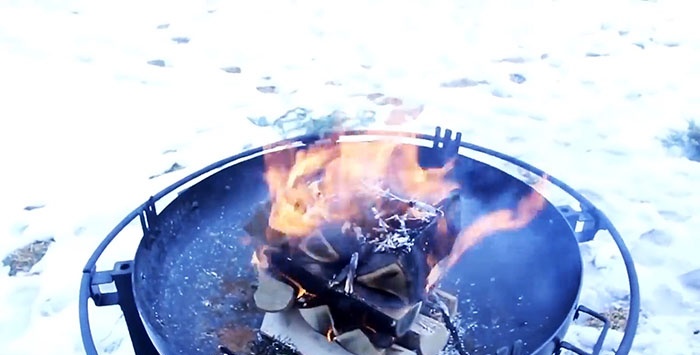
By this time, the bowl will also warm up, which will be an additional source of heat. After this, larger logs can be placed in the bowl.
2. Swedish torch or fire candle
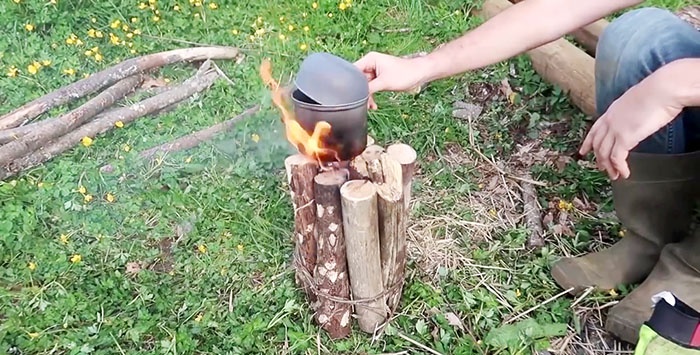
If you have not completely dry stumps of wood that is not too thick, then you can ignite them using the method described in the subtitle. To do this, we place three stumps of approximately equal length and thickness side by side on the ground with a small gap (not close together), and, on the contrary, press the top tightly against each other.
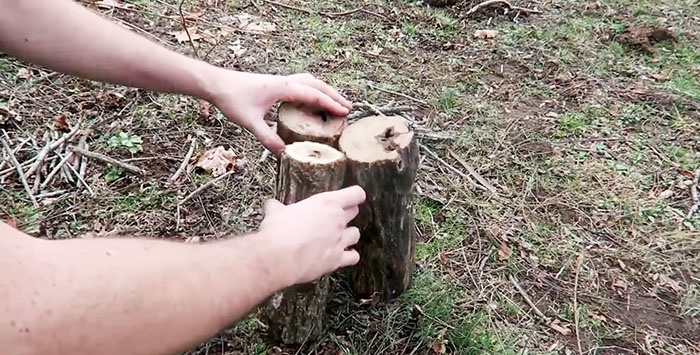
We insert kindling into the base through the cracks. To make this more convenient, one lump can be temporarily removed, and after the kindling has flared up, it can be put back in place. An old wasp nest or a dried pine cone can be used as a source of initial fire, among other things.
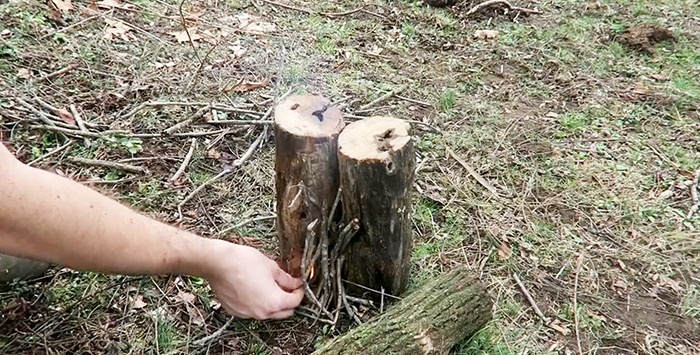
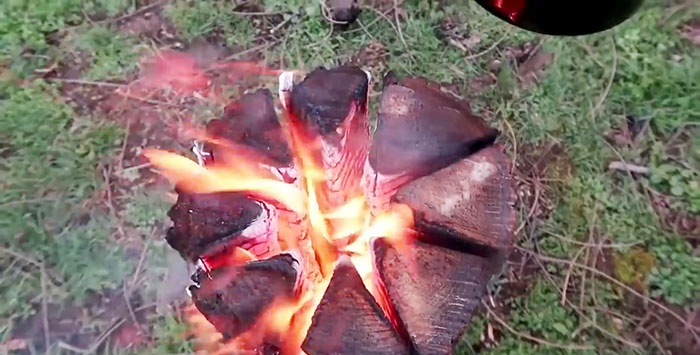
The gradually flaring fire will begin to dry the layers of wood deeper and deeper and the flame will begin to cover an increasingly larger area, creating vertical draft and sucking oxygen from the air through the cracks between the logs.
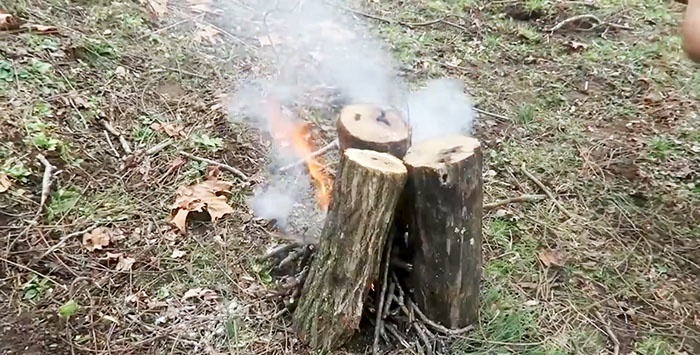
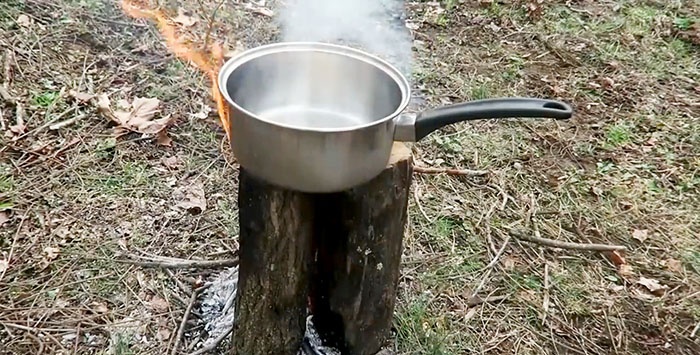
When the tree stumps begin to burn steadily, you can place a kettle with water for tea or a pot on their upper ends and cook food.
3. Swedish torch with a chainsaw
For this method, it is necessary to cut a log with a diameter of 25±15 cm and a length of about 40-50 cm from a tree trunk, and then make longitudinal cuts to 3/4 of the length, dividing the log into 4, 6 or 8 parts.
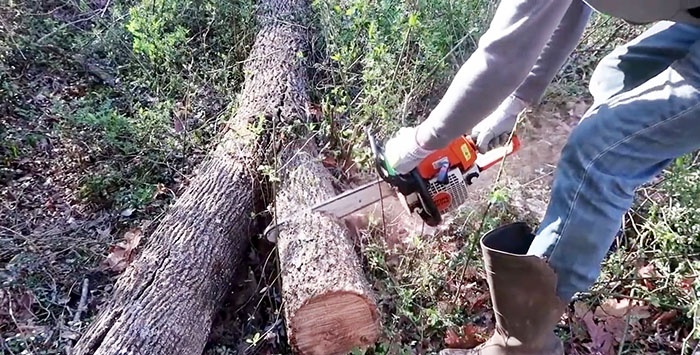
A vertical hole is formed in the middle, where you can splash a little gasoline, alcohol or pour in flammable powder.
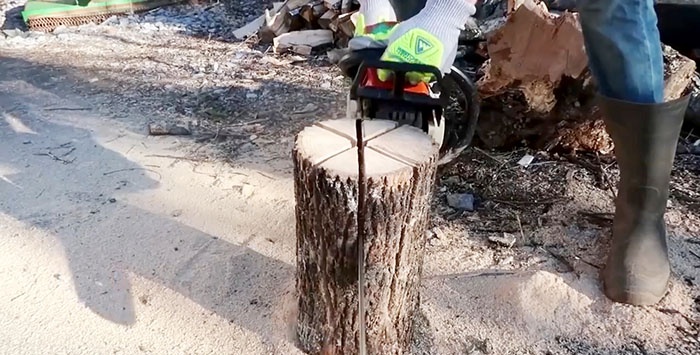
We set fire to a flammable substance and, when the fire burns sufficiently, insert dry splinters, rods and sticks into the central hole and cracks to give the initial fire greater strength.
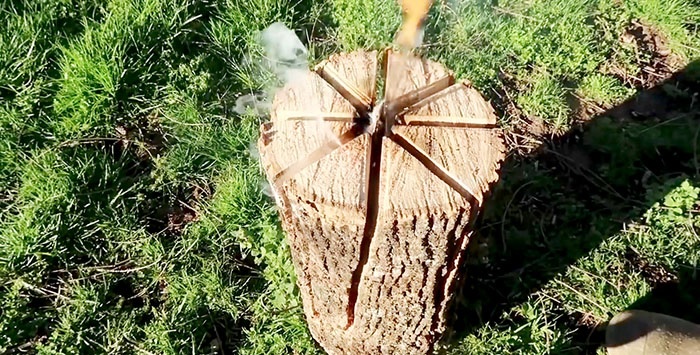
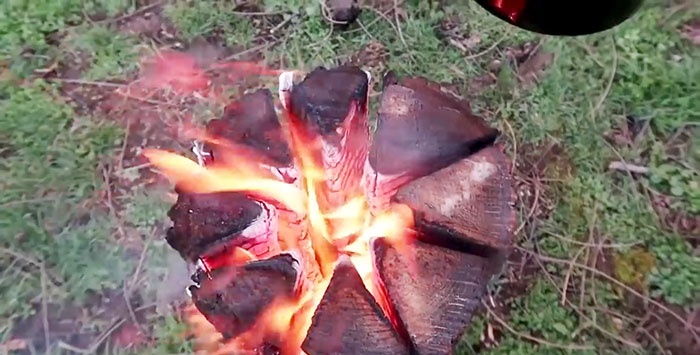
After some time, the wood of the log will light up from the inside, and the more cuts are made, the faster it will burn and the stronger the fire will be. Air suction into the combustion zone will be ensured by cuts in the log.
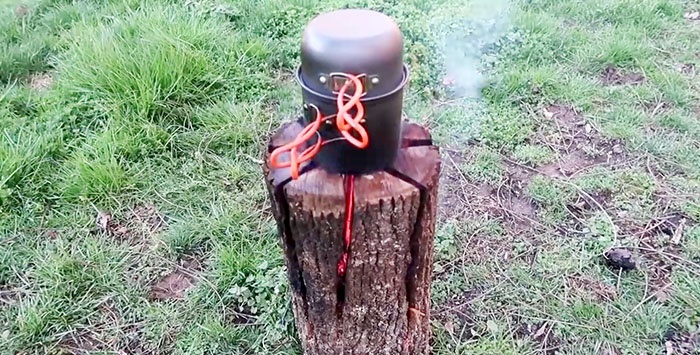
On such a fire it is convenient to boil a kettle and cook (heat) food in a kettle or pan. The Swedish torch is economical and can be moved from place to place. It is not afraid of wind and even precipitation if you put a stone on top or place dishes with a wide bottom.
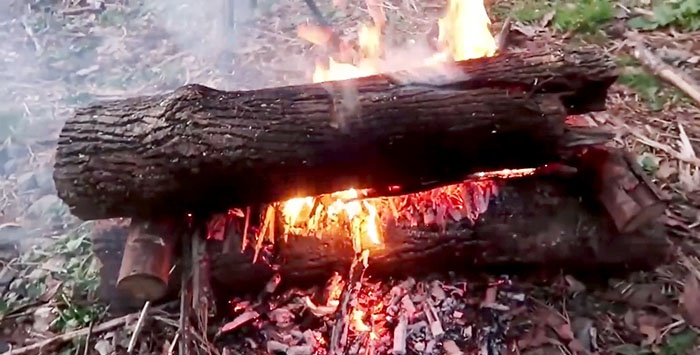
4. Fire from two logs all night
To implement this method of starting a fire, you need an ax, saw or hacksaw with a long handle for cutting branches and twigs at height. Using one of the last two tools, we saw off two logs more than one meter long.
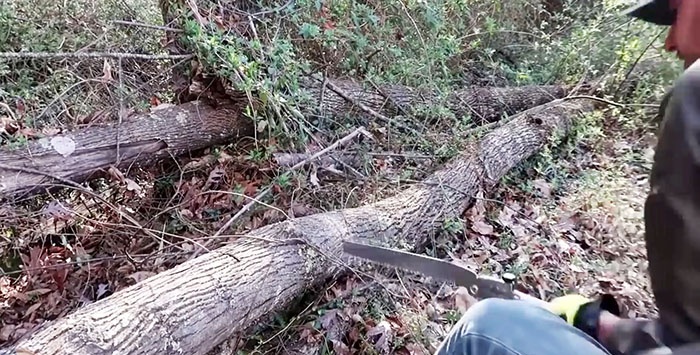
Using an ax, we cut out a hole in the middle of two short, thin logs on both sides.
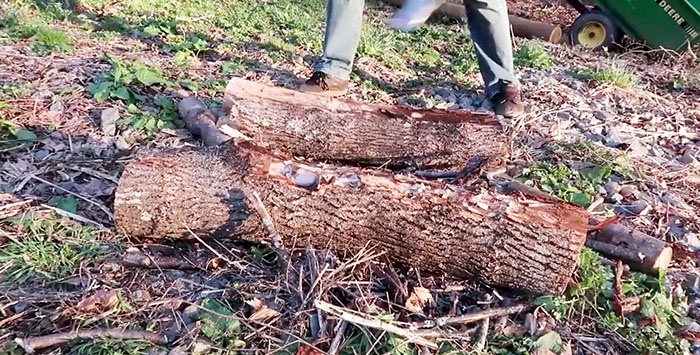
We place them crosswise from above along the edges of the first log laid on the ground. We place the second log on top of the recesses. The logs give stability to the structure and provide a gap between the logs, which is very important for the fire to start faster and be stable.
We insert thin and dry branches and fire sticks into the gap between the logs. But it’s easier and safer to do things a little differently. For each log, you first need to “walk” lightly with an ax in the longitudinal direction in a straight line, delivering light oblique blows in order to increase the burning area at the initial stage.
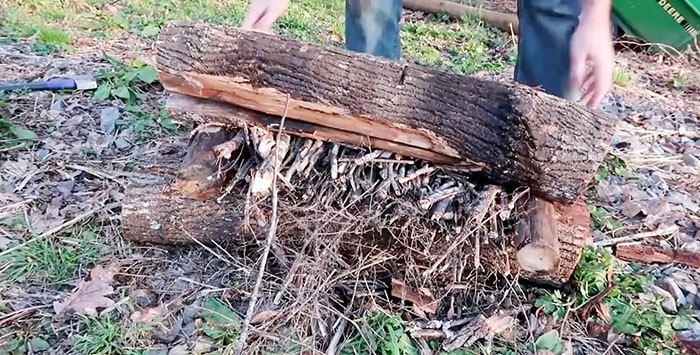
Next, laying transverse logs along the edges of the lower log, between them we place kindling from dry branches, twigs, bark and birch bark. We press it all down with a second log so that the hewn side is at the bottom.
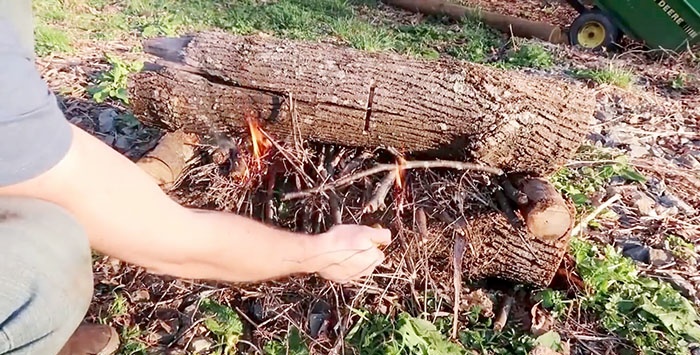
All that remains is to use matches or a lighter to set fire to the kindling in several places on one side and the other, trying to spread the fire along the entire length of the logs. After the kindling burns out and the surfaces of the logs light up, there will be a guaranteed gap between them, which is provided by transverse logs with grooves. Therefore, there will be no shortage of air oxygen for sustainable burning of logs.
5. Swedish torch without chainsaw
To implement this method, we will need a hand saw and a small hatchet to cut identical and not very long logs from relatively dry branches with a diameter of 2 to 7 cm.
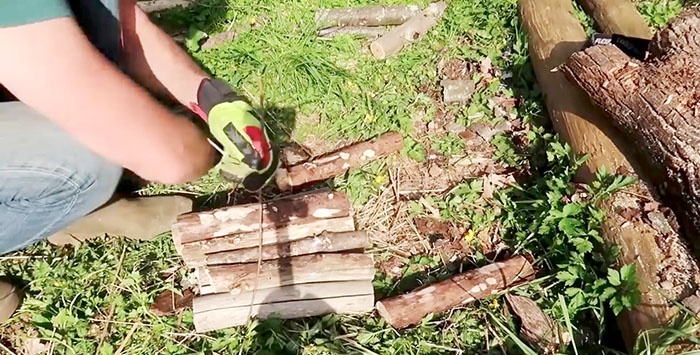
We lay them together in random order, aligning them at the ends, and to prevent them from falling apart ahead of time, we intercept them closer to the bottom with thin green willow twigs, using their flexibility.
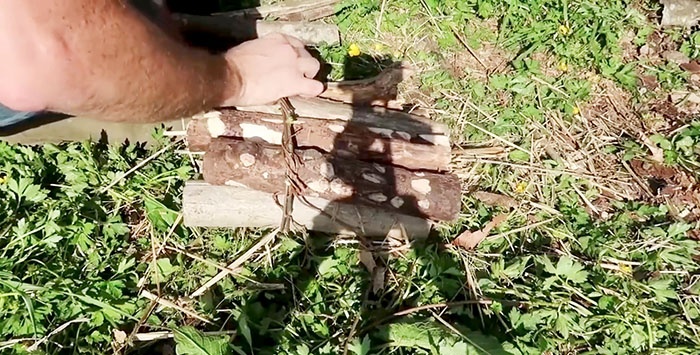
We install the resulting prefabricated log with either end on the ground, having previously laid kindling at the bottom. All that remains is to set it on fire and a reliable and convenient fire for cooking or boiling water is provided.
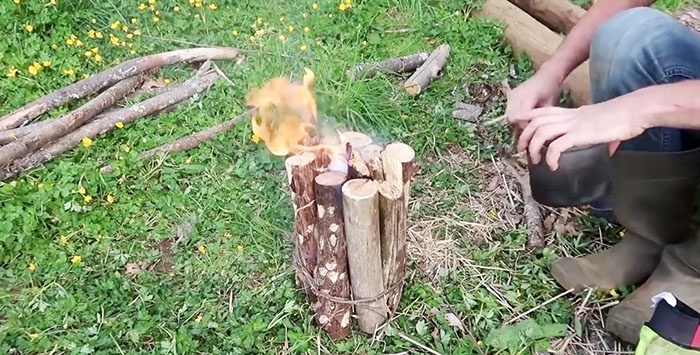
By the way, after cooking, half-burnt logs can be untied, filled with water and used next time.
6. Rocket stove using a chainsaw
We select or cut a log about 50 cm high from the trunk of a suitable tree with a diameter of up to 40 cm.
We cut it in the longitudinal direction, stepping back a little from the center in any direction, 2/3 of the depth. At this point we make a cross cut and cut out part of the log, which we cut into two halves.
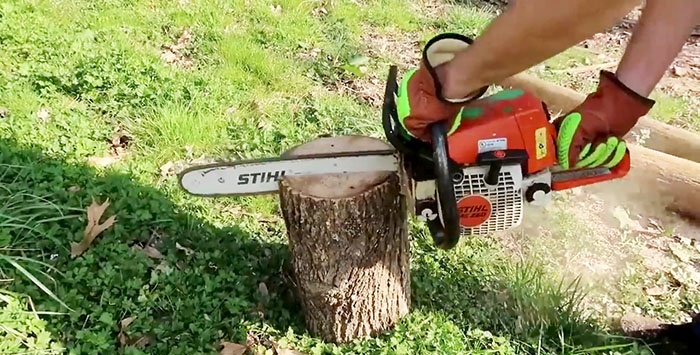
Use a chainsaw to cut off the inner corner of one of the halves. Then we cut out a small “window” in the lower part. We fold the parts of the log along the cut planes.
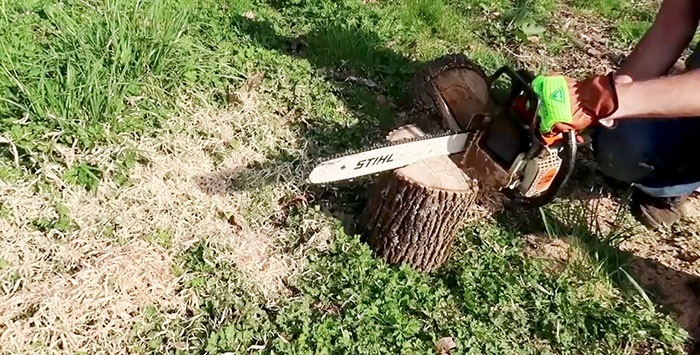
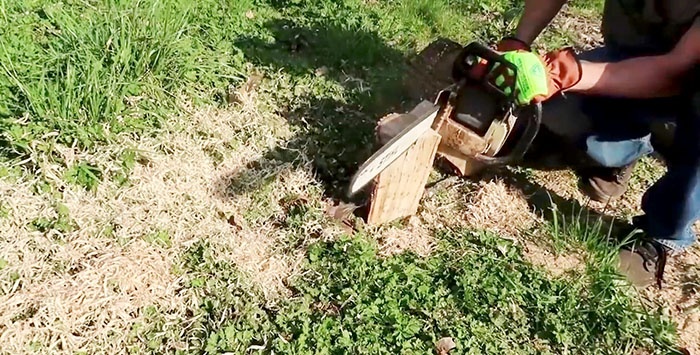
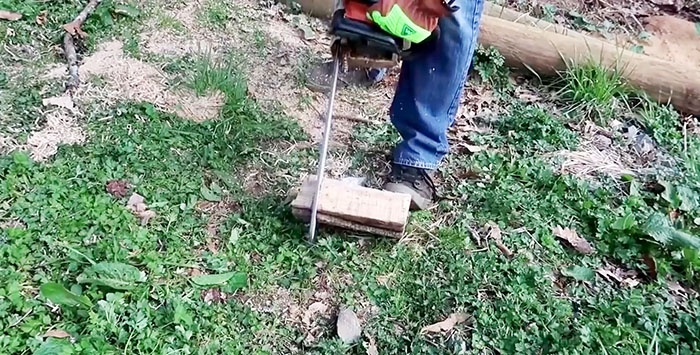
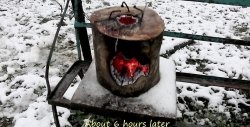
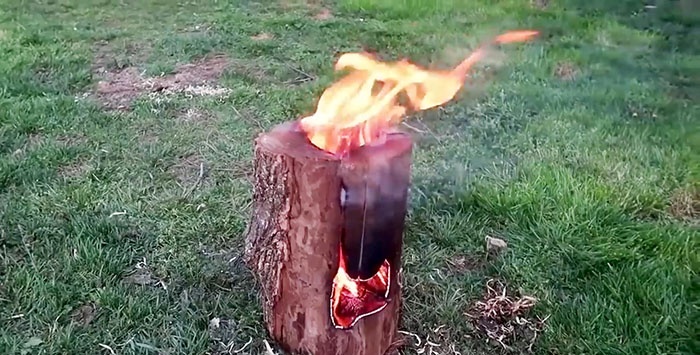
We push the shavings formed when cutting the log into the “window” and set it on fire. After some time, the log begins to burn from the inside. Moreover, fire and hot air rush upward through a vertical channel, and new portions of air necessary for combustion come from the surrounding atmosphere through a “window” at the bottom of the log.
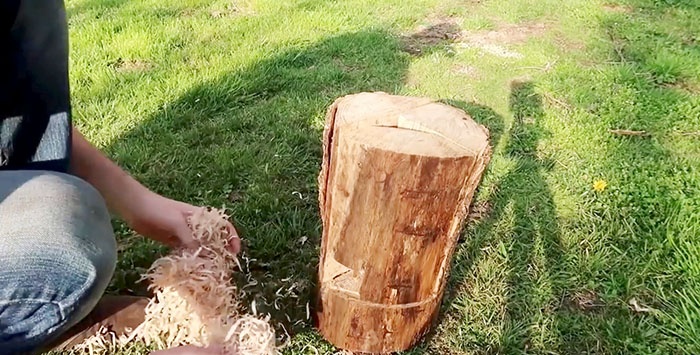
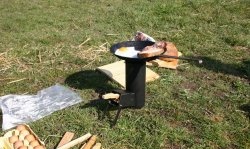
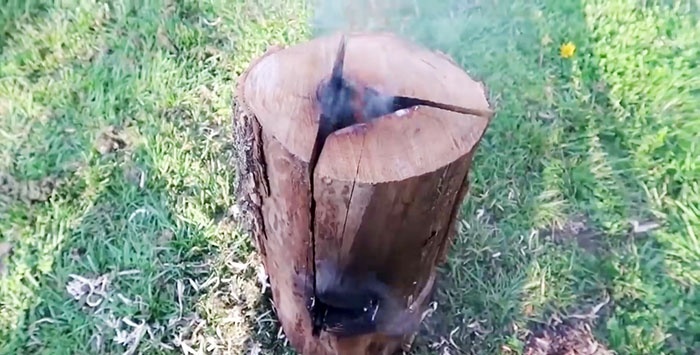
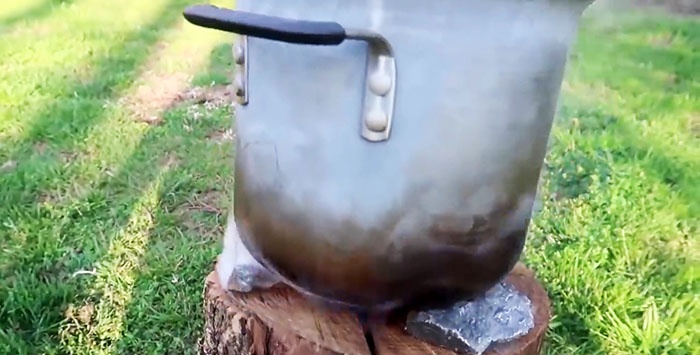
Once the log has burned reliably and steadily, you can place a kettle of water or a cooking pot on it. And in order not to disturb the air exchange inside the log, you need to place three flat stones under the dishes at the end of the log so that there is space for combustion products and smoke to escape.
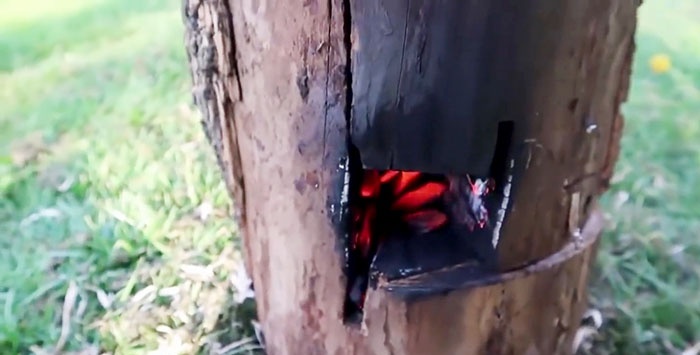
This method is also not afraid of wind and rain when dishes with a wide bottom are placed on top.
7. An all-night fire made from three logs
We will need three logs with a diameter of 20-25 cm and a length of at least one meter. Along each log, using a chainsaw, we make shallow notches in a criss-cross pattern.
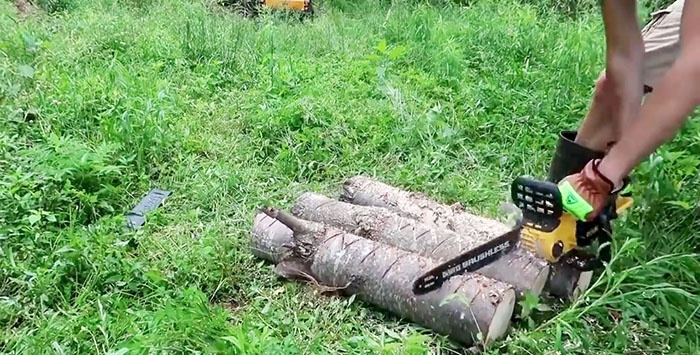
We move two logs on the ground side by side, with the notches facing up. We spread kindling on top of them from small branches, twigs, bark, sawdust and set it on fire.
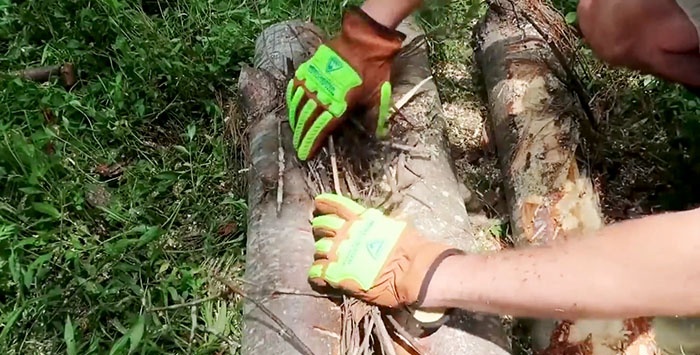
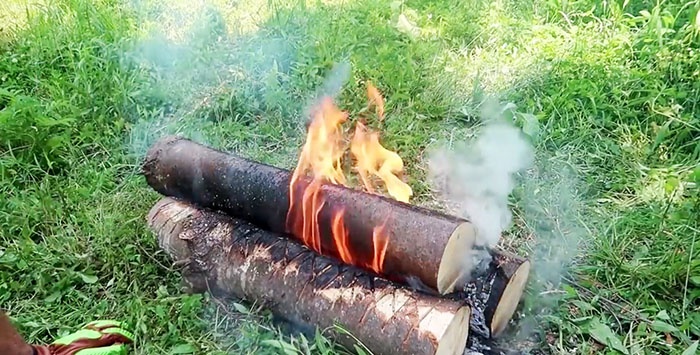
When the kindling flares up and the lower logs begin to burn, place the third log in the middle with the notches down. After a while it also begins to burn.
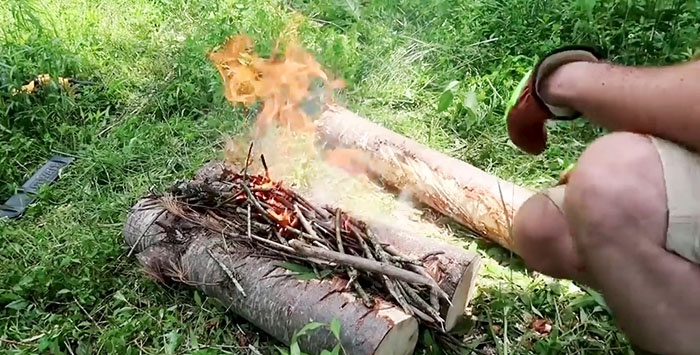
By the time the kindling burns out, part of the logs are burned, and a gap is formed between them, through which air from the outside begins to flow, which supports further combustion.
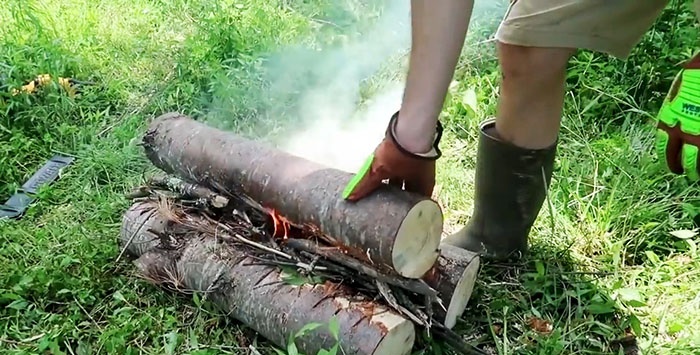
With the help of the upper log, you can maintain and regulate the burning force, moving it in the longitudinal direction in relation to the lower logs, in one direction or another.
Attention! With any method of making a fire, first of all, it is necessary to take comprehensive measures so that this idea does not become a source of forest or steppe fire.
Watch the video
Similar master classes
Particularly interesting
Comments (1)


