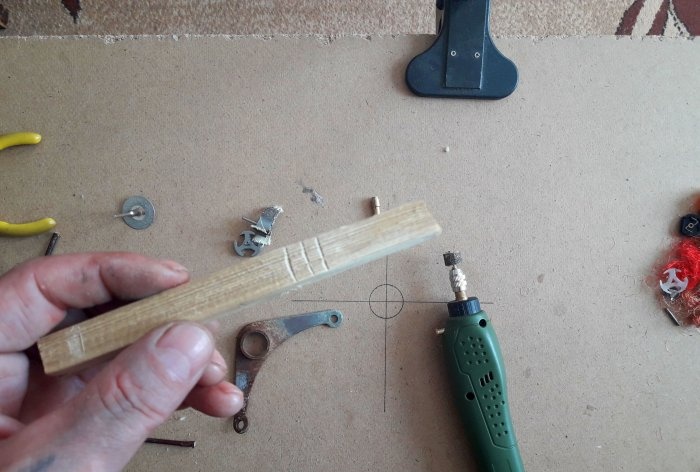
Grinding head made from an armature from an engine
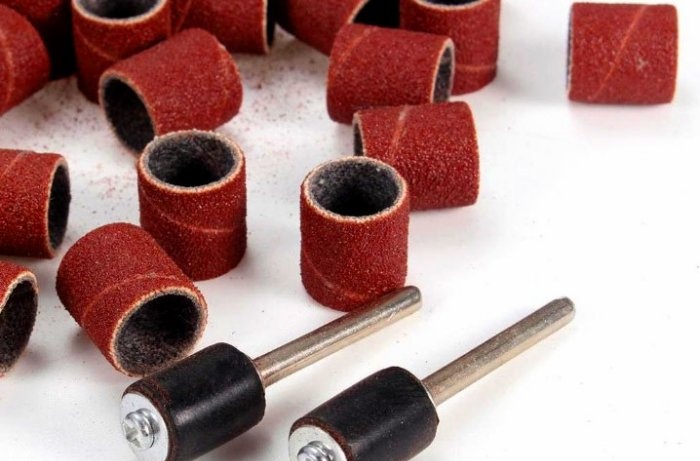
There is a situation when the necessary tool or consumables are missing. Broken, finished - it doesn’t matter. And it’s good if a store where you can find the necessary thing is nearby. In today's master class we will talk about sanding heads with replaceable sandpaper (or cloth). In my case, the grinding heads for the drill were worn out to an extreme degree - not a single grain of sand remained! I haven’t received any new orders from the chain store yet, and I can’t find them in local stores.
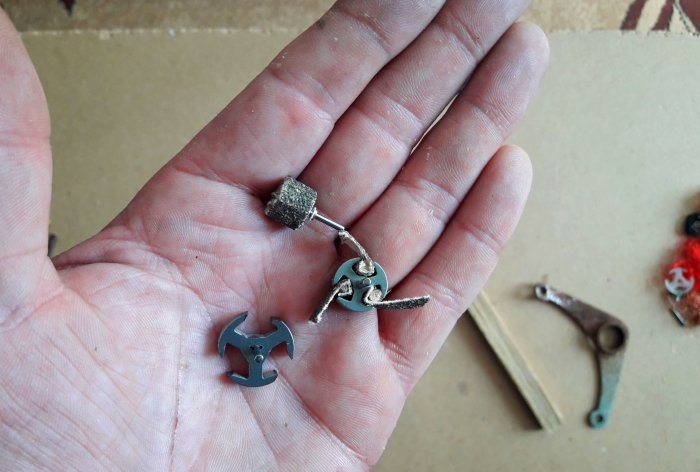
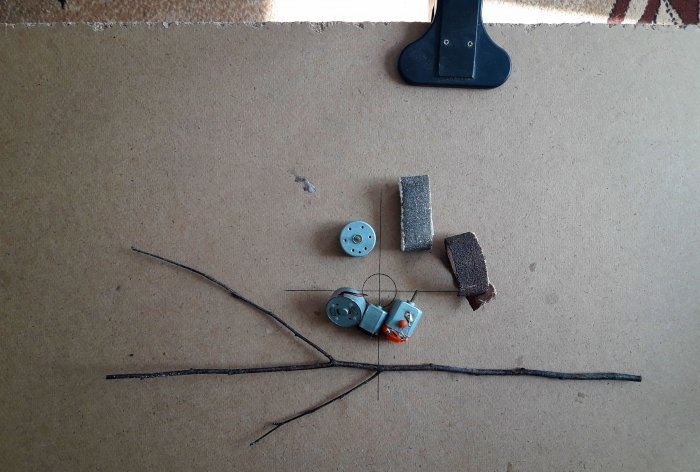
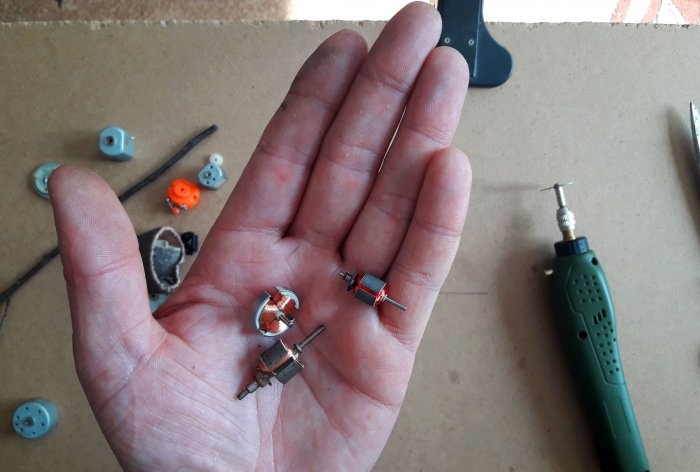
And the work is worth it! You'll have to tinker a little and do the necessary thing yourself. The first thing you should pay attention to in such a situation is a suitable base for the future head. In this case, these are armatures from small, three-volt motors. Surely, everyone in the household has an unnecessary engine, or a broken toy from which the engine can be removed. The anchors from the engines have the ideal balance and weight to create a temporary (or even permanent!) similar tool. Anchors, as everyone knows, come in a wide variety of sizes and thicknesses. I disassembled three different engines.Let's see what we can come up with from this!
You will need:
- Electric motors (having anchors of the size you need).
- Sandpaper or cloth (again, the section you need).
- Any dry branch or stick that will fit into the gaps between the anchor blades.
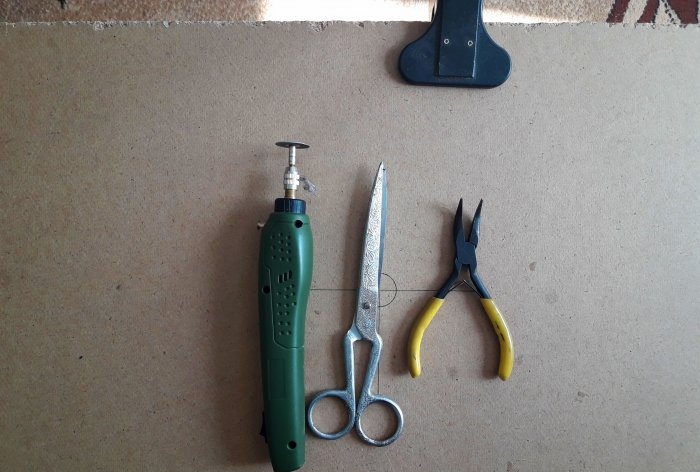
Required tool:
- Scissors.
- Pliers.
- Boring machine with cutting disc.
Manufacturing of grinding heads
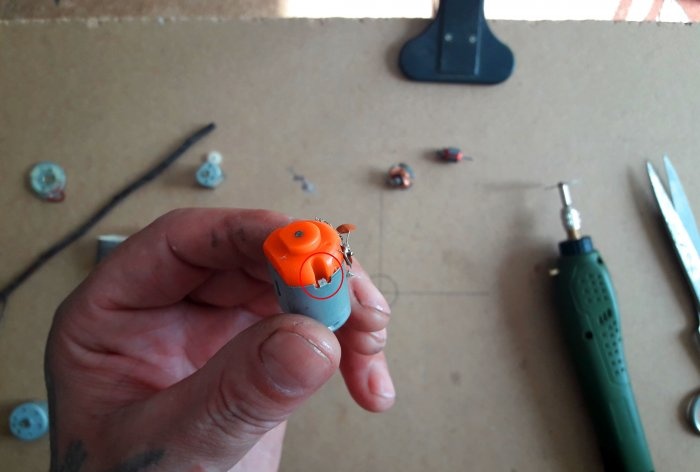
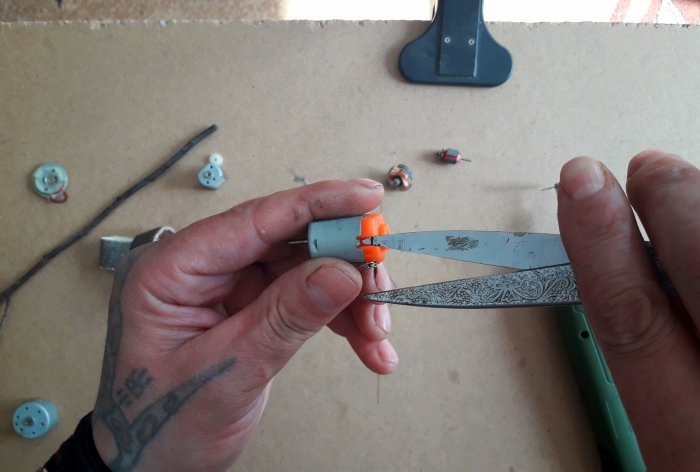
First, let's remove the anchors from the engines. You can divide such an engine into components by bending the brackets on the sides at the bottom of the engine.
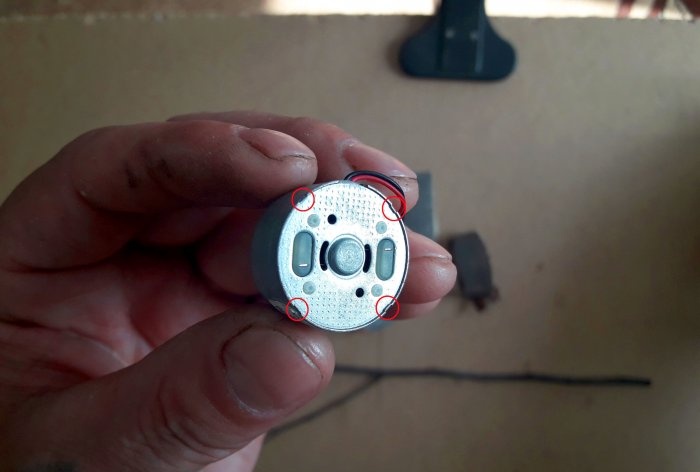
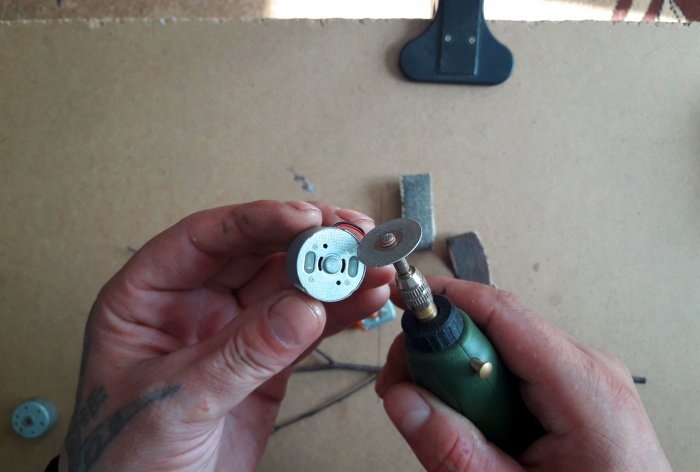
If it is not possible to bend the staples (this happens too!), then we simply cut them off with a drill or a file.
Dismantled. We remove the anchors from the housings.
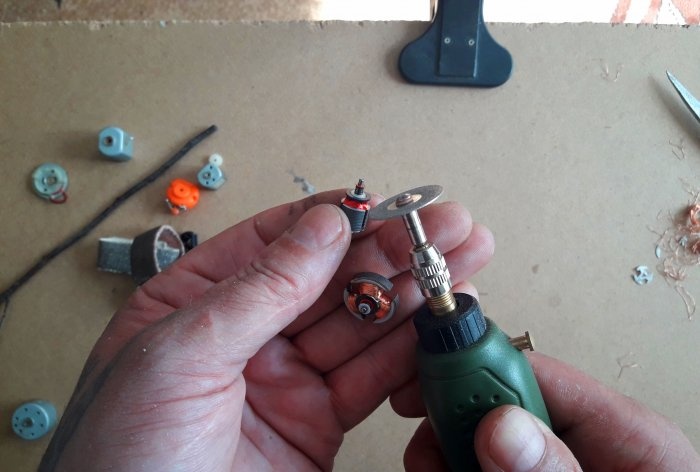
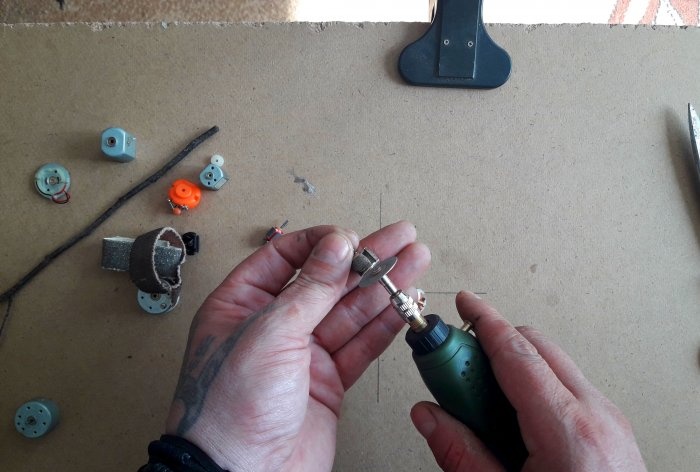
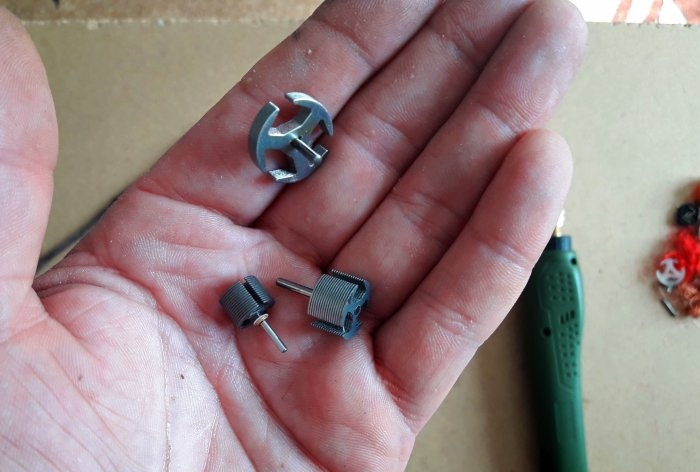
We pick out the copper winding and use a drill to cut off one of the ends of the steel rod, right to the root.
The result was these blanks, that is, the basics:
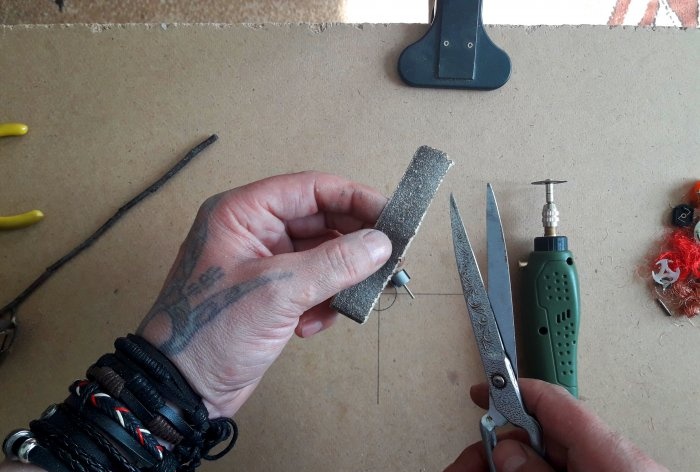
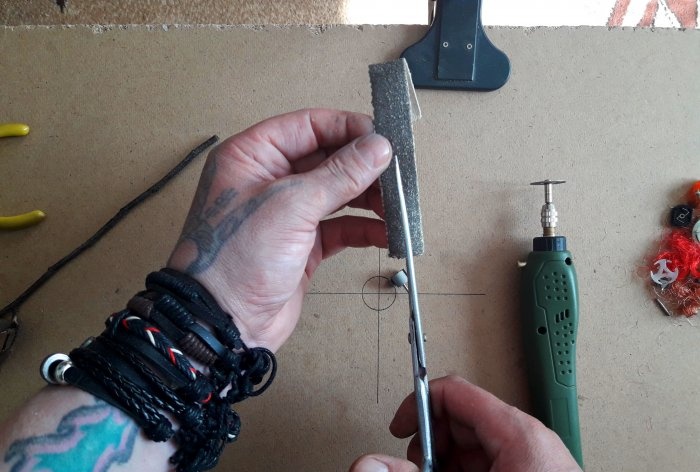
Now we take sandpaper of the required grain size, measure the required width, and cut the tape.
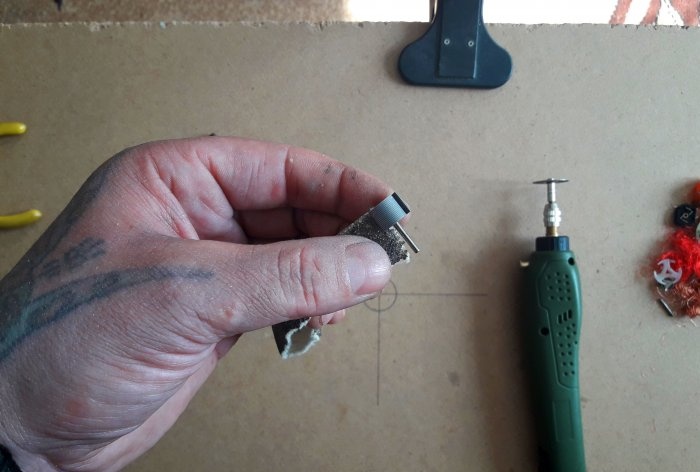
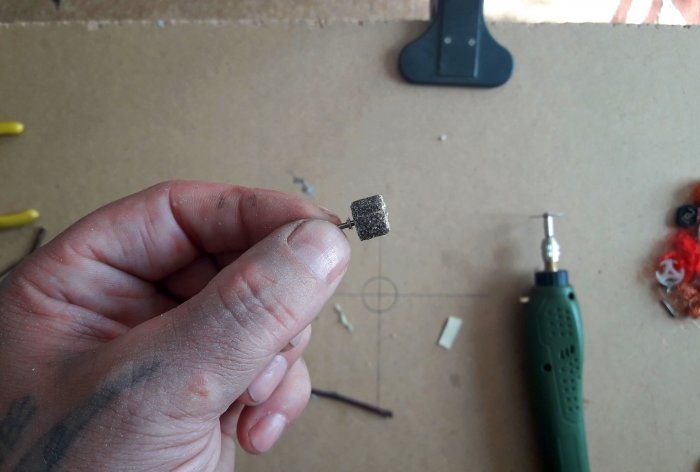
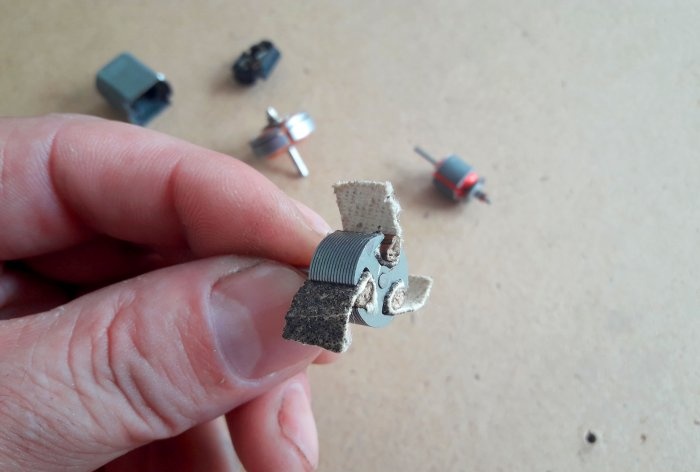
We measure with a tape a full revolution from one armature gap, with a margin of 2-3 mm. We tuck one end into the gap, wrap it around (with the grain facing out, of course!) and tuck the free end of the tape into the same gap as the beginning of the tape. Like this:
The grip, thanks to the sandpaper grains, will be excellent and will not fall out! If the armature has large gaps, then, instead of a solid winding of sandpaper, you can make petals that will be fixed in the gaps using wedges made of sticks.
Such petals will work no worse than a solid winding.
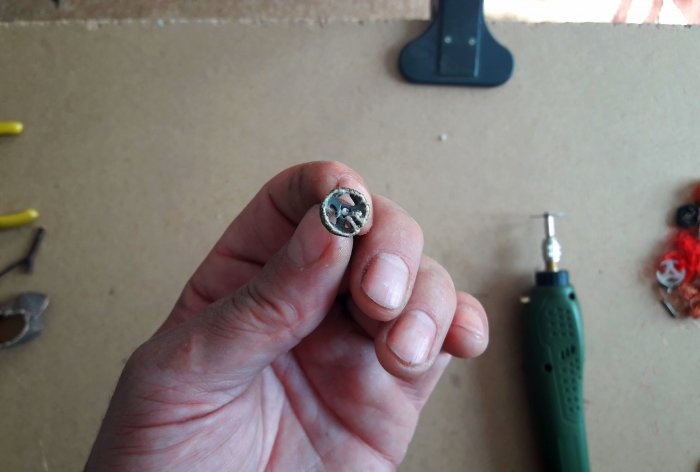
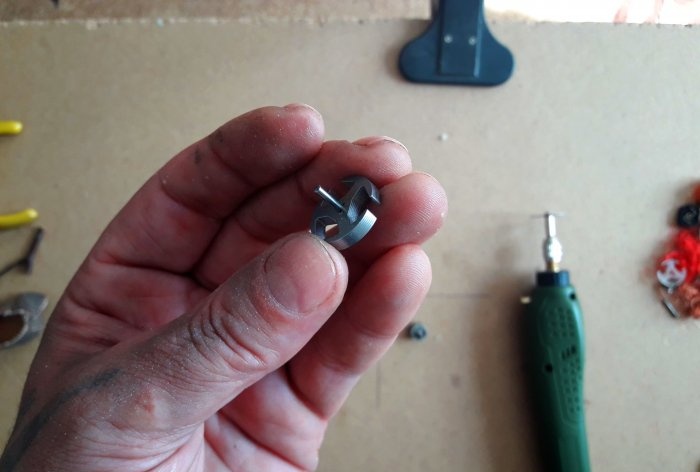
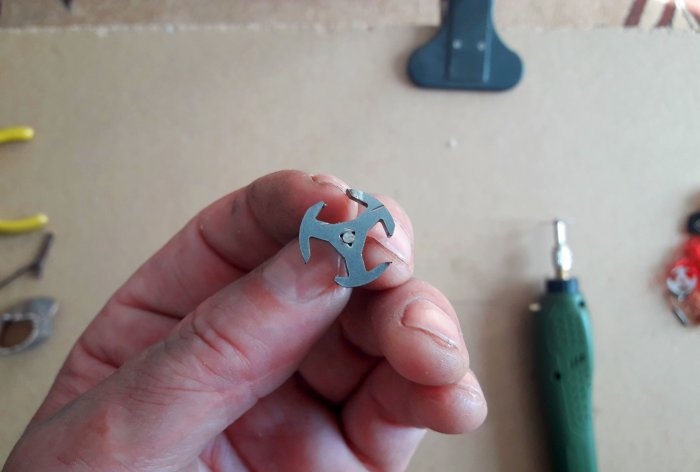
A flat anchor may not make a good head.
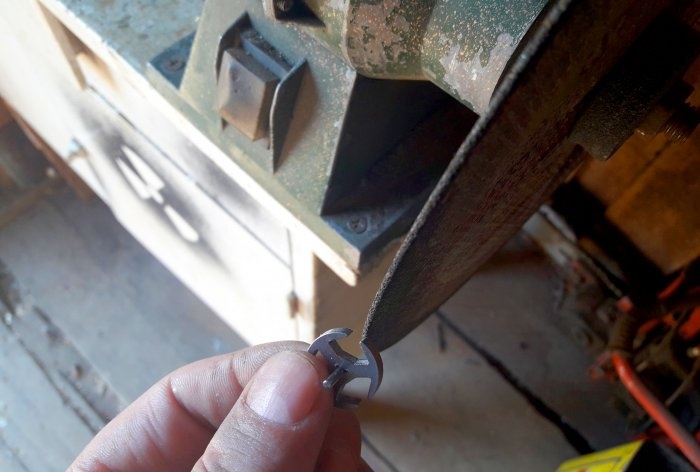
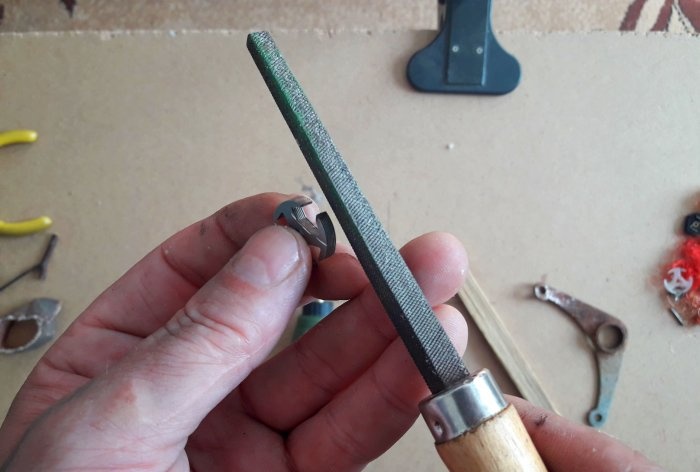
But it will make an excellent cutter for wood carving. You just need to sharpen the ends of the anchor in the direction you need, and, on the contrary, bevel the opposite ends inward. Correct with a file.
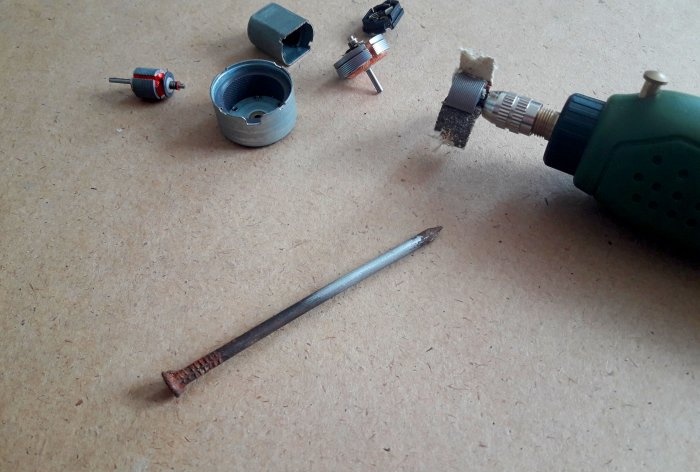
In the same way, you can make grinding heads of any size, even for a large drill. They work no worse than store-bought ones, as can be clearly seen in the video. Rust is removed, metal and wood are polished.
And most importantly, you can always replace the necessary sandpaper yourself, without buying ready-made ones in the store. The flat anchor cutter also performed well. Overall; as an alternative to a failed original - just right!
Watch the video
Similar master classes
2 anchor sanding attachments
How to turn a power tool armature commutator without a lathe
How to turn an electric motor armature into an effective tool
How to make the simplest armature bearing puller
Restoration of electric motor armature commutator plates
How to check the armature of a power tool at home
Particularly interesting
Comments (1)

