How to Restore and Polish an Engine Cover
Over time, the paint on engine parts peels off, the protective coating deteriorates, dirt appears, carbon deposits form and mechanical damage occurs. This not only worsens their appearance, but can disrupt heat transfer and lead to overheating of the motor. What do we need to tidy up the engine cover?
We use the usual sequence of actions in such cases:
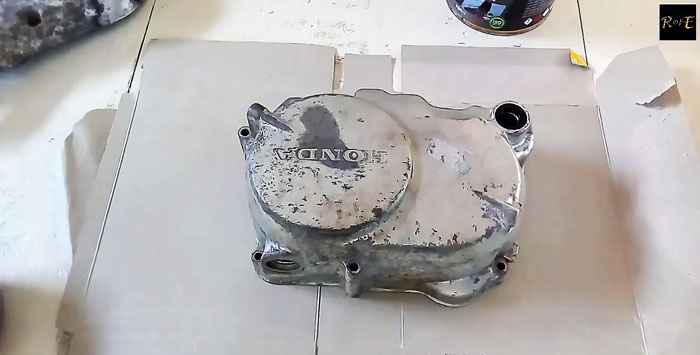
To do this, we will use a product to remove old paint.
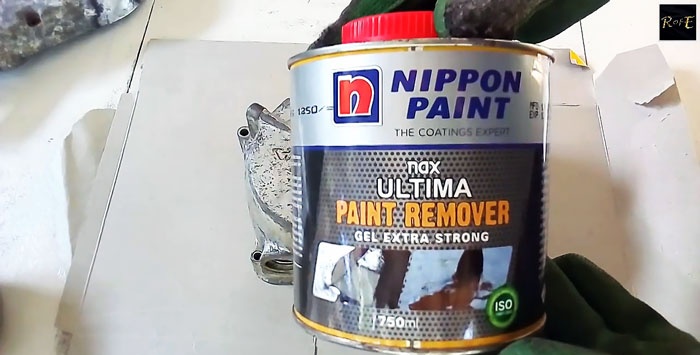
We carefully apply it with a brush to all surfaces, including recesses, corners, transitions and holes.
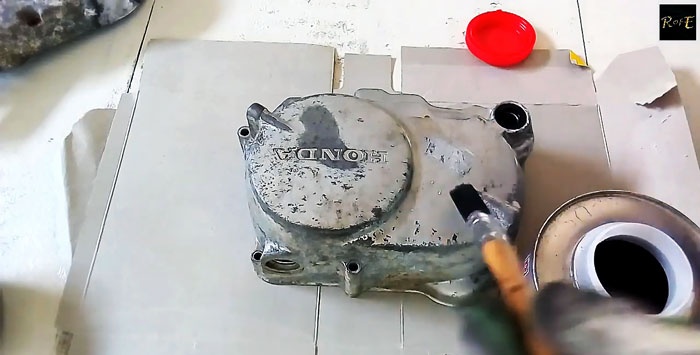
After some time, use a piece of a hacksaw blade to scrape off the softened and exfoliated coatings, including those formed during operation.
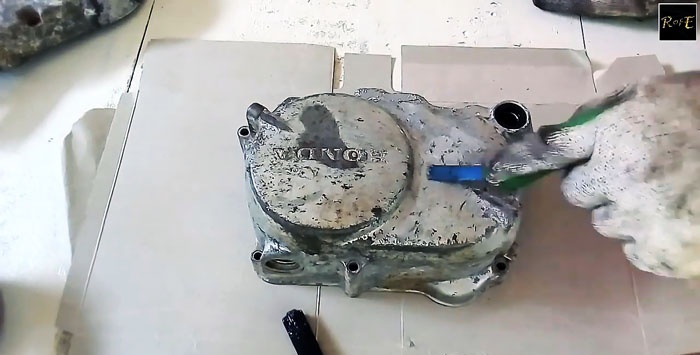
Next, we continue the process of cleaning and removing damage from the surface of the engine cover using waterproof sandpaper, first with a grit of P 220, and then with a grit of P 400, slightly moistening the working side of the sandpaper and the cover with water before starting.
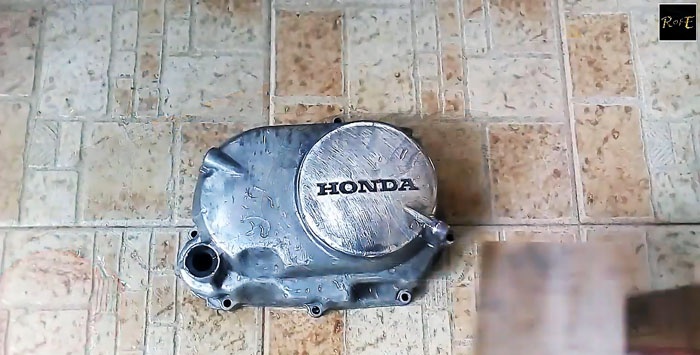
When switching from sandpaper of a larger grit to a smaller one and upon completion of this restoration stage, thoroughly rinse the part with running water.
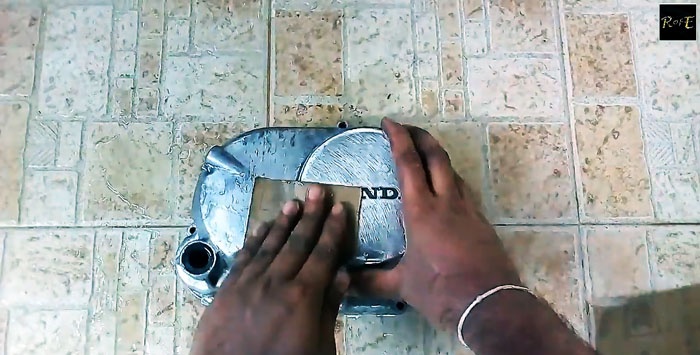
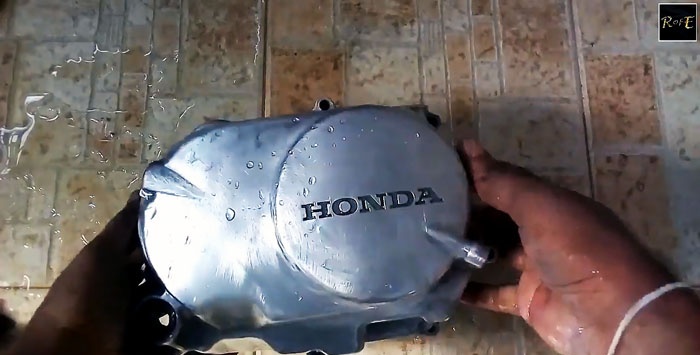
This will remove large particles of abrasive and metal, and create acceptable conditions for processing the engine cover with fine-grained material.
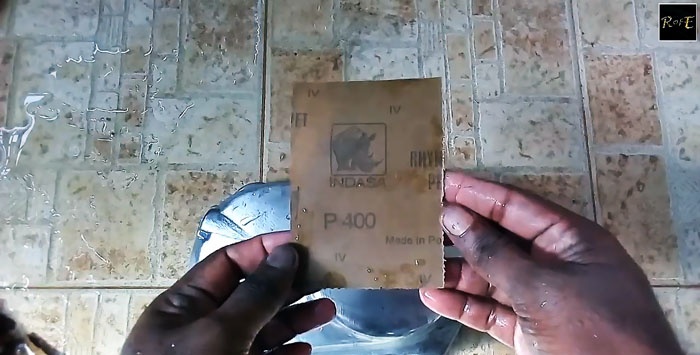
After the previous stage, the part should be clean and free of visible marks, scratches, chips and chips. If this is the case, then you can proceed to the first stage of polishing.
To do this, we will use a polishing paste such as a valve grinding agent.
Squeeze a small amount of paste onto the surface of the part and distribute it to all places, including hard-to-reach ones, using a special device or just with your fingers, not forgetting to wash your hands afterwards with soap or other hand detergent.
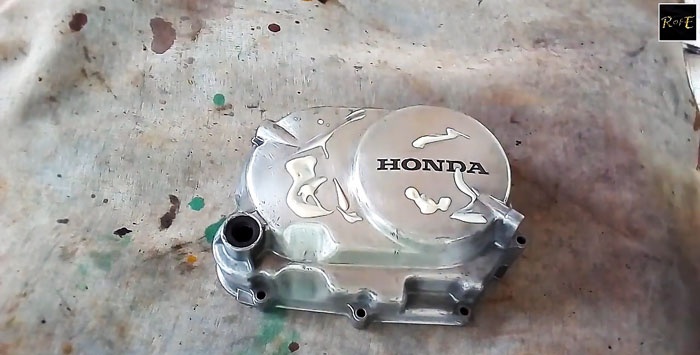
For polishing, we use a foam circle mounted on the spindle of an angle grinder. You shouldn’t put too much pressure on the tool, but the speed should be high.
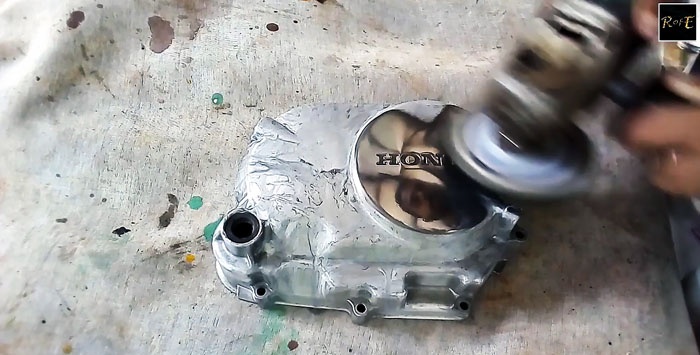
After finishing the first polishing, carefully wipe the part with a soft paper or cloth napkin.
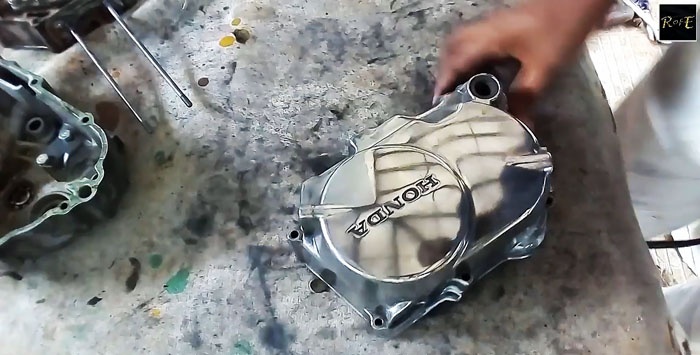
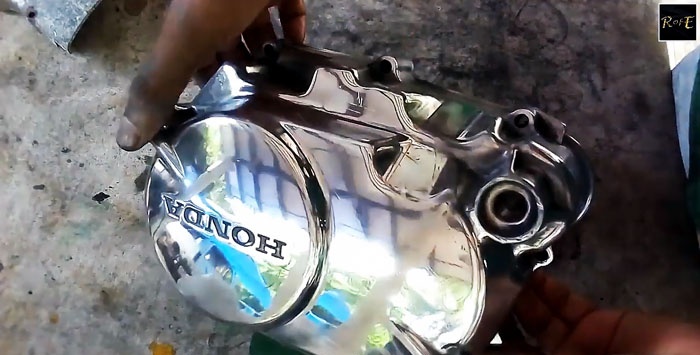
Again, apply a small amount of polishing paste to the engine cover and distribute it over the entire surface and repeat polishing, as in the first case, completing the process by wiping the part with a soft cloth.
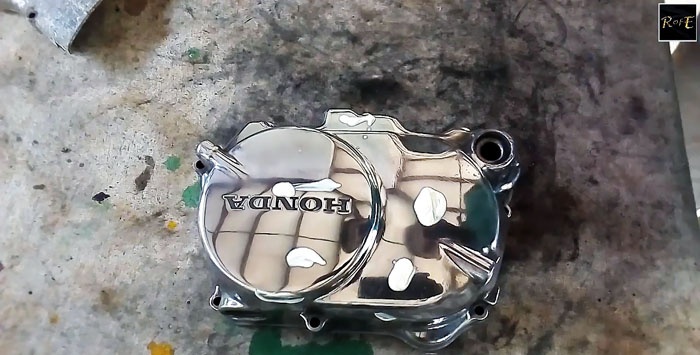
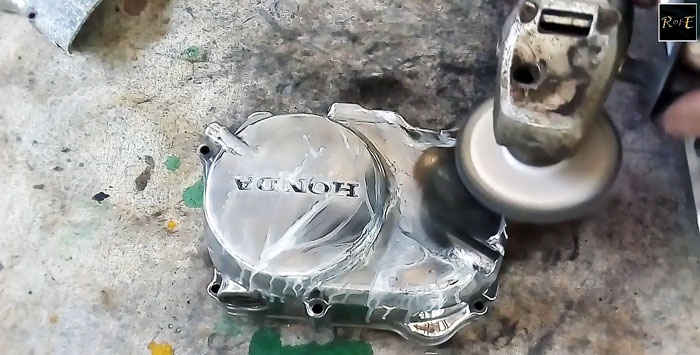
All that remains is to clean the engine brand name symbols embossed on the cover using a toothbrush and any product such as white spirit, solvent 646 or just kerosene.
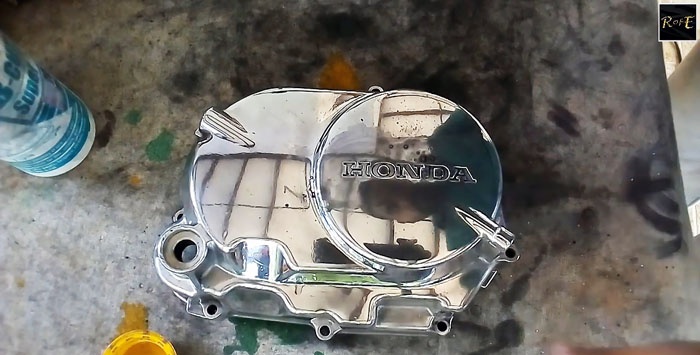
After completely cleaning the brand signs from old paint, debris and other contaminants, using a suitable rod we distribute black nitro enamel over all signs. If necessary, carefully remove excess paint and let it dry.
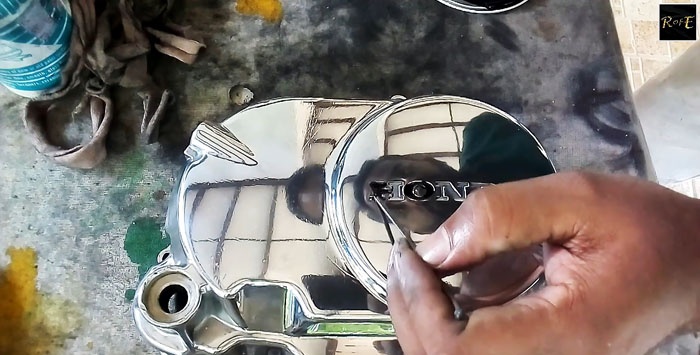
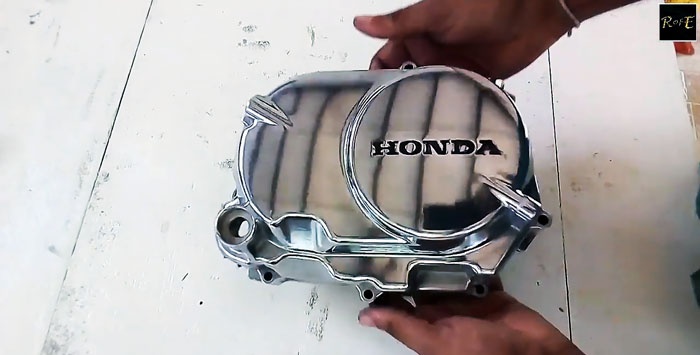
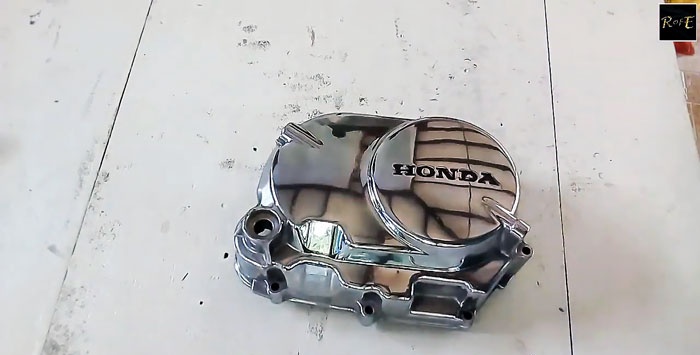
After comprehensive cleaning, restoration and polishing, the engine cover regained its original appearance.
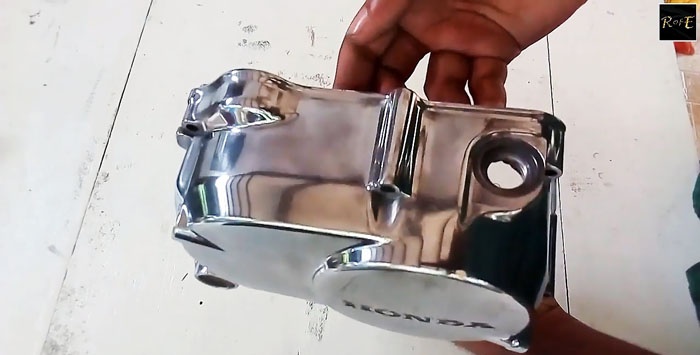


Required:
- modern effective paint remover;
- medium sized brush;
- a piece of blade from a hacksaw for metal;
- polishing paste, for example, for grinding valves;
- source of running water;
- grinder and lapping wheel made of foam;
- soft paper or fabric napkins;
- toothbrush or small brush;
- solvent (white spirit, 646, kerosene, etc.);
- black nitro paint and means for its application.
Engine cover polishing process
We use the usual sequence of actions in such cases:
- remove all excess (paint, protective coating, layers, etc.);
- we remove mechanical damage (scratches, risks, chips, etc.);
- We carry out the polishing process.
Removing paint, layers and restoring surfaces

To do this, we will use a product to remove old paint.

We carefully apply it with a brush to all surfaces, including recesses, corners, transitions and holes.

After some time, use a piece of a hacksaw blade to scrape off the softened and exfoliated coatings, including those formed during operation.

Next, we continue the process of cleaning and removing damage from the surface of the engine cover using waterproof sandpaper, first with a grit of P 220, and then with a grit of P 400, slightly moistening the working side of the sandpaper and the cover with water before starting.

When switching from sandpaper of a larger grit to a smaller one and upon completion of this restoration stage, thoroughly rinse the part with running water.


This will remove large particles of abrasive and metal, and create acceptable conditions for processing the engine cover with fine-grained material.

Polishing the engine cover
After the previous stage, the part should be clean and free of visible marks, scratches, chips and chips. If this is the case, then you can proceed to the first stage of polishing.
To do this, we will use a polishing paste such as a valve grinding agent.
Squeeze a small amount of paste onto the surface of the part and distribute it to all places, including hard-to-reach ones, using a special device or just with your fingers, not forgetting to wash your hands afterwards with soap or other hand detergent.

For polishing, we use a foam circle mounted on the spindle of an angle grinder. You shouldn’t put too much pressure on the tool, but the speed should be high.

After finishing the first polishing, carefully wipe the part with a soft paper or cloth napkin.


Again, apply a small amount of polishing paste to the engine cover and distribute it over the entire surface and repeat polishing, as in the first case, completing the process by wiping the part with a soft cloth.


All that remains is to clean the engine brand name symbols embossed on the cover using a toothbrush and any product such as white spirit, solvent 646 or just kerosene.

After completely cleaning the brand signs from old paint, debris and other contaminants, using a suitable rod we distribute black nitro enamel over all signs. If necessary, carefully remove excess paint and let it dry.


After comprehensive cleaning, restoration and polishing, the engine cover regained its original appearance.


Watch the video
Similar master classes
Particularly interesting
Comments (1)


