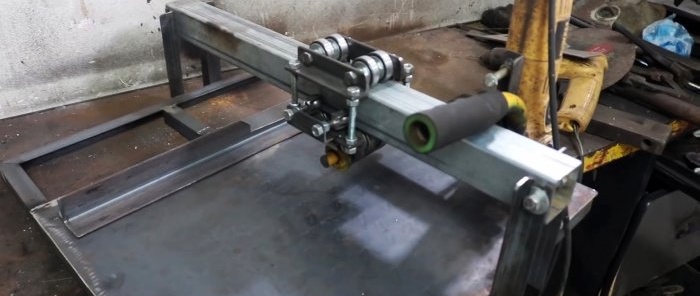
Do-it-yourself miter saw based on a grinder with a broach
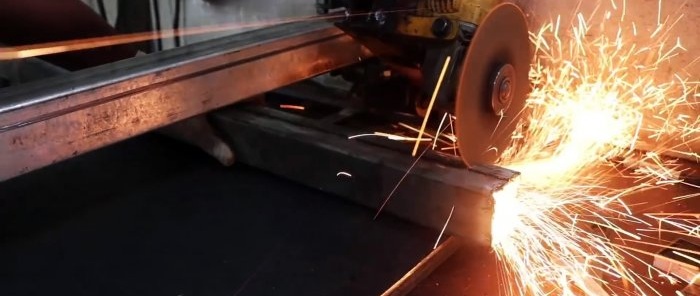
For precise cutting of sheet materials, you can make a miter saw with a broach driven by a grinder. It will also allow you to cut long rolled metal, and when installing the appropriate cutting disc, it will be able to work with lumber and tiles.
Basic materials:
- profile pipes 20x20 mm and 50x50 mm;
- corner 25x25 mm;
- studs, nuts and washers M8;
- bearings – 8 pcs;
- Sheet steel;
- strip 40 mm.
Machine manufacturing process
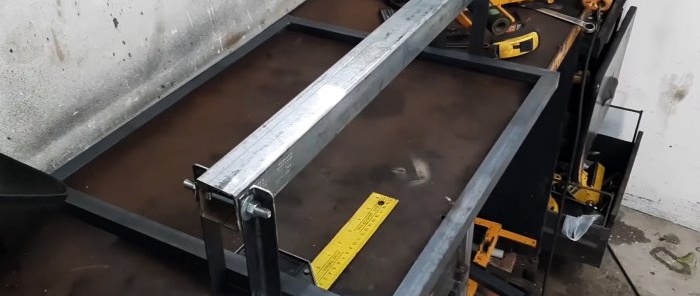
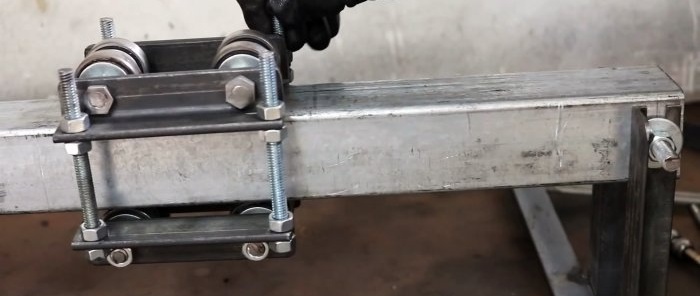
A guide for the machine carriage is made from a profile pipe 600-700 mm long. A through hole is drilled along its edges with an 8 mm drill. Studs are inserted into them and opened from the inside with nuts. Then 4 corner posts are clamped onto the studs.
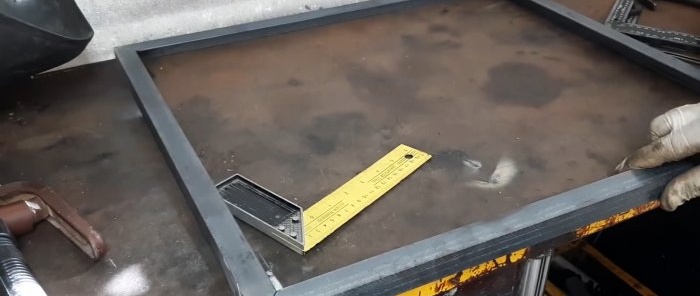
From the same corner, the frame of the bed is welded to the size of the guide. Then the racks are welded or screwed to it.
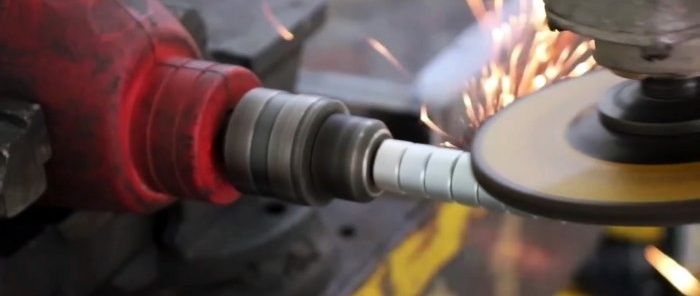
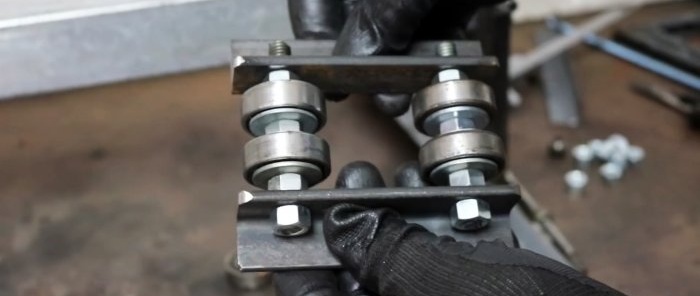
To make the carriage, it is necessary to grind 8 nuts to the size of the inner race of the prepared bearings.
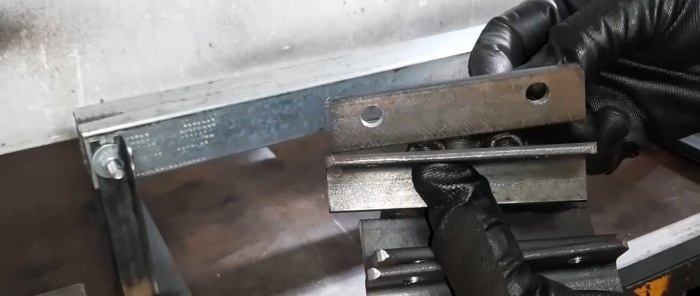
Next, the carriage is assembled from two halves. Each half consists of a pair of corners 100-150 mm long, drilled along the edges.
Studs are inserted into the holes in one corner, and regular and ground nuts with washers between them are screwed onto them, alternating.
On the ground ones, bearings are put on, 2 per pin, after which the second corner is screwed on.
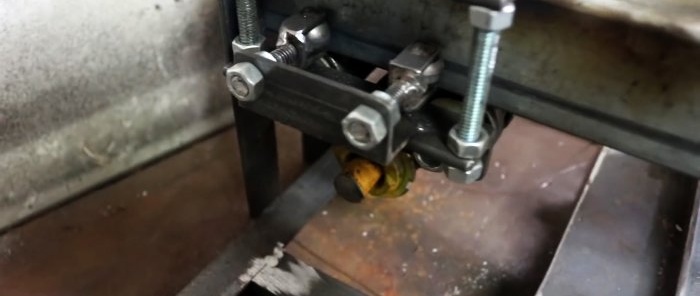
The halves of the carriage are connected to each other with pins and installed on the guide. To prevent the carriage from moving to the side, you need to make 2 side stops on each side. They are rollers made from drilled balls from bearings. Each ball is installed on an axle made of a rod, and a strip fork is welded to it. The forks are welded onto studs, which must be screwed to the corners welded to the side of the carriage.
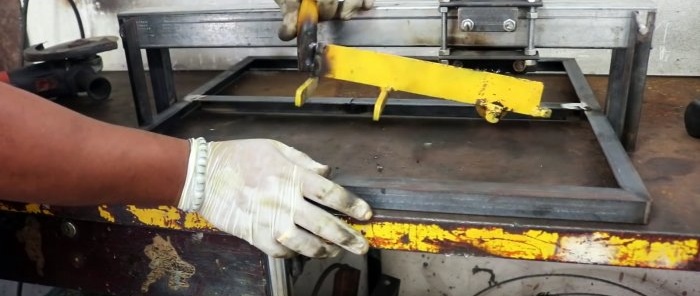
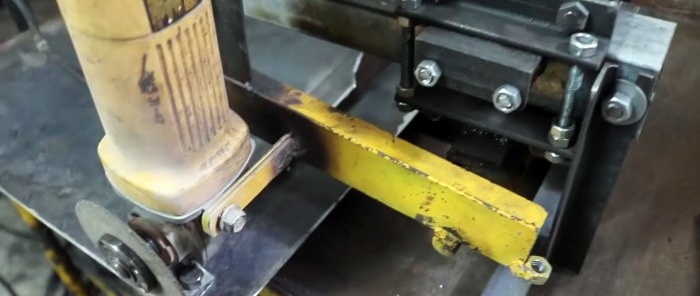
A folding mechanism sleeve with a pressed-in bearing is welded to the bottom of the carriage. A shaft is inserted into it, to which a strip with a handle and eyes is welded for installing the grinder through the standard holes for the handles. For greater rigidity, you need to weld a piece of pipe vertically to the mount so that it rests on the body of the angle grinder with a bolt.
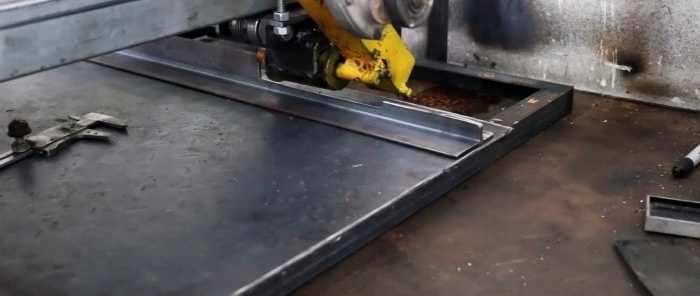
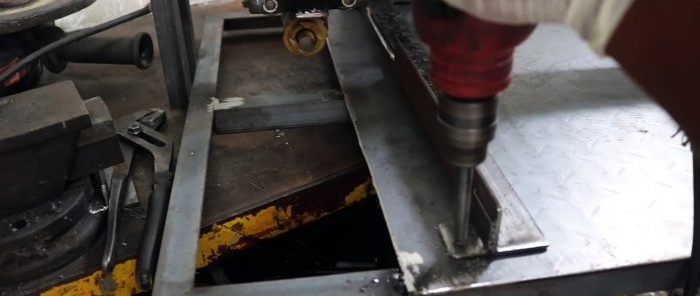
Next, a steel sheet is welded onto the bed frame. A corner is screwed to it perpendicular to the cutting disc of the grinder to support the cut pieces. The tool is ready to use. In the future, if necessary, it will be possible to install an additional removable stop at 45 degrees.
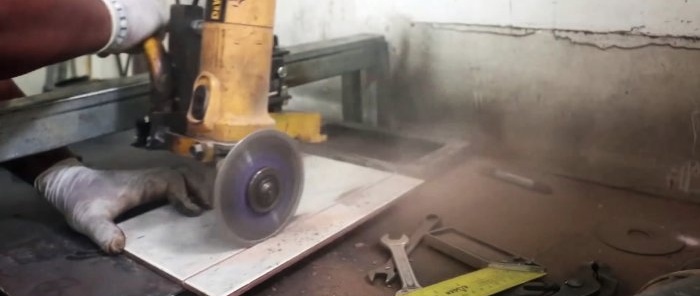
You can work with both metal and tiles, and even wood. Everything will depend on what kind of disk you install on the grinder.
Watch the video
Similar master classes
Making a long cutting stand for an angle grinder
A very simple drilling machine made from the most affordable materials
How to make a cross-cutting machine from an old bicycle and an angle grinder
This grinder machine cleans rusty pipes in no time
Fast metal shears driven by an electric drill
Do-it-yourself pipe bender - simple and almost free
Particularly interesting
Comments (0)

