How to replace a worn chuck with a new one on a drill
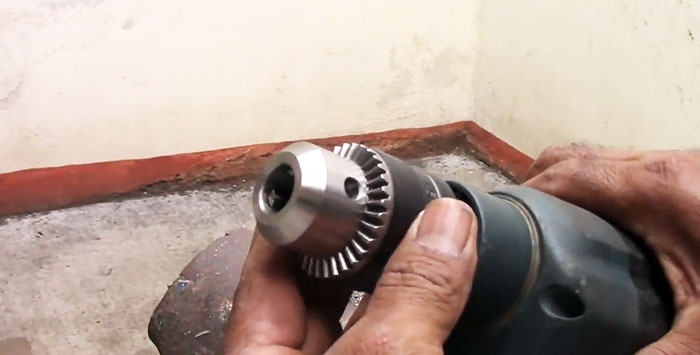
Neither a drill, nor a hammer drill, nor a screwdriver can work without a chuck. Moreover, this node is very busy. Each time you change the tool, it must be unscrewed and tightened again. It transmits torque in forward and reverse directions, and also absorbs all longitudinal loads from the interaction of the tool with the workpiece. Therefore, it is not surprising that the drill chuck can wear out and stop performing its functions.
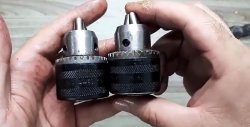
Having decided to replace an unusable clamping chuck, you need to purchase a new, but necessarily similar one, paying special attention to the type of thread - it can be metric (Russian-made) or inch (foreign-made).
How to remove an old cartridge
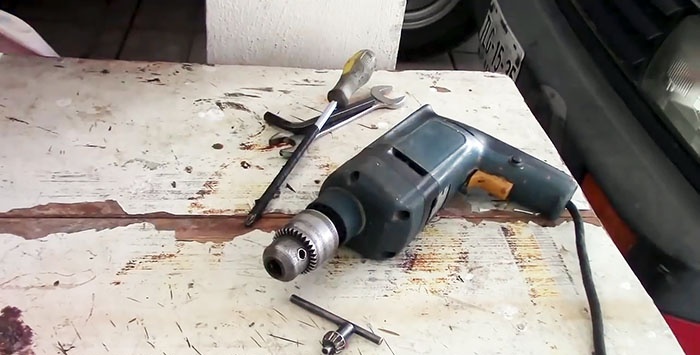
Typically, chucks mounted on a spindle using a thread are additionally secured with a screw with a left-hand thread for reliability. For this reason, the cartridge must be removed by unscrewing this screw. Before turning it out, the path to it should be cleared.To do this, the chuck jaws must be moved as deep as possible.
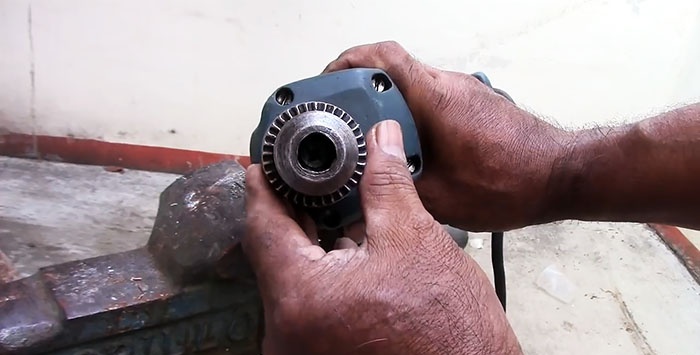
If you now look into the cartridge, you can see a screw head in the center of the bottom for a Phillips or torx screwdriver. To prevent this screw from coming loose, it is made with a left-handed thread. This means that you should unscrew it by rotating the screwdriver to the right, after first clamping the assembly in a bench vice.
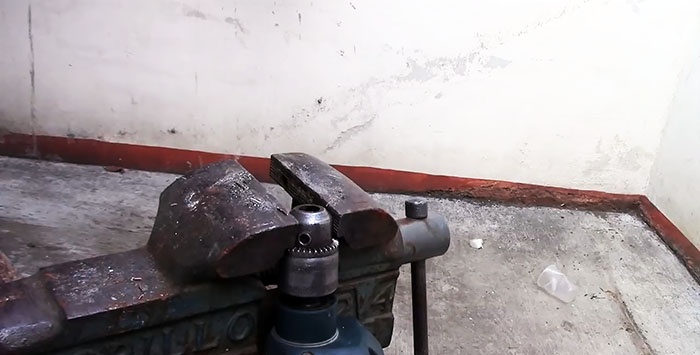
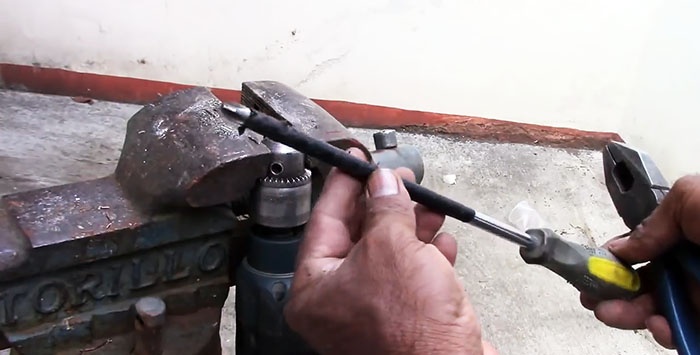
It is possible that the screw slots have become clogged over the years of use and in order for them to grip the broken screwdriver while rotating it, you should at the same time lightly tap it with pliers or a hammer until you feel a catch.
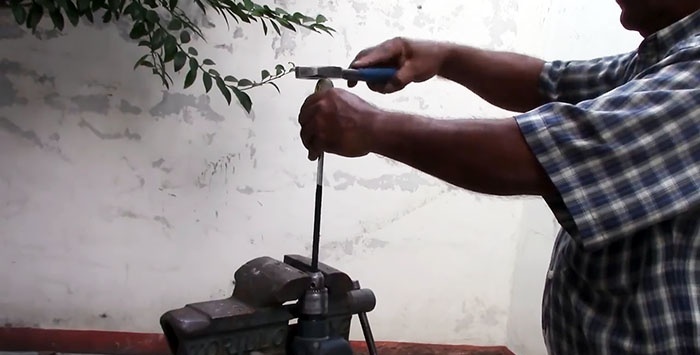
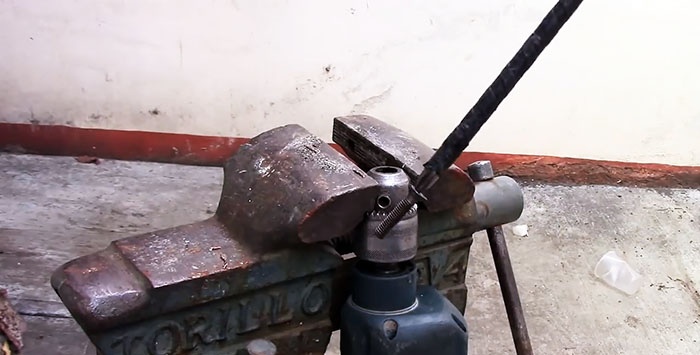
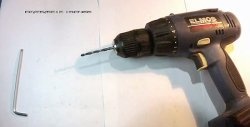
After removing the left-hand threaded screw, insert a hex key into the chuck and tighten it.
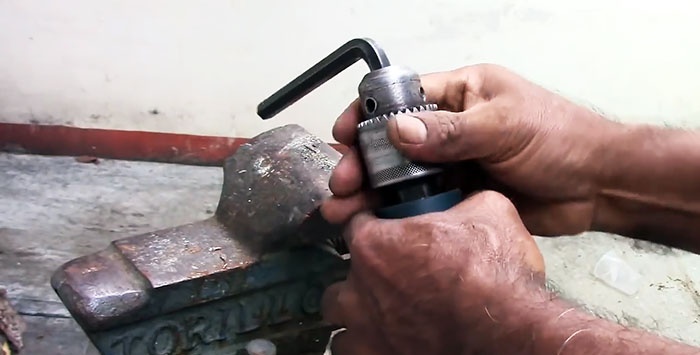
We clamp the free side of the hexagon in the jaws of the vice and, using a suitable open-end wrench, tear off the nut on the drill, which secures the chuck to the tool spindle.
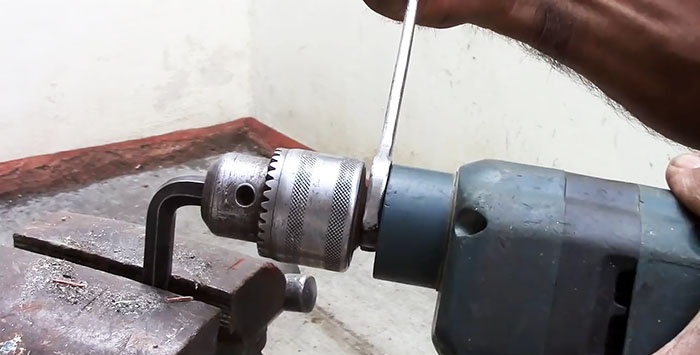
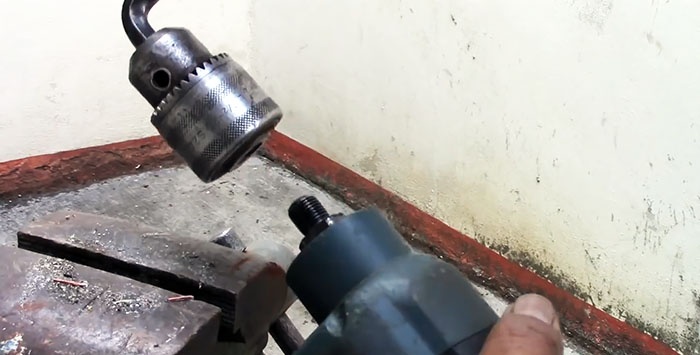
After this, you can release the L-shaped hexagon from the vice and by rotating it to the left, completely unscrew the clamping unit from the spindle shaft.
How to install a new cartridge
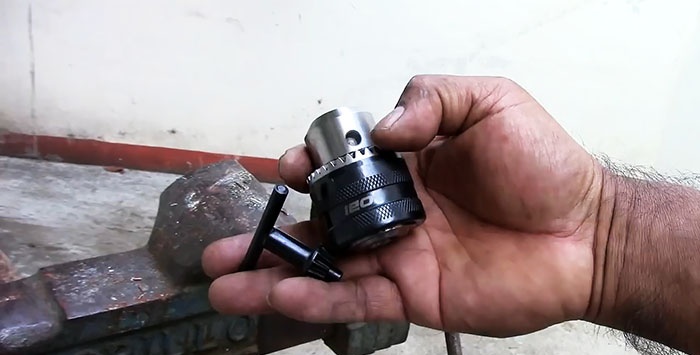
We twist the new chuck onto the threads of the drill spindle using our hands, rotating to the right, until its bottom rests against the clamping nut.
We fix the hexagon in it and clamp its free end in a vice. Then, using an open-end wrench, tighten the clamping nut to the right until it stops and remove the hex key from the chuck.
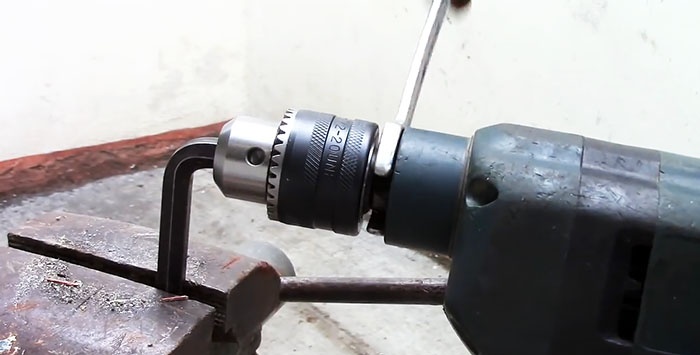
Now all that remains is to screw a screw with a left-hand thread into the hole in the center of the bottom, using a screwdriver with the appropriate bit for this. The chuck must first be clamped in a vice, and the jaws must be moved inward as much as possible.
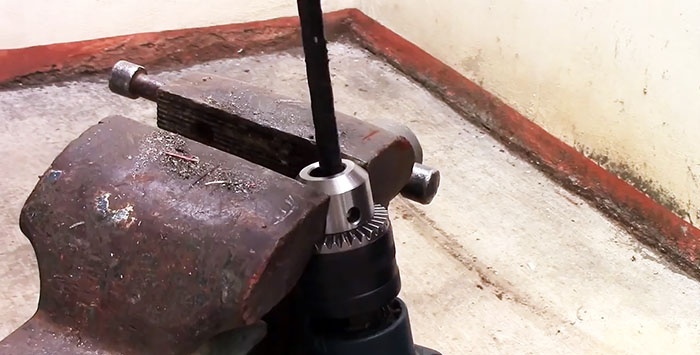
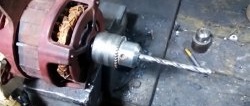
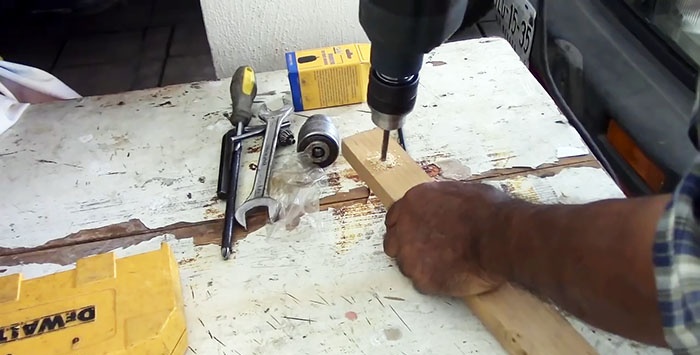
In order to make sure that the chuck has been replaced correctly, we check that it sits firmly on the tool and that the drill is simply and firmly secured.Test drilling showed that the tool works like new. This means that it is completely in order and can work for its intended purpose.
Also read the article on how to disassemble and lubricate a drill chuck - https://home.washerhouse.com/en/5304-kak-razobrat-i-smazat-sverlilnyj-patron.html
Watch the video
Similar master classes
Particularly interesting
Comments (1)

