How to disassemble and lubricate a drill chuck
A conventional turnkey jaw chuck on drills and screwdrivers often begins to jam after prolonged use. It becomes more difficult to tighten and release the drill, which is caused by corrosion of the internal clamping mechanism and its subsequent deformation. You can protect against this or even restore life to an old cartridge by lubricating it from the inside.
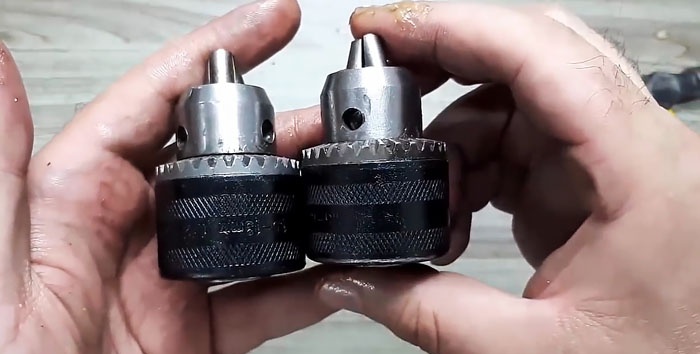
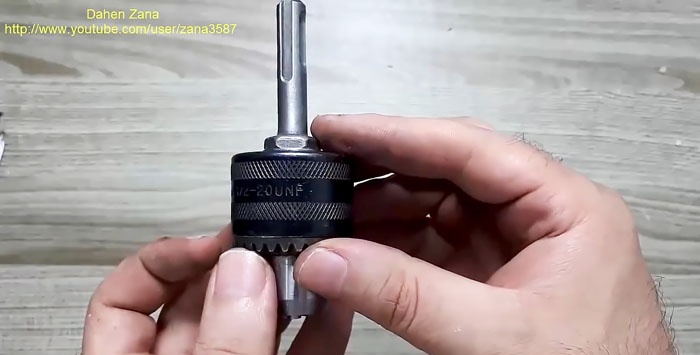
First you need to remove the chuck from the drill or drill press. His cams are spread apart, after which a Phillips screwdriver is inserted between them.
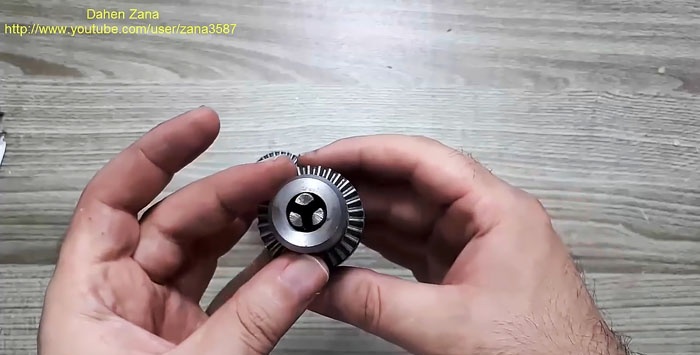
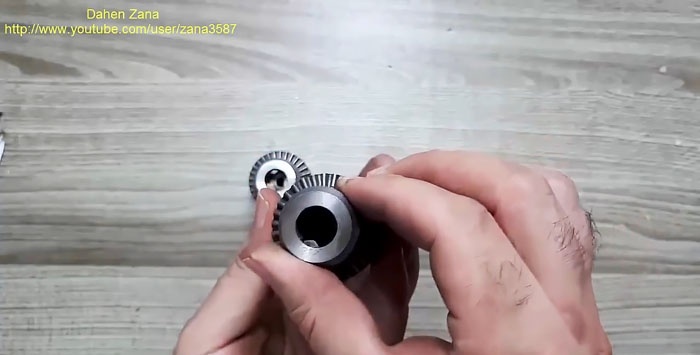
The cartridge is held in place by a screw with a left-hand thread. To remove it, you need to rotate the tool clockwise. Sometimes there are screws with torx slots, so you will need a corresponding screwdriver.
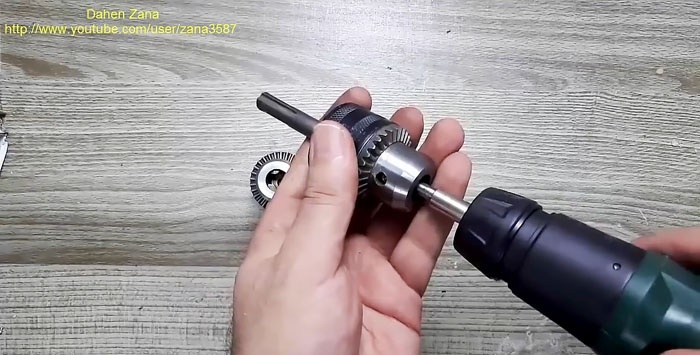
After removing the screw, you need to unscrew the chuck itself from the drill shaft. This is done counterclockwise. If the drill has been used for a long time, then twisting it by hand is not so easy. You will have to fix the shaft. Often the chuck has a chamfer for an open-end wrench, which will facilitate the removal process.If it is not there, then it is better to rip it off by clamping the cartridge with a pipe wrench.
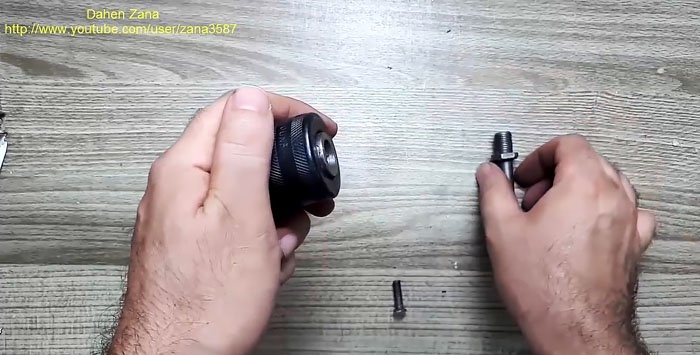
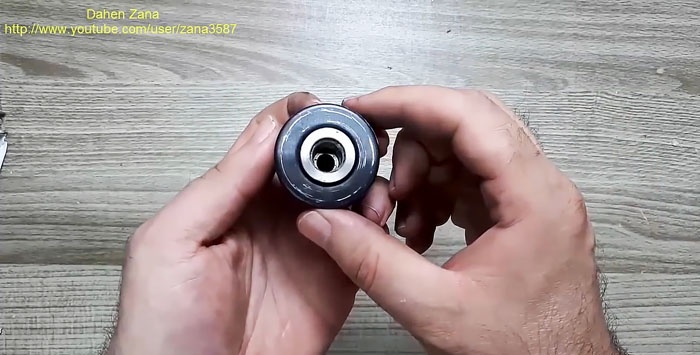
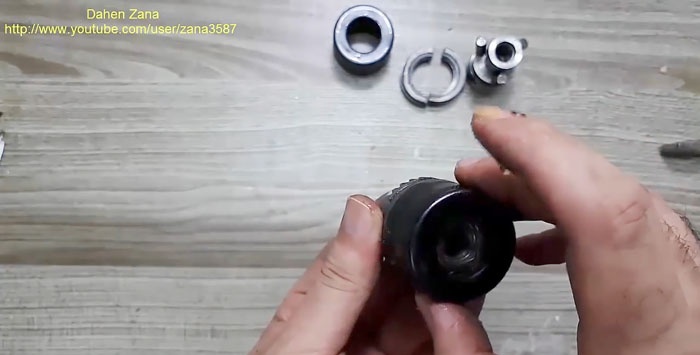
After removing the cartridge, you need to turn it with your cams down and hit it in the center of the back with a small hammer. This is done by weight. You need to squeeze the outer clip of the cartridge with your hand and strike accurately with the striker. It will not be possible to rest it from below, since the clip does not have a protruding end. If the insides of the cartridge are rusty and won't come out, you should first use a penetrating lubricant like WD-40.
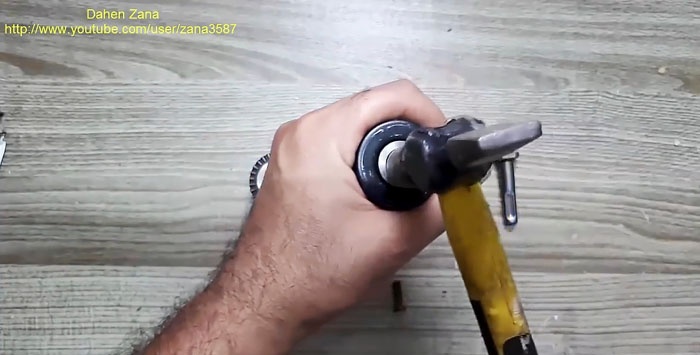
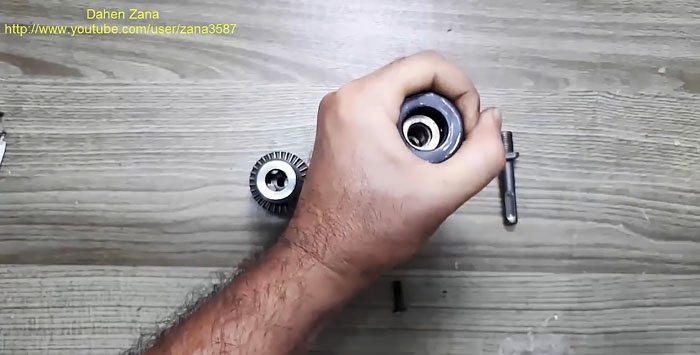
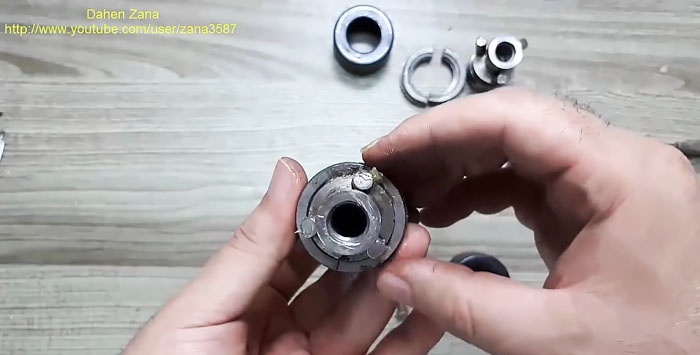
As a result, a clamping mechanism consisting of a base, 3 removable cams and a nut cut in half with slots for a special key should come out of the holder.
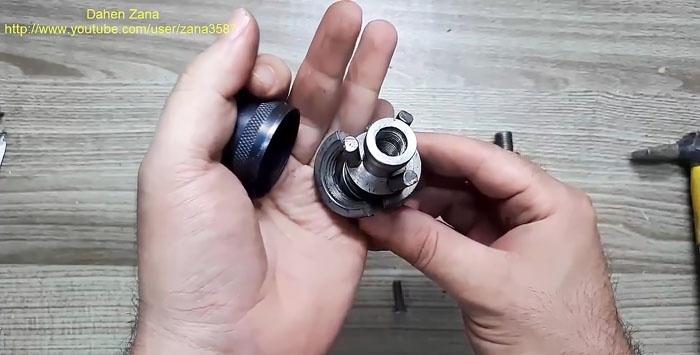
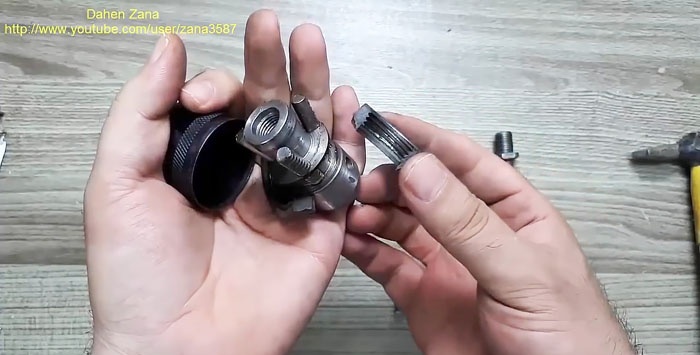
For ease of lubrication, the two-piece nut is set aside.
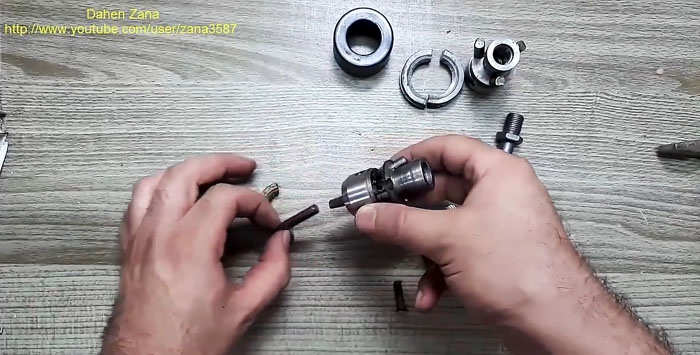
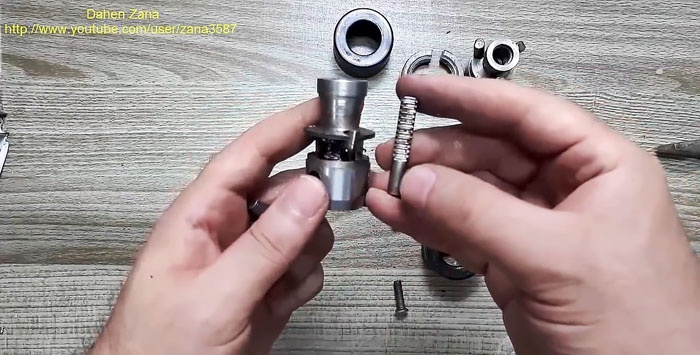
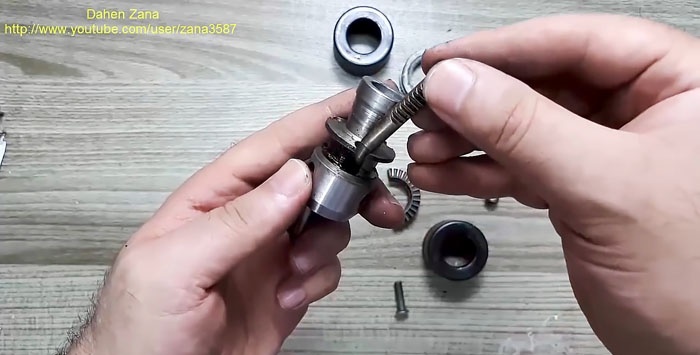
Solid oil is applied only to the cam splines.
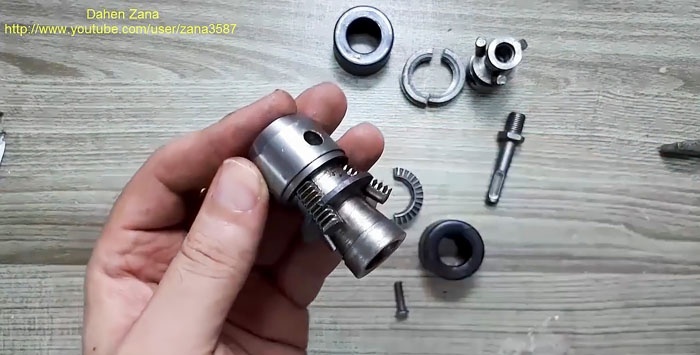
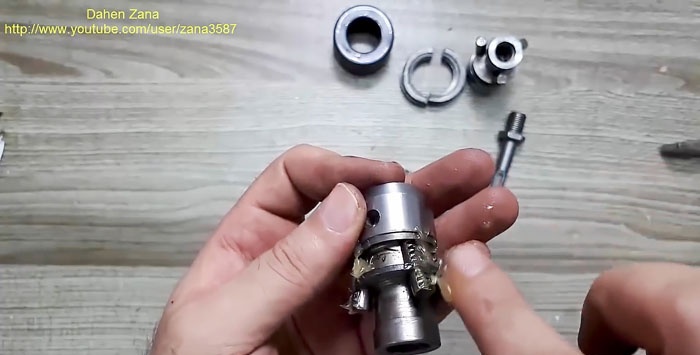
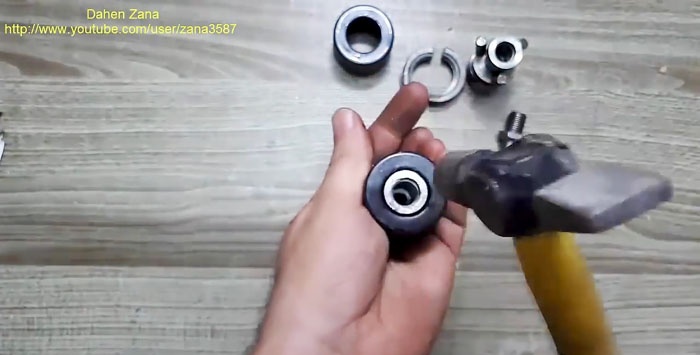
Next, the nut halves are installed in place, and the mechanism is returned to the cage. To assemble it completely, you need to hit the clip with a hammer until it sits. This is also best done by weight.
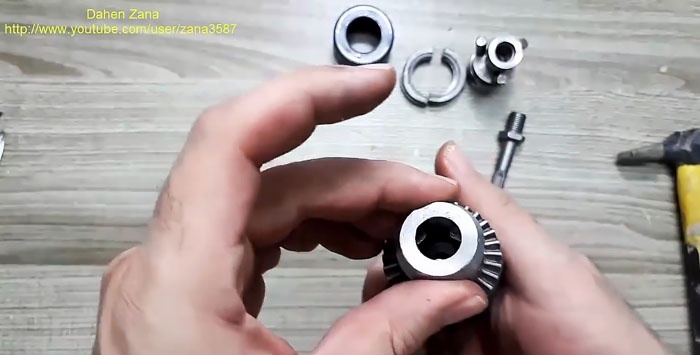
The lubricated and assembled chuck is screwed clockwise onto the drill shaft, after which the fixing screw is screwed in.
It happens that during dismantling the splines of the screw are worn out, then it is better to replace it or use a hacksaw to cut a new notch on it. If the chuck is lubricated from the very beginning after purchasing a drill, then it can be disassembled very easily and lasts much longer, so it is better not to postpone this procedure.


Materials and tools:
- crosshead screwdriver;
- hammer;
- grease or other thick lubricant.
Disassembly and lubrication of the chuck

First you need to remove the chuck from the drill or drill press. His cams are spread apart, after which a Phillips screwdriver is inserted between them.


The cartridge is held in place by a screw with a left-hand thread. To remove it, you need to rotate the tool clockwise. Sometimes there are screws with torx slots, so you will need a corresponding screwdriver.

After removing the screw, you need to unscrew the chuck itself from the drill shaft. This is done counterclockwise. If the drill has been used for a long time, then twisting it by hand is not so easy. You will have to fix the shaft. Often the chuck has a chamfer for an open-end wrench, which will facilitate the removal process.If it is not there, then it is better to rip it off by clamping the cartridge with a pipe wrench.


After removing the cartridge, you need to turn it with your cams down and hit it in the center of the back with a small hammer. This is done by weight. You need to squeeze the outer clip of the cartridge with your hand and strike accurately with the striker. It will not be possible to rest it from below, since the clip does not have a protruding end. If the insides of the cartridge are rusty and won't come out, you should first use a penetrating lubricant like WD-40.


As a result, a clamping mechanism consisting of a base, 3 removable cams and a nut cut in half with slots for a special key should come out of the holder.


For ease of lubrication, the two-piece nut is set aside.


Solid oil is applied only to the cam splines.


Next, the nut halves are installed in place, and the mechanism is returned to the cage. To assemble it completely, you need to hit the clip with a hammer until it sits. This is also best done by weight.


The lubricated and assembled chuck is screwed clockwise onto the drill shaft, after which the fixing screw is screwed in.

It happens that during dismantling the splines of the screw are worn out, then it is better to replace it or use a hacksaw to cut a new notch on it. If the chuck is lubricated from the very beginning after purchasing a drill, then it can be disassembled very easily and lasts much longer, so it is better not to postpone this procedure.

Watch the video
Similar master classes
How to remove a pressed pulley from an electric motor and install
How to replace a worn chuck with a new one on a drill
How to eliminate chuck runout in a screwdriver
How to install a drill chuck on an angle grinder and why it can
Drilling machine centering attachment for precision drilling
7 useful lifehacks with a screwdriver
Particularly interesting
Comments (8)


