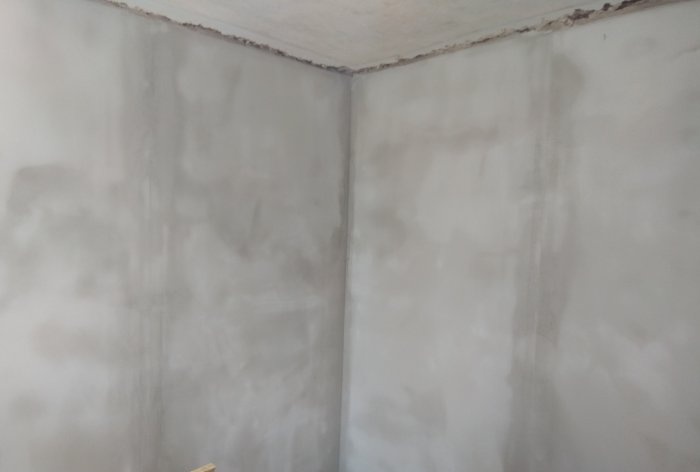
Leveling and finishing walls with plasterboard
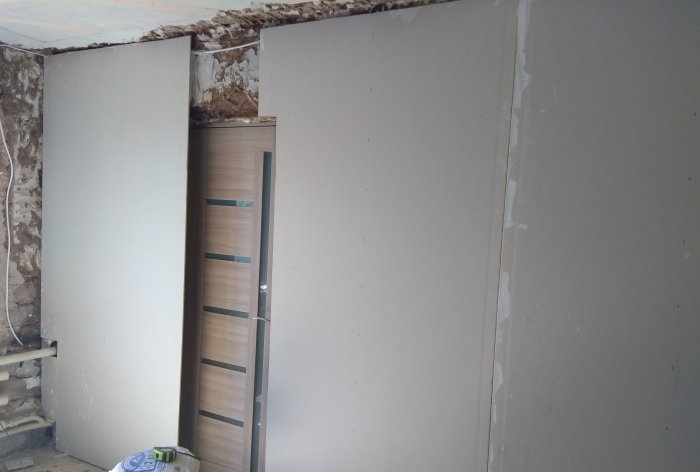
Today, plasterboard is the most common material for interior wall decoration. This popularity is due to the practicality of the material, as well as the ease of its installation. Therefore, this work will be accessible to non-professionals in the construction field. Now we will look at how to install drywall using glue. Often a metal profile is used to level plasterboard walls, but this option reduces the area of the room. To save space, glue is usually used as fastening.
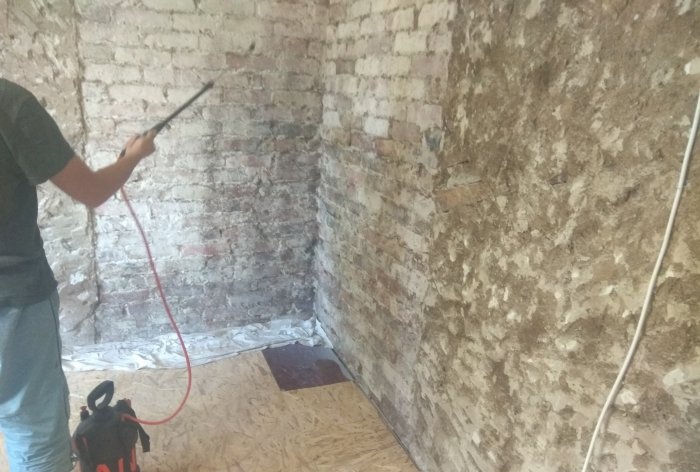
To begin with, preparatory work is done. It is necessary to dismantle the old plaster or clean the wall of wallpaper. Before installing drywall, the wall is thoroughly primed. This can be done with a spray bottle.
This option is more economical and faster than if you did it with a brush or brush.
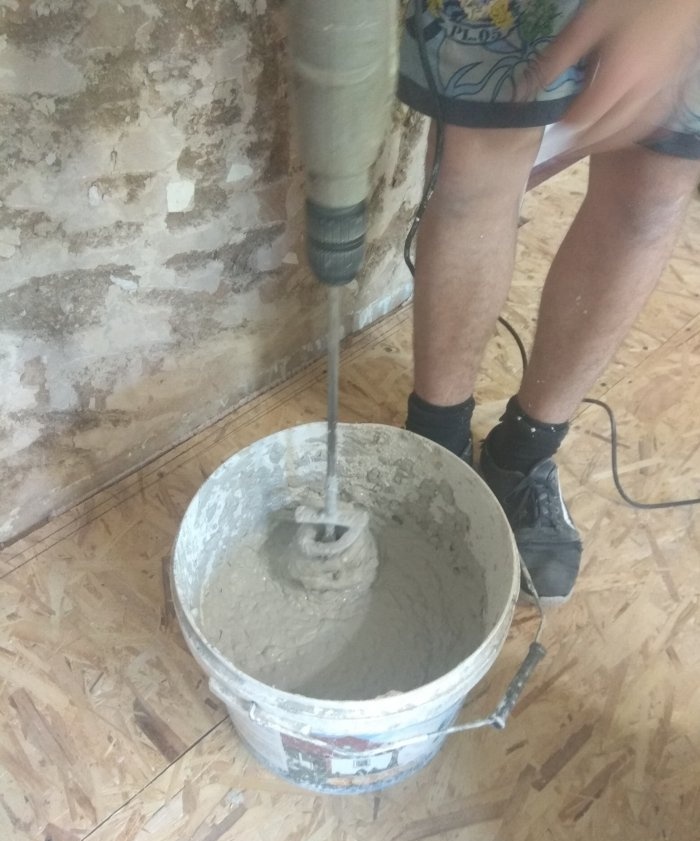
Next, mix the glue with water. For this you will need a mixer and a bucket.
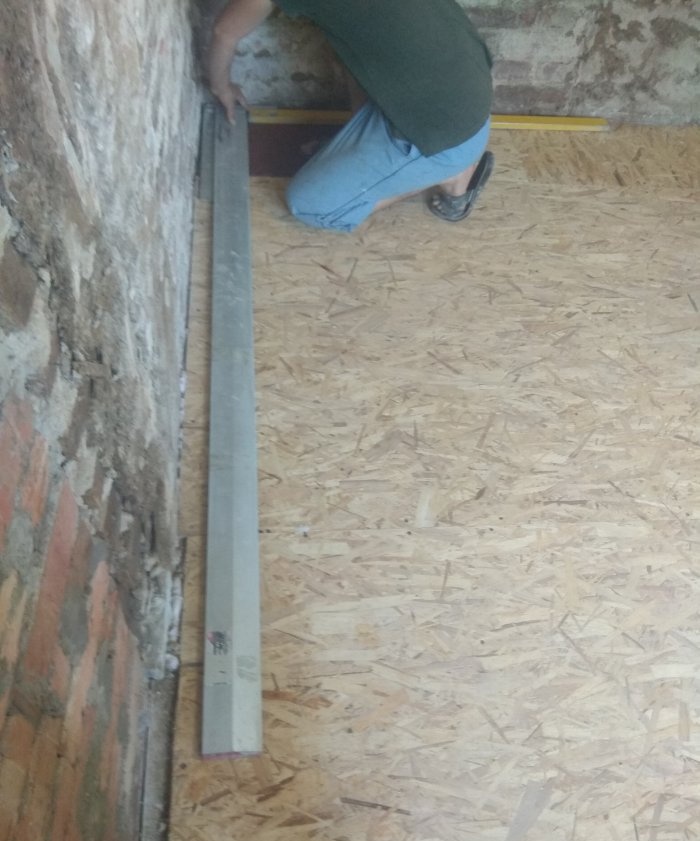
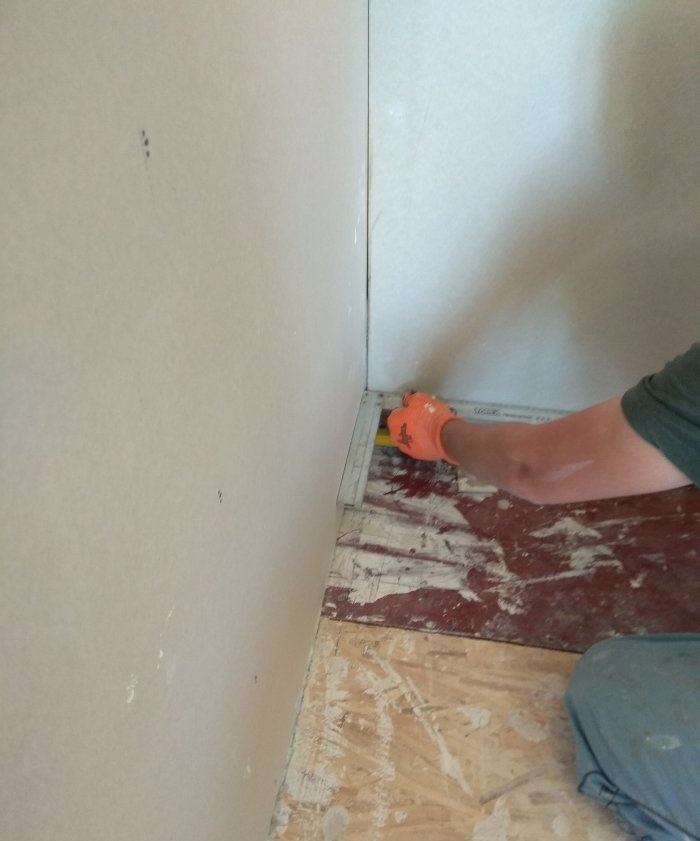
Before applying glue to the wall, check the approximate level of the wall to determine where more solution is needed and where less.You can also mark the line along which you will install the sheet below. In addition, it is better to start from any corner of the room. Therefore, you will also need a square to mark the exact line.
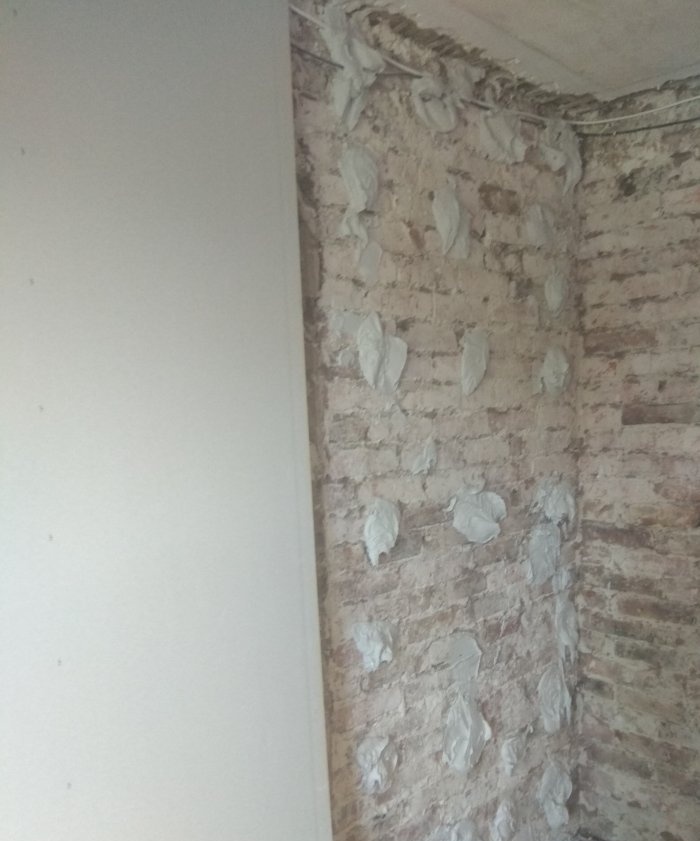
Then apply glue to the wall.
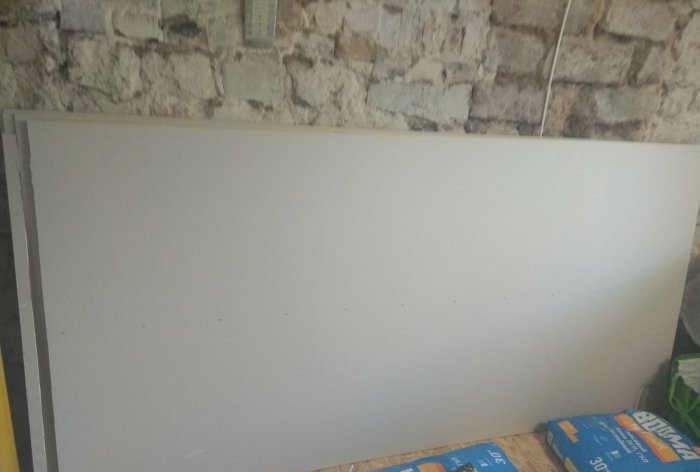
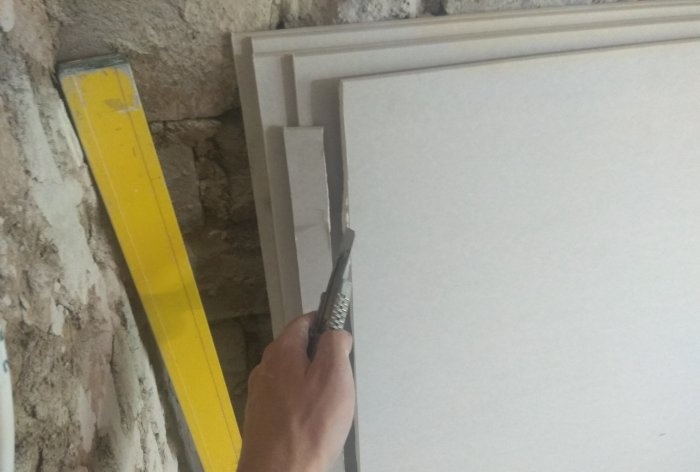
Since it dries quickly, this must be done immediately. After applying the glue, immediately attach a sheet of drywall. It is best to prepare the sheet by cutting the required size in advance. Trimming drywall is done with a construction knife. First, the first layer of cardboard is cut through, after which the plaster is chipped along this line.
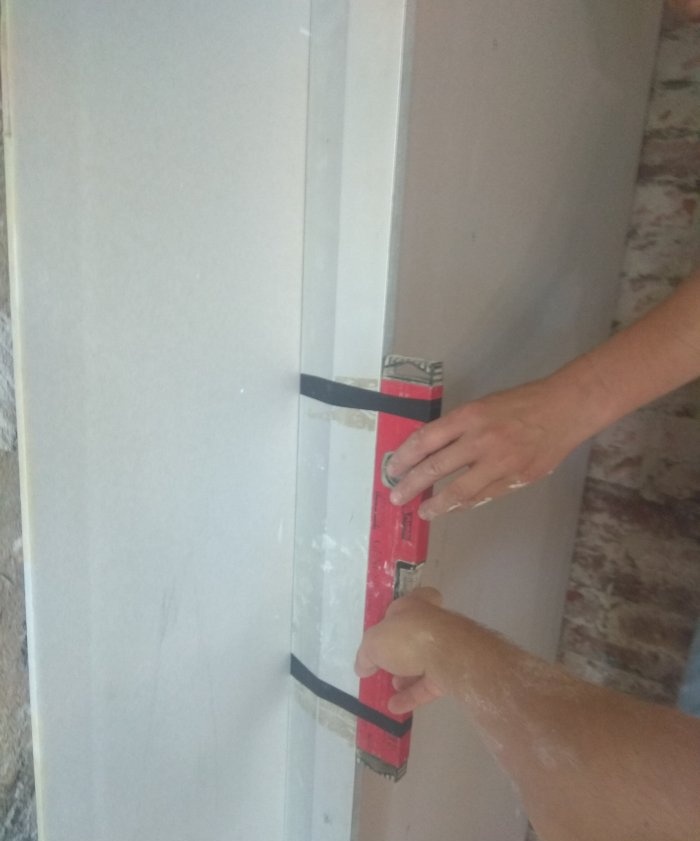
When you have glued drywall to the wall, it must be leveled immediately.
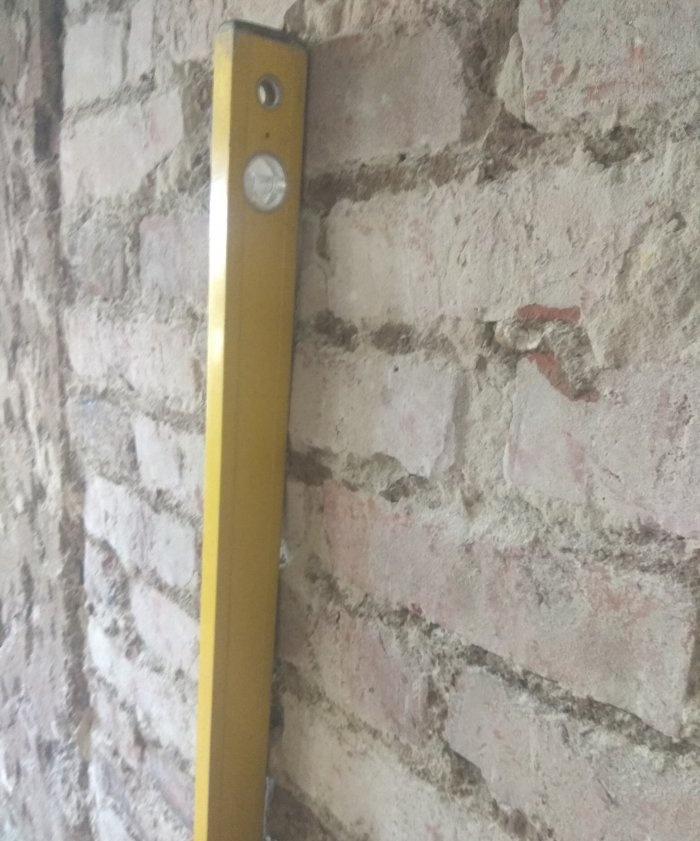
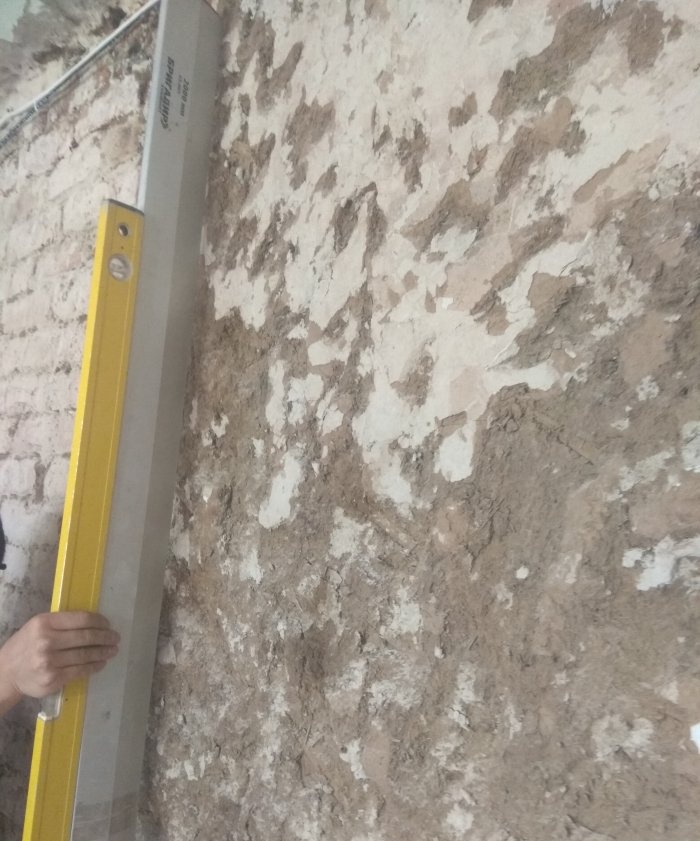
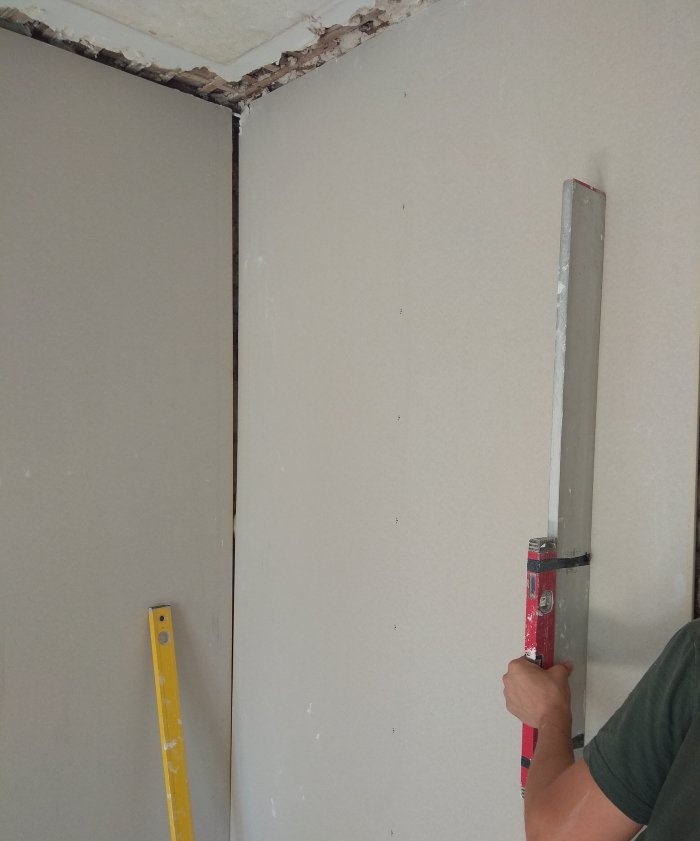
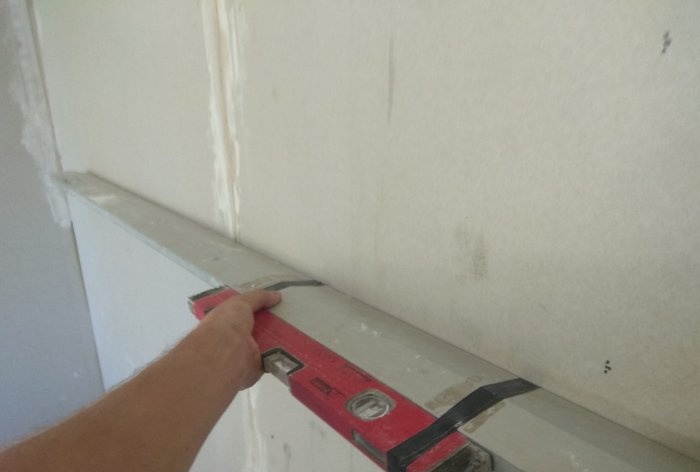
You have a little time for the glue to set. To do this, use the rule and the building level. You can check the level from top to bottom. First vertical and then horizontal. Tap the drywall gently so as not to overdo it. As additional fasteners, you can use self-tapping screws or special fastenings for drywall (butterflies).
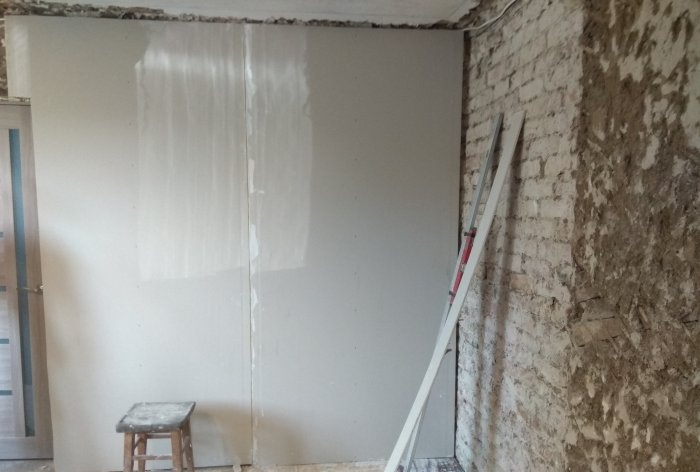
The second and subsequent sheets of drywall are installed in the same way.
Since the glue dries quickly, you should not mix more solution than is necessary for 1 sheet. When installing the following sheets, pay special attention to the horizontal level. Stick to the rule of two sheets, and make sure you don't have a large gap between it and the drywall.
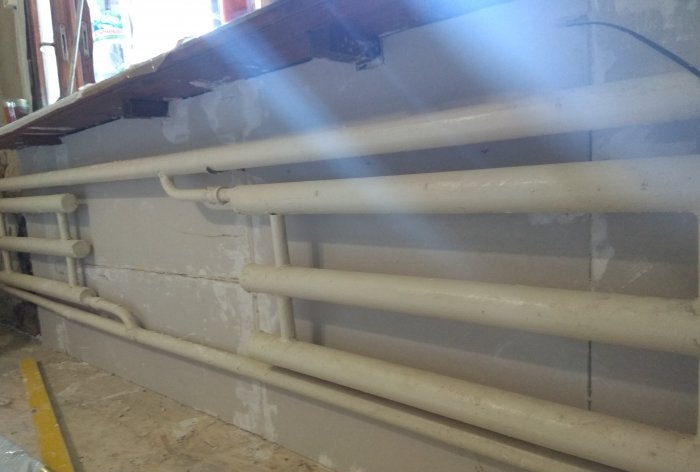
In hard-to-reach places, such as batteries, you can build a wall from pieces of drywall. It will be easier.
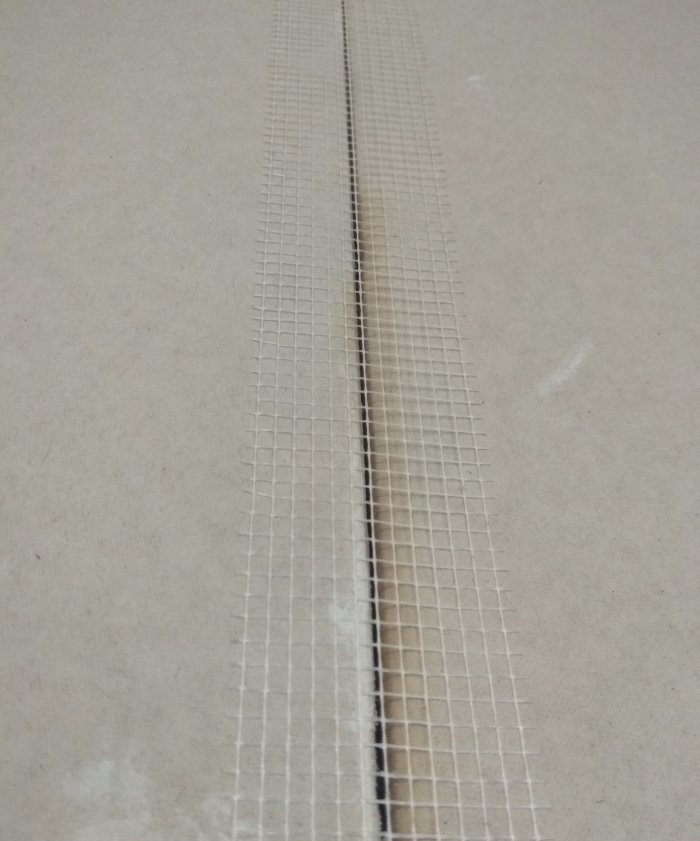
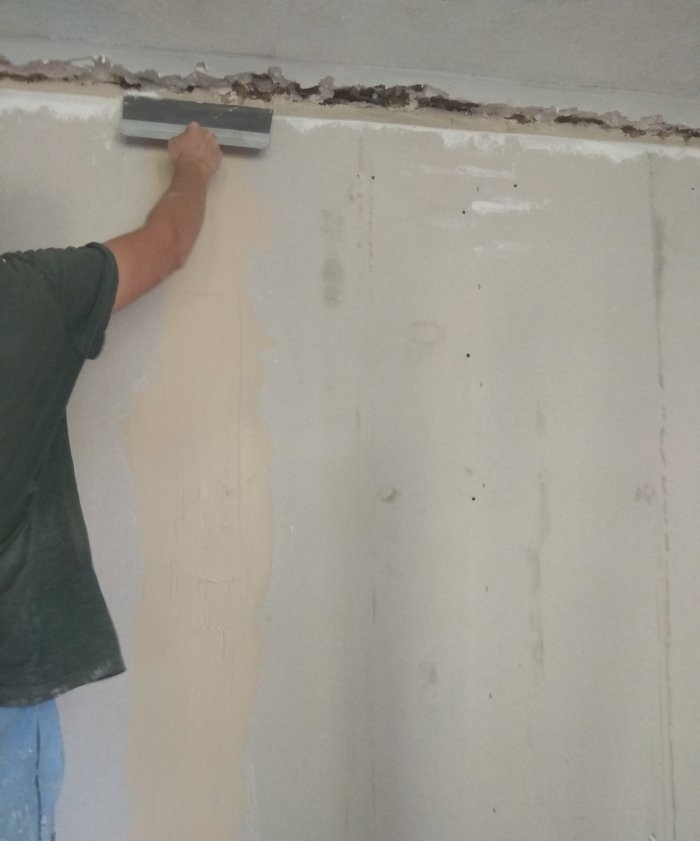
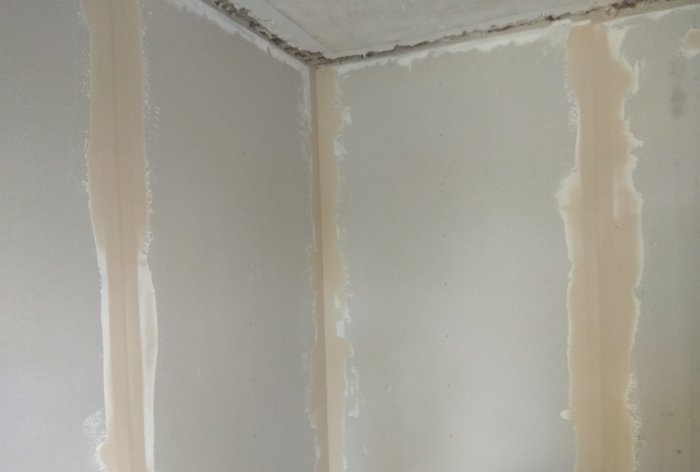
However, if it is possible to temporarily remove the batteries, it is better to do so. When you have completely covered the walls with plasterboard, all the seams between the sheets must be glued with mesh (sickle tape) and puttied with a special putty for seams.
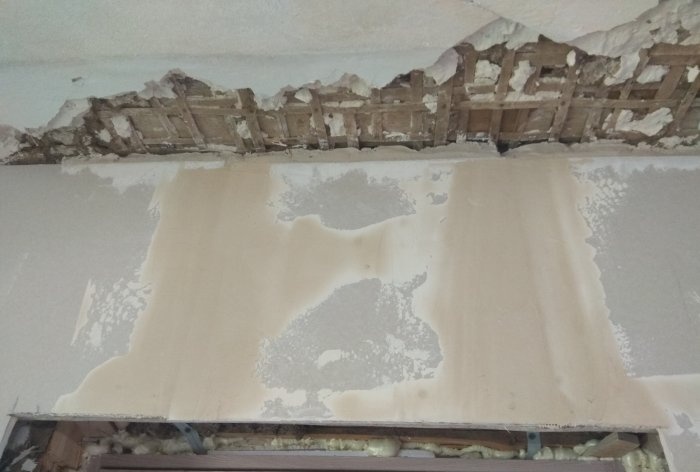
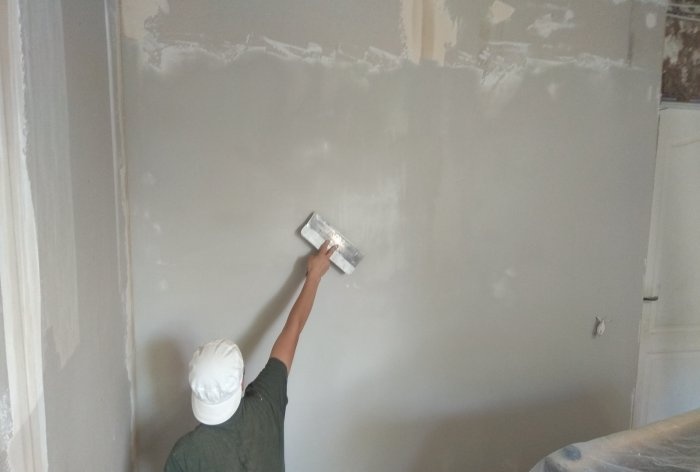
This is necessary in order to avoid cracks in these places in the future. After the putty for the seams has dried, the walls must be primed again and puttied with finishing putty.
After the putty has dried, the walls are cleared of any unevenness. If you plan to paint the walls in the future, it makes sense to apply a second layer of finishing putty. If you plan to hang wallpaper, then one layer will be enough.
DIY drywall installation
To begin with, preparatory work is done. It is necessary to dismantle the old plaster or clean the wall of wallpaper. Before installing drywall, the wall is thoroughly primed. This can be done with a spray bottle.
This option is more economical and faster than if you did it with a brush or brush.
Next, mix the glue with water. For this you will need a mixer and a bucket.
Before applying glue to the wall, check the approximate level of the wall to determine where more solution is needed and where less.You can also mark the line along which you will install the sheet below. In addition, it is better to start from any corner of the room. Therefore, you will also need a square to mark the exact line.
Then apply glue to the wall.
Since it dries quickly, this must be done immediately. After applying the glue, immediately attach a sheet of drywall. It is best to prepare the sheet by cutting the required size in advance. Trimming drywall is done with a construction knife. First, the first layer of cardboard is cut through, after which the plaster is chipped along this line.
When you have glued drywall to the wall, it must be leveled immediately.
You have a little time for the glue to set. To do this, use the rule and the building level. You can check the level from top to bottom. First vertical and then horizontal. Tap the drywall gently so as not to overdo it. As additional fasteners, you can use self-tapping screws or special fastenings for drywall (butterflies).
The second and subsequent sheets of drywall are installed in the same way.
Since the glue dries quickly, you should not mix more solution than is necessary for 1 sheet. When installing the following sheets, pay special attention to the horizontal level. Stick to the rule of two sheets, and make sure you don't have a large gap between it and the drywall.
In hard-to-reach places, such as batteries, you can build a wall from pieces of drywall. It will be easier.
However, if it is possible to temporarily remove the batteries, it is better to do so. When you have completely covered the walls with plasterboard, all the seams between the sheets must be glued with mesh (sickle tape) and puttied with a special putty for seams.
This is necessary in order to avoid cracks in these places in the future. After the putty for the seams has dried, the walls must be primed again and puttied with finishing putty.
After the putty has dried, the walls are cleared of any unevenness. If you plan to paint the walls in the future, it makes sense to apply a second layer of finishing putty. If you plan to hang wallpaper, then one layer will be enough.
Similar master classes
Particularly interesting

How to install a socket if there are short wires left

How to eliminate gaps between the chimney and slate

How to mix an ultra-reliable solution for the oven that does not give

There will be no more cracks: What to add to concrete to make it

Never buy ball valves without checking with me

New technology for floor insulation with penoplex
Comments (0)

