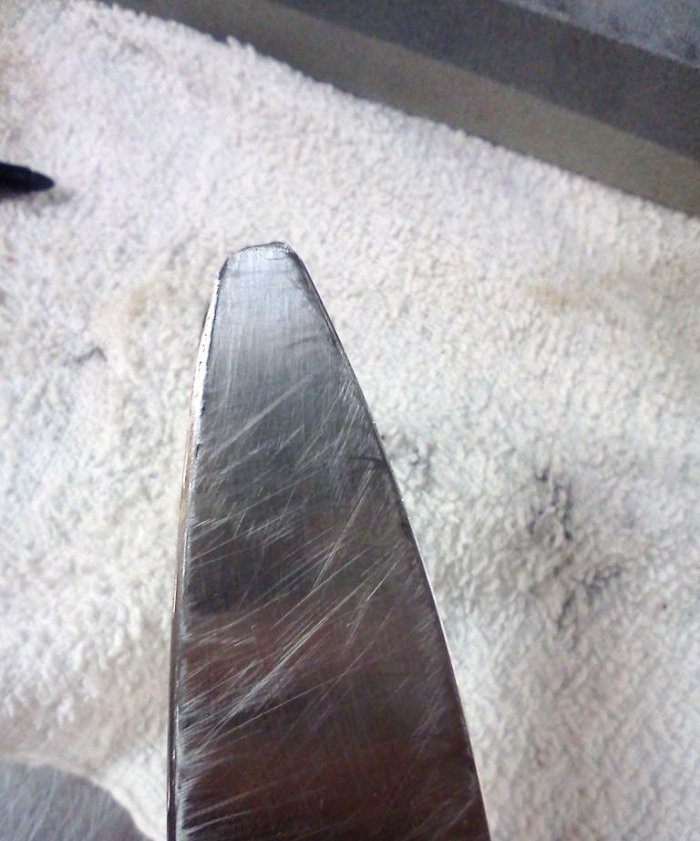
How to repair a kitchen knife with a broken tip (tip)
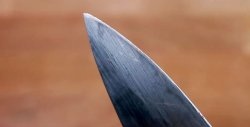
If you handle the knife carelessly, you can damage and even break off its tip. As a result, the cutting object loses not only its visual appeal, but also some of its important functions. It becomes not very convenient for them to work and not very productive. This shortcoming can be corrected by having readily available and inexpensive tools and materials at hand.
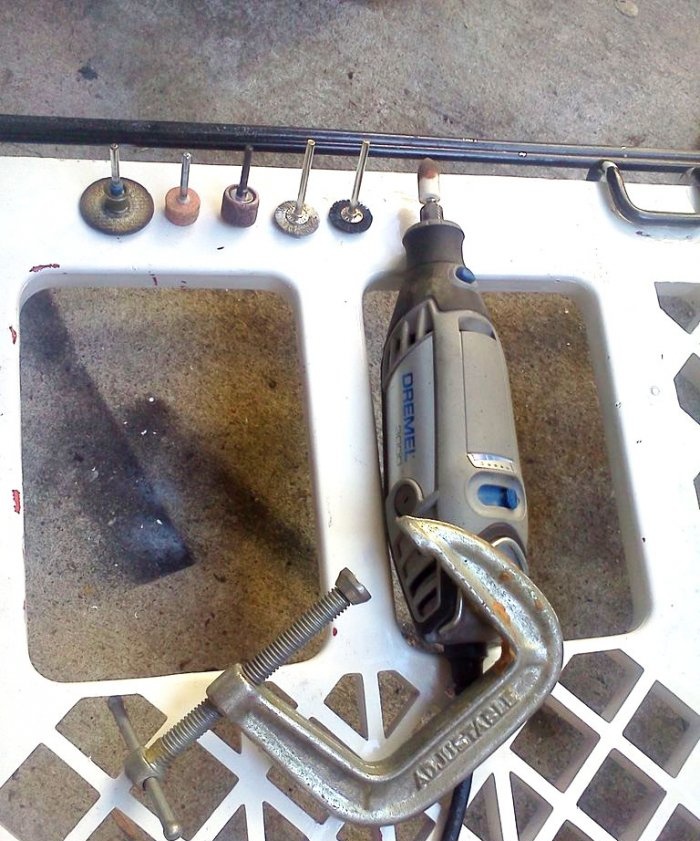
To begin this work and successfully complete it, in addition to the restoration item, you need to stock up on:
Let's choose a method for restoring the knife edge. You can remove the metal from the blade side. It is thin and there will be significantly less work. But then you will have to re-align the cutting edge, which only an experienced craftsman can do.
We settled on the option of removing metal only from the back of the blade. Of course, here the metal is thicker and therefore the volume of metal removed is greater, but you won’t have to deal with restoring the blade of the knife.
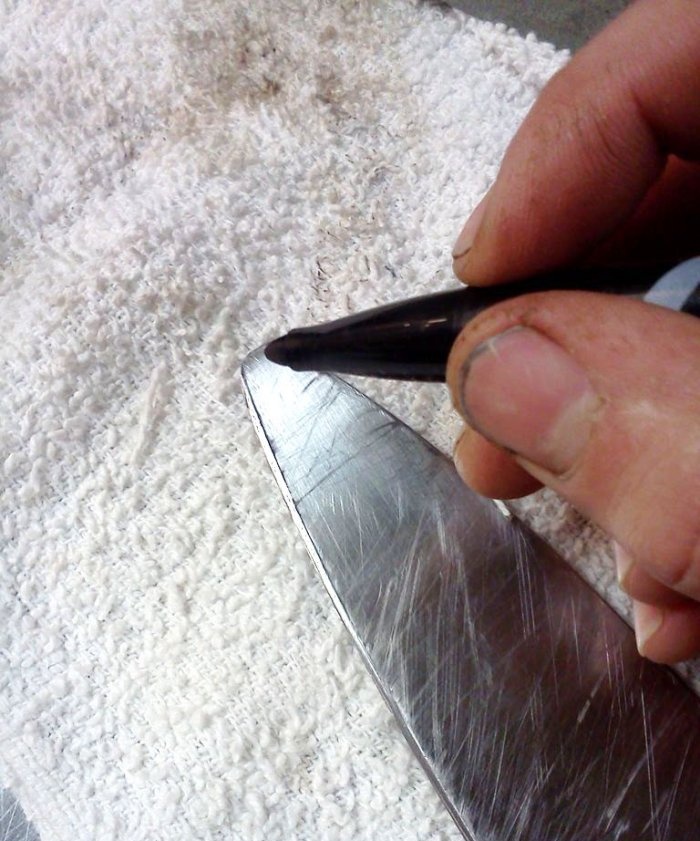
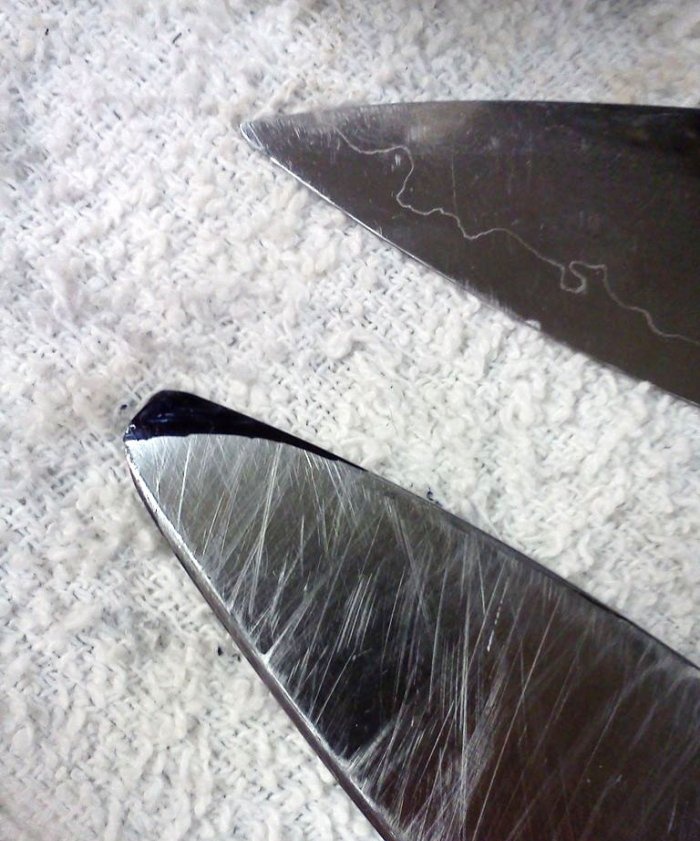
To do this, use a black marker to shade that part of the metal of the knife that we are going to remove and get the tip of the blade.
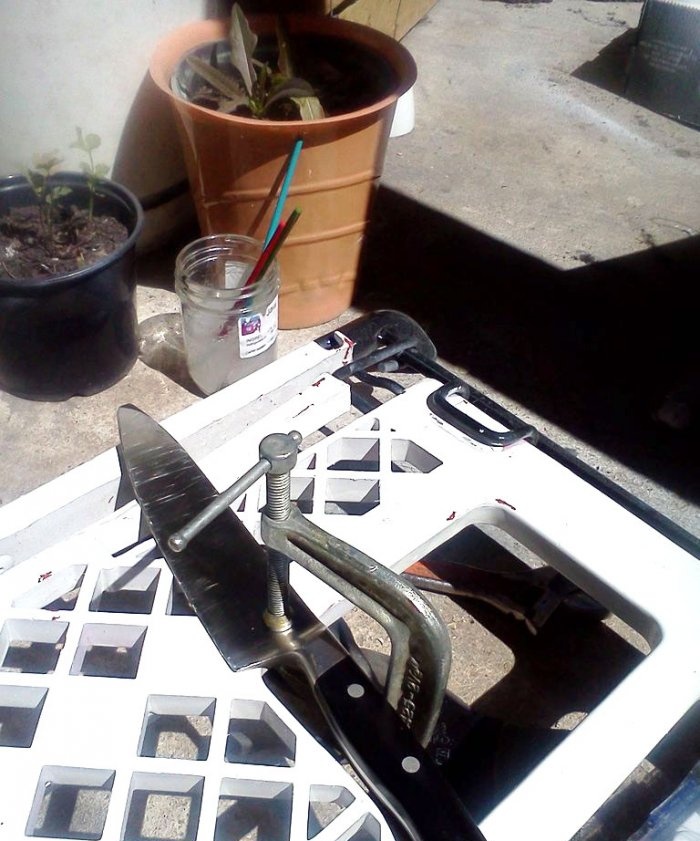
We securely fasten the blade of the knife being restored to the working surface, using a suitable clamp for this.
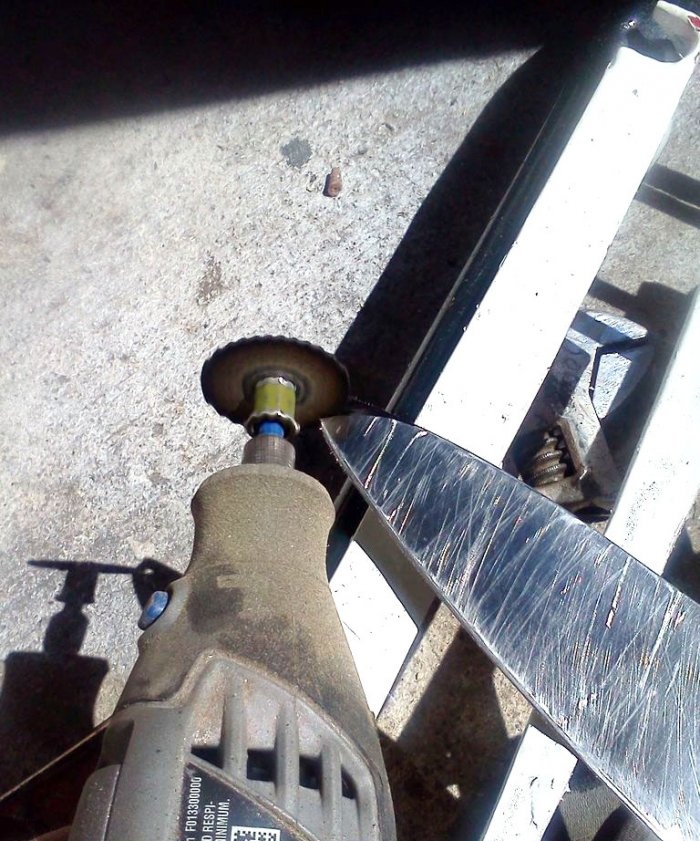
Using a cutting disc attached to the spindle of a mini-drill, we remove the shaded strip of metal on the blade. In this case, the spindle speed should be average so as not to overheat and release the metal of the blade.
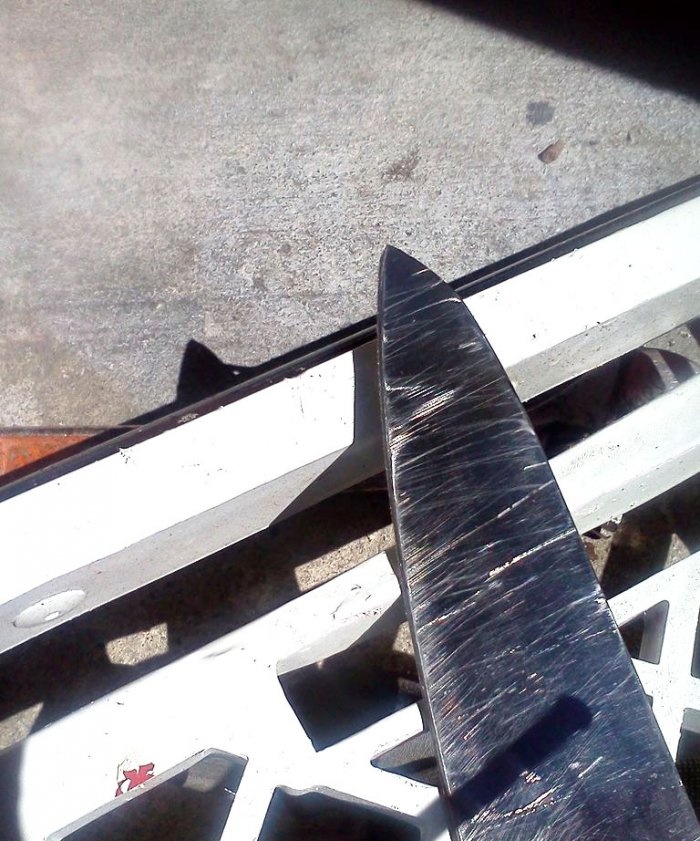
We have completed the main and most important part of the work. Now you need to process the cut area in such a way as to give it the necessary shape and beautiful appearance.
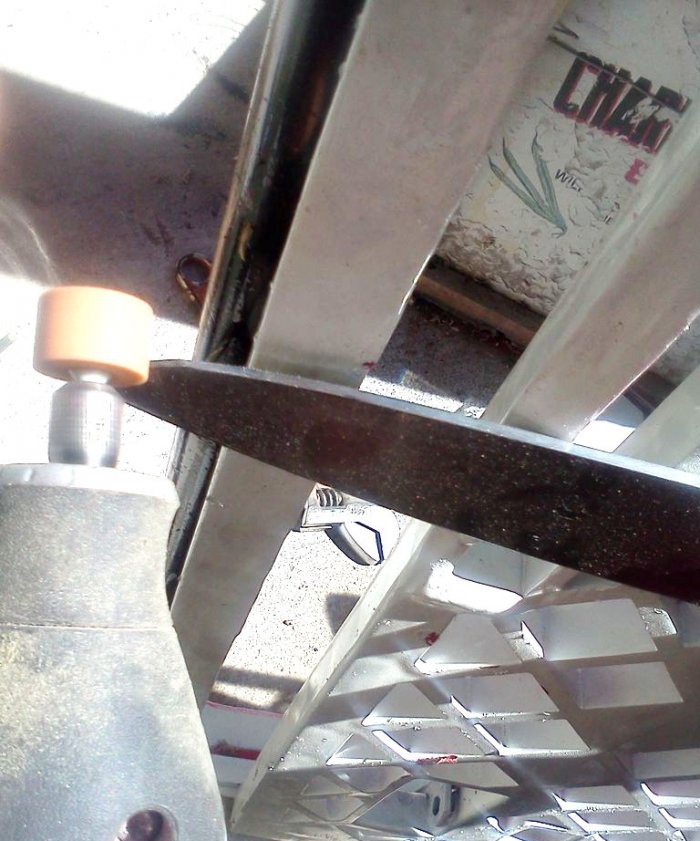
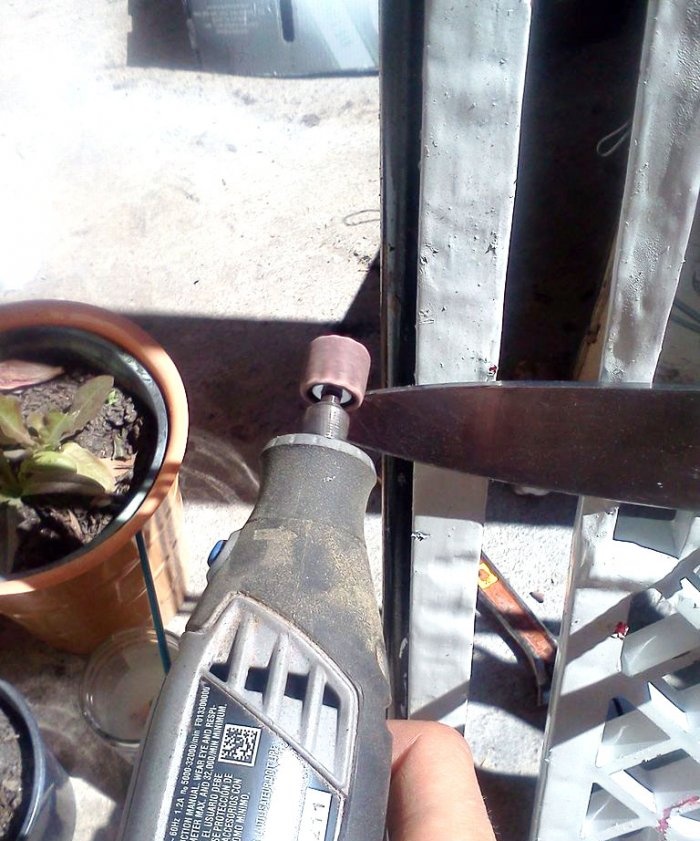
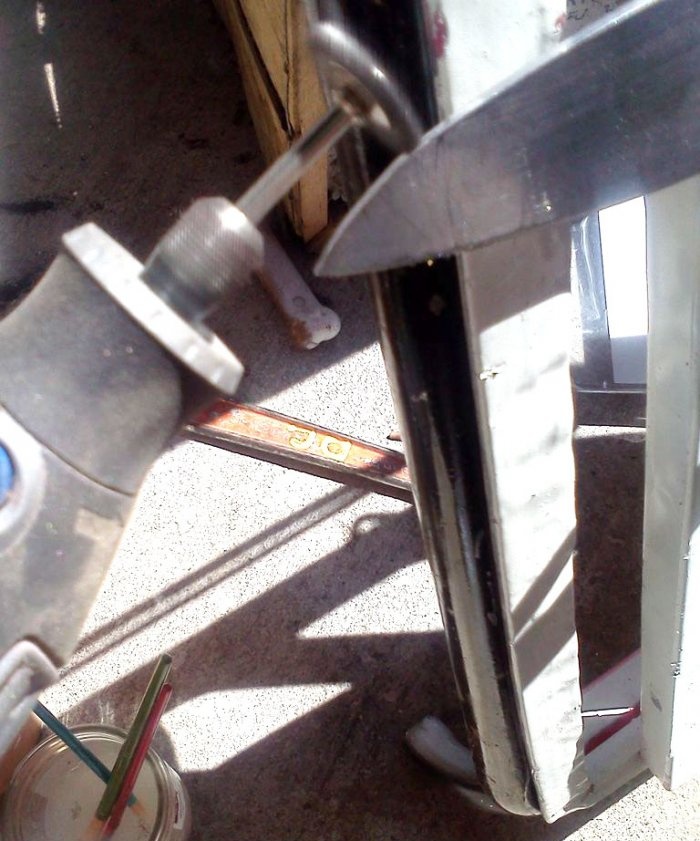
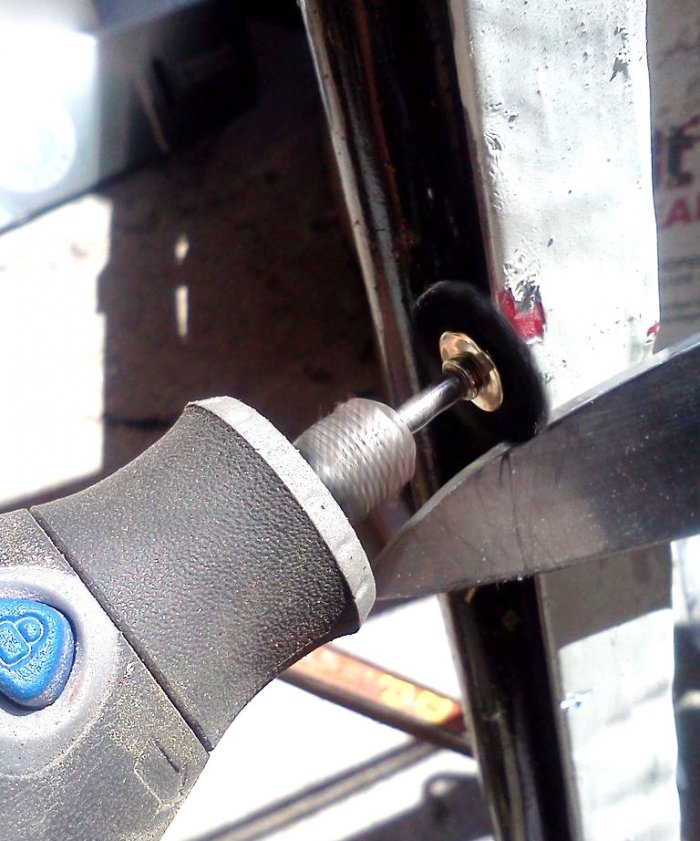
Using the same drill, we process the modified back of the blade at 3000 rpm with various attachments in the following sequence:
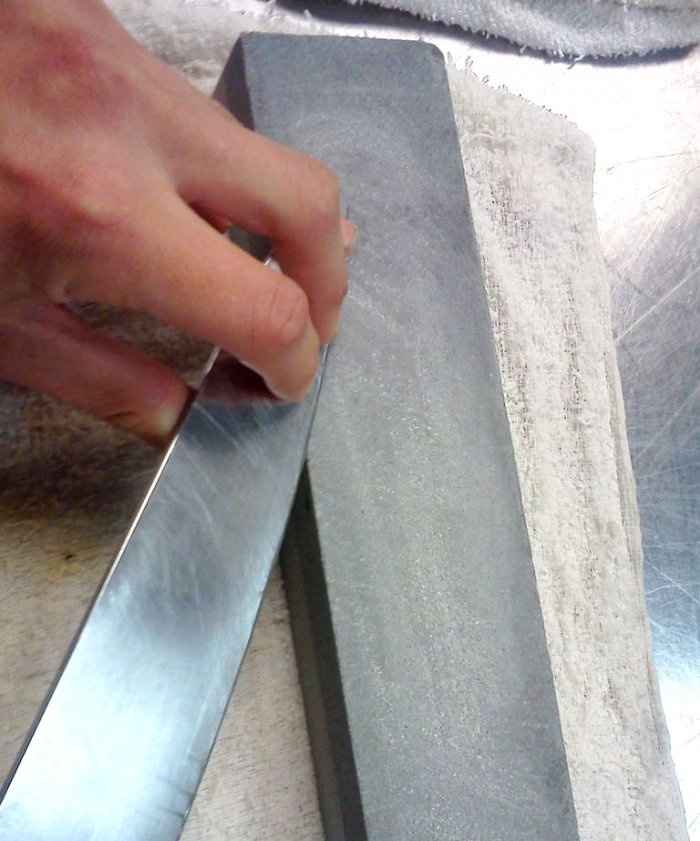
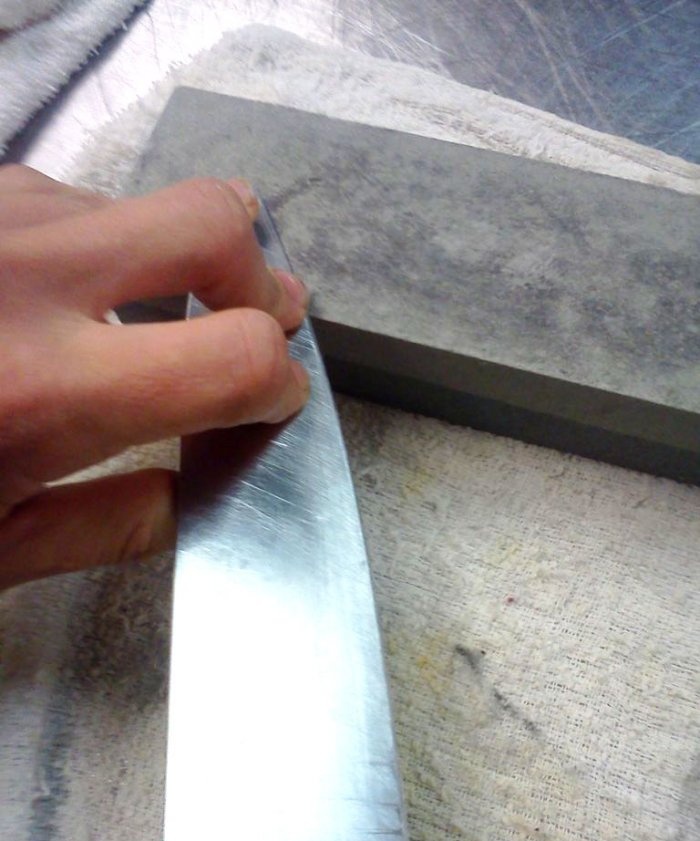
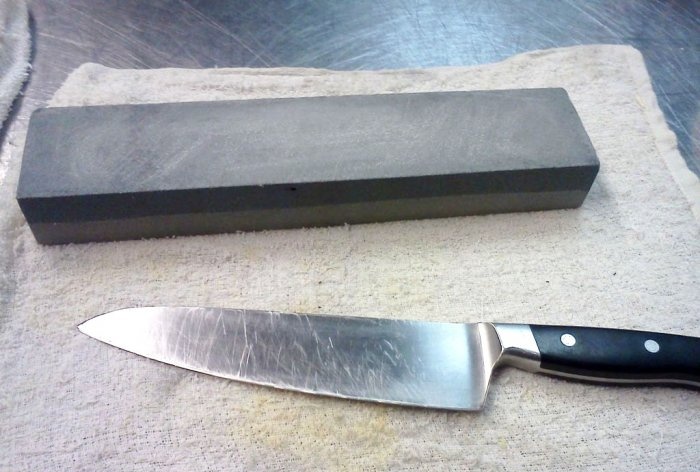
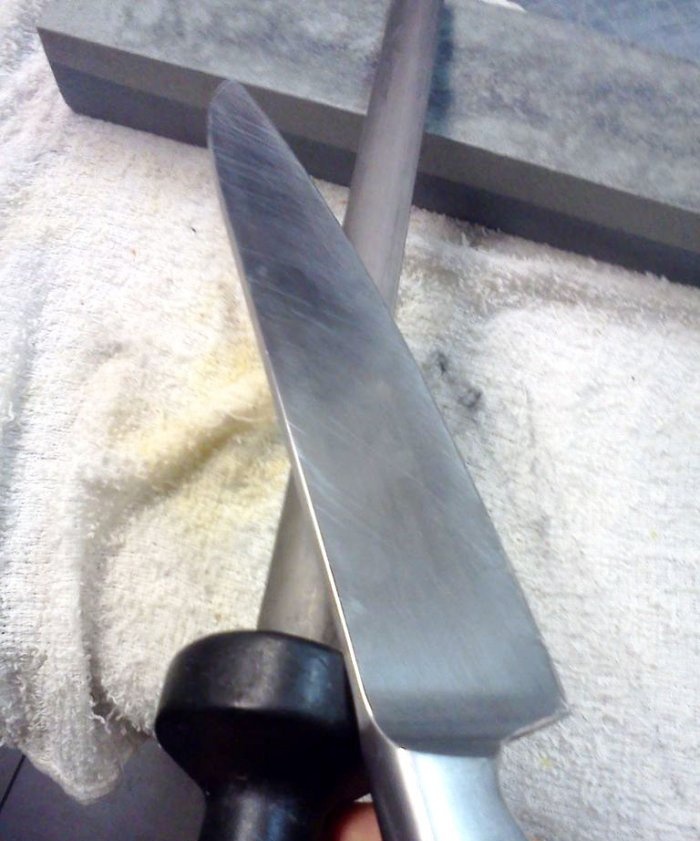
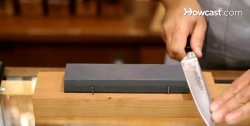
All that remains is to sharpen the knife blade, using successively a sharpening stone with two sides of different grain sizes and grinding stone in the form of a round or oval steel rod with longitudinal notches.
Original article in English
Will need
To begin this work and successfully complete it, in addition to the restoration item, you need to stock up on:
- small drill;
- drill accessories (cutting, grinding, polishing wheels and abrasive paste);
- marker;
- clamp;
- combined sharpening stone;
- Musat.
Recovery process
Let's choose a method for restoring the knife edge. You can remove the metal from the blade side. It is thin and there will be significantly less work. But then you will have to re-align the cutting edge, which only an experienced craftsman can do.
We settled on the option of removing metal only from the back of the blade. Of course, here the metal is thicker and therefore the volume of metal removed is greater, but you won’t have to deal with restoring the blade of the knife.
To do this, use a black marker to shade that part of the metal of the knife that we are going to remove and get the tip of the blade.
We securely fasten the blade of the knife being restored to the working surface, using a suitable clamp for this.
Using a cutting disc attached to the spindle of a mini-drill, we remove the shaded strip of metal on the blade. In this case, the spindle speed should be average so as not to overheat and release the metal of the blade.
We have completed the main and most important part of the work. Now you need to process the cut area in such a way as to give it the necessary shape and beautiful appearance.
Using the same drill, we process the modified back of the blade at 3000 rpm with various attachments in the following sequence:
- high-grit grinding wheel;
- low-grit grinding wheel;
- wire polishing disc;
- synthetic polishing wheel;
- felt polishing wheel, with a small portion of polishing paste pre-applied to it (GOI, Dialux, etc.).
All that remains is to sharpen the knife blade, using successively a sharpening stone with two sides of different grain sizes and grinding stone in the form of a round or oval steel rod with longitudinal notches.

Original article in English
Similar master classes
Particularly interesting
Comments (1)

