How to quickly harden hand tools using a tin can and charcoal
If a knife or some other hand tool for wood is not hardened, then it quickly becomes dull and difficult to work with, and it takes a lot of time to process the material. Usually they are hardened using a forge. But even without it, you can carry out express hardening of instruments at home.
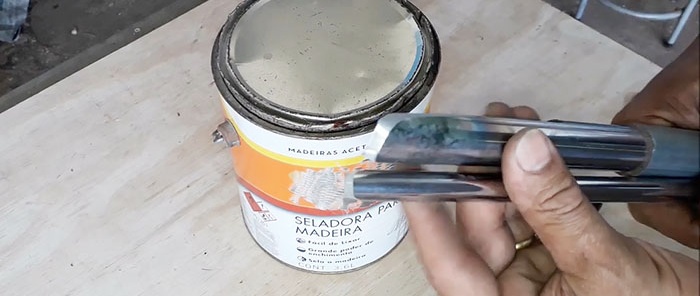
For the implementation of the planned project, we will need practically waste items:
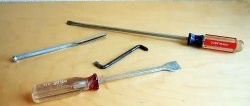
To carry out your plans in compliance with safety precautions, you need to prepare simple and accessible tools: a marker, a drill with a core drill, pliers, pliers, a hacksaw blade and a file.
If the tin can has a lid, then remove it, since we will not need it in the future.On the outside, on the side surface in the lower part, closer to the bottom, but not close to it, with a marker we draw a circle sufficient to accommodate the hardened hand tools. By the way, this hole will perform another function - air will flow through it from the surrounding atmosphere to support combustion.
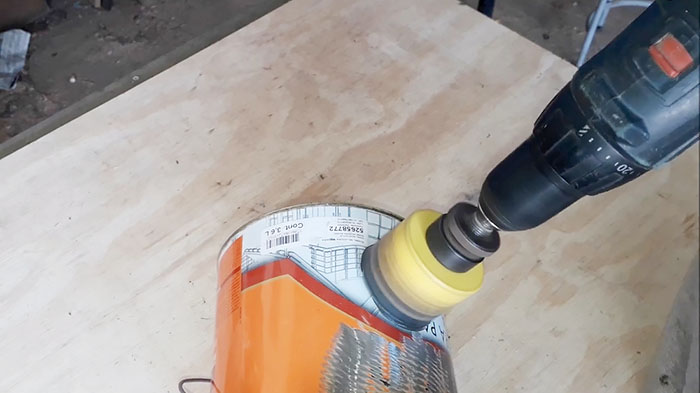
Using a drill and a core drill, we make a hole in the can according to the markings. If the cut circle is not completely separated from the surrounding metal, remove it with pliers.
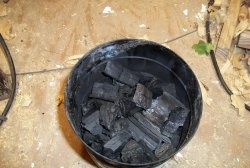
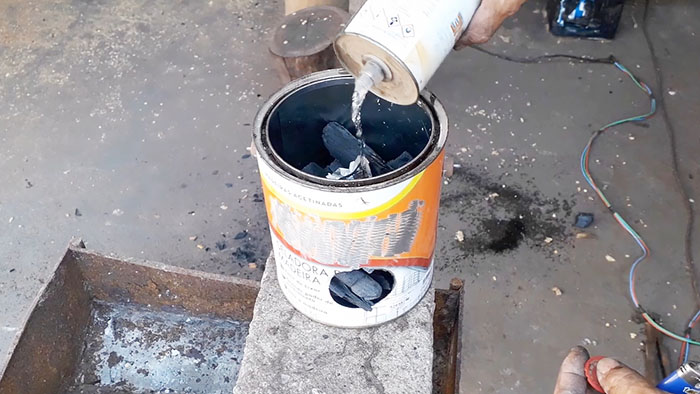
In principle, the mini-horn is ready to fulfill its intended purpose. We place a little crumpled newsprint on the bottom, put a few pieces of charcoal on top of it and, to ensure reliable ignition, we moisten the fuel material with flammable liquid on top.
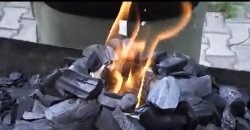
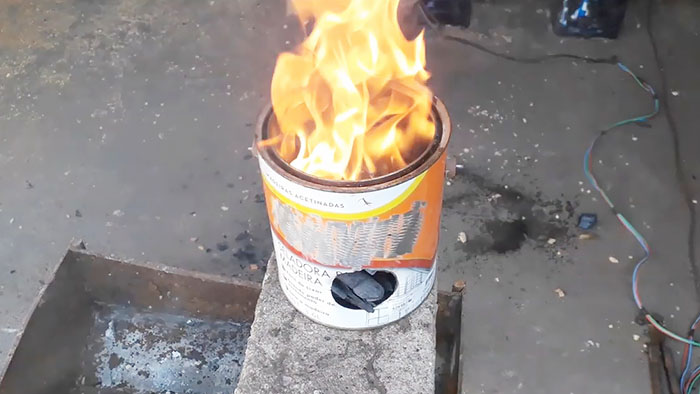
We ignite the contents of the jar with an external source (matches, lighter, etc.) and wait until the charcoal burns out and the open flame disappears.
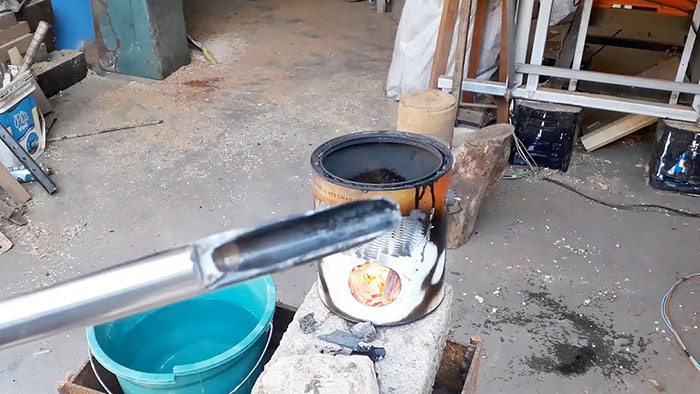
After this, we place hand tools to be hardened through a side hole into our improvised mini-forge and hold them there until the metal is red-hot.
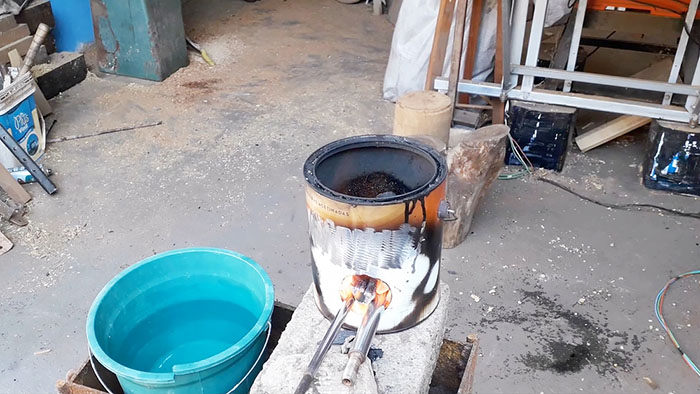
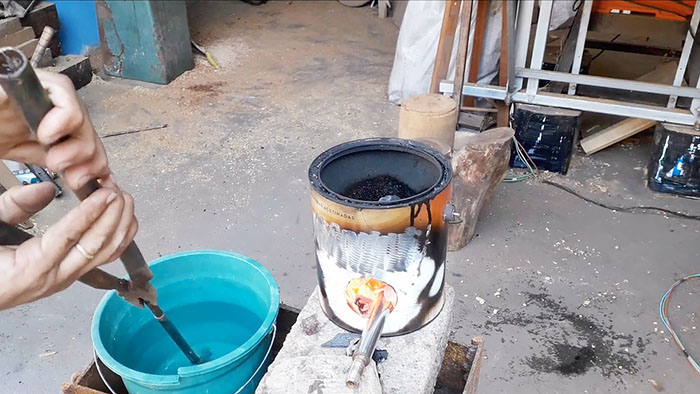
After which, grabbing the tools one by one with pliers, we immediately lower the cutting part into a container of water, slowly moving it horizontally and vertically until the metal darkens and steam stops rising from the surface of the water.
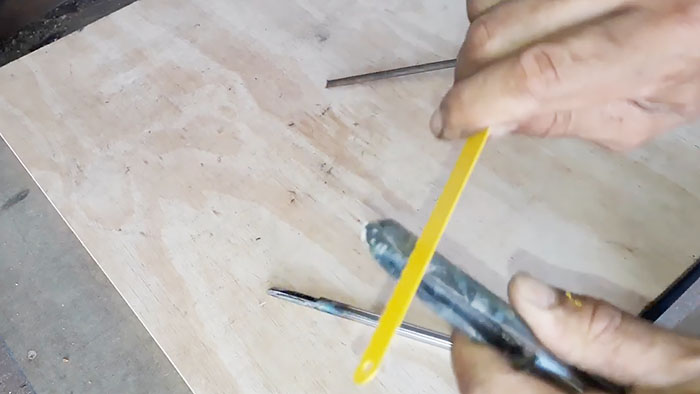
As soon as the hardened tool has completely cooled down and reached ambient temperature, we will subject it to a hardness test. To do this, we will try to process it with a metal hacksaw blade and even a file. But neither one nor the other tool even left marks on the hardened surfaces. This is a sign that the hardening was carried out efficiently.

Will need
For the implementation of the planned project, we will need practically waste items:
- tin can (can be used for paint);
- charcoal (produced by burning wood when there is a lack of oxygen);
- newsprint and some flammable liquid;
- container with water.
To carry out your plans in compliance with safety precautions, you need to prepare simple and accessible tools: a marker, a drill with a core drill, pliers, pliers, a hacksaw blade and a file.
Mini-forge manufacturing and hardening process
If the tin can has a lid, then remove it, since we will not need it in the future.On the outside, on the side surface in the lower part, closer to the bottom, but not close to it, with a marker we draw a circle sufficient to accommodate the hardened hand tools. By the way, this hole will perform another function - air will flow through it from the surrounding atmosphere to support combustion.
Using a drill and a core drill, we make a hole in the can according to the markings. If the cut circle is not completely separated from the surrounding metal, remove it with pliers.

In principle, the mini-horn is ready to fulfill its intended purpose. We place a little crumpled newsprint on the bottom, put a few pieces of charcoal on top of it and, to ensure reliable ignition, we moisten the fuel material with flammable liquid on top.

We ignite the contents of the jar with an external source (matches, lighter, etc.) and wait until the charcoal burns out and the open flame disappears.

After this, we place hand tools to be hardened through a side hole into our improvised mini-forge and hold them there until the metal is red-hot.

After which, grabbing the tools one by one with pliers, we immediately lower the cutting part into a container of water, slowly moving it horizontally and vertically until the metal darkens and steam stops rising from the surface of the water.

Hardening quality testing

As soon as the hardened tool has completely cooled down and reached ambient temperature, we will subject it to a hardness test. To do this, we will try to process it with a metal hacksaw blade and even a file. But neither one nor the other tool even left marks on the hardened surfaces. This is a sign that the hardening was carried out efficiently.

Watch the video
Similar master classes
Particularly interesting
Comments (4)


