Casting dishes from aluminum cans
How to cast aluminum cookware at home? Despite its apparent complexity, aluminum scrap can be turned into a useful item without any special knowledge of metallurgy and at almost no cost.
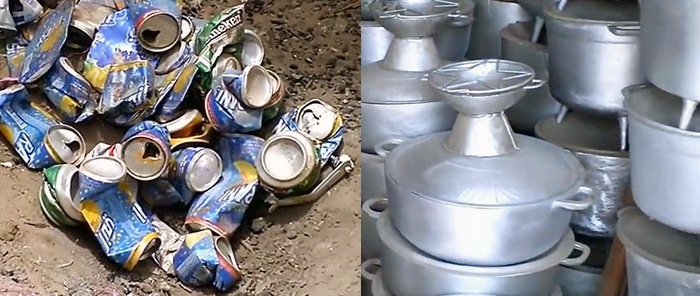
Everything you need for work can be mined in a nearby quarry, collected on the street, or bought from a metal acceptor:
To comply with the technology and process safety, we will acquire: pliers, a tamper and mallet, a shovel and trowel, a grindstone and sandpaper.
This work consists of the following stages:
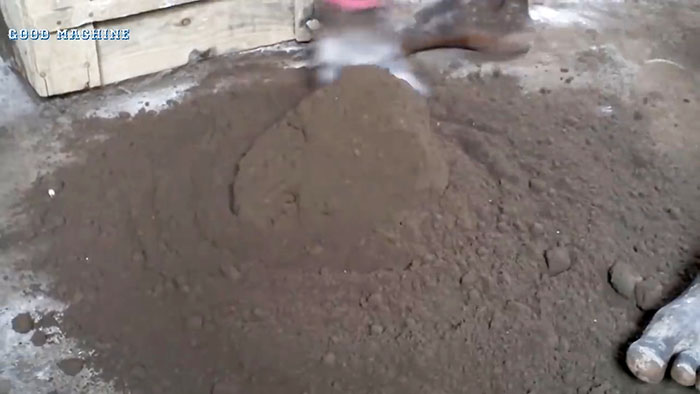
The molding mixture is prepared from quartz sand (90%), ordinary clay (7%) and water (3%). Mix everything well with a shovel so that there are no lumps or foreign inclusions.
To make the desired cavity in the molding mix, it is better to use a finished product: a saucepan, cauldron, lid, etc.
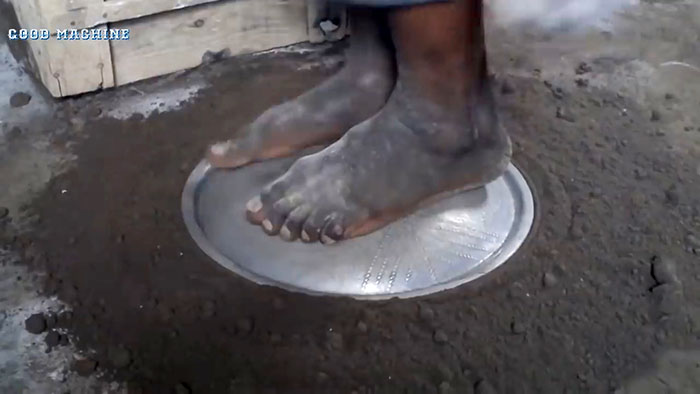
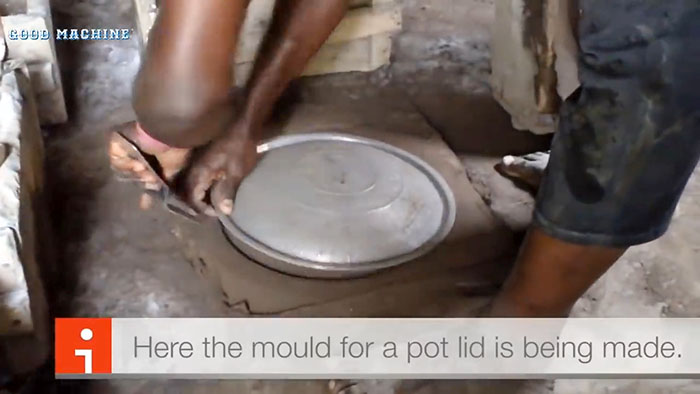
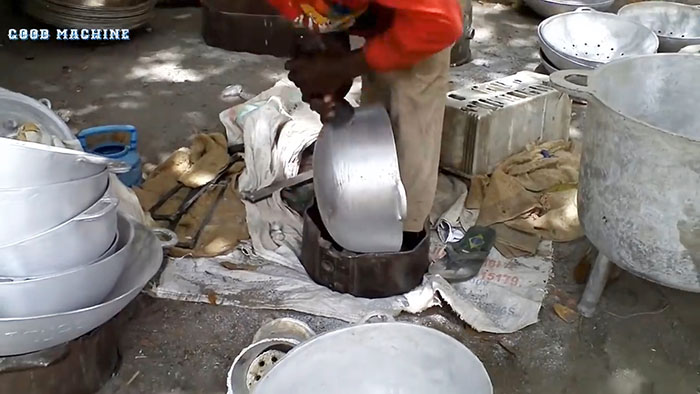
Pour molding mixture onto the non-combustible floor. We place the finished product on it and compact the mixture underneath it, pressing the form-forming object with our feet.
We rake and pour the mixture around the perimeter of the model and also compact it with our feet and a mallet. Use a trowel to remove excess mixture from the forming object.
We place the wooden flask on the compacted mixture with the model inside. We pour a mixture of sand and clay into it, compacting it with a tamper and feet.
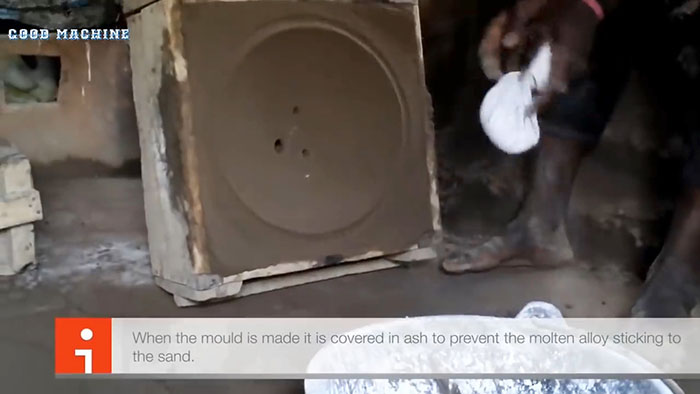
We make a hole in the mixture on top for pouring liquid metal. We remove the excess mix around the flask, lift it with the upper imprint of the melted object in the molding sand and set it aside.
There was a bottom imprint of the thing we are going to make on the floor, covered by the model. Carefully remove it and correct the surface of the lower print if necessary.
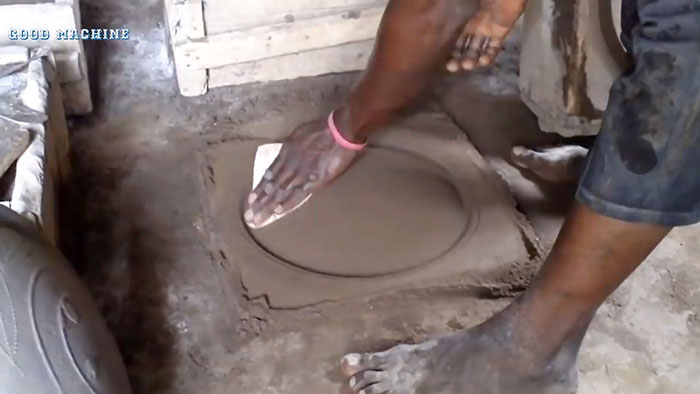
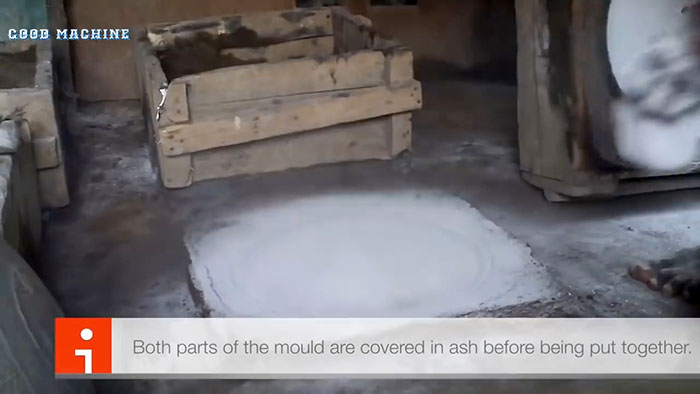
Sprinkle both surfaces by shaking the thin cloth bag containing talcum powder. This will prevent the mixture from sticking to the casting during crystallization.
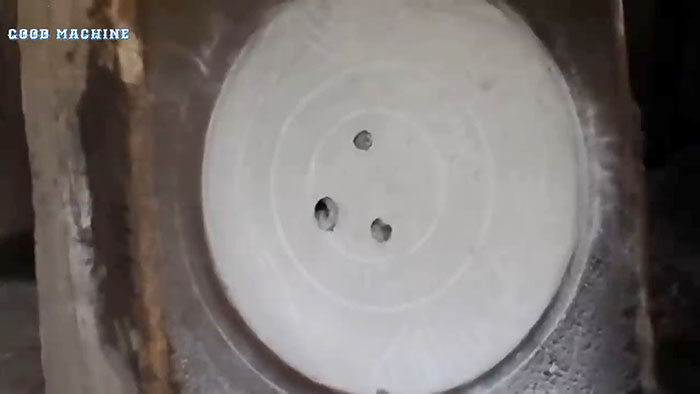
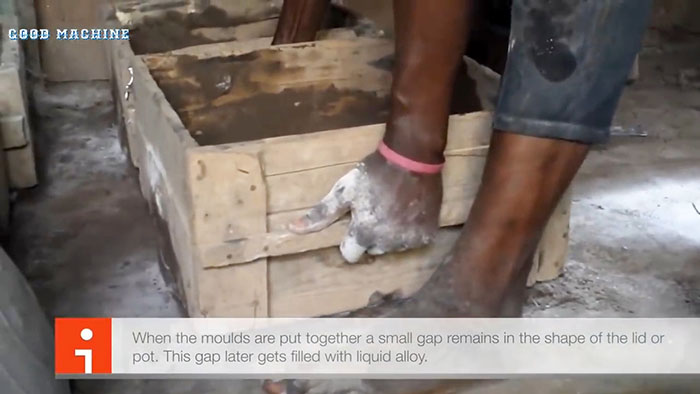
Using the marks, we place the flask with the upper imprint on the lower one. The mold is ready for pouring liquid metal.
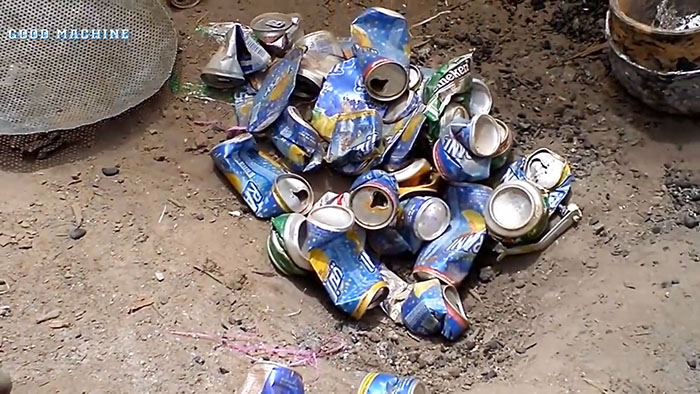
Instead of a stove, we use a metal barrel with a cutout at the bottom to add fuel and supply air for combustion. You can also make a series of holes in the barrel for this purpose.
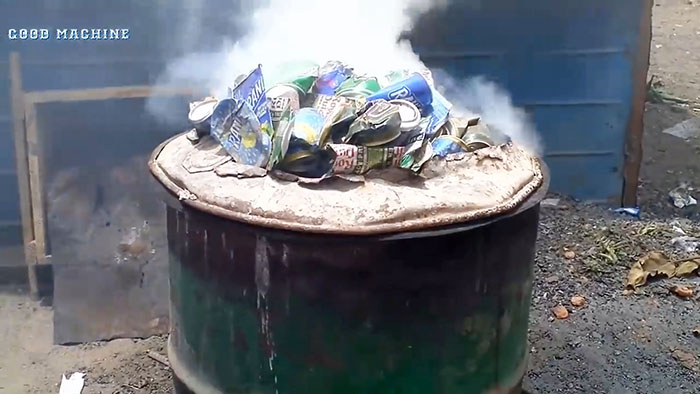
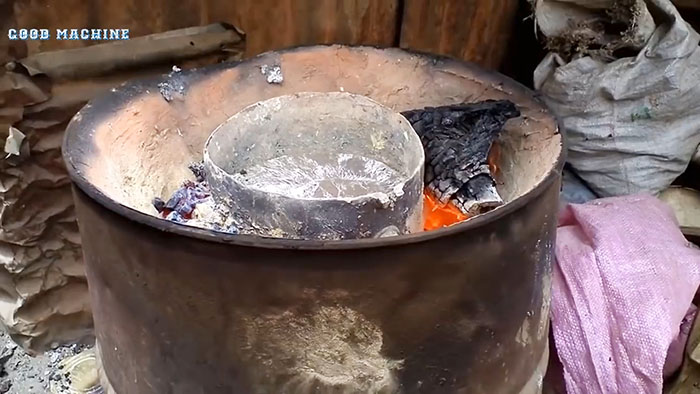
We place a crucible with clean and crushed aluminum scrap on the burning coals, which will soon begin to melt and turn into a liquid state.
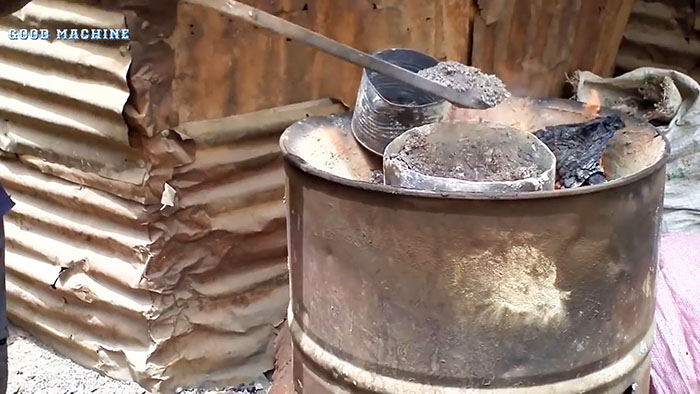
In this case, impurities and contaminants will rise to the surface of the melt, which must be removed.
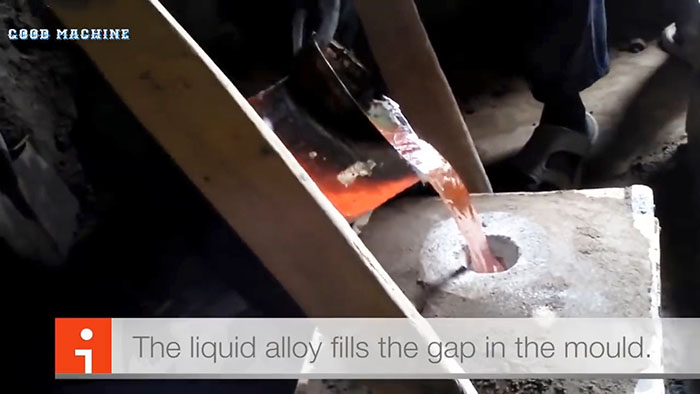
We bring the crucible with the melt to the flask with pliers and pour the contents in a continuous stream until the cavity and sprue are filled. If the casting has a complex shape, we make holes on top of the flask for air to escape.
Crystallization of the metal begins when it is poured into the mold. To make the process go faster and better, spray the outer surface of the mold with water to cool.
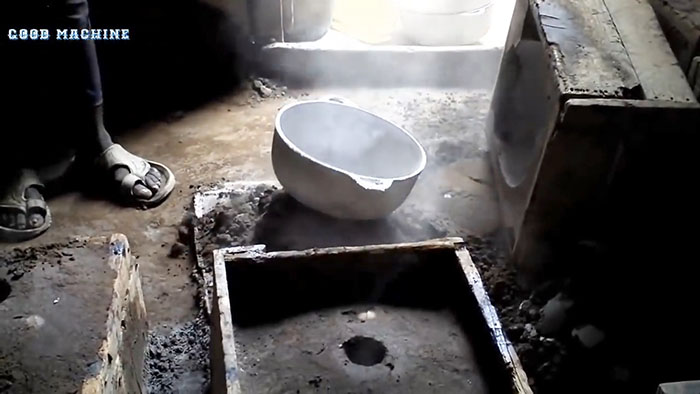
After the water has dried, turn the flask over and grab the casting with pliers. While it is still hot, scoop out some molding mixture and begin to rotate the product. This way we will get rid of the stuck earth.
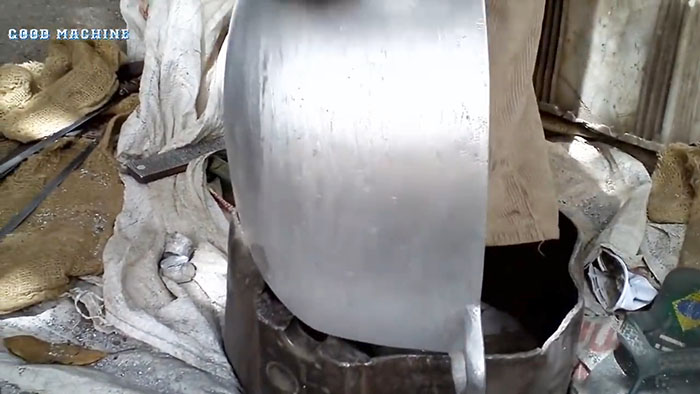
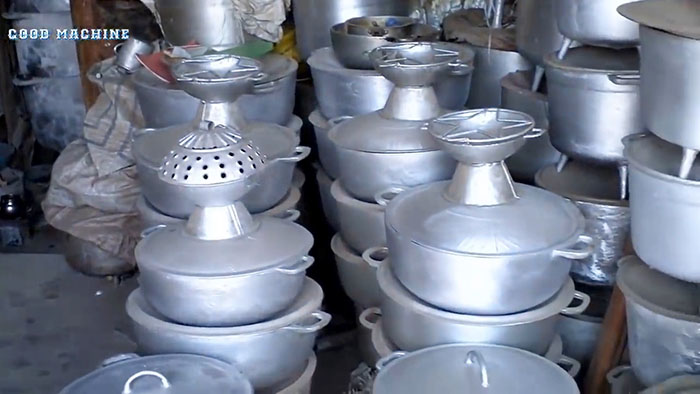
We process the cooled castings with a whetstone and sandpaper to give them a marketable appearance. It’s a good idea to wash the dishes thoroughly and boil water in them.

Will need
Everything you need for work can be mined in a nearby quarry, collected on the street, or bought from a metal acceptor:
- aluminum scrap;
- metal barrel;
- steel container;
- charcoal;
- quartz sand and clay;
- talc.
To comply with the technology and process safety, we will acquire: pliers, a tamper and mallet, a shovel and trowel, a grindstone and sandpaper.
Aluminum casting process at home
This work consists of the following stages:
- making sand molds;
- smelting aluminum scrap;
- pouring liquid metal into molds;
- cooling the casting mold with water;
- removing castings from sand molds;
- processing of castings.
Making sand molds
The molding mixture is prepared from quartz sand (90%), ordinary clay (7%) and water (3%). Mix everything well with a shovel so that there are no lumps or foreign inclusions.

To make the desired cavity in the molding mix, it is better to use a finished product: a saucepan, cauldron, lid, etc.
Pour molding mixture onto the non-combustible floor. We place the finished product on it and compact the mixture underneath it, pressing the form-forming object with our feet.

We rake and pour the mixture around the perimeter of the model and also compact it with our feet and a mallet. Use a trowel to remove excess mixture from the forming object.
We place the wooden flask on the compacted mixture with the model inside. We pour a mixture of sand and clay into it, compacting it with a tamper and feet.

We make a hole in the mixture on top for pouring liquid metal. We remove the excess mix around the flask, lift it with the upper imprint of the melted object in the molding sand and set it aside.
There was a bottom imprint of the thing we are going to make on the floor, covered by the model. Carefully remove it and correct the surface of the lower print if necessary.


Sprinkle both surfaces by shaking the thin cloth bag containing talcum powder. This will prevent the mixture from sticking to the casting during crystallization.


Using the marks, we place the flask with the upper imprint on the lower one. The mold is ready for pouring liquid metal.

Aluminum scrap smelting

Instead of a stove, we use a metal barrel with a cutout at the bottom to add fuel and supply air for combustion. You can also make a series of holes in the barrel for this purpose.

We place a crucible with clean and crushed aluminum scrap on the burning coals, which will soon begin to melt and turn into a liquid state.

In this case, impurities and contaminants will rise to the surface of the melt, which must be removed.

Pouring liquid metal into molds
We bring the crucible with the melt to the flask with pliers and pour the contents in a continuous stream until the cavity and sprue are filled. If the casting has a complex shape, we make holes on top of the flask for air to escape.

Crystallization of the metal begins when it is poured into the mold. To make the process go faster and better, spray the outer surface of the mold with water to cool.
Removing castings and processing them
After the water has dried, turn the flask over and grab the casting with pliers. While it is still hot, scoop out some molding mixture and begin to rotate the product. This way we will get rid of the stuck earth.

We process the cooled castings with a whetstone and sandpaper to give them a marketable appearance. It’s a good idea to wash the dishes thoroughly and boil water in them.


Watch the video
Similar master classes
Particularly interesting
Comments (1)

