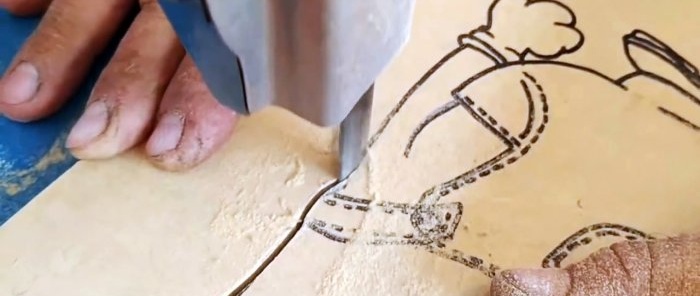
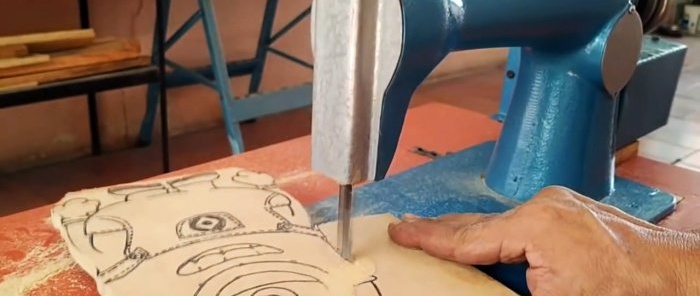
How to convert a sewing machine into a jigsaw
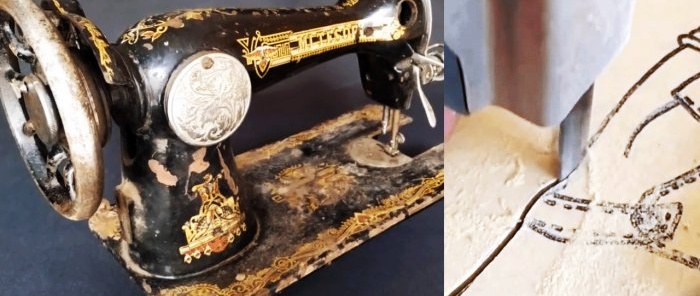
An old manual sewing machine can be converted into a jigsaw. It has a cast body, so a homemade product made from it can surpass even factory jigsaws from leading brands in strength. The advantages of the process of converting a sewing machine into a jigsaw are its simplicity, since structurally it already has almost all the necessary mechanisms.
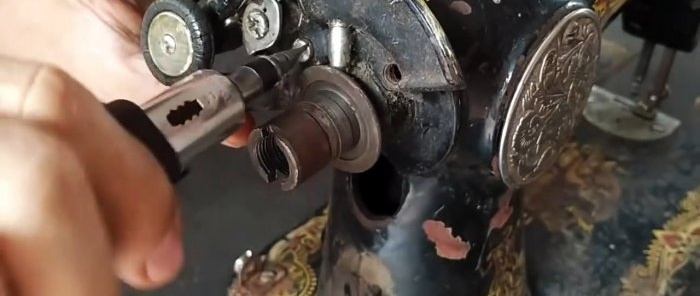
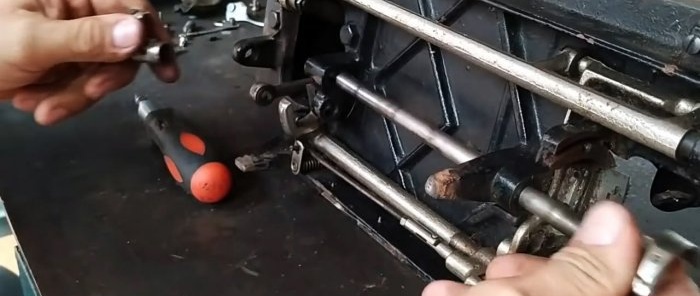
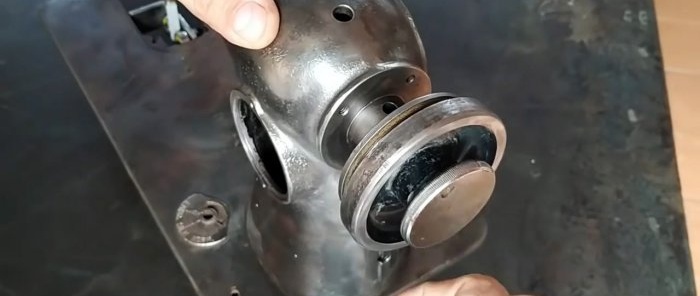
First you need to dismantle the flywheel with the entire winding mechanism.
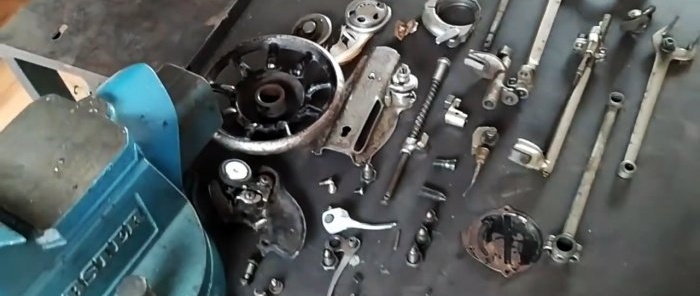
Then, in the working part, the front cover, the presser foot rod, the needle plate, the shuttle stroke and the rest of the parts under the sole are removed.
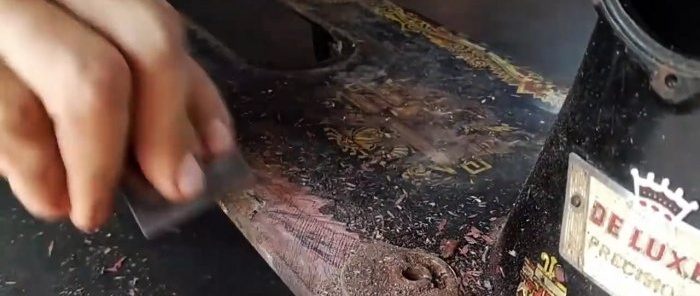
If you want to paint the jigsaw further, you should immediately peel off the paint and sand it.
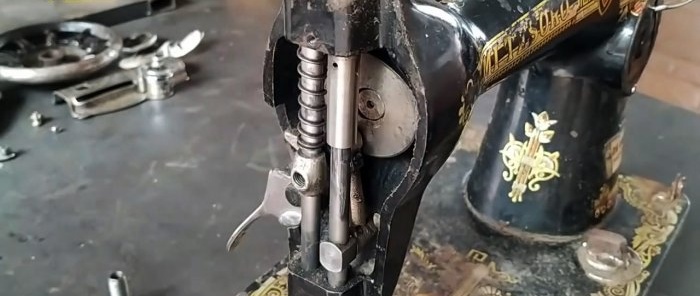
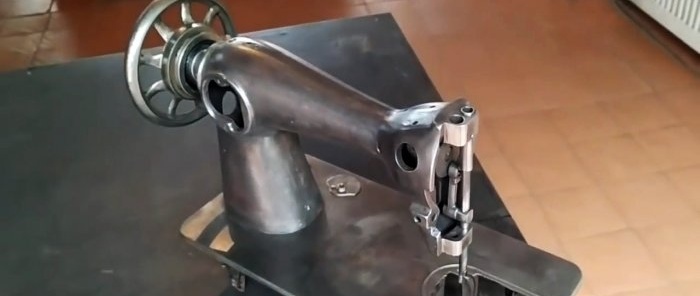
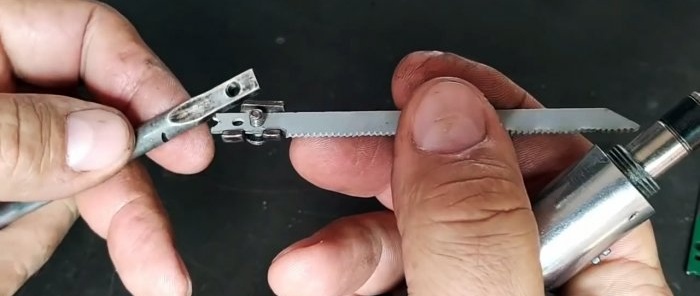
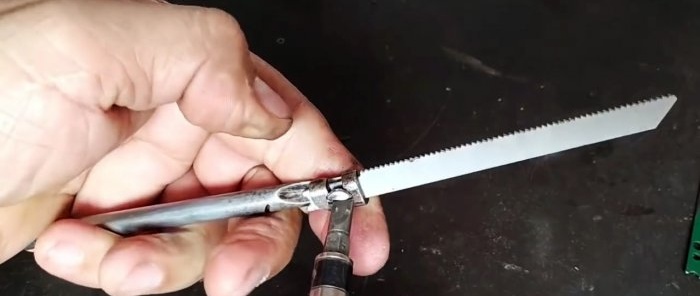
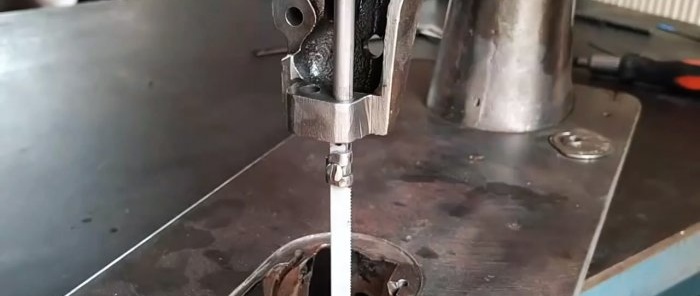
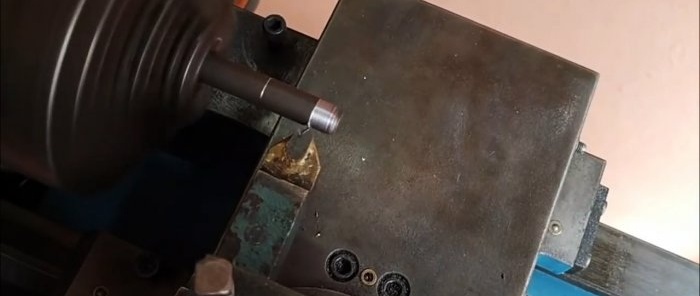
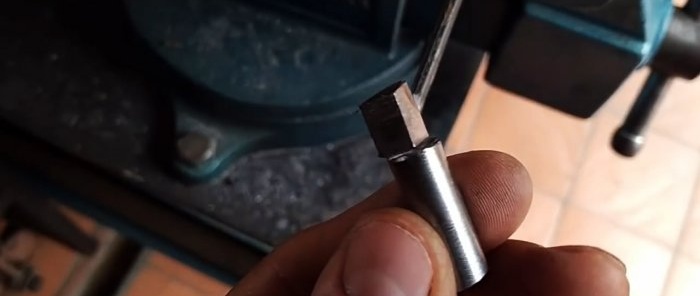
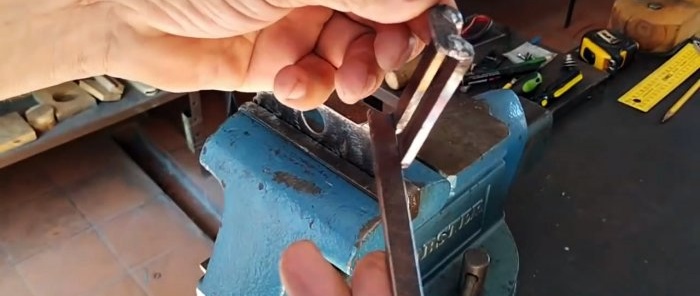
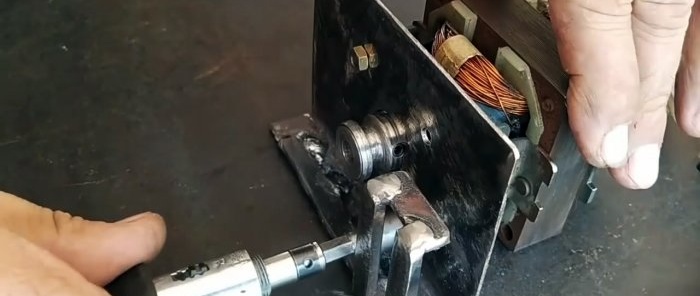
Next, you need to remove the needle bar and replace it with a longer presser foot rod. To fix the saw blade on it, you need to cut the saw foot bracket. This will allow you to clamp the nail file with a screw.
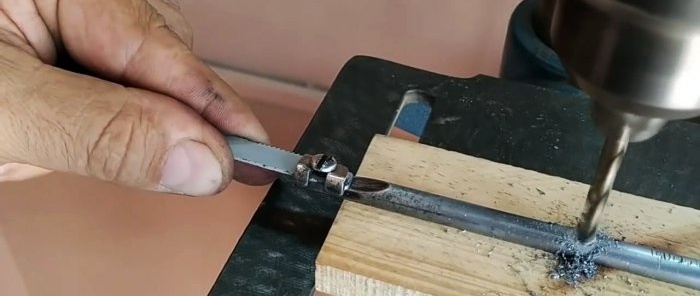
You will also need to drill a recess on the rod as on a needle bar. The connecting rod mechanism clamping screw will be screwed into it.
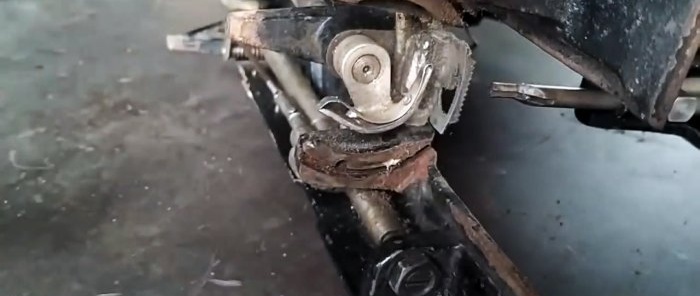
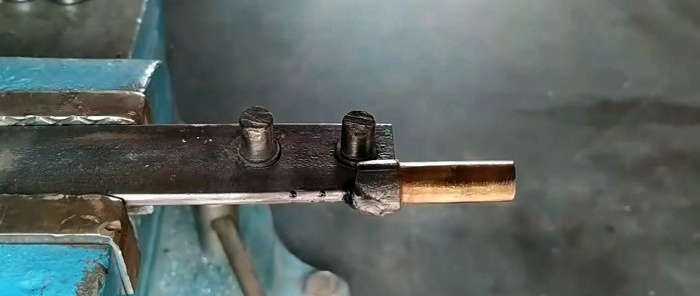
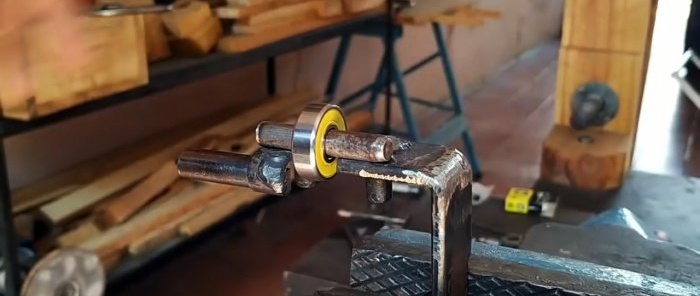
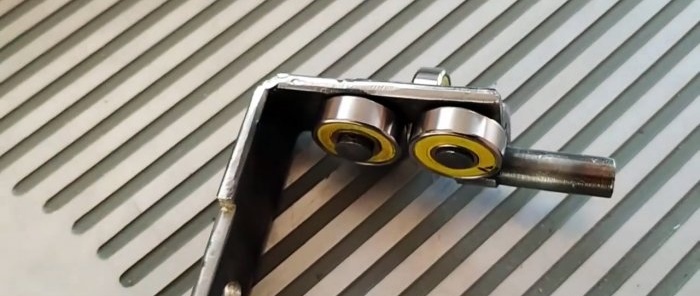
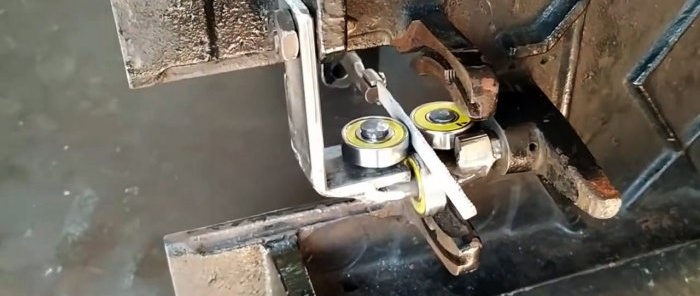
The next step is to make a bottom guide to support the nail file. It will be installed under the sole. The guide is made of three bearings.
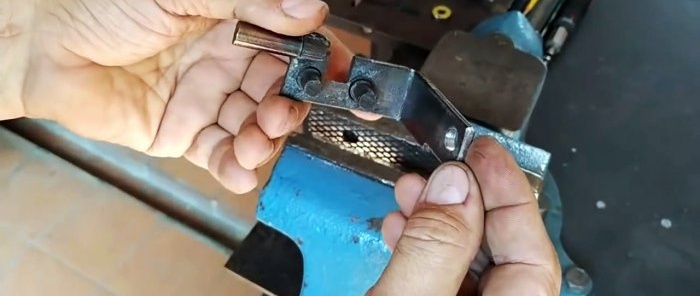
Of these, two support the canvas on the sides, and one prevents it from deflecting towards the edge. The base of the guide is bent from the strip, onto which rods are welded, machined to the inner diameter of the bearings. It is made in such a shape that it can be installed in the standard lugs from the dismantled mechanisms under the sole of the machine.
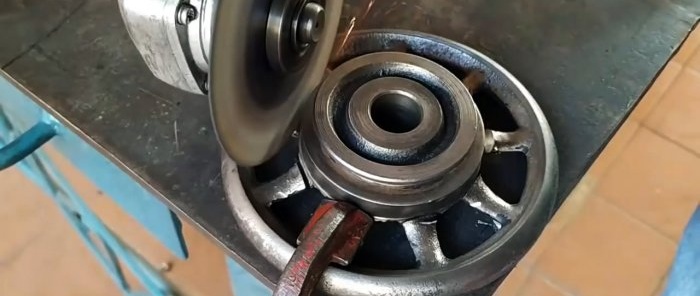
Next, you need to cut off the flywheel, leaving only the pulley. Then he returns to his regular place.
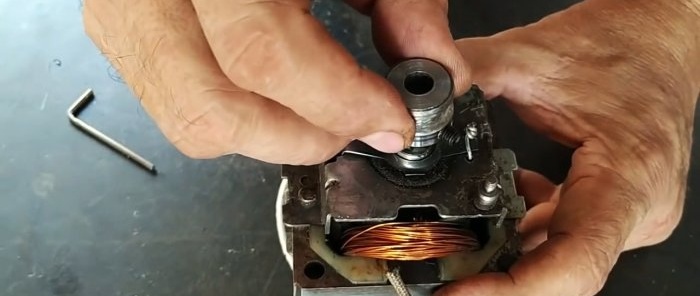
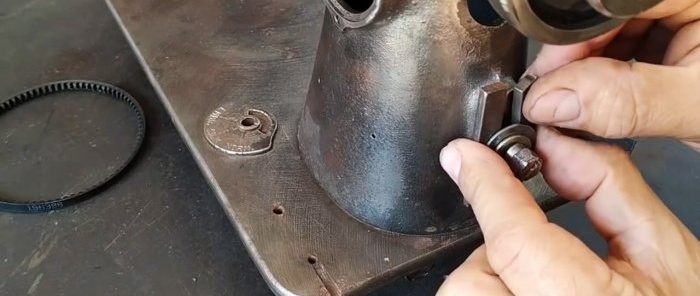
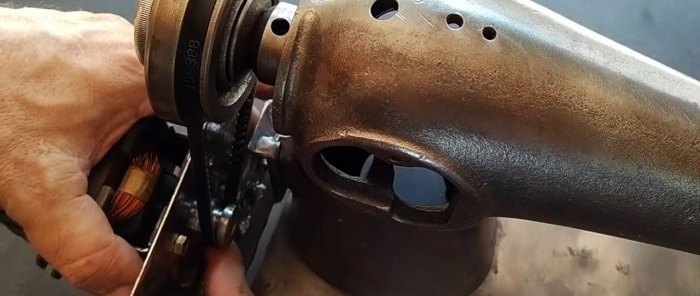
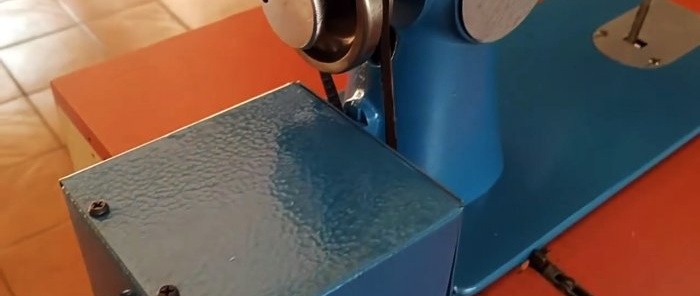
A stand is bent from sheet steel to install an electric motor. A foot is welded to it for fastening to the standard hole in the front part of the machine body. A small pulley is attached to the engine, and the motor is mounted on a stand. Then the stand is screwed to the machine. The drive belt is tensioned between the pulleys. Also, a protective casing for the motor is bent from thin sheet steel.
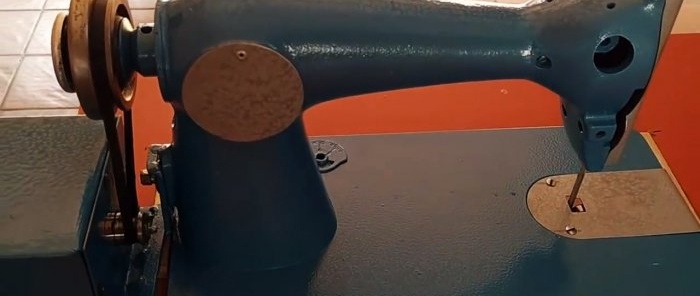
Now all that remains is to paint everything and lubricate the mechanisms with oil. After painting, the front cover and needle plate are installed in place. Before this, you will need to cut a window in the plate so that the saw blade can pass through it.
It is really convenient to work on the resulting jigsaw machine, since the ergonomics of the machine are designed for use by a seamstress for many hours a day. The device, with a sufficiently powerful motor, cuts everything and has no disadvantages, except perhaps bulkiness.
Materials:
- sewing machine;
- small bearings 3 pcs.;
- steel strip 20 mm;
- Sheet steel;
- electric motor;
- wire with plug.
Converting a sewing machine into a jigsaw
First you need to dismantle the flywheel with the entire winding mechanism.
Then, in the working part, the front cover, the presser foot rod, the needle plate, the shuttle stroke and the rest of the parts under the sole are removed.
If you want to paint the jigsaw further, you should immediately peel off the paint and sand it.
Next, you need to remove the needle bar and replace it with a longer presser foot rod. To fix the saw blade on it, you need to cut the saw foot bracket. This will allow you to clamp the nail file with a screw.
You will also need to drill a recess on the rod as on a needle bar. The connecting rod mechanism clamping screw will be screwed into it.
The next step is to make a bottom guide to support the nail file. It will be installed under the sole. The guide is made of three bearings.
Of these, two support the canvas on the sides, and one prevents it from deflecting towards the edge. The base of the guide is bent from the strip, onto which rods are welded, machined to the inner diameter of the bearings. It is made in such a shape that it can be installed in the standard lugs from the dismantled mechanisms under the sole of the machine.
Next, you need to cut off the flywheel, leaving only the pulley. Then he returns to his regular place.
A stand is bent from sheet steel to install an electric motor. A foot is welded to it for fastening to the standard hole in the front part of the machine body. A small pulley is attached to the engine, and the motor is mounted on a stand. Then the stand is screwed to the machine. The drive belt is tensioned between the pulleys. Also, a protective casing for the motor is bent from thin sheet steel.
Now all that remains is to paint everything and lubricate the mechanisms with oil. After painting, the front cover and needle plate are installed in place. Before this, you will need to cut a window in the plate so that the saw blade can pass through it.
It is really convenient to work on the resulting jigsaw machine, since the ergonomics of the machine are designed for use by a seamstress for many hours a day. The device, with a sufficiently powerful motor, cuts everything and has no disadvantages, except perhaps bulkiness.
Watch the video
Similar master classes
How to make a hand sewing machine for leather
Do-it-yourself mini jigsaw 3.7 V
Jigsaw from a compressor from a refrigerator
How to assemble a string jigsaw for figure cutting

How to convert a light motorcycle into an electric bike with minimal
How to make a drilling machine from a jack and a washing machine motor
Particularly interesting
Comments (1)

