Clamp from a sealant gun
In the home workshop, a standard hand tool is quite capable of turning into an unusually practical gadget. And today we will tell you how to convert a regular silicone gun into a crimp gun for tightening water garden hoses.
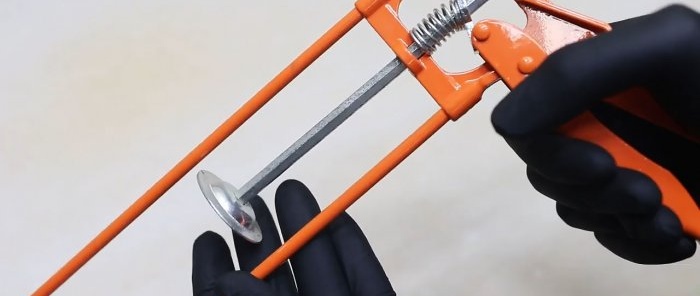
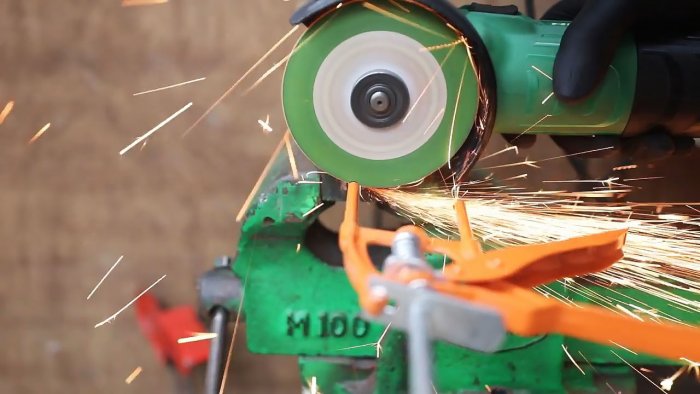
Pull out the gun clamp all the way and mark the guides with a marker at a distance of about 6-7 cm from the base. We make the hexagon of the clamp longer by 4-5 cm from the size of the guides. Using the markings, we make cuts using a grinder cutting disc.
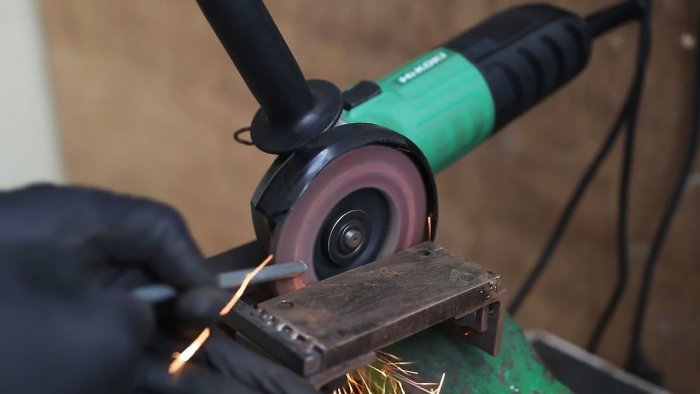
By pressing the trigger lever, we pull the clamp out of the gun completely. We work the edges at the end with a sharpener or grinder.
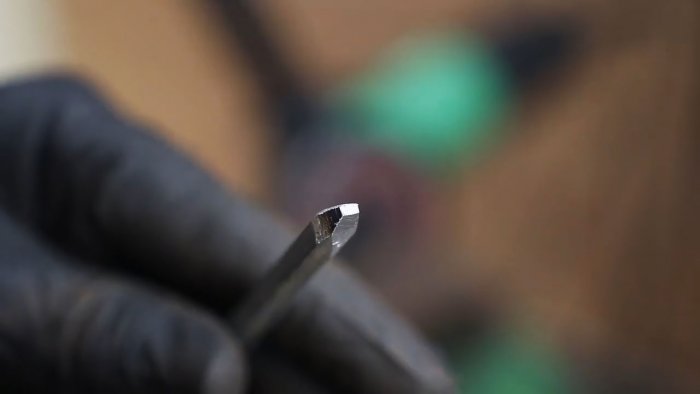
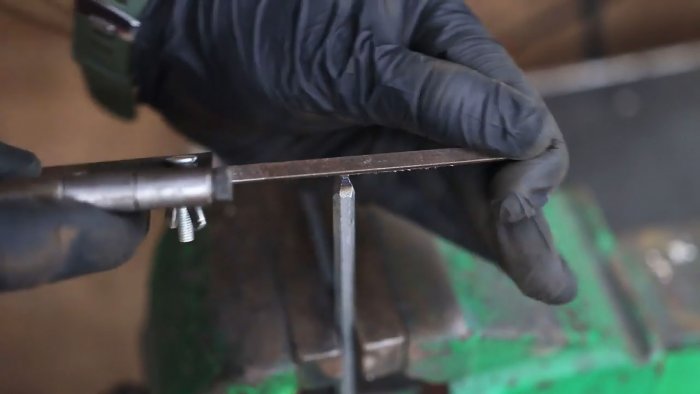
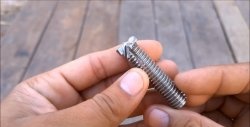
The cone should be slightly blunt. We remove burrs with a file. We also use it to make a small recess for the wire at the tip of the clamp.
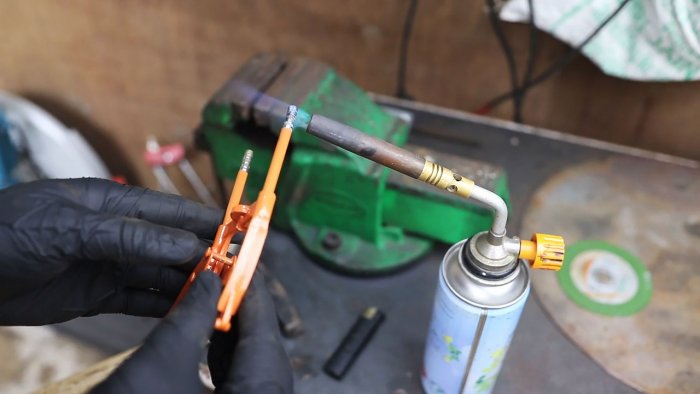
We clean the ends of the guides from paint and release them on a gas burner.
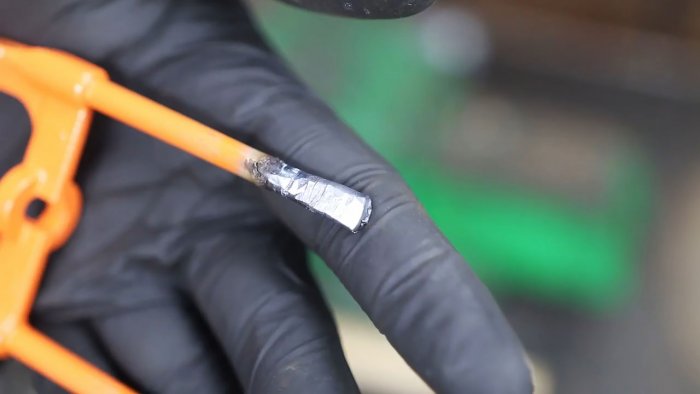
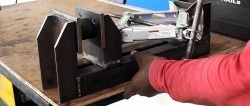
This will make the metal softer and can be slightly flattened.This can be done in a vice or anvil. The result should be flat ends that can be drilled later.
Before drilling, we mark the future holes with a core and drill with a drill with a diameter of about 2-3 mm so that the wire can be easily threaded through them.
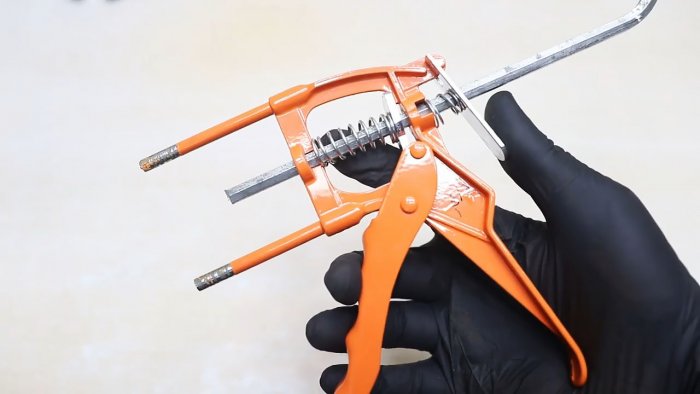
We put the spring mechanism with the release lever in place, and thread the hexagon through it. The device is ready!
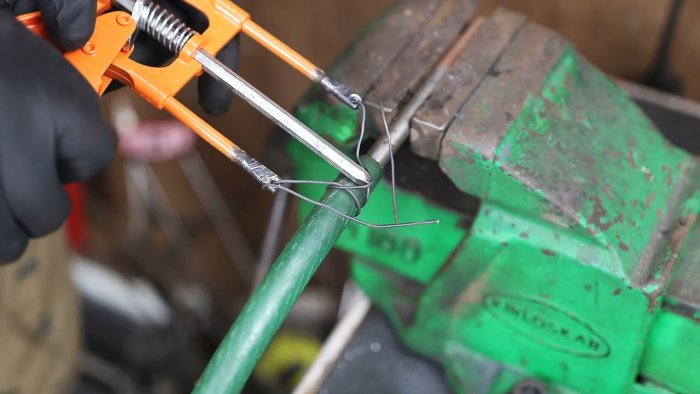
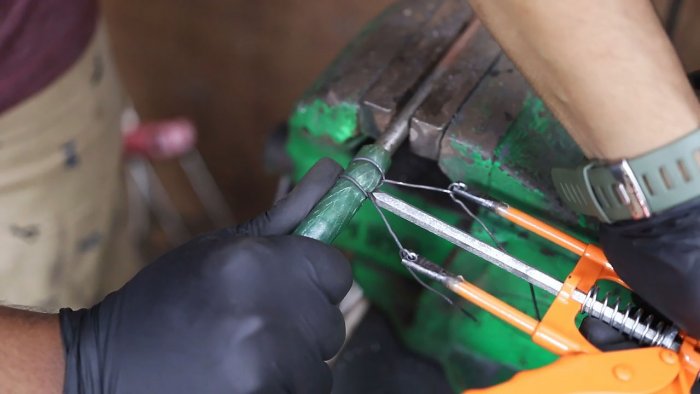
It's time to try it out. We put a water hose on a round blank simulating a pipe. We tighten a loop of knitting wire at the base, the free ends of which we thread through the holes on the gun guides.
The clamp should rest against the arc of the loop. We pull the connection with the trigger of the gun to the maximum and turn it around its axis.
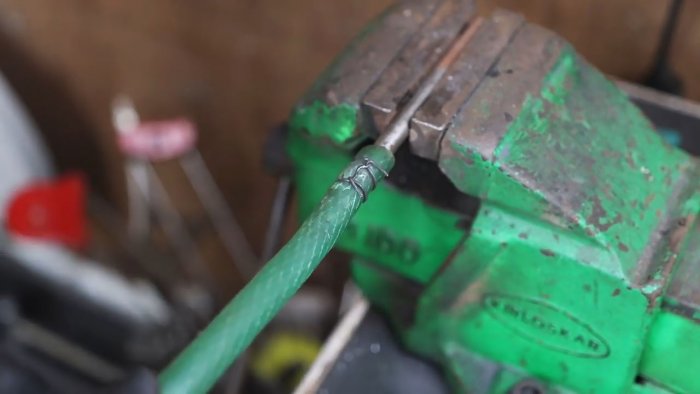
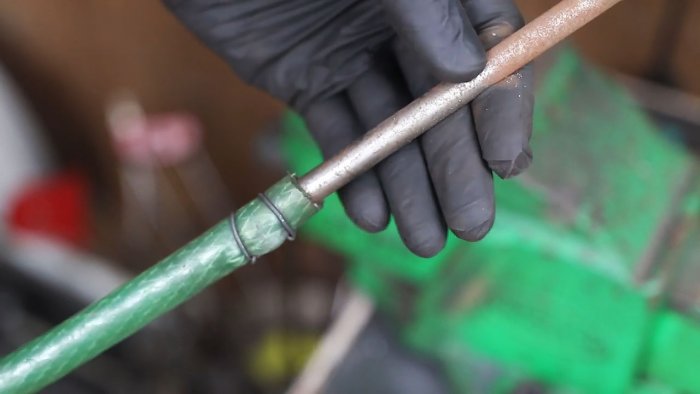
Thus, we get something similar to a standard wire clamp, only made much faster, simpler and more accurately thanks to a simple homemade device for crimping hoses.
For work we will need:
- A gun for squeezing out sealant or silicone;
- Vise;
- Electric sandpaper or grinder (angle grinder) with a grinding disc;
- Drill with a set of drills (or precision);
- Small triangular file;
- Hammer;
- Marker for marking.
We make a clamp
Pull out the gun clamp all the way and mark the guides with a marker at a distance of about 6-7 cm from the base. We make the hexagon of the clamp longer by 4-5 cm from the size of the guides. Using the markings, we make cuts using a grinder cutting disc.
By pressing the trigger lever, we pull the clamp out of the gun completely. We work the edges at the end with a sharpener or grinder.
The cone should be slightly blunt. We remove burrs with a file. We also use it to make a small recess for the wire at the tip of the clamp.
We clean the ends of the guides from paint and release them on a gas burner.
This will make the metal softer and can be slightly flattened.This can be done in a vice or anvil. The result should be flat ends that can be drilled later.
Before drilling, we mark the future holes with a core and drill with a drill with a diameter of about 2-3 mm so that the wire can be easily threaded through them.
We put the spring mechanism with the release lever in place, and thread the hexagon through it. The device is ready!
It's time to try it out. We put a water hose on a round blank simulating a pipe. We tighten a loop of knitting wire at the base, the free ends of which we thread through the holes on the gun guides.
The clamp should rest against the arc of the loop. We pull the connection with the trigger of the gun to the maximum and turn it around its axis.
Thus, we get something similar to a standard wire clamp, only made much faster, simpler and more accurately thanks to a simple homemade device for crimping hoses.
Watch the video
Similar master classes
Particularly interesting
Comments (0)

