Gift wrap
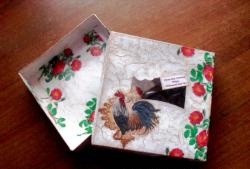
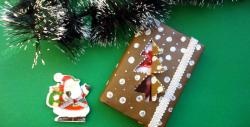
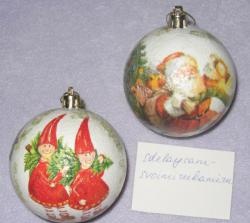
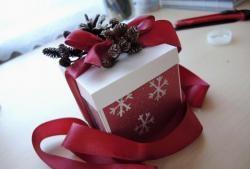
Sometimes the originality of a gift depends not on the gift itself, but on its packaging. You can, for example, buy a couple of candles or a small towel with the symbol of the coming new year. Such present relatively cheap, but quite practical. However, their simplicity is not captivating. What to do? The answer is simple: package it beautifully! And make the packaging from what you have...
Degrease the jar with any alcohol or soap solution.
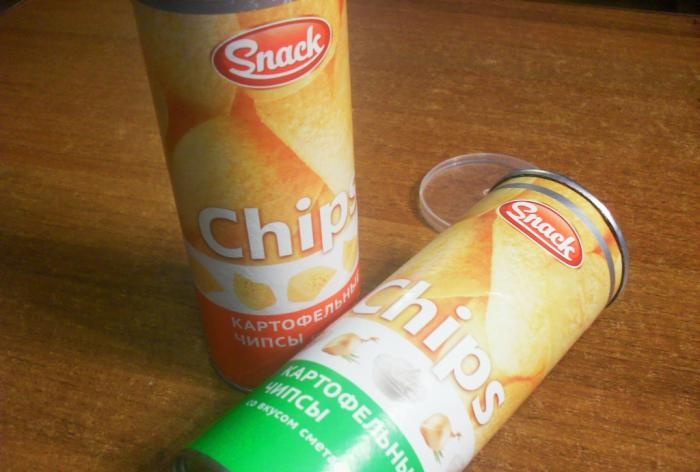
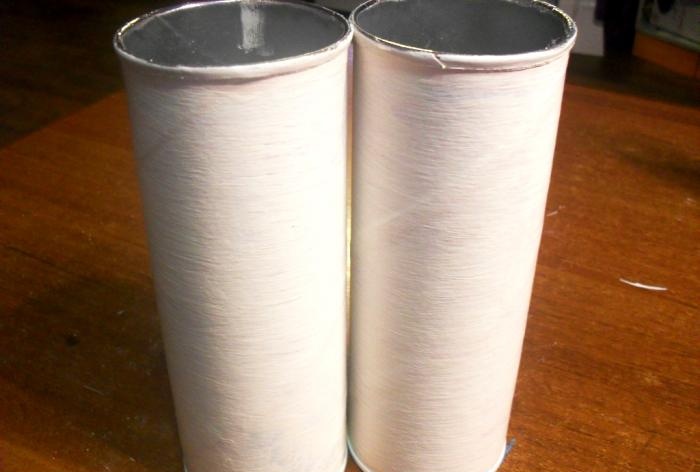
We cover the entire surface with several layers of white gouache paint (so that the label design does not show through).
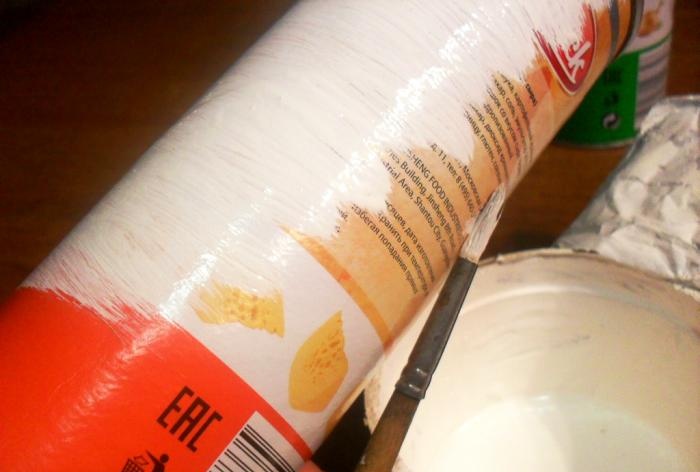
Dry each layer thoroughly.
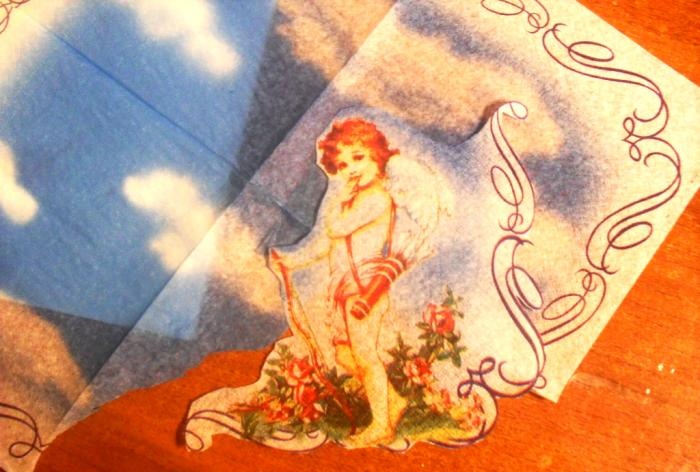
We separate multi-layer decoupage napkins (removing excess layers) and cut out the desired motif.
We apply the cutting to the jar and carefully apply PVA glue to the surface of the cutting with a soft brush, smoothing out all the wrinkles and squeezing out excess air bubbles.
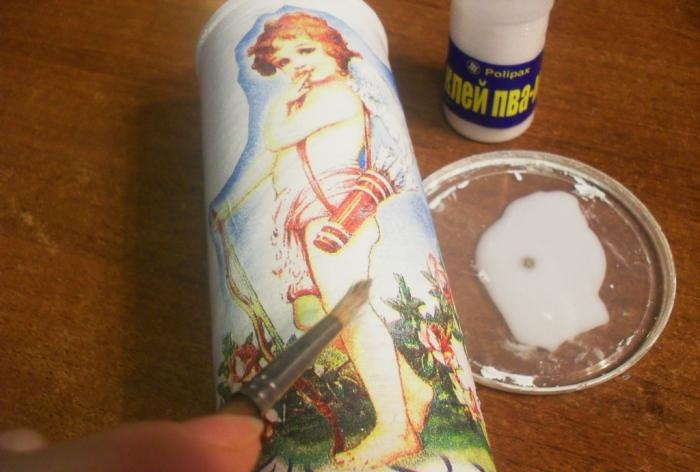
We dry the resulting beauty.
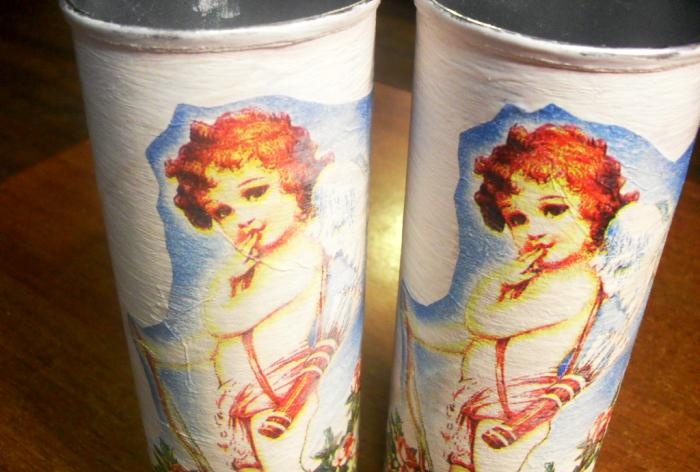
Third stage: decorate the surface of the jar.
We take silver paint and use a sponge to “poke” the entire jar, trying not to touch the edges of the decoupage cutout.
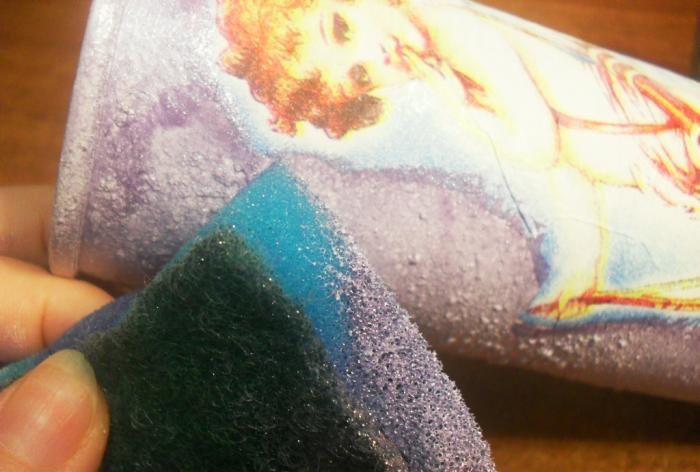
We apply a couple of layers of silver paint so that the toning is uniform, without streaks or thick spots.
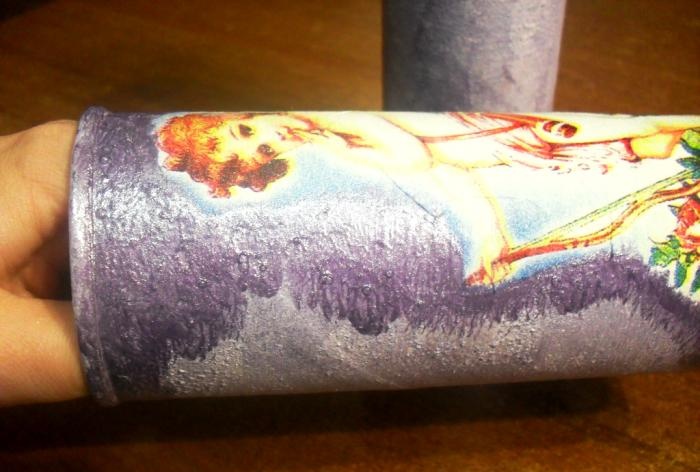
Apply a thick layer of craquelure varnish to the surface of the decoupage cutout (be sure to move the brush in one direction).
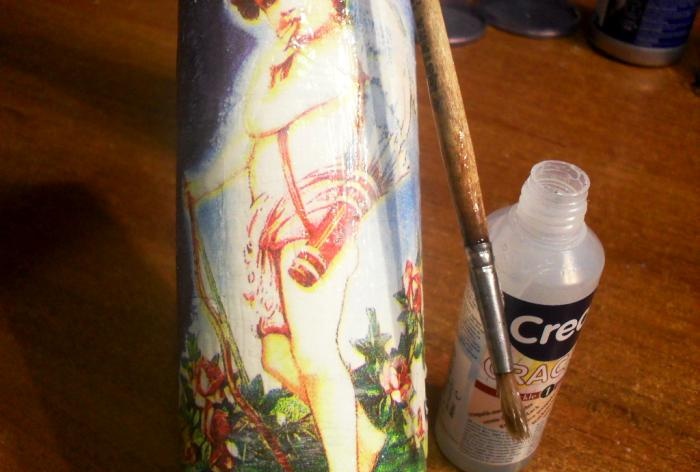
We are waiting for the varnish to dry completely and small cracks to form.
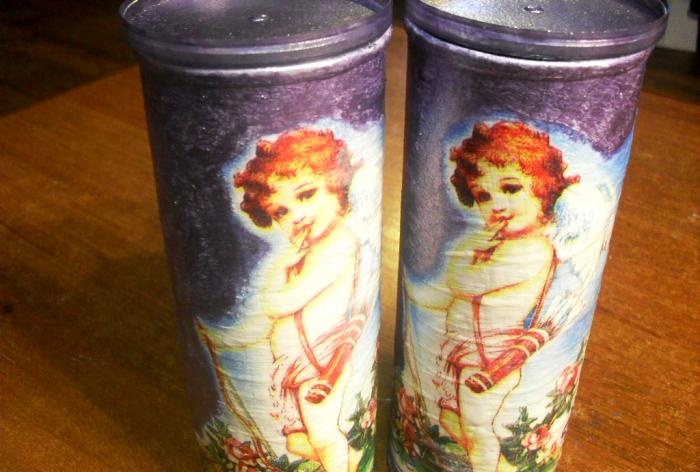
To shade the cracks, use dark gray eye shadow, filling the crack grooves with it.
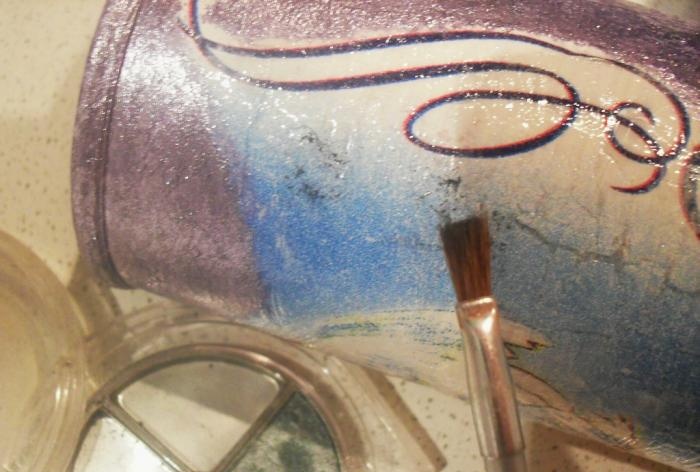
Using a damp soft sponge (without pressing on it) we remove excess shadows (that fall into places near the cracks).
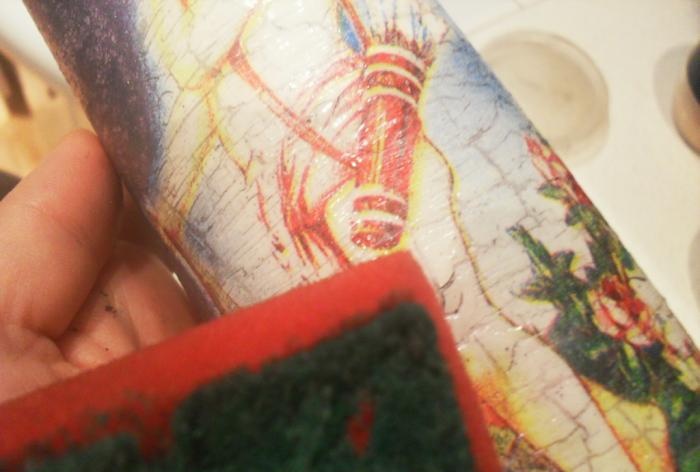
The result is an aged drawing.
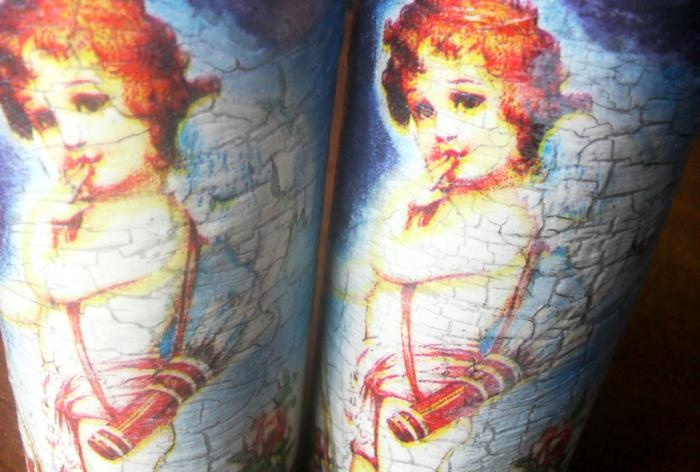
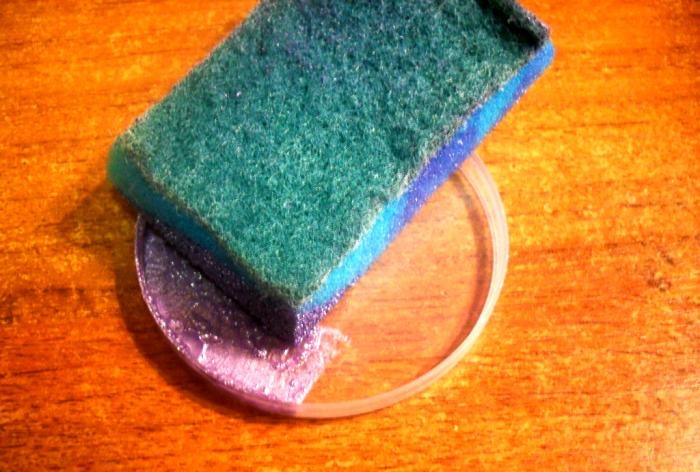
On the inside of the lid we “poke” it with silver paint using a soft sponge.
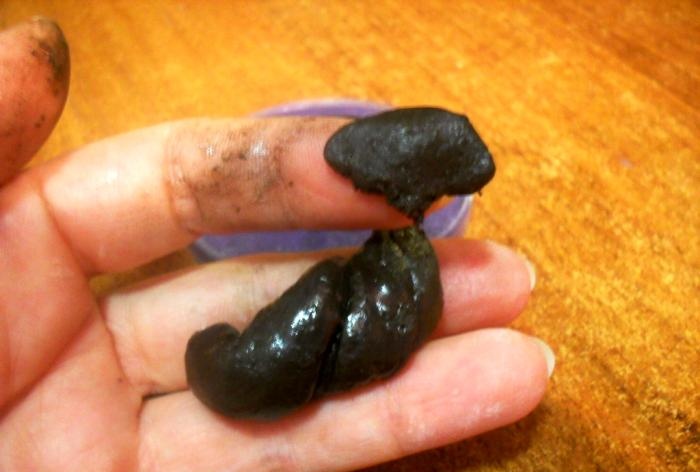
Knead the “cold welding” to a uniform soft mass.
We screw a short self-tapping screw into the lid so that its tip extends to the front side. We hide the self-tapping screw under the “cold welding” strip.
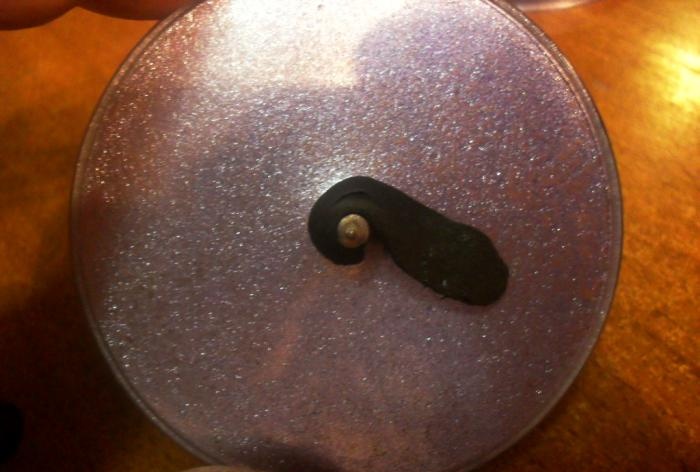
Add a few flattened “cold welded” strips, imitating a flower.
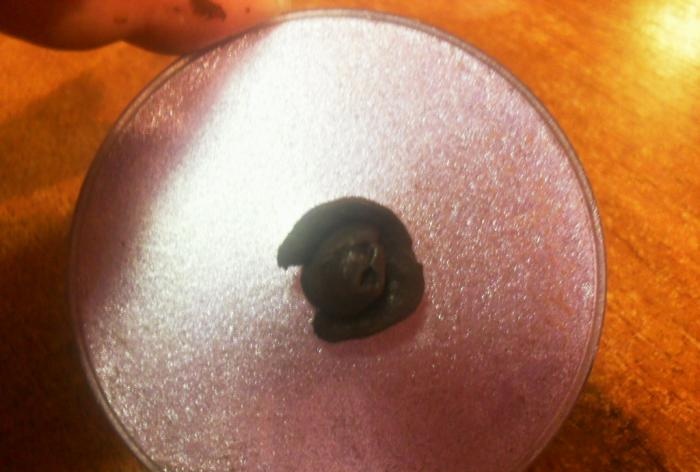
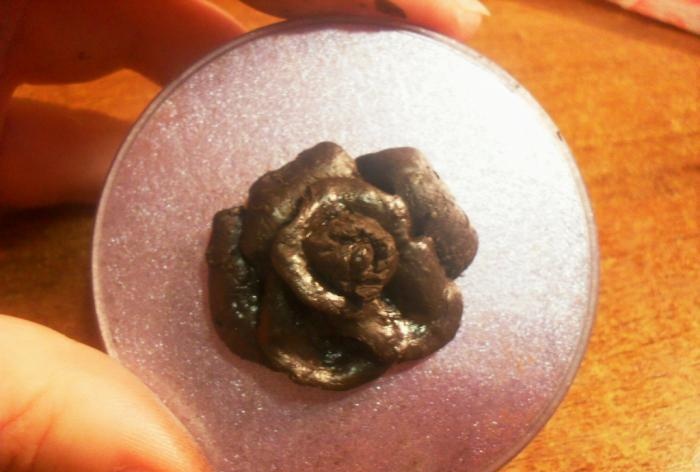
After the weld has dried, carefully, trying not to touch the lid itself, paint the surface of the flower with white gouache.
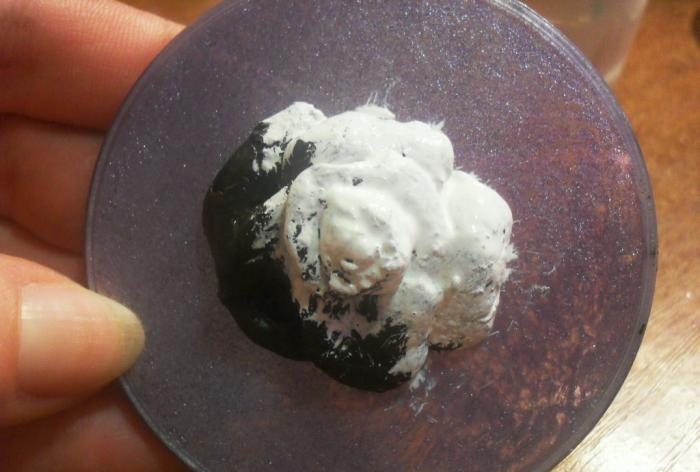
We tint the edges of each “petal” with red strokes (applying even strokes along the edges and torn strokes on the leaves).
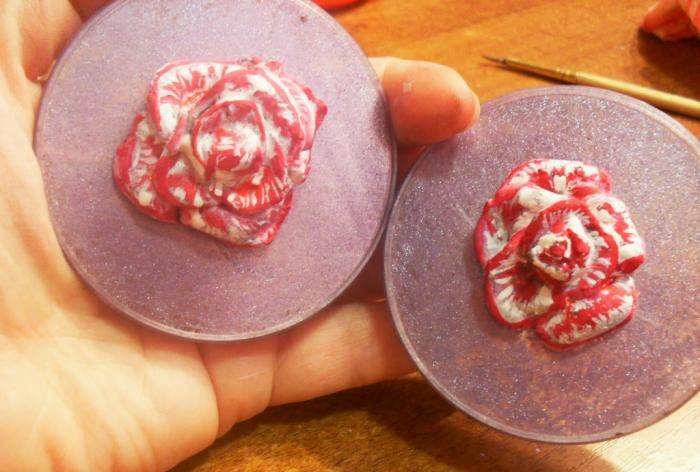
We cover the flower with several layers of acrylic varnish (carefully coating the inside of the petals), the jar (including the decoupage cutout) and the inner surface of the lid (after tinting the screw head with silver).
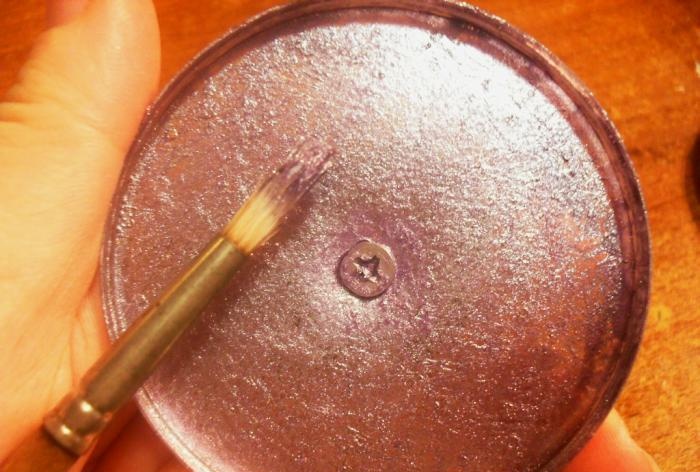
Now the original packaging is ready for a completely unoriginal gift.
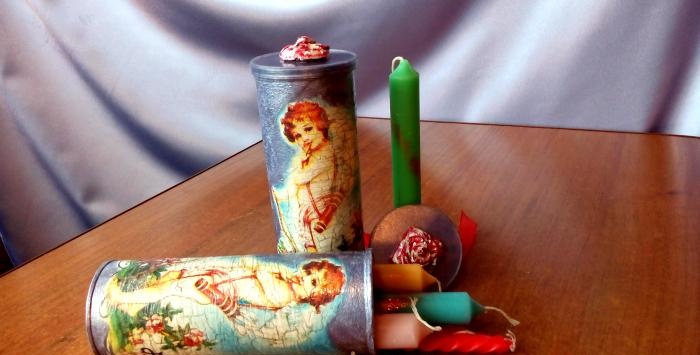
Even if the gift is not very welcome, the packaging will definitely attract attention and take its rightful place in the recipient’s interior.
Materials for work:
- Cardboard jar of chips – 1 pc.;
- “Cold welding” – 1 piece;
- Self-tapping screw – 1 piece;
- Decoupage napkins – 1 piece;
- White gouache, silver gouache, squirrel brush, PVA glue, craquelure varnish, acrylic, dish sponge, gray crumbly eye shadow.
Stages of work:
First stage: preparing the base.
Degrease the jar with any alcohol or soap solution.

We cover the entire surface with several layers of white gouache paint (so that the label design does not show through).

Dry each layer thoroughly.

Second stage: decoupage.
We separate multi-layer decoupage napkins (removing excess layers) and cut out the desired motif.

We apply the cutting to the jar and carefully apply PVA glue to the surface of the cutting with a soft brush, smoothing out all the wrinkles and squeezing out excess air bubbles.

We dry the resulting beauty.

Third stage: decorate the surface of the jar.
We take silver paint and use a sponge to “poke” the entire jar, trying not to touch the edges of the decoupage cutout.

We apply a couple of layers of silver paint so that the toning is uniform, without streaks or thick spots.

Fourth stage: cutout craquelure.
Apply a thick layer of craquelure varnish to the surface of the decoupage cutout (be sure to move the brush in one direction).

We are waiting for the varnish to dry completely and small cracks to form.

To shade the cracks, use dark gray eye shadow, filling the crack grooves with it.

Using a damp soft sponge (without pressing on it) we remove excess shadows (that fall into places near the cracks).

The result is an aged drawing.

Fifth stage: lid decoration.
On the inside of the lid we “poke” it with silver paint using a soft sponge.

Knead the “cold welding” to a uniform soft mass.

We screw a short self-tapping screw into the lid so that its tip extends to the front side. We hide the self-tapping screw under the “cold welding” strip.

Add a few flattened “cold welded” strips, imitating a flower.


After the weld has dried, carefully, trying not to touch the lid itself, paint the surface of the flower with white gouache.

We tint the edges of each “petal” with red strokes (applying even strokes along the edges and torn strokes on the leaves).

We cover the flower with several layers of acrylic varnish (carefully coating the inside of the petals), the jar (including the decoupage cutout) and the inner surface of the lid (after tinting the screw head with silver).

Now the original packaging is ready for a completely unoriginal gift.

Even if the gift is not very welcome, the packaging will definitely attract attention and take its rightful place in the recipient’s interior.
Similar master classes
Particularly interesting
Comments (0)

