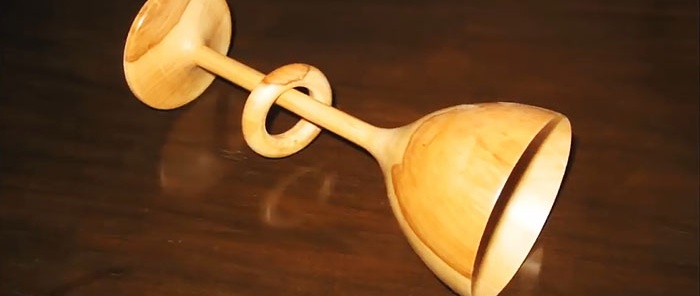
Puzzle: Wooden cup with ring
Surely each of us at school took labor lessons that were devoted to turning. They sharpened not God knows what, usually they were handles for files, small figures of some kind of candlesticks or something like that. We invite you to plunge back into the world of the art of wood turning and try to make not just “something”, but a real goblet with a ringed stem. A kind of puzzle to think about how the ring got on the leg of the cup, for those who don’t know, of course.
Having secured the workpiece in the faceplate, we press it with the tailstock of the lathe. It is advisable to center it as much as possible by marking the end with several criss-cross lines. If the wood is dense, the workpiece can be lightly hit with a mallet.
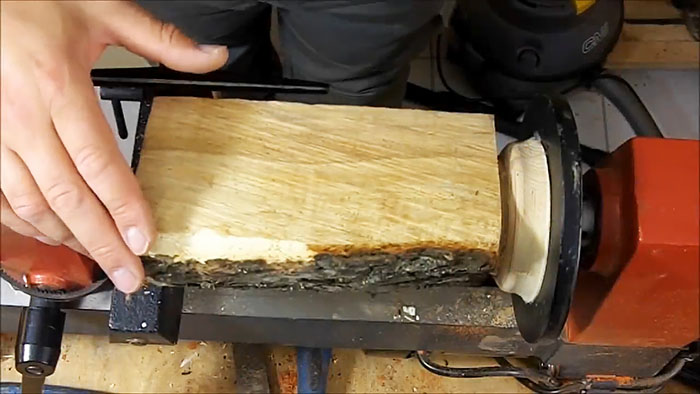
We rough turn the block with a semicircular cutter.It should be moved carefully along the tool rest, due to excessive vibration at the beginning of work. We round the workpiece until the tree bark is completely gone and the wood texture is fully revealed.
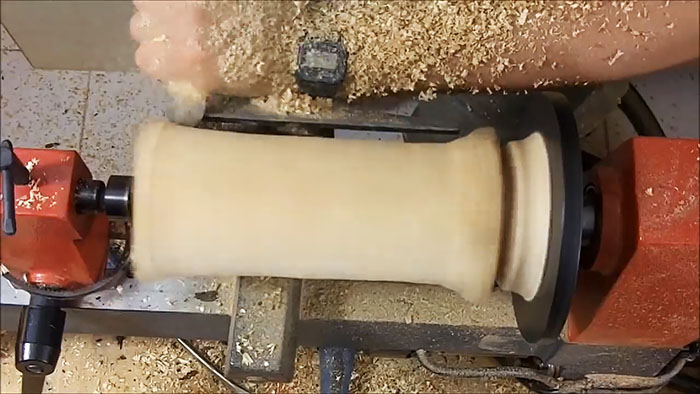
We start forming the cup from its upper part, or bowl. We give it the shape of a rounded cone, and then, removing the tailstock and placing a stop, we process its internal cavity from the end. It is most practical to do this with the same semicircular cutter. We process the notches from the cutter inside the bowl with sandpaper by hand.
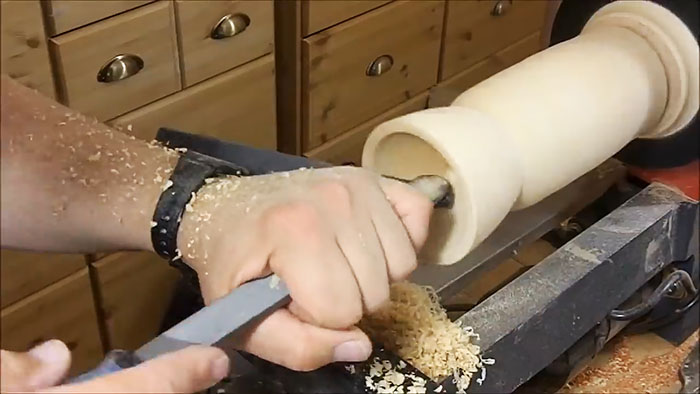
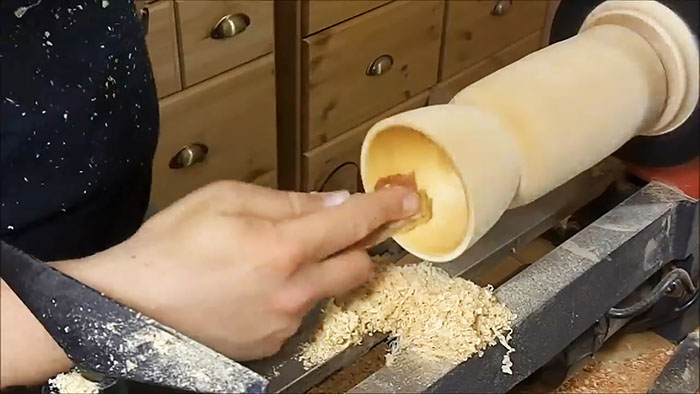
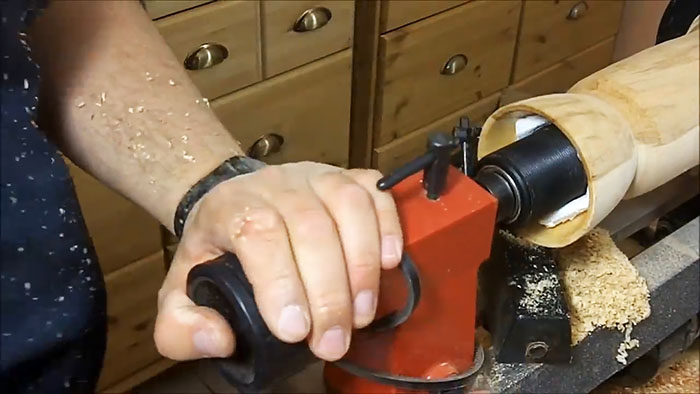
Next, use the tailstock to press the inner cavity of the bowl through a small rag or napkin, having first removed the thrust cone from it.
We process the area of the cup's leg, gradually reducing its diameter. When it reaches the size of the ring (about 4-4.5 cm), we select it with a flat cutter, which is usually used to cut off the ends of workpieces.
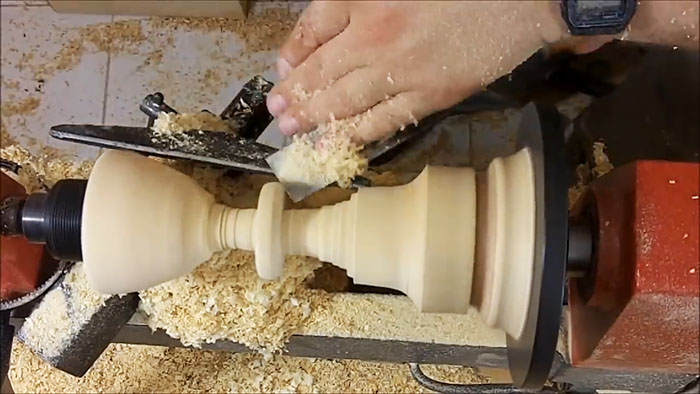
We round off the edges of the ring, leaving the diameter of the stem not too thin, about 2-2.5 cm. Before finally cutting off the inside of the ring, we clean it with sandpaper and a polishing rag.
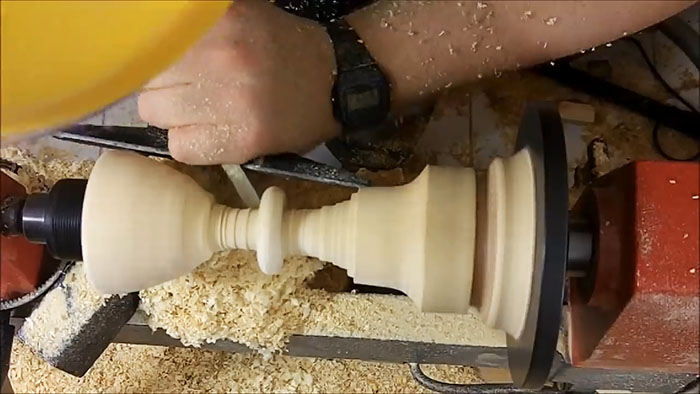
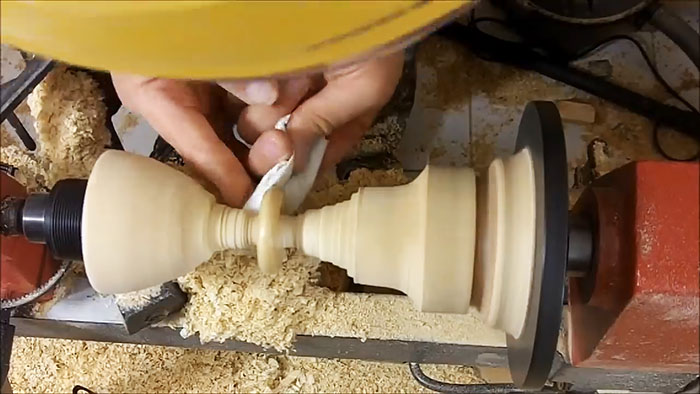
Then we cut off the inside of the ring with a flat truncated cutter.
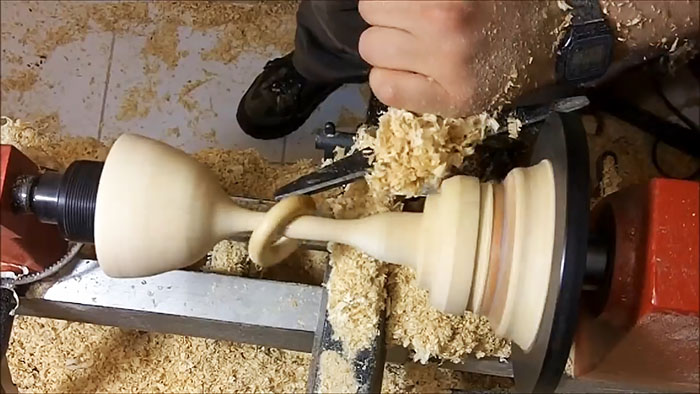
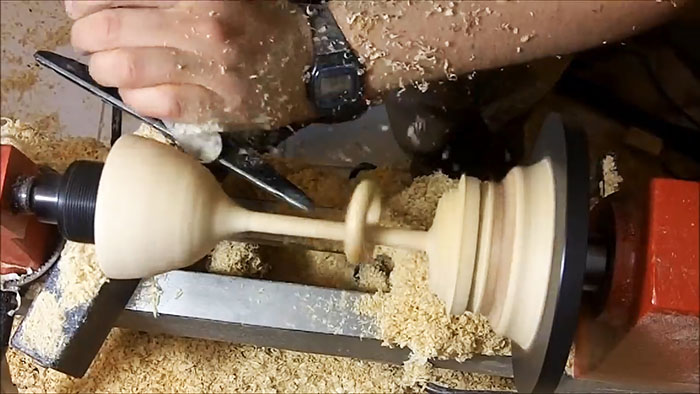
By wrapping a piece of sandpaper on the untreated part of the workpiece leg, you can further sand the inside of the ring.
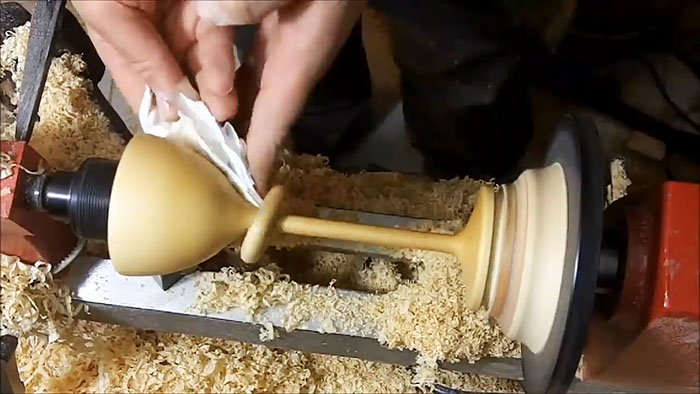
Changing the incisors alternately, we reduce the diameter of the cup's leg to a minimum, not forgetting about the foot or base of the cup. Smooth transitions from the bowl or base to the leg are perfectly achieved with a semicircular cutter, which during processing can be turned with almost any edge towards the workpiece.
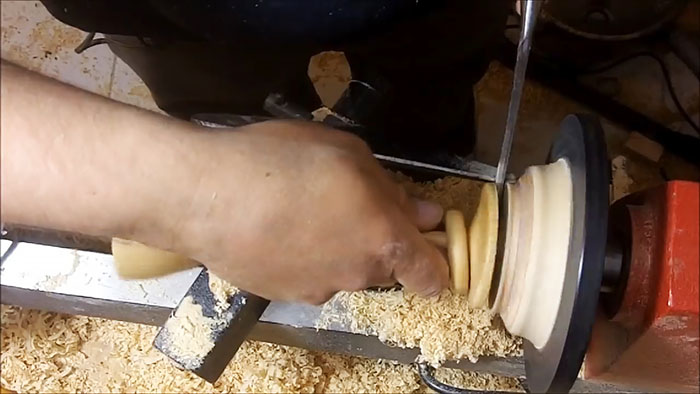
Having finished fine detailing and smoothing all sharp edges, we clean the workpiece with fine sandpaper, which will not leave any roughness or scratches on the wood.Finally, we saturate the surface of the wood by running a piece of wax over it and then polishing it with a paper towel. This way, all the beauty of the texture and moiré pattern will be fully revealed.
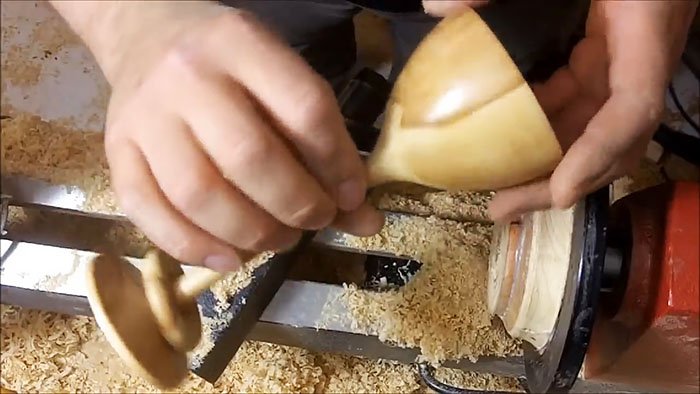
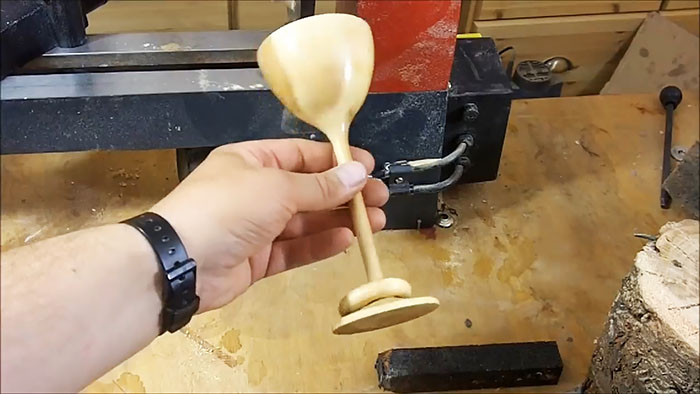
Using a narrow straight cutter and carefully holding the workpiece, we cut it off at the base of the faceplate. The remainder of the cutting part is easily cut off with a chisel.

For work we will need:
- A small wooden block 30-35 cm long, diameter - about 6-8 cm;
- Lathe;
- Faceplate for securing large workpieces;
- Set of turning wood cutters;
- Sandpaper of different grits, a piece of wax and a paper napkin for polishing.
The procedure for using a lathe to make a cup with a ring
Having secured the workpiece in the faceplate, we press it with the tailstock of the lathe. It is advisable to center it as much as possible by marking the end with several criss-cross lines. If the wood is dense, the workpiece can be lightly hit with a mallet.

We rough turn the block with a semicircular cutter.It should be moved carefully along the tool rest, due to excessive vibration at the beginning of work. We round the workpiece until the tree bark is completely gone and the wood texture is fully revealed.

We start forming the cup from its upper part, or bowl. We give it the shape of a rounded cone, and then, removing the tailstock and placing a stop, we process its internal cavity from the end. It is most practical to do this with the same semicircular cutter. We process the notches from the cutter inside the bowl with sandpaper by hand.


Next, use the tailstock to press the inner cavity of the bowl through a small rag or napkin, having first removed the thrust cone from it.
We process the area of the cup's leg, gradually reducing its diameter. When it reaches the size of the ring (about 4-4.5 cm), we select it with a flat cutter, which is usually used to cut off the ends of workpieces.


We round off the edges of the ring, leaving the diameter of the stem not too thin, about 2-2.5 cm. Before finally cutting off the inside of the ring, we clean it with sandpaper and a polishing rag.


Then we cut off the inside of the ring with a flat truncated cutter.


By wrapping a piece of sandpaper on the untreated part of the workpiece leg, you can further sand the inside of the ring.

Changing the incisors alternately, we reduce the diameter of the cup's leg to a minimum, not forgetting about the foot or base of the cup. Smooth transitions from the bowl or base to the leg are perfectly achieved with a semicircular cutter, which during processing can be turned with almost any edge towards the workpiece.

Having finished fine detailing and smoothing all sharp edges, we clean the workpiece with fine sandpaper, which will not leave any roughness or scratches on the wood.Finally, we saturate the surface of the wood by running a piece of wax over it and then polishing it with a paper towel. This way, all the beauty of the texture and moiré pattern will be fully revealed.


Using a narrow straight cutter and carefully holding the workpiece, we cut it off at the base of the faceplate. The remainder of the cutting part is easily cut off with a chisel.
Watch the video
Similar master classes
Particularly interesting
Comments (0)

