How to convert a cordless screwdriver to 220 V
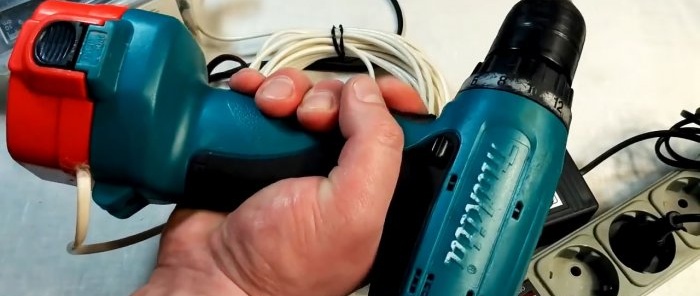
Over time, the battery of a cordless screwdriver wears out, so you have to charge it more often and for longer. In order not to change it, you can switch the tool to mains power, thereby ensuring its uninterrupted operation. If you have a power supply, this can be done in literally half an hour.
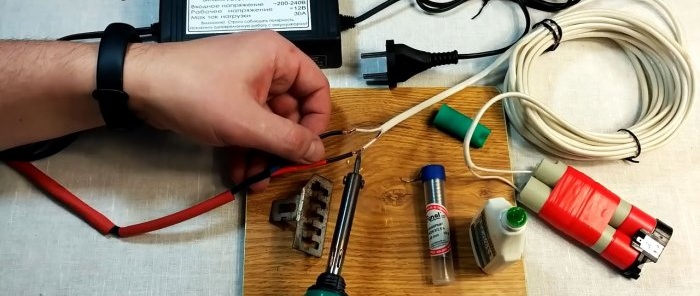
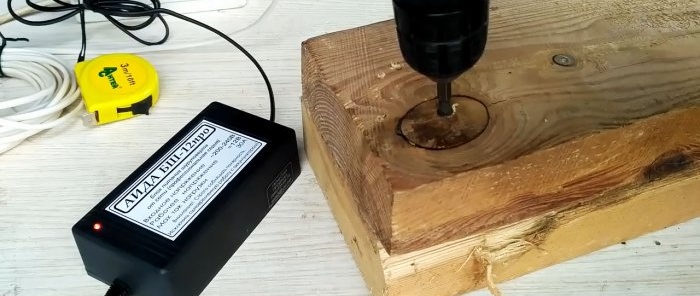
For everything to work correctly, it is important to select a power supply that matches the parameters of a specific screwdriver model. In this case, the AIDA BSh 12 PRO unit for 12V is used. Any analogue can also be used. When choosing a unit, you need to look not only at its operating voltage, but also at the maximum load current. Ideally, if it is at least 30A. If the current is less, the screwdriver will not have enough torque or the unit’s protection will start to trip under load.
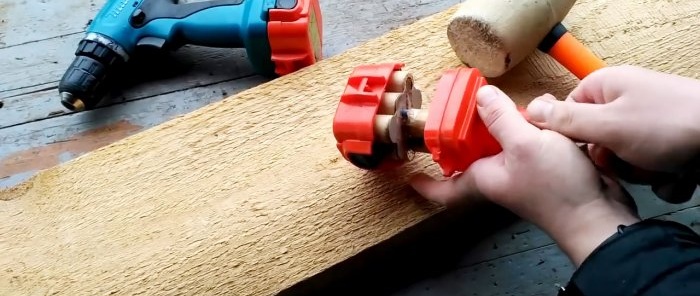
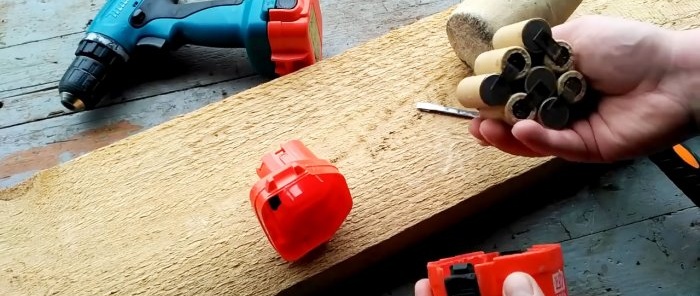
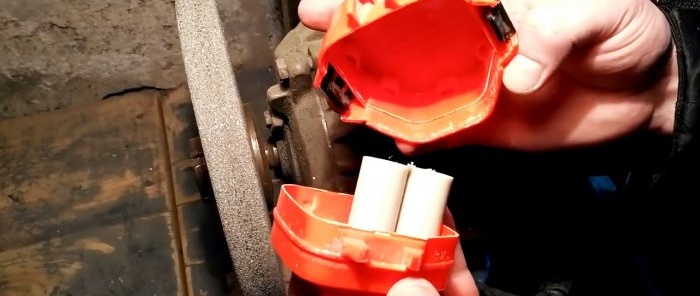
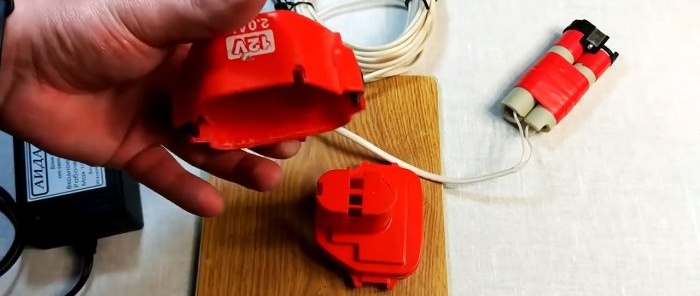
To transfer the screwdriver's power from the battery to the mains, you need to get to its power contacts. To do this, you need to disassemble the battery housing. The batteries present in it are removed.
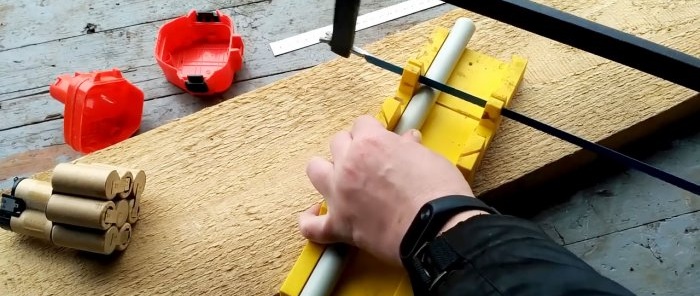
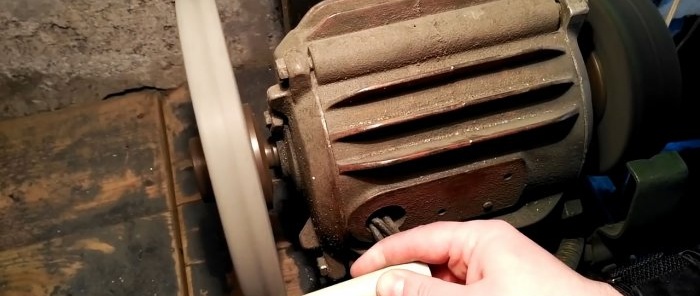
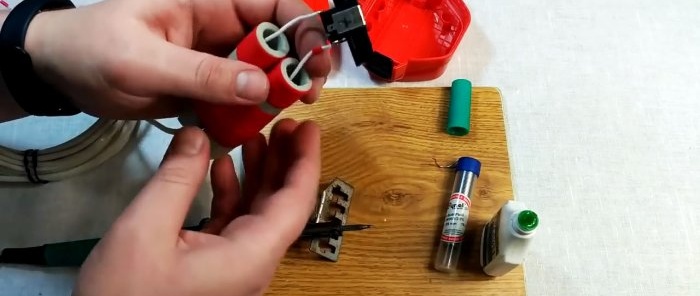
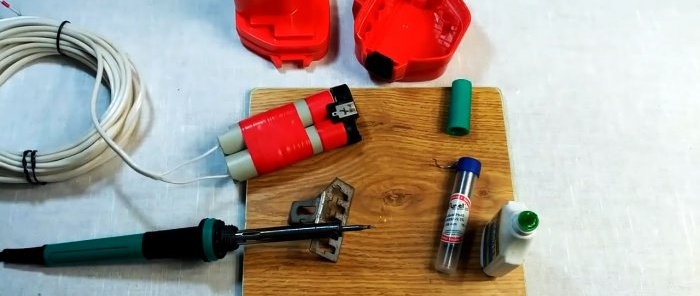
Since the battery contacts remain on the removed batteries, in order to return them to the case, it needs to be modified. To do this, I cut 2 short tubes from the 20th polypropylene pipe. Their length should correspond to the height of the removed battery pack. It is necessary that the pieces fit into the battery housing of the screwdriver.
Most likely, one of the edges of the tubes will have to be trimmed a little, since it will rest against the protrusions on the lid.
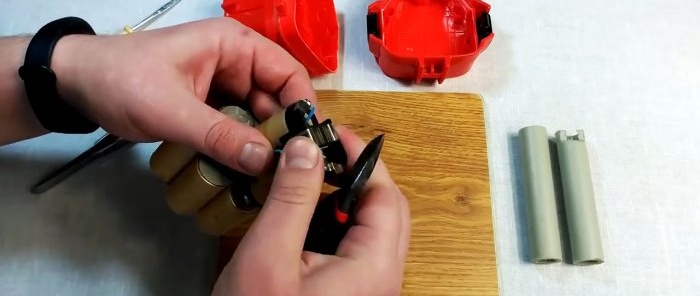
Next, you need to remove the contact plates from the batteries and move them to the tubes. To ensure they fit tightly, each tube should be wrapped with electrical tape, thereby increasing the mounting diameter. After this, a cable of a convenient length is soldered to the contacts, and they are finally fixed to the tubes.
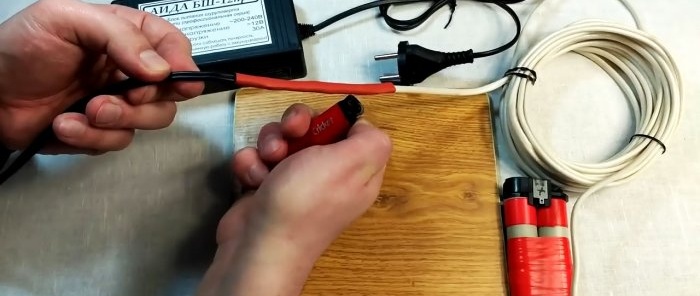
Now you need to connect the cable from the screwdriver terminals to the power supply wire. It is important to maintain polarity here. The plus of the block should be connected to the positive terminal, and the minus to the negative terminal. For reliability, it is better to solder the twist. Its insulation can be made with electrical tape or heat shrink.
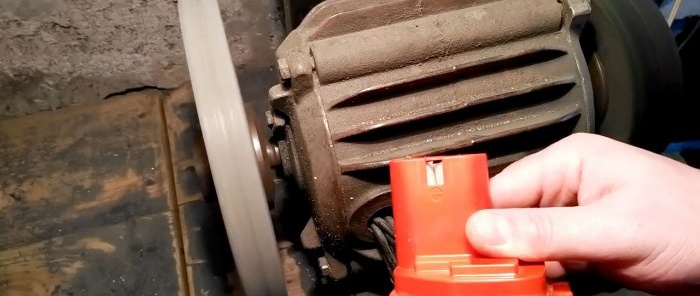
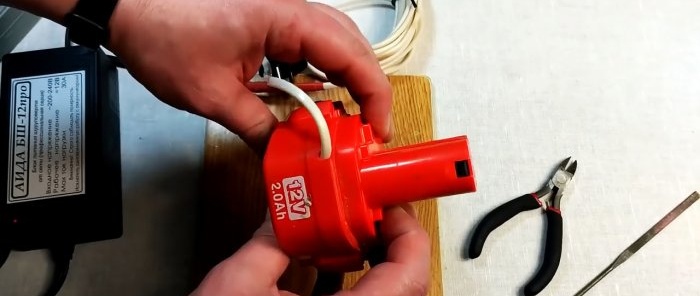
Next, the contacts with the tubes are placed in the battery housing. To do this, a side hole is made in it right at the junction with the cover for entering the wire. To prevent the tubes with contacts from moving or falling out, everything is fixed with hot-melt adhesive. For reliability, it can also be applied to the junction of the case and the lid so that it does not open.
Now, when you plug in the power supply, the screwdriver can work from the mains for as long as you like without recharging.
Basic materials:
For everything to work correctly, it is important to select a power supply that matches the parameters of a specific screwdriver model. In this case, the AIDA BSh 12 PRO unit for 12V is used. Any analogue can also be used. When choosing a unit, you need to look not only at its operating voltage, but also at the maximum load current. Ideally, if it is at least 30A. If the current is less, the screwdriver will not have enough torque or the unit’s protection will start to trip under load.
Converting a 220 V screwdriver
To transfer the screwdriver's power from the battery to the mains, you need to get to its power contacts. To do this, you need to disassemble the battery housing. The batteries present in it are removed.
Since the battery contacts remain on the removed batteries, in order to return them to the case, it needs to be modified. To do this, I cut 2 short tubes from the 20th polypropylene pipe. Their length should correspond to the height of the removed battery pack. It is necessary that the pieces fit into the battery housing of the screwdriver.
Most likely, one of the edges of the tubes will have to be trimmed a little, since it will rest against the protrusions on the lid.
Next, you need to remove the contact plates from the batteries and move them to the tubes. To ensure they fit tightly, each tube should be wrapped with electrical tape, thereby increasing the mounting diameter. After this, a cable of a convenient length is soldered to the contacts, and they are finally fixed to the tubes.
Now you need to connect the cable from the screwdriver terminals to the power supply wire. It is important to maintain polarity here. The plus of the block should be connected to the positive terminal, and the minus to the negative terminal. For reliability, it is better to solder the twist. Its insulation can be made with electrical tape or heat shrink.
Next, the contacts with the tubes are placed in the battery housing. To do this, a side hole is made in it right at the junction with the cover for entering the wire. To prevent the tubes with contacts from moving or falling out, everything is fixed with hot-melt adhesive. For reliability, it can also be applied to the junction of the case and the lid so that it does not open.
Now, when you plug in the power supply, the screwdriver can work from the mains for as long as you like without recharging.
Watch the video
Similar master classes
Converting a screwdriver to Li-ion without BMS
How to restore a screwdriver battery
We integrate a DSL modem into the PC system unit
6 useful screwdriver attachments that few people know about
How to convert a computer power supply into a charger

An easy way to convert a screwdriver from nickel-cadmium to
Particularly interesting
Comments (1)

