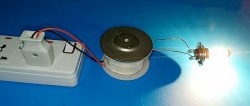
Powerful electromagnet from a microwave oven
With the help of a beam crane, it is easy to move steel parts around the room: quickly and effortlessly. But most often these parts have completely different shapes, and attaching them with strapping is extremely inconvenient, sometimes even impossible. To do this, we suggest assembling a simple electromagnet from several microwave ovens, which are always found in abundance in any landfill.
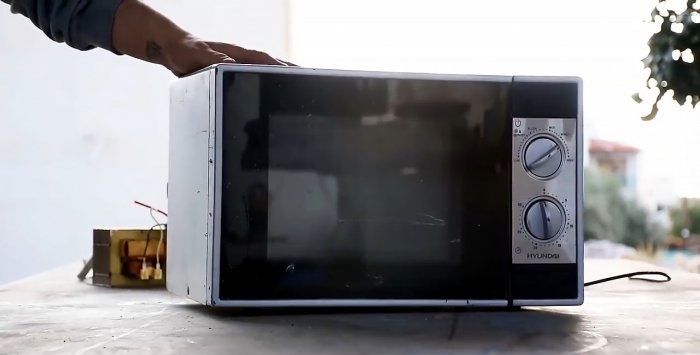
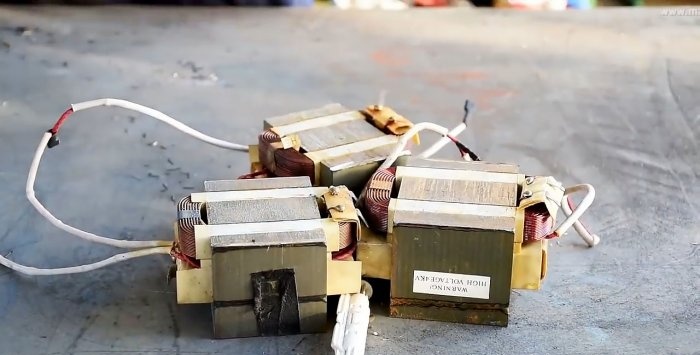
It is necessary to disassemble all microwave ovens and remove 3 transformers from them, respectively.
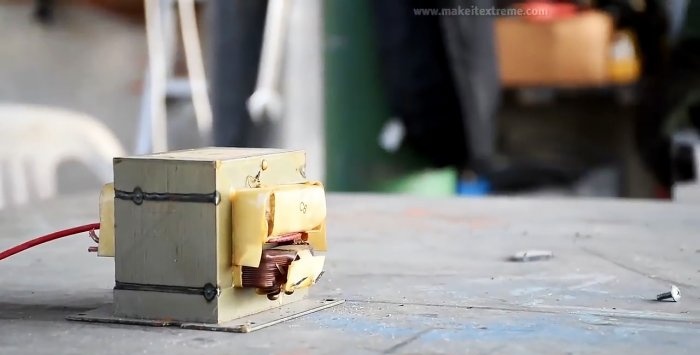
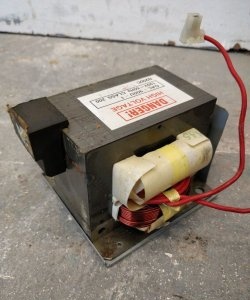
The transformer consists of a “W”-shaped magnetic core welded to an “I”-shaped magnetic core.
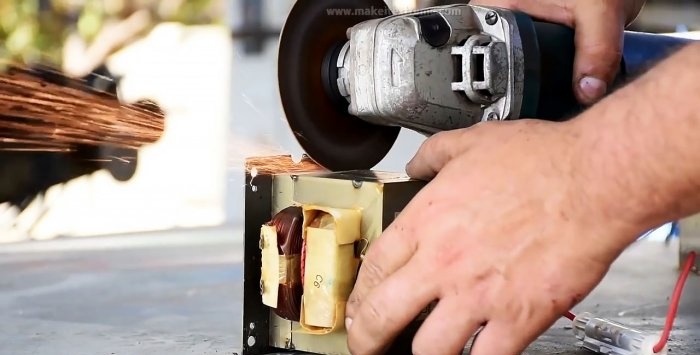
We use a grinder to cut off the seams of each transformer. We no longer need the “I”-shaped magnetic circuit.
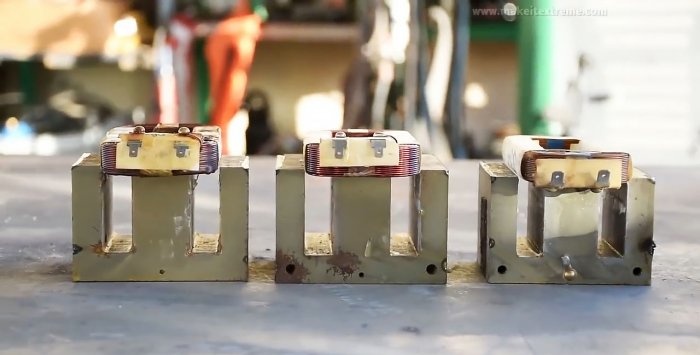
We remove all windings. There are usually three of them: mains at 220 V, low-voltage at 6 V and high-voltage at 2500 V. We leave only the mains.
We had to remove them all, because the network winding goes first, and the rest are already following it and there is no other way to get to them.
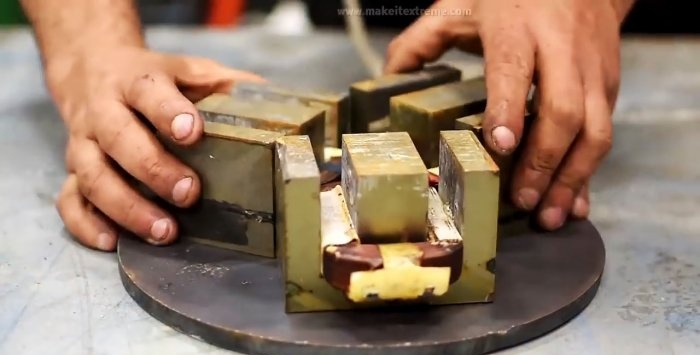
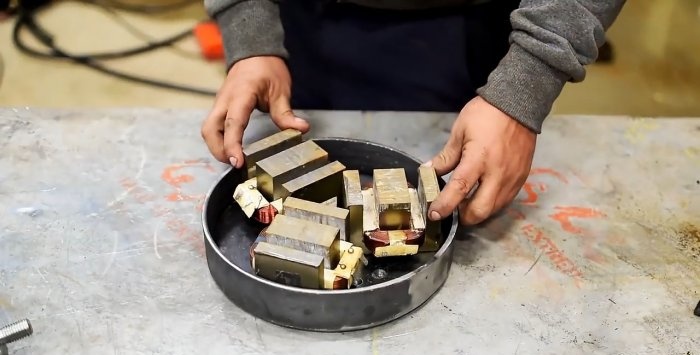
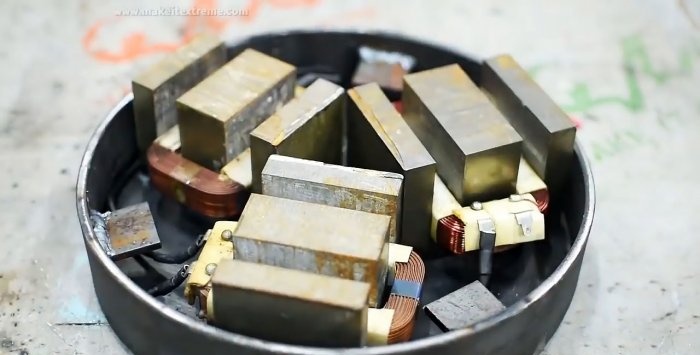
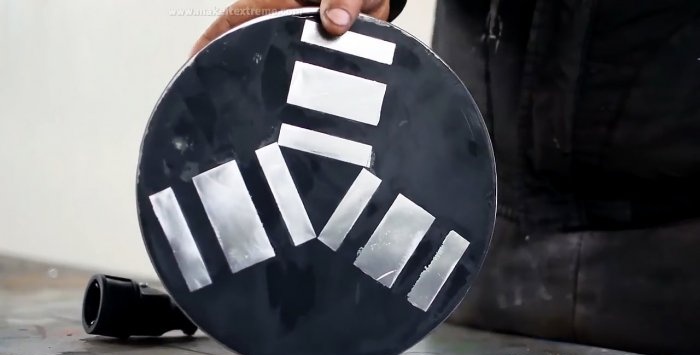
We press the 220 V winding back. We place the transformers on a circle and check that they all fit and do not protrude.
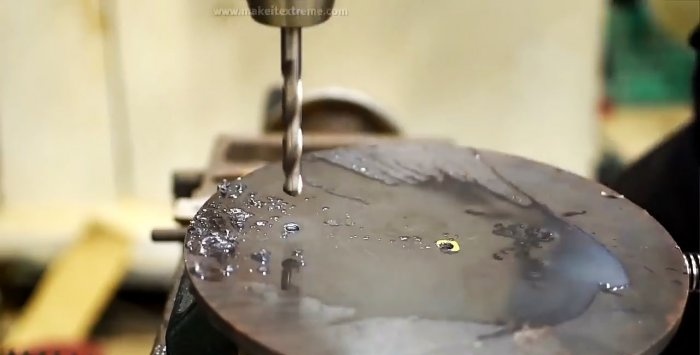
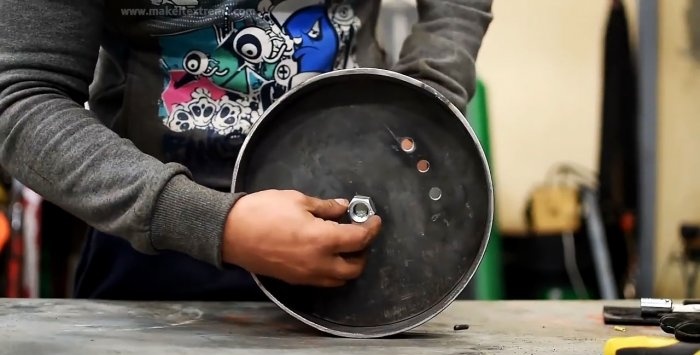
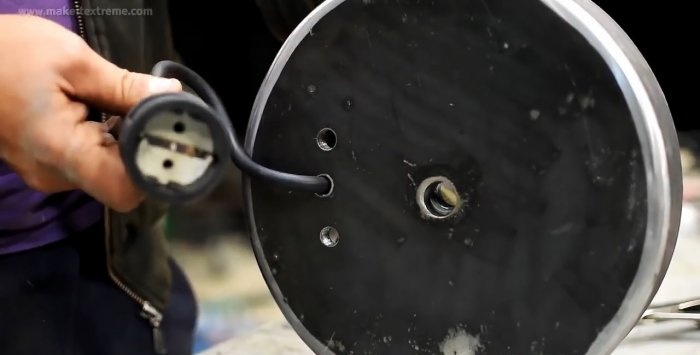
We drill two holes in the steel circle: one for the power wire on the side, the second exactly in the center for fastening.
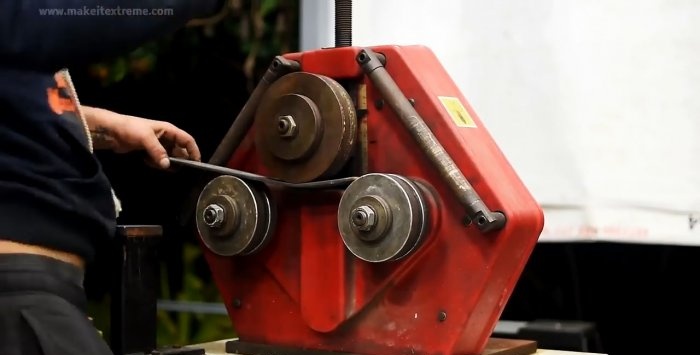
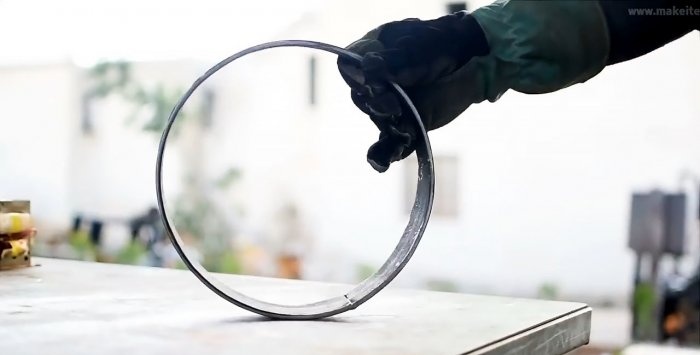
We manufacture the electromagnet housing. From a steel strip on a bending machine we make a circle along the diameter of the base.
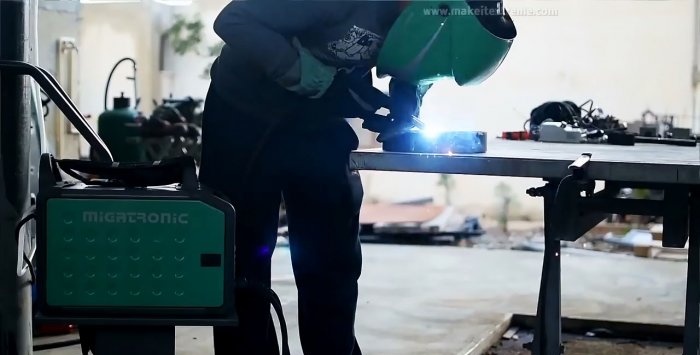
We weld it to the base.
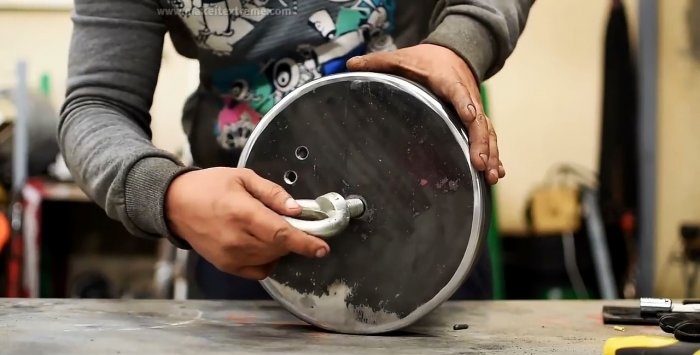
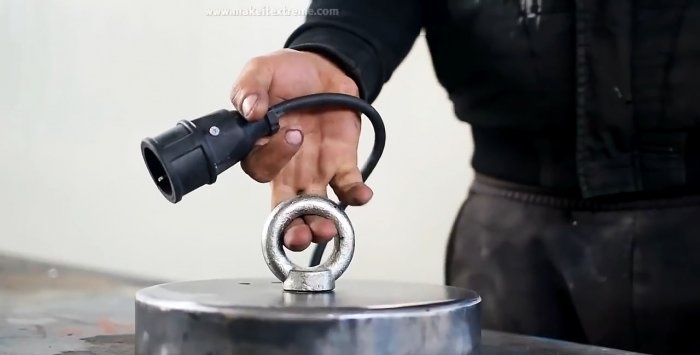
Insert an eye bolt into the central hole.
We fix it on the other side with a nut and weld everything together.
We install transformer cores with windings. Please note that the cores protrude beyond the main electromagnet housing ring. The winding is well hidden behind the ring.
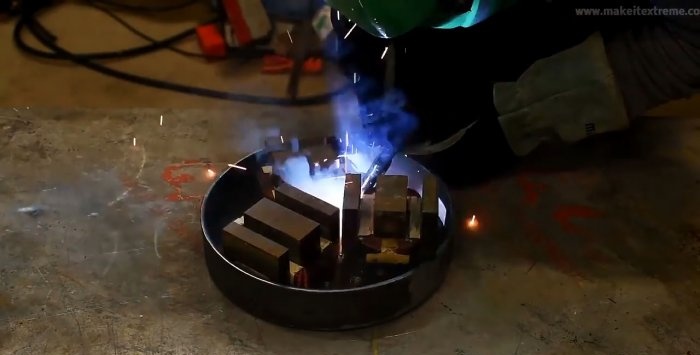
We weld the cores to the base.
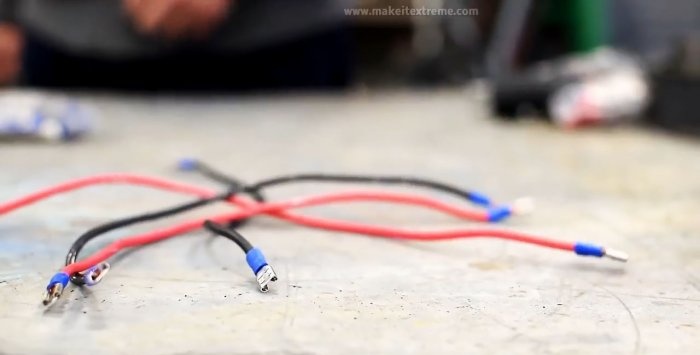
Let's put together a diagram. We connect all the windings in parallel to each other.
We connect the power outlet.
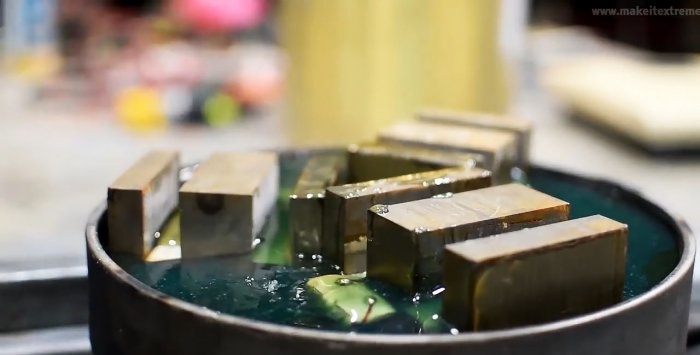
Fill the empty area with pre-diluted epoxy resin. For strength, a filler is introduced into it - dry cement.
We are waiting for complete hardening.
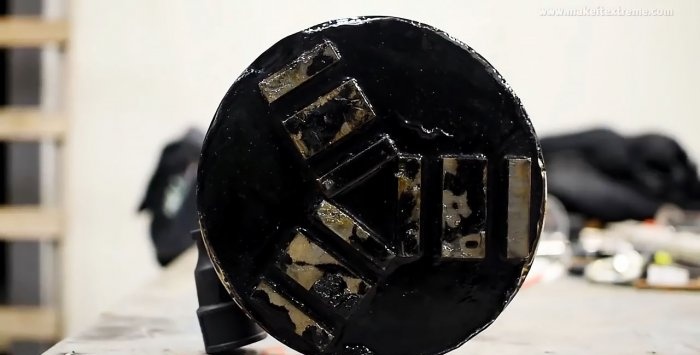
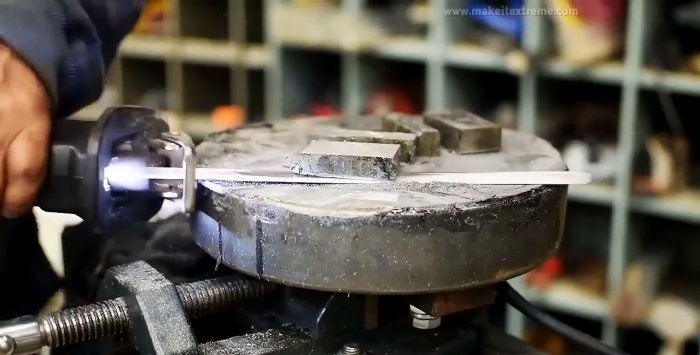
We cut off the protruding rectangles of the electromagnet with a reciprocating saw.
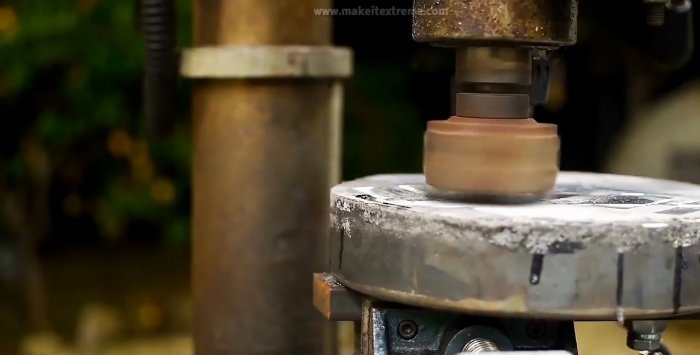
For evenness, we mill it.
The electromagnet is almost ready.
All that remains is to paint and move on to testing.
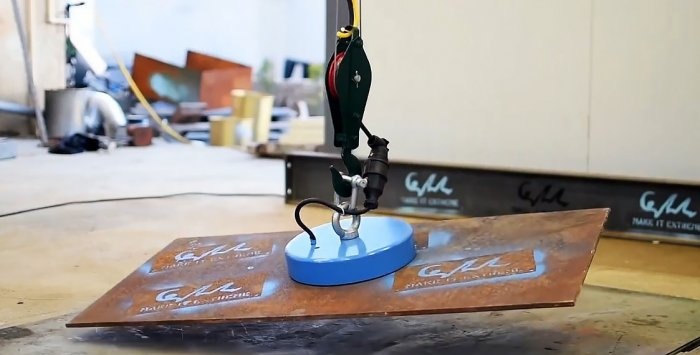
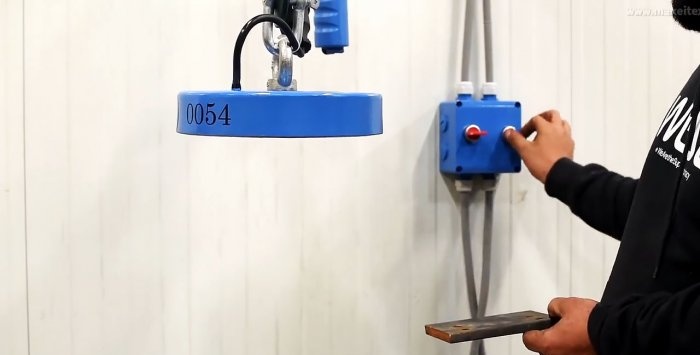
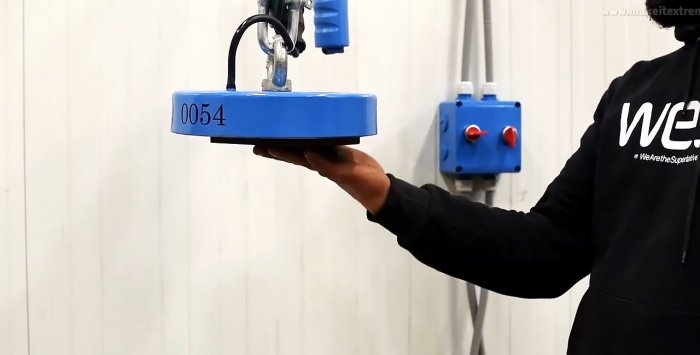
The estimated electrical power was about 2.7 kW. This is a good value, since the network of any workshop can withstand such loads. Turn it on and check.
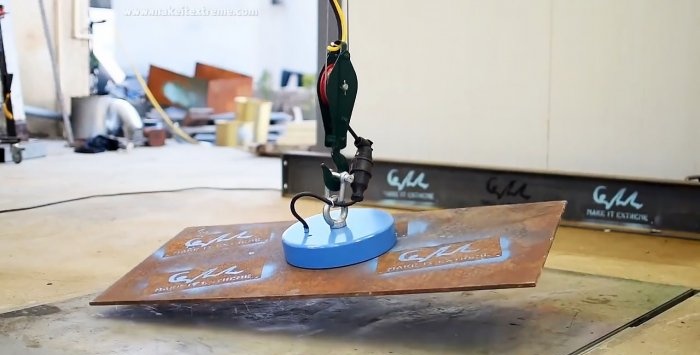
Holds up great.
Now the steel sheet weighs 25 kg.
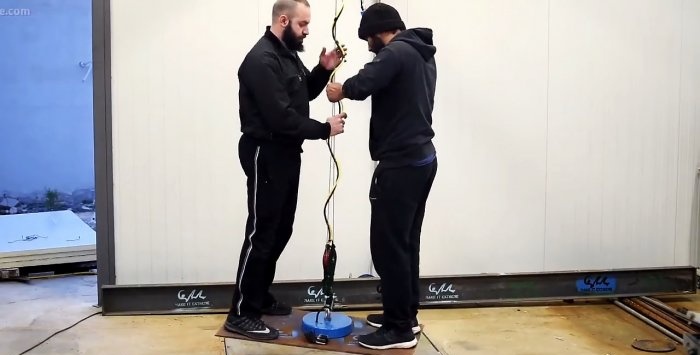
And to this load there are two more people with a total weight of 170 kg.
In total, it holds 200 kg quite confidently, maybe more.
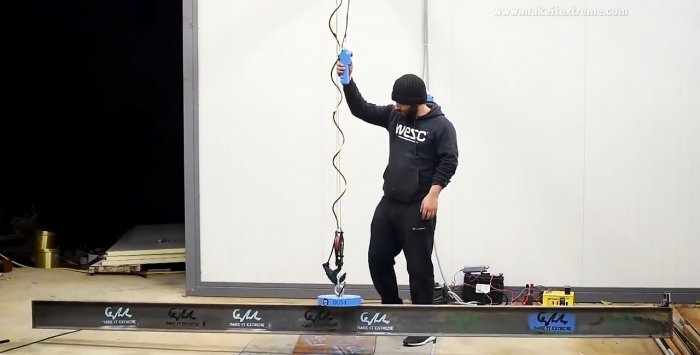
Easily lifts a wide I-beam weighing about 80 kg.
In general, for a forge or workshop, this is just a great thing to do everything quickly and easily. Now you don’t need to fasten anything, just turn on the electromagnet and move the heavy part where you need it.
Will need
- A steel circle with a minimum thickness of 10 mm and a diameter of 200 mm.
- Steel strip 40 mm wide.
- Epoxy resin.
- Eye bolt with nut.
- And of course, three microwave ovens.
Making a powerful electromagnet for a crane beam with your own hands
It is necessary to disassemble all microwave ovens and remove 3 transformers from them, respectively.
The transformer consists of a “W”-shaped magnetic core welded to an “I”-shaped magnetic core.
We use a grinder to cut off the seams of each transformer. We no longer need the “I”-shaped magnetic circuit.
We remove all windings. There are usually three of them: mains at 220 V, low-voltage at 6 V and high-voltage at 2500 V. We leave only the mains.
We had to remove them all, because the network winding goes first, and the rest are already following it and there is no other way to get to them.
We press the 220 V winding back. We place the transformers on a circle and check that they all fit and do not protrude.
We drill two holes in the steel circle: one for the power wire on the side, the second exactly in the center for fastening.
We manufacture the electromagnet housing. From a steel strip on a bending machine we make a circle along the diameter of the base.
We weld it to the base.
Insert an eye bolt into the central hole.
We fix it on the other side with a nut and weld everything together.
We install transformer cores with windings. Please note that the cores protrude beyond the main electromagnet housing ring. The winding is well hidden behind the ring.
We weld the cores to the base.
Let's put together a diagram. We connect all the windings in parallel to each other.
We connect the power outlet.
Fill the empty area with pre-diluted epoxy resin. For strength, a filler is introduced into it - dry cement.
We are waiting for complete hardening.
We cut off the protruding rectangles of the electromagnet with a reciprocating saw.
For evenness, we mill it.
The electromagnet is almost ready.
All that remains is to paint and move on to testing.
Result and testing of the electromagnet
The estimated electrical power was about 2.7 kW. This is a good value, since the network of any workshop can withstand such loads. Turn it on and check.
Holds up great.
Now the steel sheet weighs 25 kg.
And to this load there are two more people with a total weight of 170 kg.
In total, it holds 200 kg quite confidently, maybe more.
Easily lifts a wide I-beam weighing about 80 kg.
In general, for a forge or workshop, this is just a great thing to do everything quickly and easily. Now you don’t need to fasten anything, just turn on the electromagnet and move the heavy part where you need it.
Watch the video
Similar master classes
Particularly interesting
Comments (6)

